1. Overview at our Wiki
First we need an overview of our guidelines. There are naming conventions and descriptions for every mesh, animation, bones and dummies which are to be created.
Default Animation Parameter:
Bones
All bones got unique names. Examples: The upgrades even got unique names:
->Head
->Neck
->RightShoulder->RightArm->RightForeArm ->RightHand
->RightHandPinky_Base->RightHandPinky_Mid ->RightHandPinky_Tip ->RightHandPinky_End
->RightHandRing_Base ->RightHandRing_Mid ->RightHandRing_Tip ->RightHandRing_End
->RightHandMiddle_Base ->RightHandMiddle_Mid ->RightHandMiddle_Tip ->RightHandMiddle_End
->RightHandIndex_Base ->RightHandIndex_Mid ->RightHandIndex_Tip ->RightHandIndex_End
->RightHandThumb_Base ->RightHandThumb_Mid ->RightHandThumb_Tip ->RightHandThumb_End
->LeftShoulder->LeftArm->LeftForeArm ->LeftHand ->LeftHandPinky_Base
->LeftHandPinky_Mid ->LeftHandPinky_Tip ->LeftHandPinky_End ->LeftHandRing_Base
->LeftHandRing_Mid ->LeftHandRing_Tip ->LeftHandRing_End ->LeftHandMiddle_Base
->LeftHandMiddle_Mid ->LeftHandMiddle_Tip ->LeftHandMiddle_End
->LeftHandIndex_Base ->LeftHandIndex_Mid ->LeftHandIndex_Tip ->LeftHandIndex_End
->LeftHandThumb_Base ->LeftHandThumb_Mid ->LeftHandThumb_Tip ->LeftHandThumb_End
->Spine ->Spine1 ->Spine2
->RightUpLeg->RightLeg ->RightFoot ->RightToeBase
->LeftUpLeg->LeftLeg ->LeftFoo->LeftToeBase
->Hips
->Root
Controller
All bones got connected to controller (dummy). Every controller got an unique name.
Example :
-> LeftHand_Control
-> RightHand_Control
-> Root_Control
Attention ! With this controller you can rotate, move and scale the whole unit.
Upgrades
-> Upgrade_
Description
Every mesh with animation got an description mesh_name.xlsx in the final folder.
We need this information for Unity.
Example:
Name of animation : Start: End: Loop:
Swarmfish_idle : 1 100 yes
Swarmfish_move : 101 200 no
Swarmfish_attack : 201 300 yes
Swarmfish_death : 301 400 no
Default Mesh Parameter:
- We describe every animation with a table.
- They all got rated by priority .
- Every animation is described in three sentences.
- We describe the start, the loop, and the final pose.
- It's discussed with our art lead, game design lead, tech lead and with our animator.
- During this session they also create some scribbles .
At this step we must always remember that we are creating an RTS Game. We have to deal with animations that were completely exaggerated because the player watches some animations from a camera far away. Animations also provide feedback and information during a game. Animations in Submerge need to be unique and clear.
2. Custom Rig Creation
After the discussion with the leads described above, the animator starts to create the rig. We don't use the BIPED or any CAT animation. Our units are to unique and would need to much adaption.
The rig is only designed for the predefined animations. We need to save time and it isn't necessary to create a rig that allows us to animate everything which could be possible. This is the step where every bone gets his name.
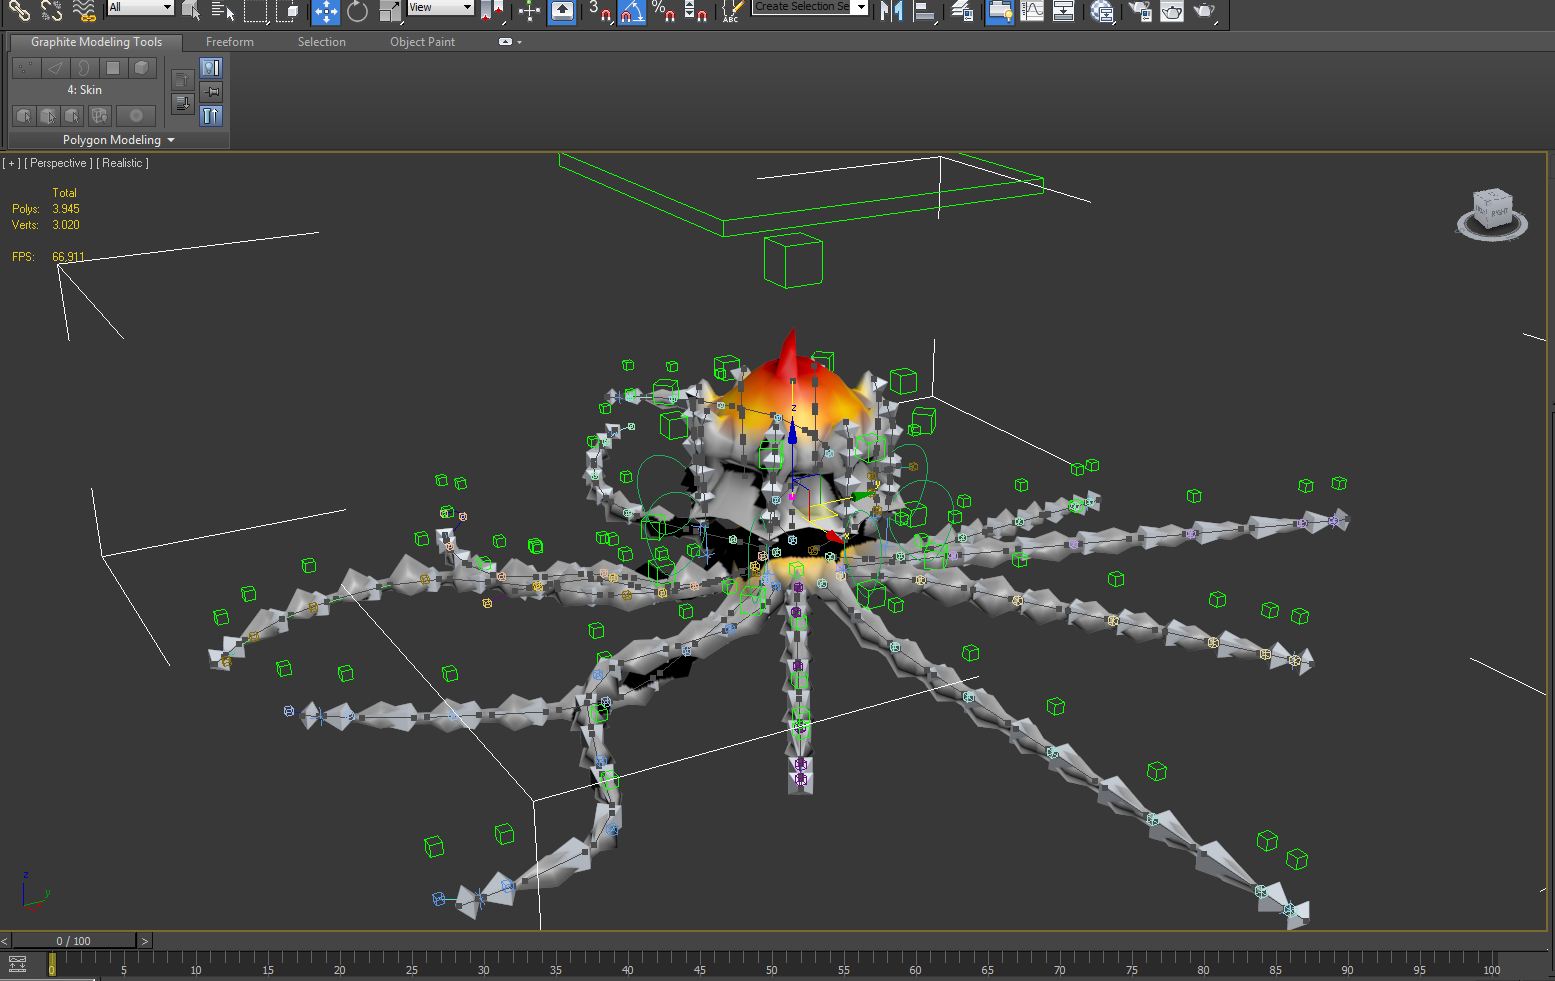
3. Skinning
Usually you create the skin while the unit is keyed to its extreme excursions. This isn't necessary because we got only got a few animations and our animations got only little excursions. So we only create a rough skin. The actual skin will be improved during the animation process to match it only to the few given animations of each unit.
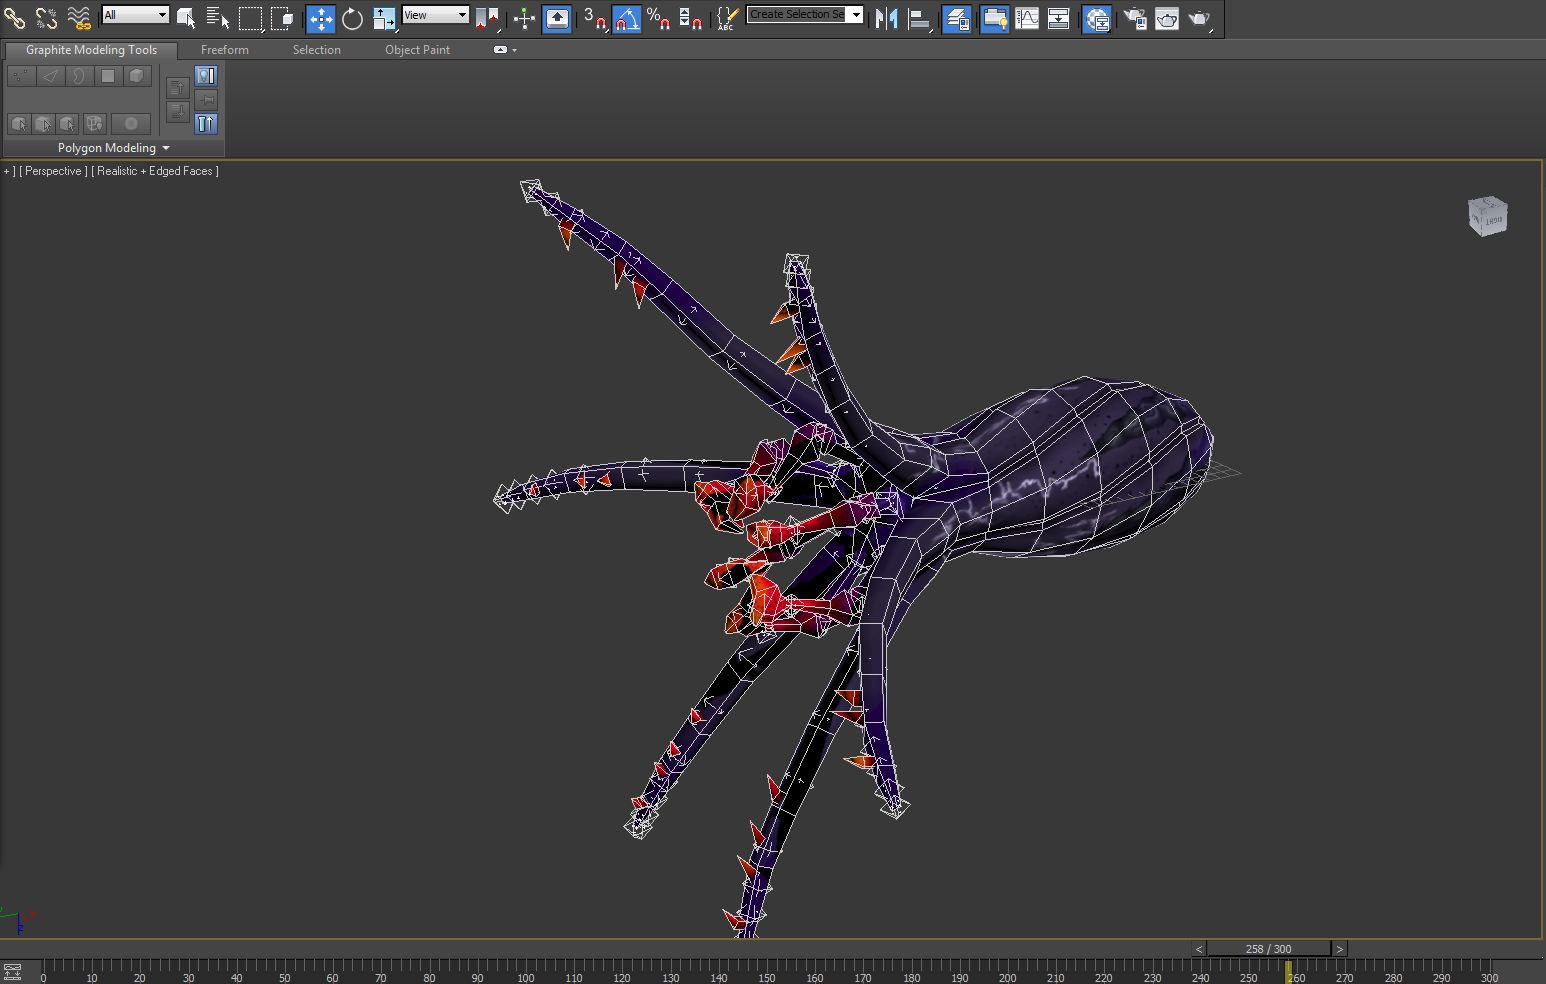
4. Animations
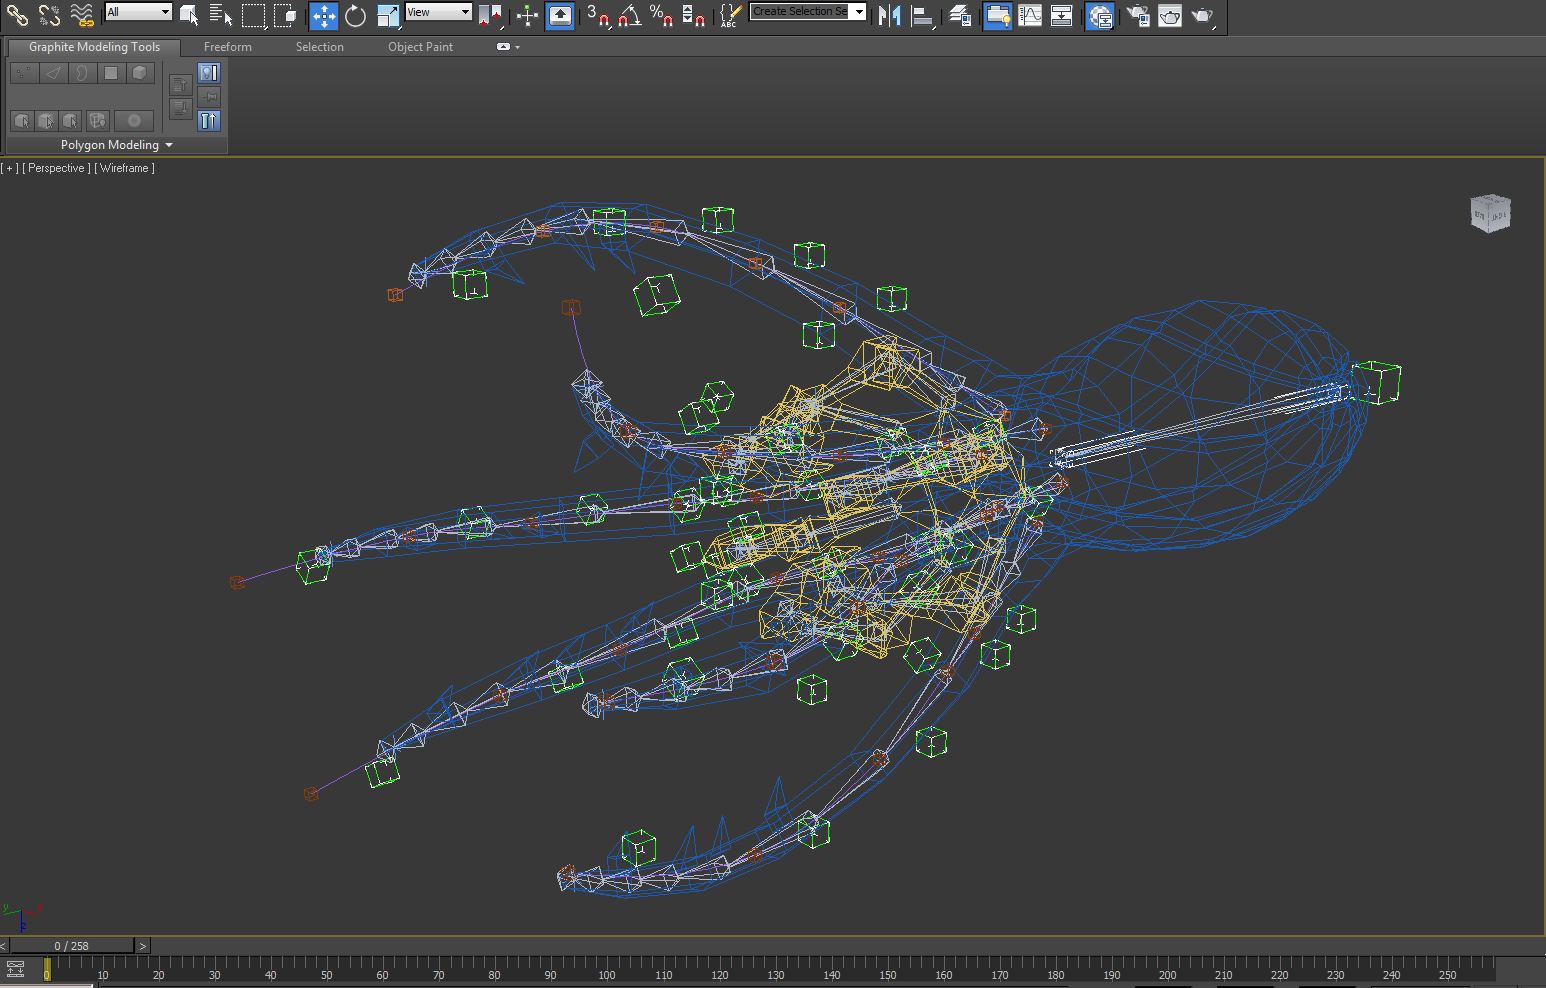
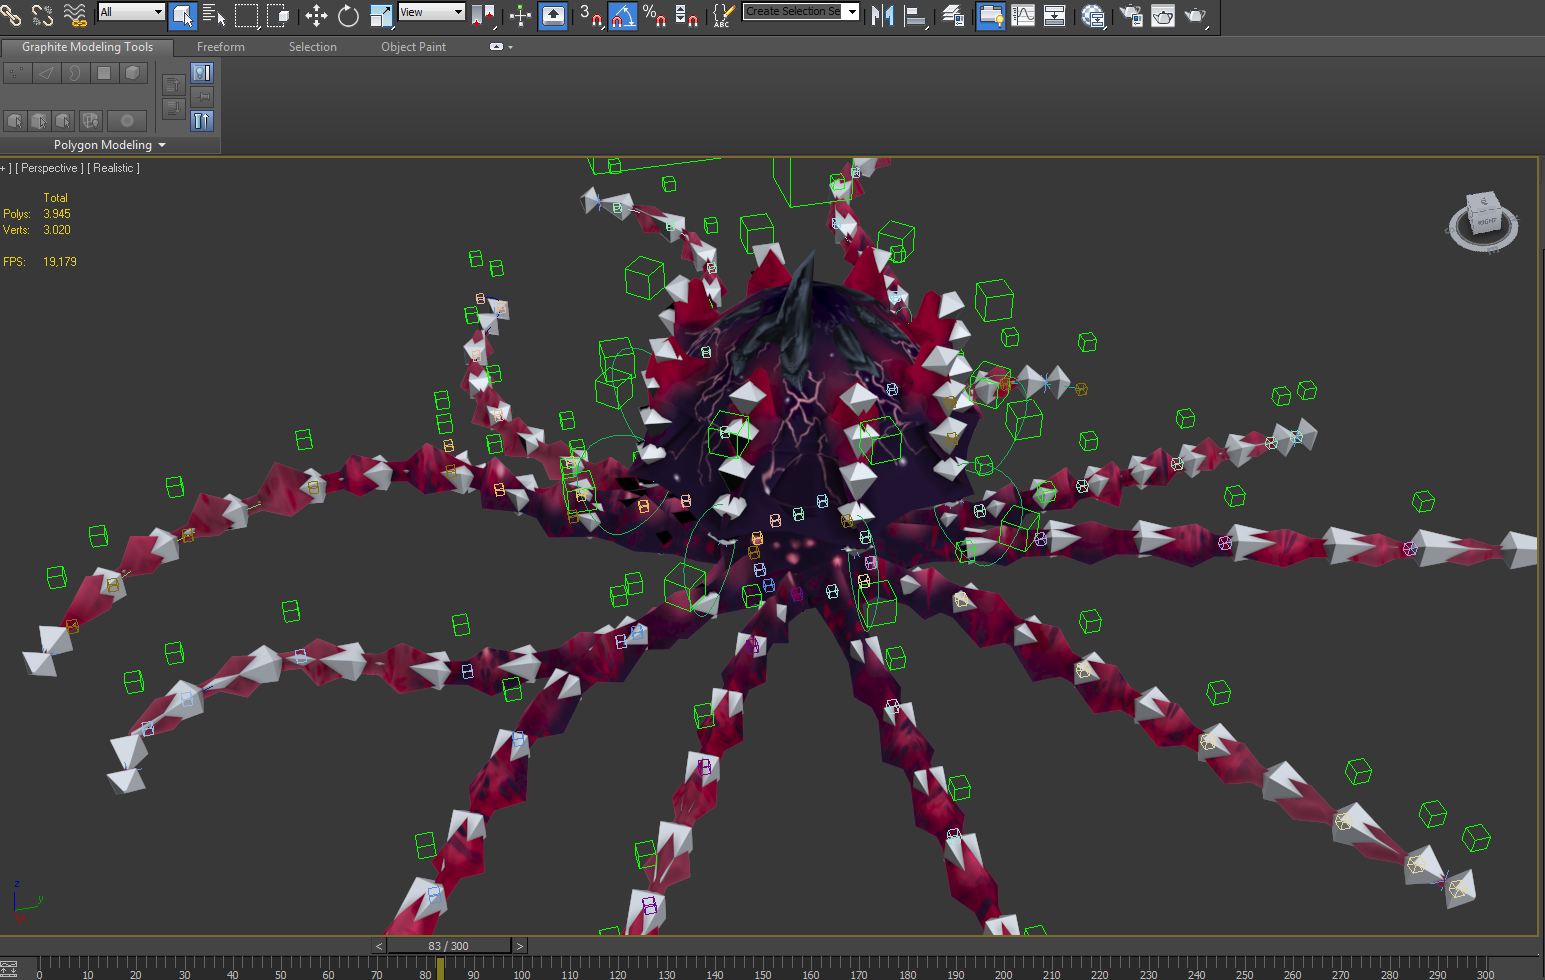
Here we improve the skinning while creating the animations. We bake all information concerning dummies, helpers etc.. to the bones. There will be no more links at the end. Now every bone got all the definitions for the transformations.
We export the whole mesh (fbx) into Maya for baking. With Maya we got less problems and the animations look like they should look. We tried also a lot of free 3DS Max Scripts for baking. Most of them got problems with the mesh and the final animation was corrupted or failed completely. (Just hit me up if you got a script that works fine.)
Remember that even the zero frame in 3DS Max is a real animation frame and needs to be counted. This is always a problem while importing some animations into Unity.
After the animations are done we upgrade the timetable in the final folder for the right frames.
The picture below shows the baked unit in Max.
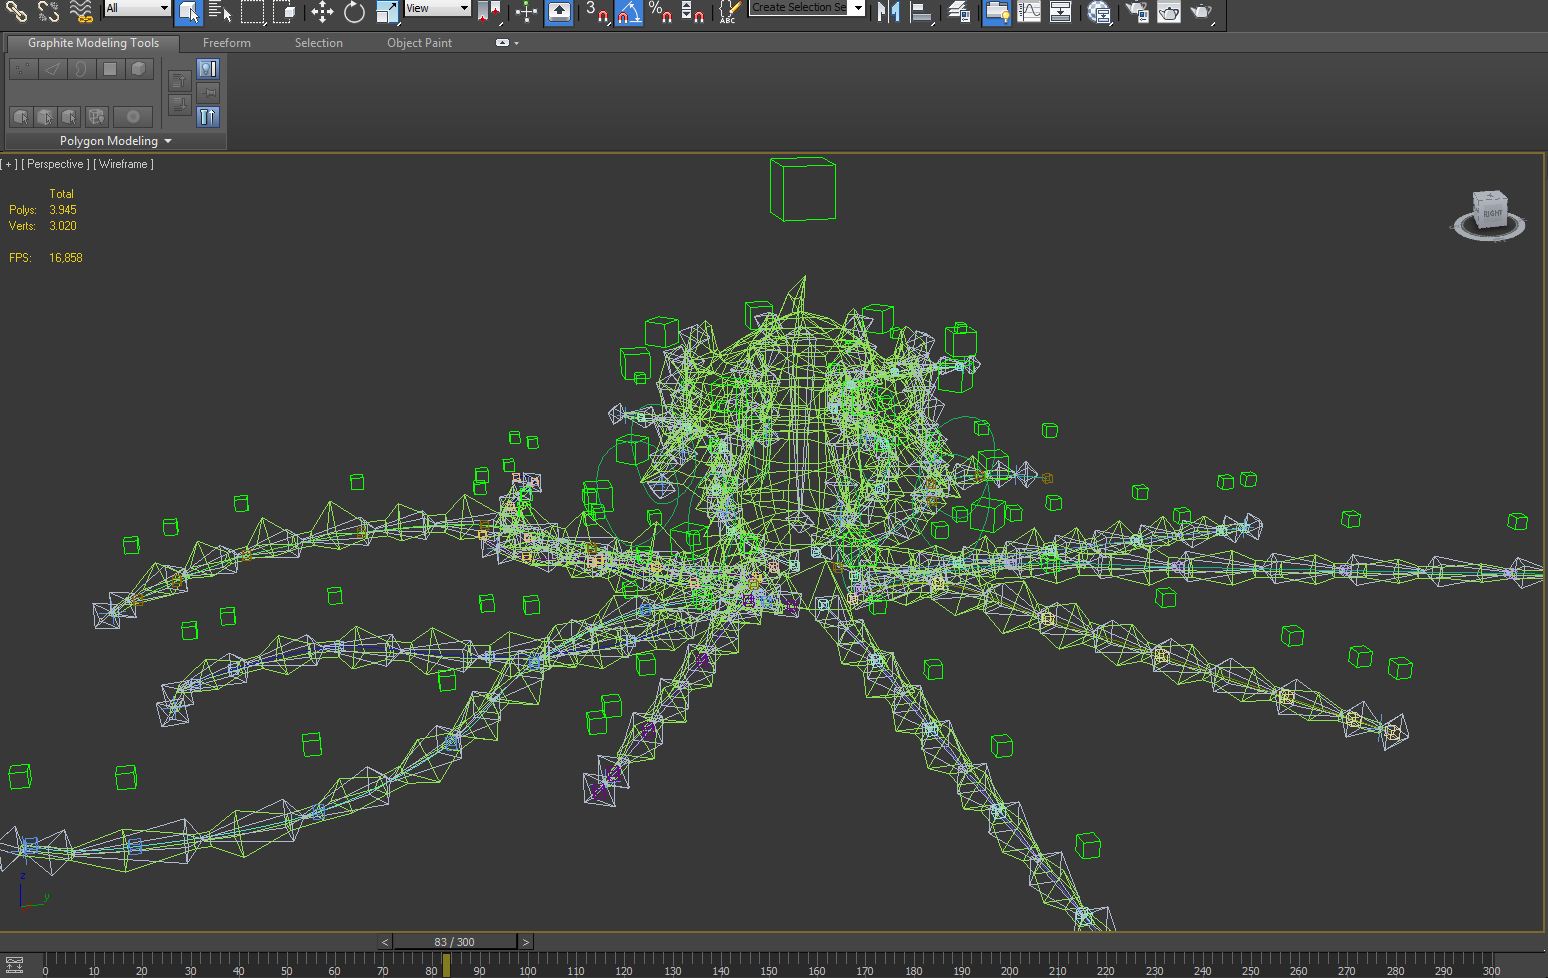
Here you can see some path animations at the middle of the main body.
Please hit me up if you want some more information about some special details.
For all Unity devs im going to explain the Unity integration in another tutorial in more detail.


nice
are you going for a realistic look or a stylized one?
We want to create a solution between those two. The realistic look has a huge disadvantage concerning real time strategy games. You need to recognize changes in a very short time to react as fast as possible. We discovered, that if we stylize the look only a bit, most of the players played faster and better. We now manage this problem with the good old slogan: Form follows function.
wow that is awsome