
Note: You Must Have Half Life 2 + Episodes 1 & 2 For This To Work!!
Today I Will Be Showing You How To Create Basic Particle Effects That Can Increase The Look And Style Of Your Map Incredibly
Particle Effects Are Used a Lot In The Half-Life Episodes, To Increase The look Of The Level By a Significant Amount.
- Some Examples Of Particle Effects:
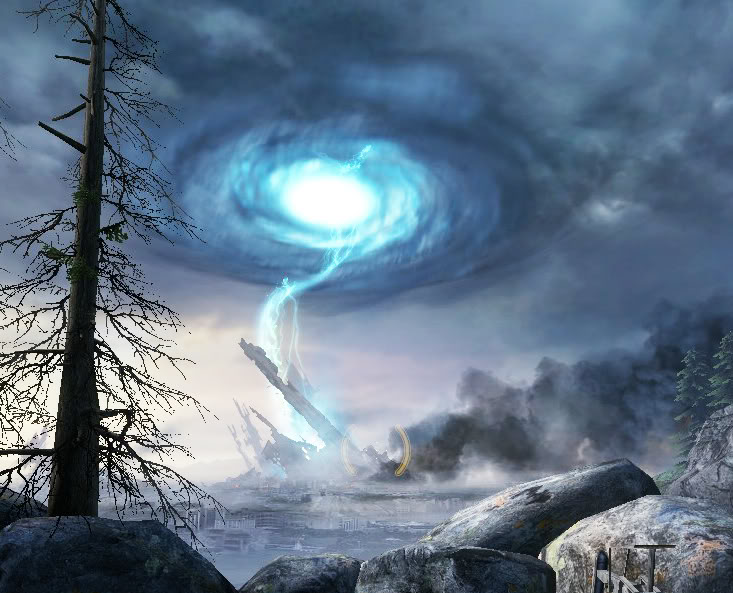
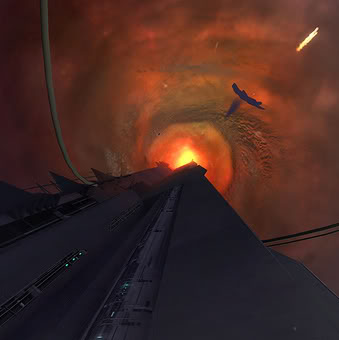
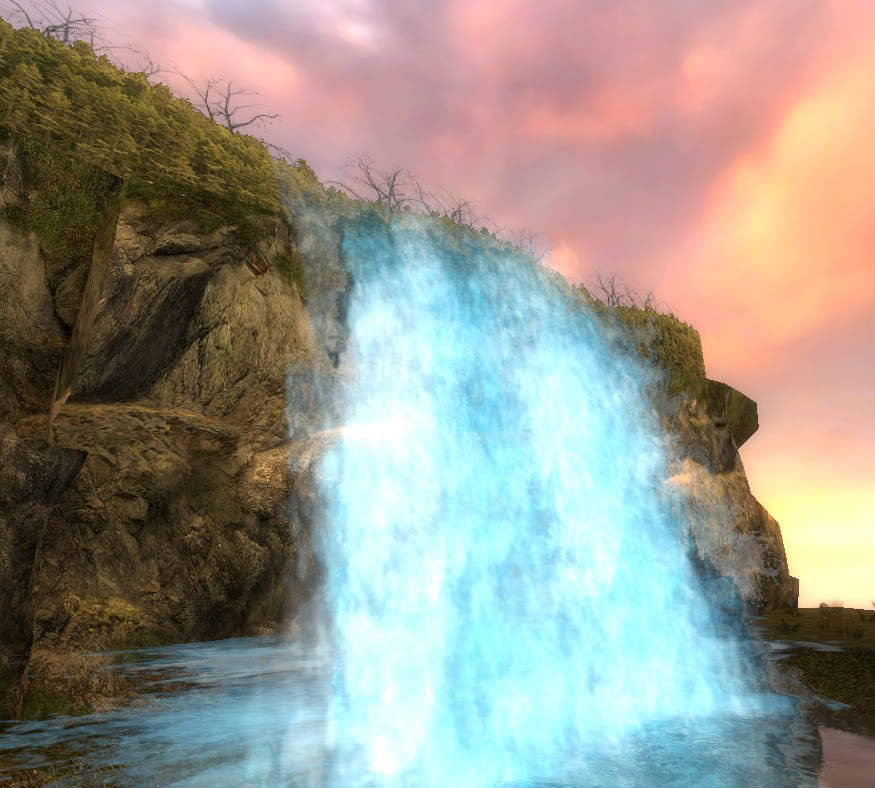
Although Creating Massive Particle Systems Is Difficult, If You Manage To Master Basic Particle Creation, then You Are About 50% Of the Way There
To Create A Simple Particle, Follow These Steps;
Step 1, Create a "Info_Particle_System" in Your Map, This Is From Where The Particles Are Emitted
This Is The Model For The Particle System:
This Is The Model For The Particle System:
Step 2, Now, Open The Properties Window Of The "Info_Particle_system" We Just Created,

To Keep This Tutorial Simple We Will Only Be Focusing On 3 Things Today:
- Name
- Particle System Name
- Start Activated
Name:
Just Put In Any Name You Want To Call The Particle System, As Long As It Doesn't Contain Any Spaces Then It's Fine
Particle System Name:
This Is The IMPORTANT Bit, This Box Defines What Particle Effect Will Be Displayed, Please See Below For a Full List Of Particles Available:
- Particles For HL2 + EP1 & 2: Developer.valvesoftware.com
- Particles For TF2: Developer.valvesoftware.com
- Particles For L4D: Developer.valvesoftware.com
Just Copy The Name Of The Particle You Wish to Use, Make Sure Not To Put In Any Spaces Or miss Anything Out!!
Start Activated:
Once Again, This Is Also very Self Explanatory, If You Wish For The Particle System To Activate When The Map Loads, Select "YES"
IMPORTANT!!
Some Particle Effect Will Cause The Map Not To Load If Start Activated Is Set To "YES". To Fix This, Try Activating The Particle Using a Trigger
Step 3, Check Over What You Have Done And Click "Apply"
Please Leave Your Comments Below And Check Out My Other Tutorials: Moddb.com


But how to make the PARTICLE ITSELF?
(buried)
Photoshop
That's not right at all man...
(buried)
Then what do you use to create particles, mspaint?
Valve tools, if you mean textures then better use photoshop. Particles is not just textures
That's partly right. You have to create some materials and convert them to vtf and also create a vmt. However, the particle itself is done in the particle editor. Open it by launching any source game with -tools in the steam launch properties!!
I am making particles in hl2 ep2 tools mode, and for some reason, my particles are not being shown, even though I have the same .pcf file and particle manifest code in every folder I think I need them in. Any tips?
Love the tutorial. I am getting a small problem though, the particle system isn't actually showing anything.... I figure i have a bad install of half life since it has given me crap with models for the zombie before. Ideas?