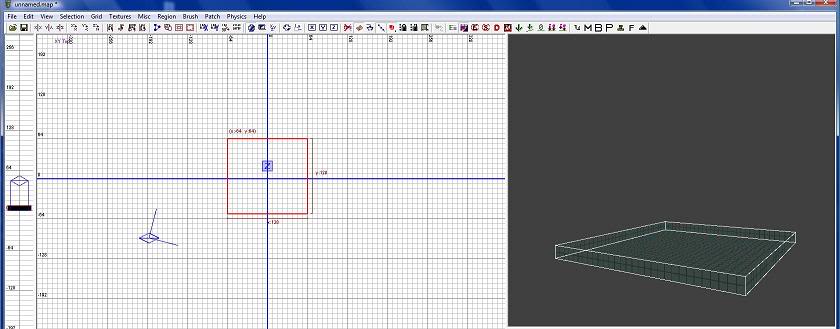
Drag and hold your mouse curser in the 2d View Out like a Box.
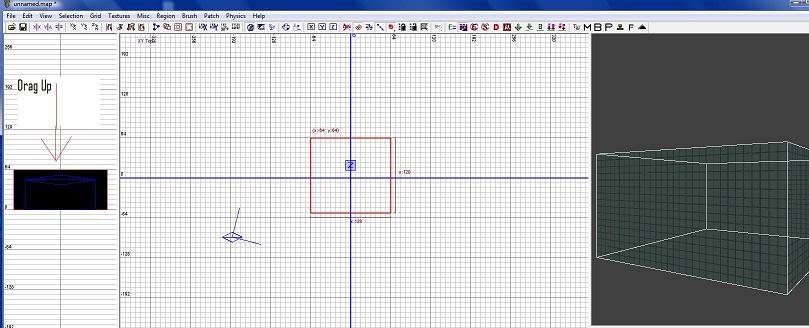
In the Veridical 2d View we now want to drag it up.
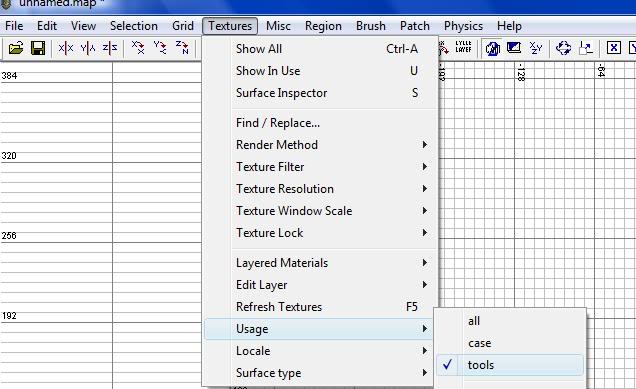
Another thing we want to do is get our Caulk Texture. Caulk texture is see through.
We place this texture on an area we don't want see or use. To get to this texture we want to go to the Main Menu Bar-Textures. In the sub menu in Textures go down to "usage" in there we want to select Tools
Now in our Texture Viewer Select Caulk. Make sure your box is selected
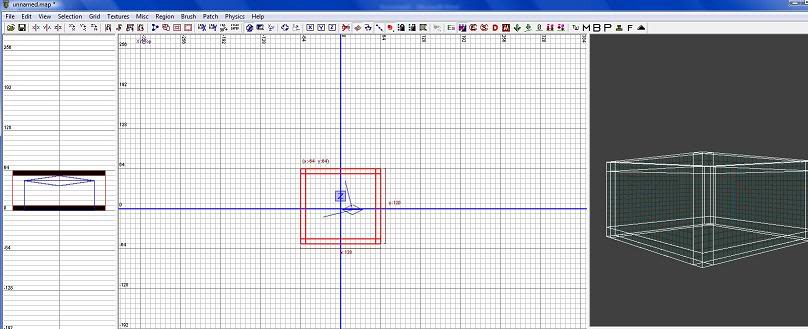
In the Menu Bar Underneath brushes menu there is a small Box if you highlight that box with your mouse it will bring up Hollow. When your box is selected click this button to make it hollow. It now should look like this
The next thing we want to do is get rid of the excess and overlapping Sides. Press "Esc" to unselect our box. In our 3d View we want to go inside our box. Using our right mouse button will get you inside your box. Once you are in your room hold down shift and select all four walls. Now with them selected go to your menu bar once again and look for a icon with XYZ We want to click that once. What this button does is change our View in the 2d View Port. Top/Front/Right
Drag your walls down in the Front 2d View Port and up so that it is inside our flour and Ceiling

Press "Esc" Select two parallel walls in our Top 2d View Port we want to drag them in so that they are not overlapping our other walls. Once that is done we can now add our Texture's
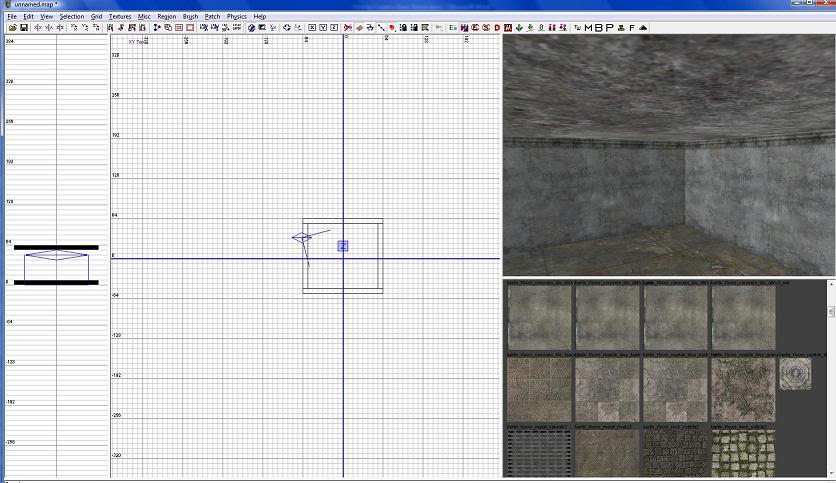
So now our Room is fixed up Time to add the Textures. Yet again go to Menu-Textures-Usage-Interior Wall. In our Texture Viewer Select the Texture you want on your wall. Once done that press "Esc" on your keyboard. In the 3d View middle click to Apply that texture to your inside wall. Under Texture menu in usage again click on Ceiling for your texture. Once applied to all our inside walls and floor and ceiling our textures should be done and look simular to this
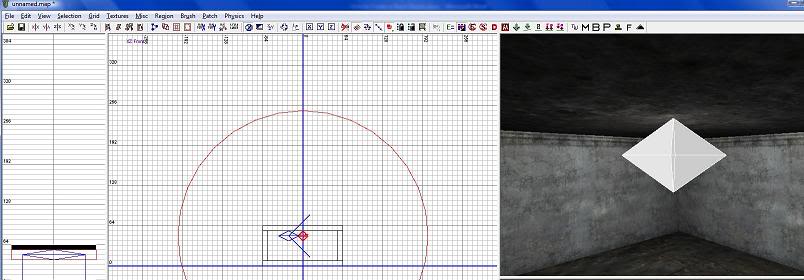
Lets place our light in on our 2d View right click and select light in the list. Make sure it is lined up correctly
We have to place our Reflection probe in our room. Right click in your 2d View Select Reflection_Probe place that like it is in the Picture
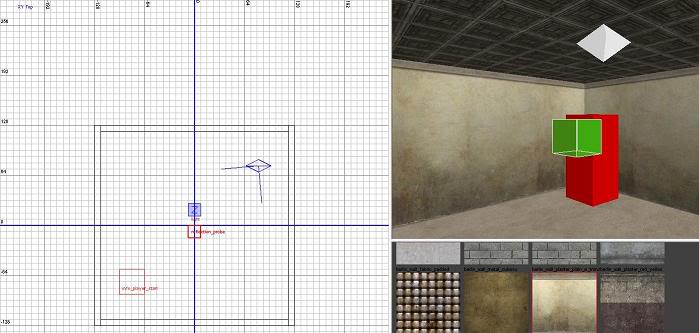
Now to add our Player Spawn once again right click our 2d View Under the Tab Info-Player Want to Select Start. Once in our Room line it up as it is in the Picture. Make sure it does not touch anything
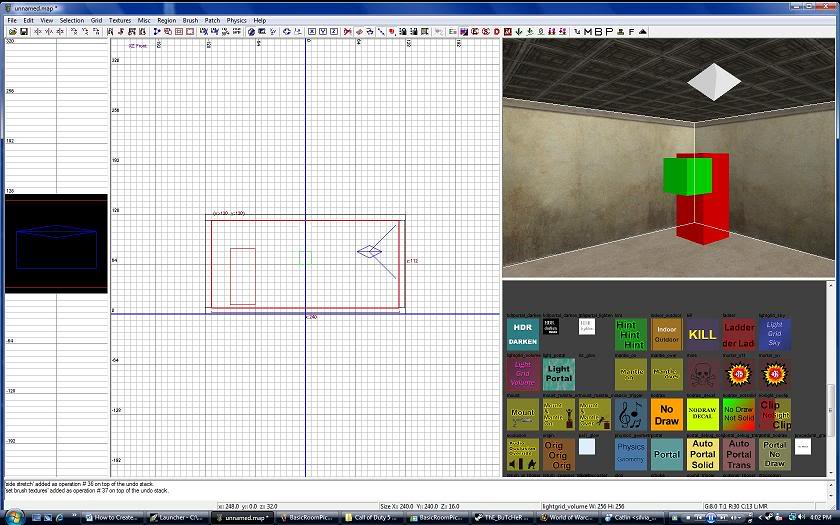
Last but not least our Reflection. Create a new box inside our room with the texture LightGrid_Volume. Can be found under Tools Texture Category
Thanks for Reading


What does it do in the Modern Warfare 2?
I see its for World At War not Modern Warfare 2.
This comment is currently awaiting admin approval, join now to view.
This comment is currently awaiting admin approval, join now to view.