
Tutorial written by Ricebug. Mirrored here for archival purposes. Note his example file/textures have been lost to time, however all of the images for this tutorial were preserved.
Back To Nature
based on Q3Radiant Build 201
by Ricebug
Remember when you walked up to a weapon, key, or item in DooM™, and it always turned to face you? AutoSprites function in a similar matter. The only difference is that the game designers have improved the mechanics, so that they look better.
This tutorial will show you how to use AutoSprites to create realistic-looking plant life in your Quake 3 maps. The process is so simple, that the hardest part is finding some decent plant graphics. Best of all, they don't tie up your CPU during the VIS process.
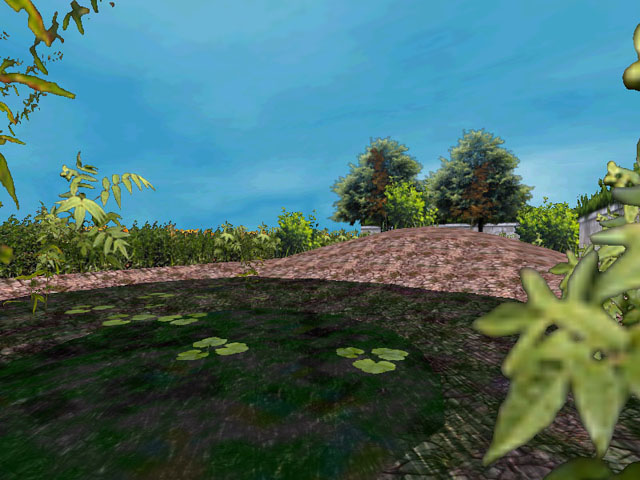
1. Create a hilly terrain using David Hyde's GenSurf. You can specify the dimensions in the GenSurf interface, but it's easier just to drag out a brush and then invoke the plugin. GenSurf will turn the brush into a nice terrain. For this lesson, choose Fractal for the waveform type. If you want specific depressions in which to put water pools, choose either Bitmap or one of the hill/valley waveforms.
2. Surround your ground surface with a sky. I chose to use a blue sky, courtesy of Papa Bongo, which is more appropriate for the normal world we live in.
3. Click on the shader common/cushion and surround the perimeter of your ground with a short brush, which will be our "hedge" or grassy wall. The cushion shader will prevent players from penetrating your fake hedge.
4. Apply your grass or hedge texture to the sides of these brushes that are facing the center of the map.
5. The shader for this hedge is a normal alpha-channel script, allowing transparency. I've included the shader script with the file below.
6. For very large graphics, such as trees, you'll have to experiment with whether or not you want to use the autosprite parameter. Some images look better when they're static, as long as they're positioned so the player can't get behind them.
7. AutoSprites really look good on small bushes, swamp reeds, and grasses. The shader script is fairly straightforward:
textures/plants/plant04
//A square-shaped fern
{
cull disable
surfaceparm alphashadow
surfaceparm trans
deformVertexes autoSprite
{
map textures/plants/plant04.tga
alphaFunc GE128
depthWrite
rgbGen vertex
}
{
map $lightmap
rgbGen identity
blendFunc filter
depthFunc equal
}
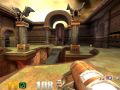
}Here's a side view screenshot of how I set my "Hollywood" stage in Q3Radiant:
As you can see, all you need to do is draw out a bunch of variable-sized brushes, using the NoDraw shader. The cushion shader is used on the perimeter brushes to prevent the player from penetrating the brushes.
8. As you apply the plant textures, use Shift-B to auto-fit the textures to the polygon faces. To prevent repetitive or "rubber-stamped" plants, flip some of the textures and re-size the brushes.
9. In the pool of water, I added some lily pads applied to some very thin brushes, placing them one unit above the water's surface. These types of textures cannot use the AutoSprite parameter, or else they will appear to stand up on the water's surface.
You can fill your rooms with house plants and indoor gardens using AutoSprites. Hanging vines can be dropped from rafters, or if you're feeling bold, spiderwebs.
Remember to mix up your plants--make some static, and make others as AutoSprites. Everything will blend better using this technique.
The plant graphics shown in the screenshot above are from the Virtual Trees & Foliage collection, from Marlin Studios.


Interesting~