Here is one of my many tutorials for a very useful effect that can make your map looks so much more detailed.
Light grate effect
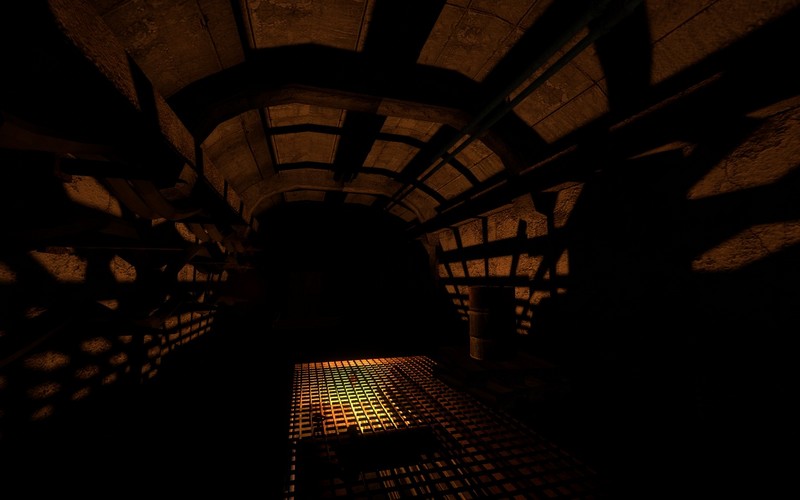
In this tutorial I will be showing you how to make something like this

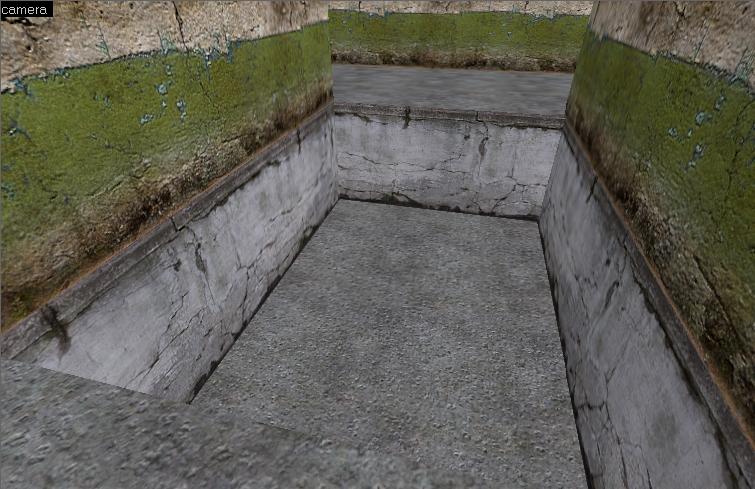
Step 1 create a room with a hole in the floor. make the hole about 32 units deep.

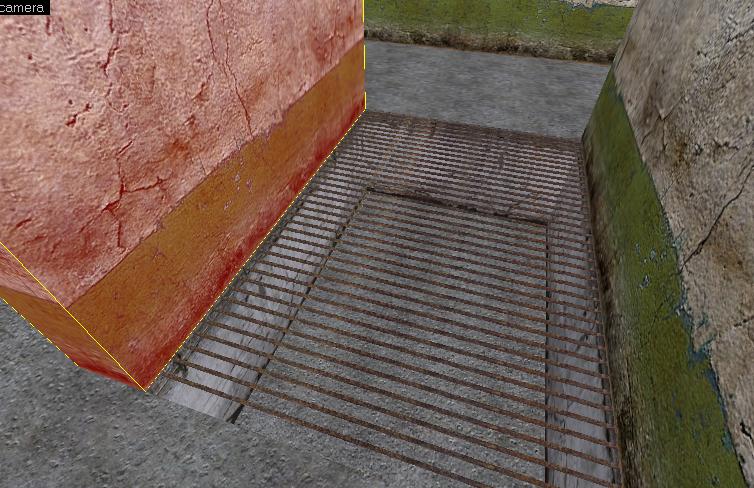
Step 2 Now make brush's 1 unit high and 1 unit wide and as long as you hole long copy and past until you get something like this.

And now just do it for the opposite direction Step 3 now under your grate add light and add another entity called shadow_control click on the textures around your light (not the grate) and change the lightmap scale so it will have a better look(change it below 16) compile your map and you will get something like this if you did it right.


Spiffy!
Cool
Impressive effect!
Is it better to use brushes or make a model?
i'm no expert on the source engine, but i would guess it would be better to make a model.
Brushes are better because, the shadows of Models are Transperent
this is not the right method for doing this, its called the block light texture
youre method would not be good for fps
this works better then block light texture because its a brush thats casting the shadow not an invisable block
I don't know why you deleted my other comment, it was rather helpful to a lot of people, showing there was more than one way to make nice shadows each having a fault at some point.
But the Block light texture would be good to use here, because valve rad compile would use it exactly the same as a regular brush when calculating lighting. Also it would be better than using a brush with a regular texture because then it would not effect the vis portion of compile by cutting up that hallway into tons of tiny vis portals. Which would increase compile times and have a negative effect on fps as well.
As long as you make sure that the brushes you've created become func_detail entities then there's little problem with VIS splitting it into thousands of groups.
The best combination would be brushes w/ blocklight that are func_detail entities. The only consideration to have using this technique is that in order to pull it off you're using a substantial number of brushes which increases the polycount on screen and also takes up chunks of the brush limits (you can have only so many brushes, after all). But those issues can be dodged themselves with custom visgroups, design considerations, and fore-planning on the level's design.
also, the orange box engine allows light through the alpha of textures.
Fpsbanana.com
lol thats my other tutorial look at the authors
huh, that is so. . .
Pretty neat man, I am one to love lighting :)
If you're working with the Orange Box an env_projected_texture is an even better solution, as long as players won't see the effect from afar (as it fades away past certain a distance).
It will shine dynamic, global, per-pixel lighting past objects and through transparent textures. The upshot of which is that not only do you get the effect shown in the tutorial, but *any* dynamic object passing by will cast its own shadow on the scene too.
Developer.valvesoftware.com
Hmm, I take back the part about it casting shadows of transparent textures. It only seems to work with some of them.
In fact I might have to take it back entirely since without some changes to code there's only one such shadow allowed at any time. Here's what it looks like, anyway: Img230.imageshack.us
(The pixellation can be fixed by using a larger shadow texture.)
simple but effective!
Fantastic!! I'm so much gonna try that out! 5/5 :D
EDIT: didnt mean to double post
Thanks for the tutorial! This would be sweet for any Horror game.
I dont get what you need to do with the walls on the side and how you do it ?! help please !
This doesn't work for hl2 ? or does it??
It does work for hl2 and all other source games
When selecting the texture and applying it to a wall, by pressing Shift-A there will be a texture options gui. On the top right of that there should be lightmap scale defaulted to 16, change it to what I said.
Does it work for older Source engine (Source Engine 6-10)?
Works for all source engines