Enceladus' Full Galactic Conquest Mapping Tutorial
By Enceladus
Hello and welcome to my Full Galactic Conquest Map Tutorial. This tutorial will take you through all the steps of making a GC map and will show you the hints and keys to mapping for Empire at War. For those of you that don' know me I am a mapper for Thrawn's Revenge and Ages of Star Wars: Jedi Civil War. I have been mapping EAW/FOC for over a year and I like to consider myself fairly proficient at mapping. I feel like it is the time to give you (the public) some insight on how I map and potentially some hints to improve your own mapping. Onto the tutorial...
The very first thing you must do is download the EAW or FOC map editor depending on what version you have of the game. Both map editors can be found at EAWFiles at the respective locations: Empireatwar.gamefront.com and Empireatwar.gamefront.com It's easy enough to install by yourself.
I may refer to some parts of the map editor you may not have heard of. If you need any help with buttons or functions see this tutorial:
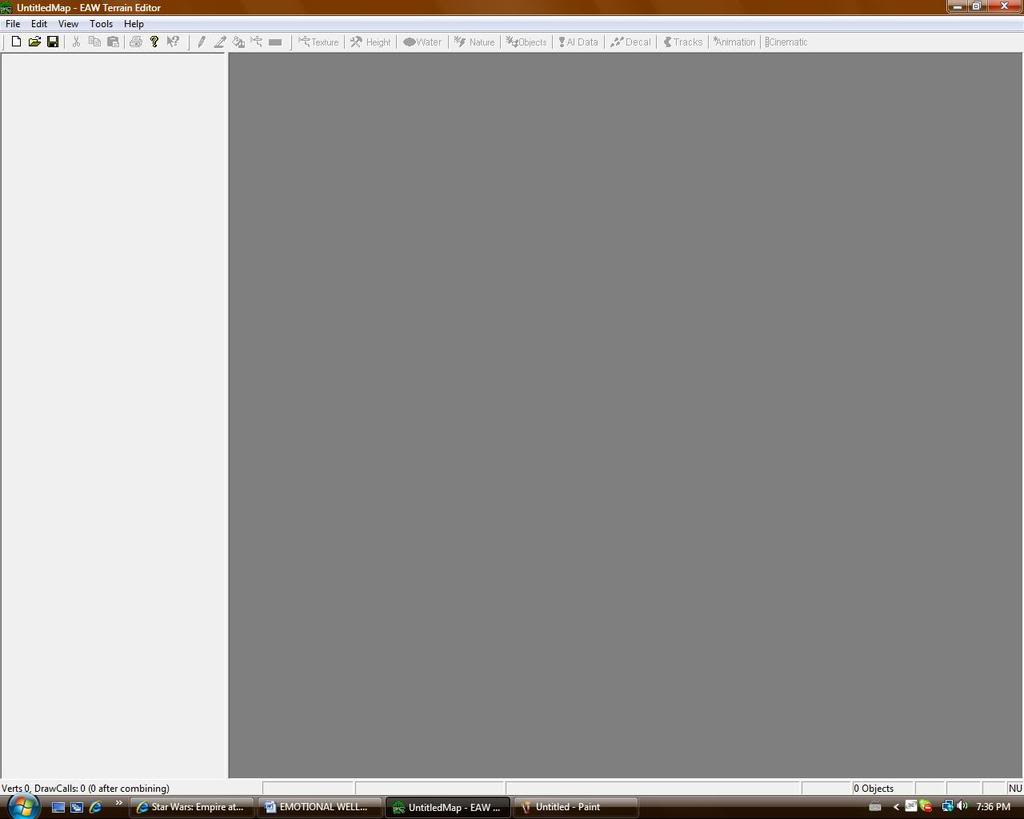
This first image displays the map editor User Interface when you first open the program. The entire tool bar is greyed out and the map display area is simply solid grey. You have two choices at this point. You can either open a previously saved map by going to the open button (opened folder button) or you can start a brand new map by selecting the new map button (button shaped like a blank page). In this case since I am teaching you how to make a brand new map we will select the new map button.
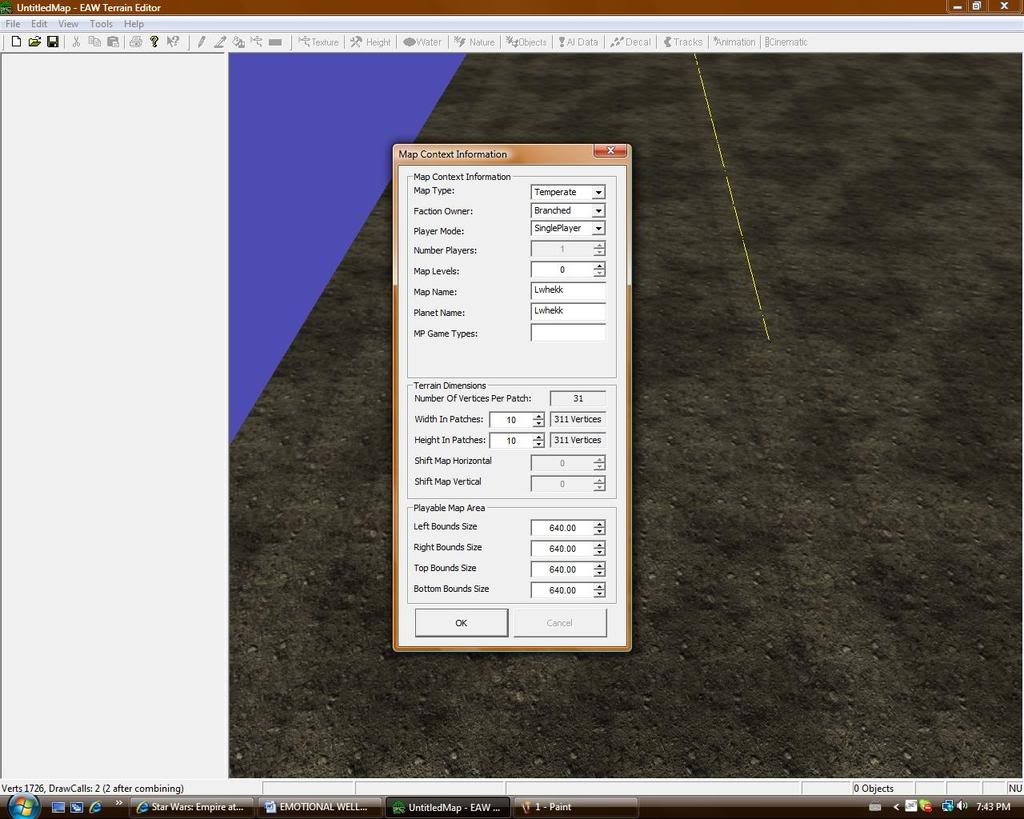
In the above image is what you will see once you press the new map button. The box that pops up is called the Map Properties box. This is the box where you will select the settings for your map. These settings can be edited at any time. The Map Type selection area is where you specify what type of environment your map will be. At the moment I am just going to leave this as Temperate. Since we are doing a Galactic Conquest map you must put the Faction Owner as Branched and the Player Mode as SinglePlayer. This just simply tells the game what type of map you are making. You do not need to edit the next two boxes for this particular map. Map Levels should always be left as it is found when you open the map unless you want some funky exceptions popping up when you are mapping. The Number Players box should only be used for multiplayer maps. The next two boxes are fairly self-explanatory. You enter the name of your planet and then the name of your map. As you can see I'm mapping Lwhekk. Just so you understand the theme of this map, Lwhekk is a planet primarily made up of thick jungles, oceans and volcanoes. All of these geographic elements will be incorporated into this map.
The MP Game Types field should just be left blank for this map. Below are the selection fields for the size of your map and the playable boundary area. In this case I am going to increase the size to 10 patches at 311 vertices per patch. This is my favourite map size. For new mappers remember not to get scared by this size of map. Yes this is substantially bigger than most Petroglyph maps but you can conquer it. Bigger map sizes allow you a lot more room to be creative and artistic. I am going to leave the playable boundaries at the same size that it was set at when I made the new map file. This size is 640.00 x 640.00. You can now select the OK button.
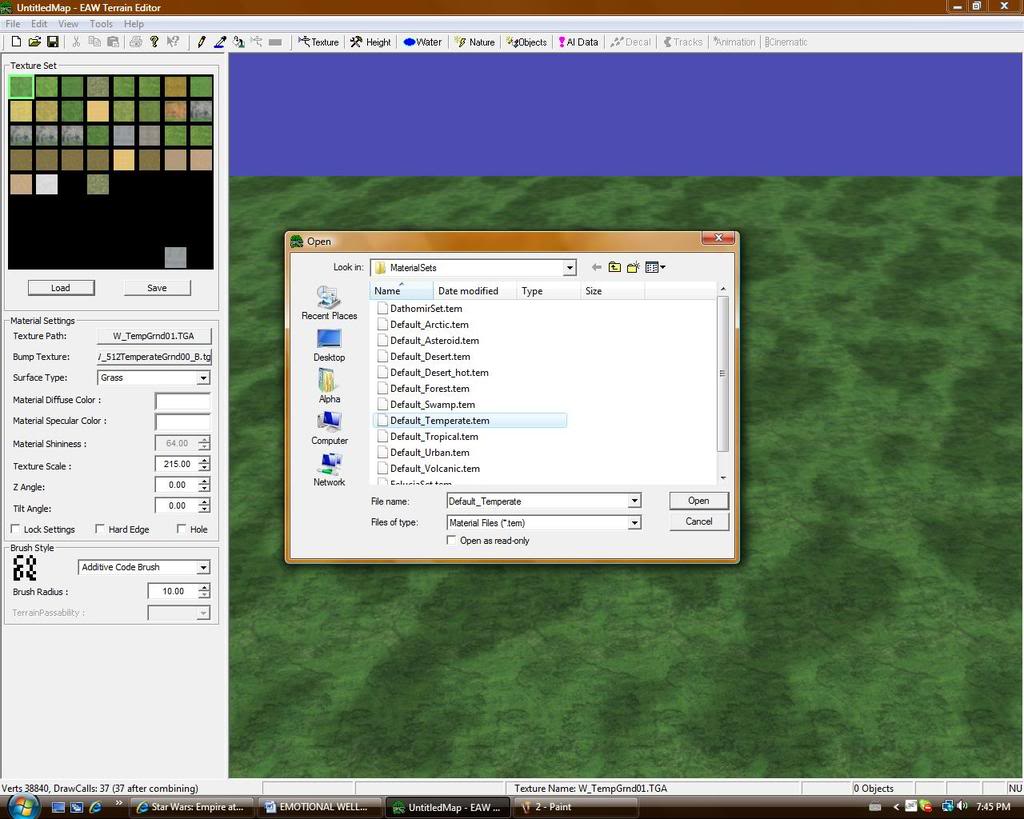
The first thing I am going to do on this map is load an appropriate texture set. All you have to do is click the texture button which is clearly marked on the top tool bar and then press the load button on the texture tool bar that will appear on your left. You now must navigate to (assuming your main drive is C: )
C:\Program Files\LucasArts\Star Wars Empire at War Forces of Corruption\Data\MaterialSets Once you are here you can select a texture set. In this case I am going to select the Temperate Material set. You will notice that the ground that is in front of you will now change from dirt to some nice green grass.
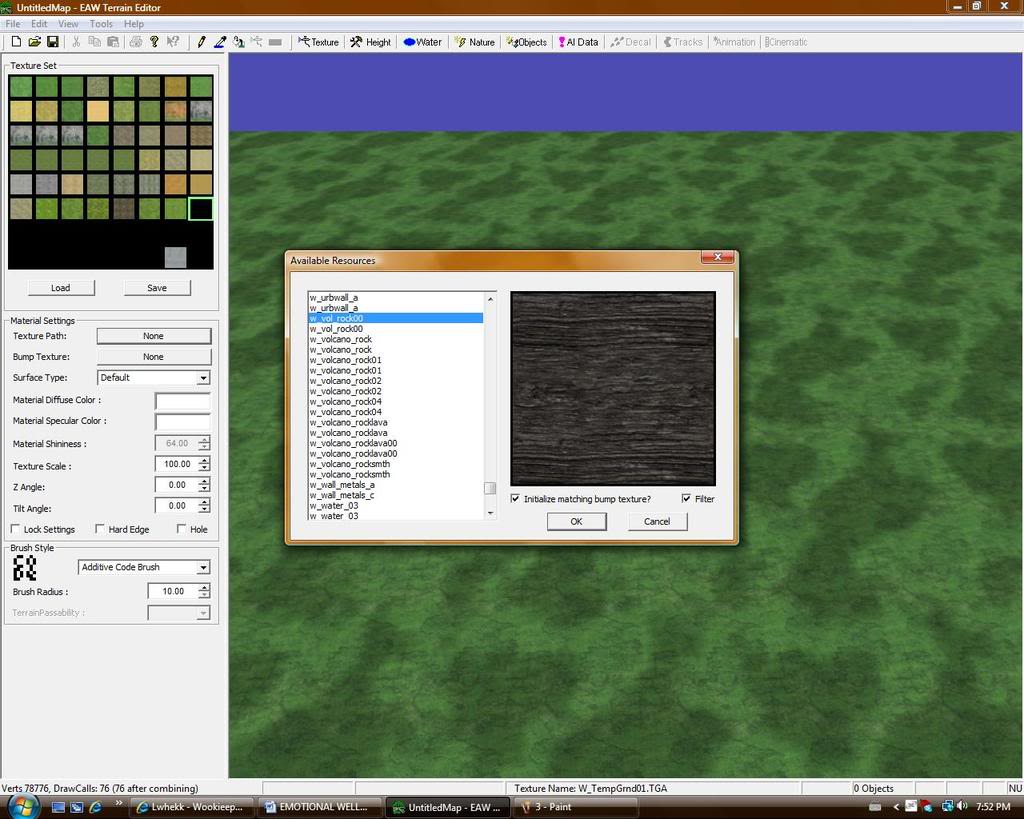
Now since this map is going to have volcanoes I am going to load some additional volcanic rock textures. Please take not of how you can see all the textures you currently have loaded at the top of the left hand texture menu in a big box. The textures are sorted into a grid and there are some black blank spaces. To load a single texture, double click on one of these blank spots. A new box should pop in your main map screen called Available Resources. I am going to scroll down and select a rock texture called w_vol_rock00. Make sure that the filter and initialize matching bump texture boxes are checked. Just press OK to load the new texture.
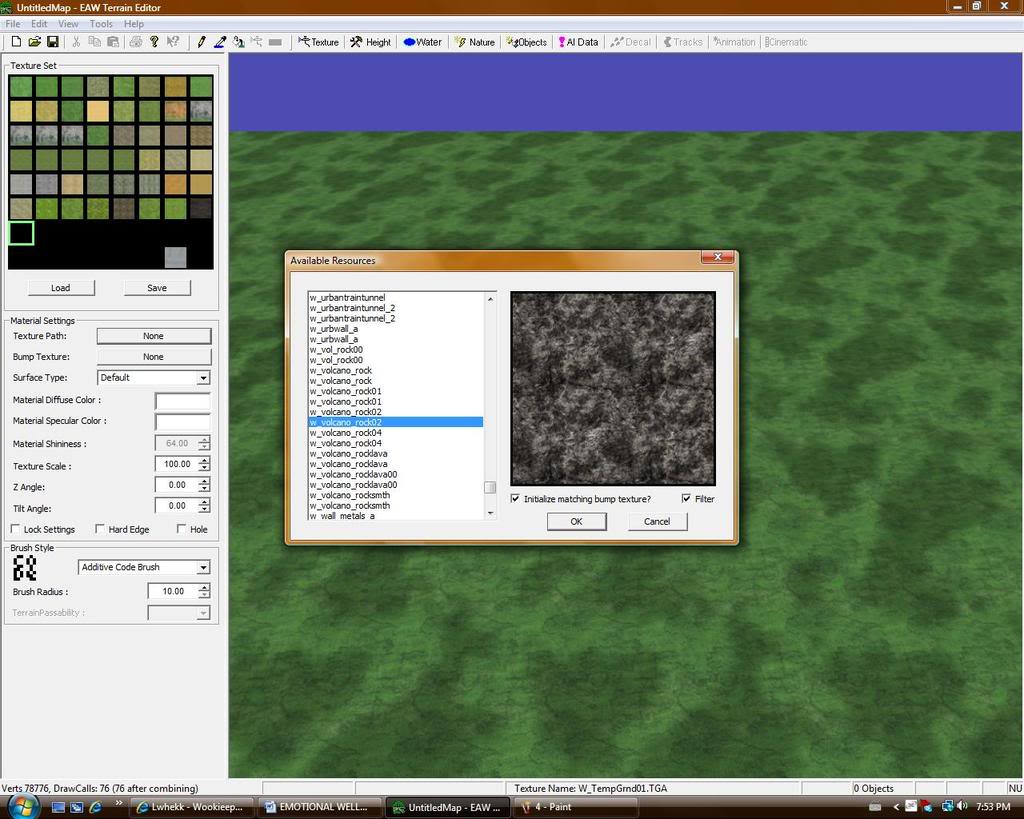
I am going to repeat the same process as above and load a rock texture called w_volcano_rock02
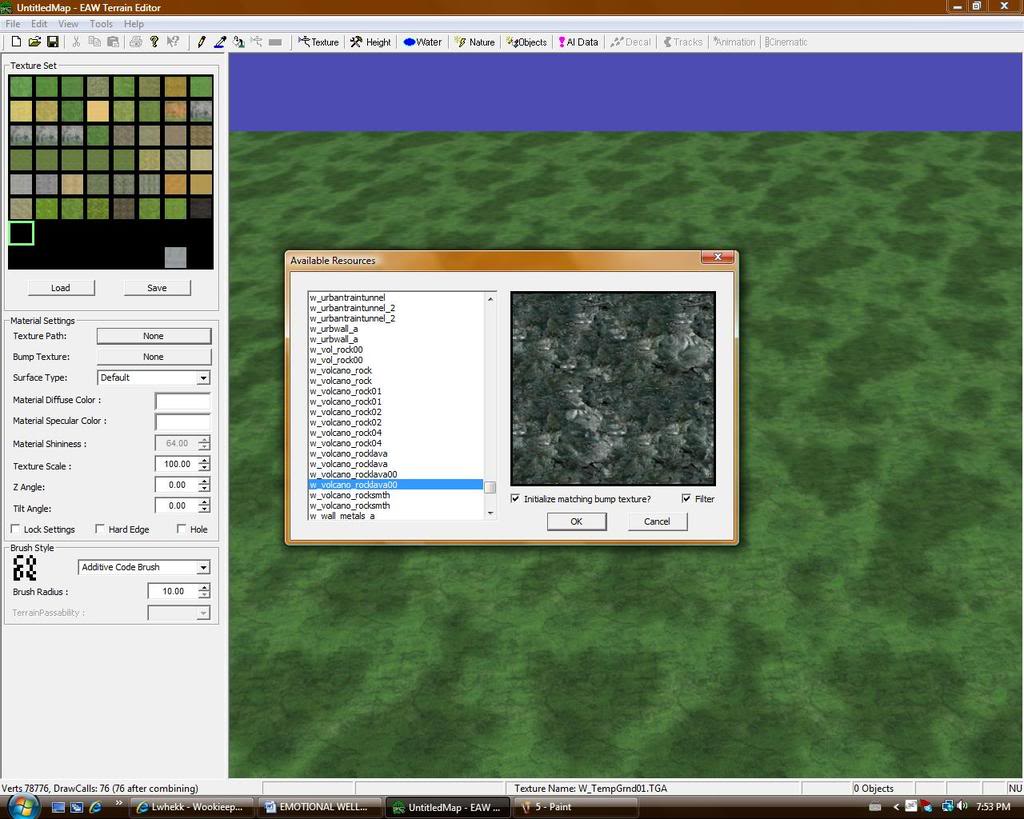
I am going to repeat the same process as above and load a rock texture called w_volcano_rocklava00
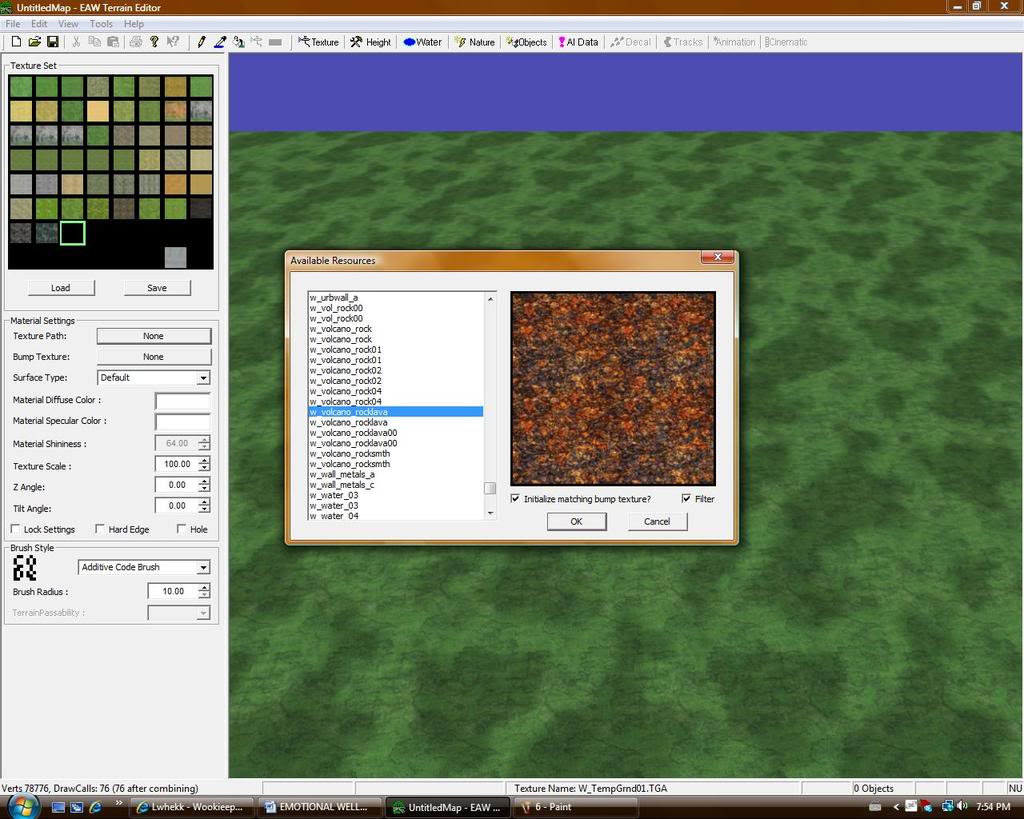
I am going to repeat the same process as above and load a lava texture called w_volcano_rocklava I now have all the textures I think I need. Let's move on to forming the terrain.
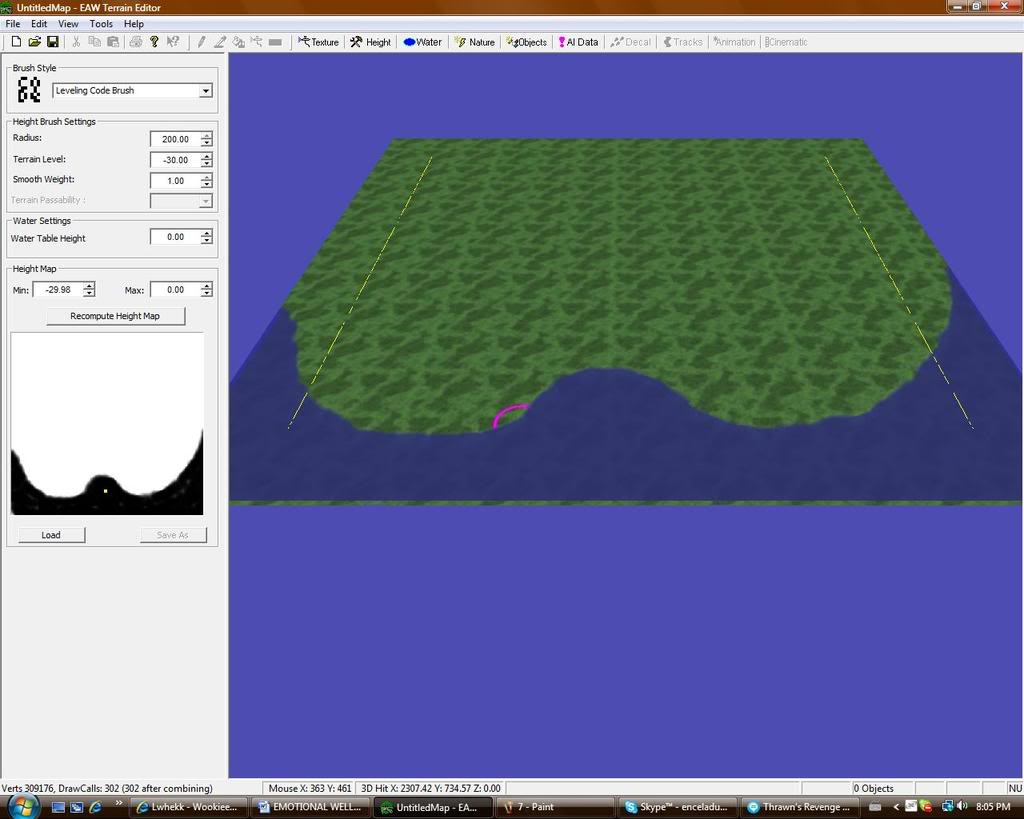
The first thing I am going to do is make my boy of water or "Ocean." You must go once again to the top tool bar and click the clearly marked height button. This will open up a height menu where your texture menu used to be. I am going to change my brush style to the Levelling Code Brush. This brush makes the highlighted terrain a certain height and is an easy way to make large bodies of water if your water is going to be murky so that you can't see the bottom of the body of water. I'm going to use the largest brush size of 200, a terrain level of -30 and a smooth weight of 1.00. Now click and hold the brush where you want your water to be. Gently use the brush along where your shoreline will be so that you do not create and odd-looking edges. The shoreline will look a bit jagged at this moment. You can fix this by using the additive brush with a small size to clean up the edges.
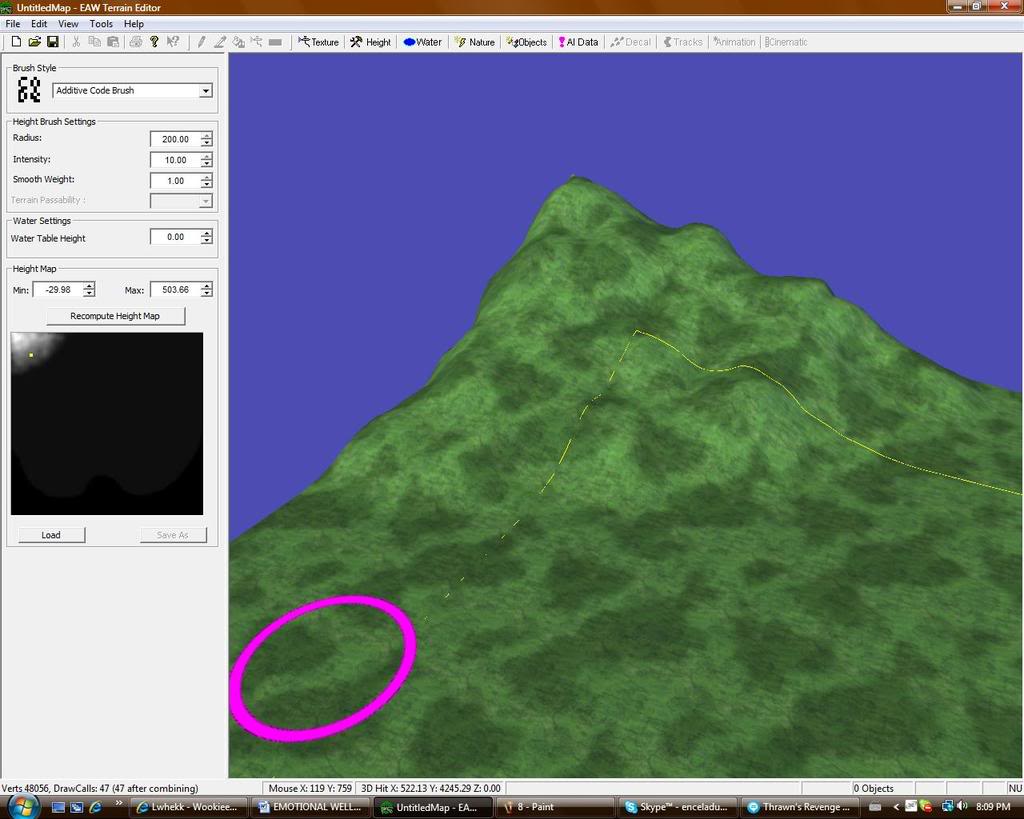
The next thing I am going to do is start working on some volcanoes for this map. I am going to have a volcano at each top corner of the map. To make these volcanoes choose a wide diameter Additive Brush with an intensity of 10. Slowly make a hill side surface by steadily increasing the duration of using the brush. This will create your hill side. Don't be afraid to make it bumpy. I am going to repeat this process in the other top corner of the map but I will change the shape and gradient of the hill.
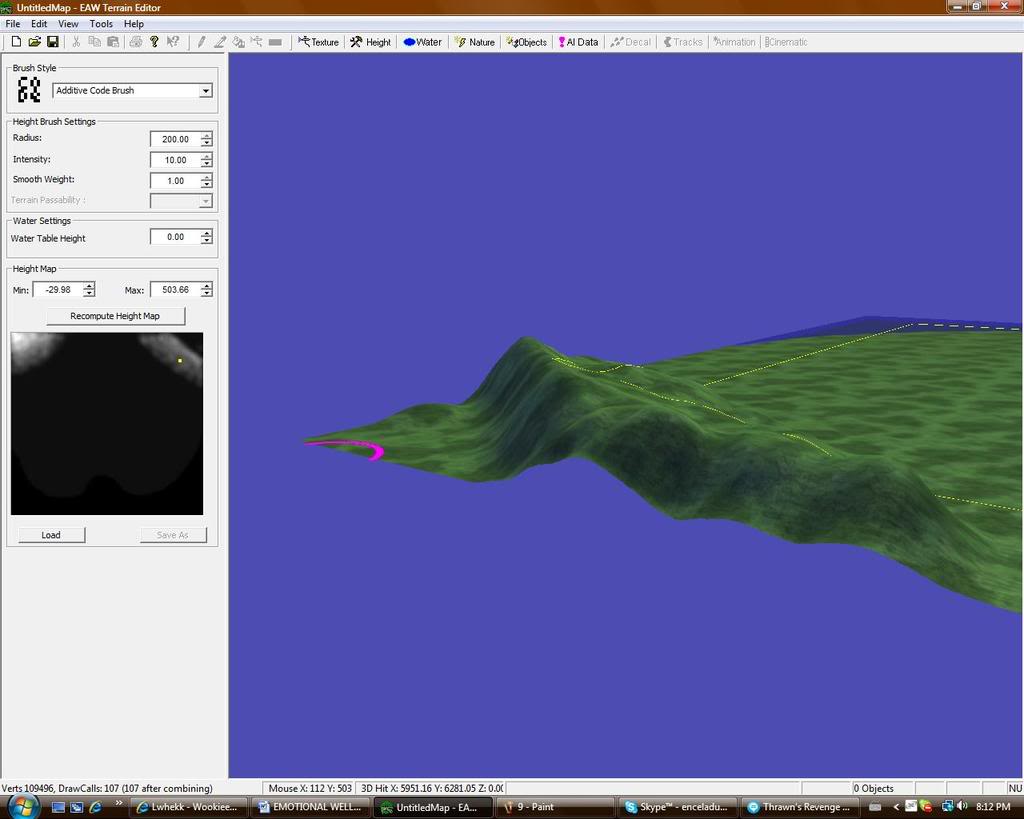
This image shows how I'm steadily increasing the incline of the hill with the brush by using it for longer durations.
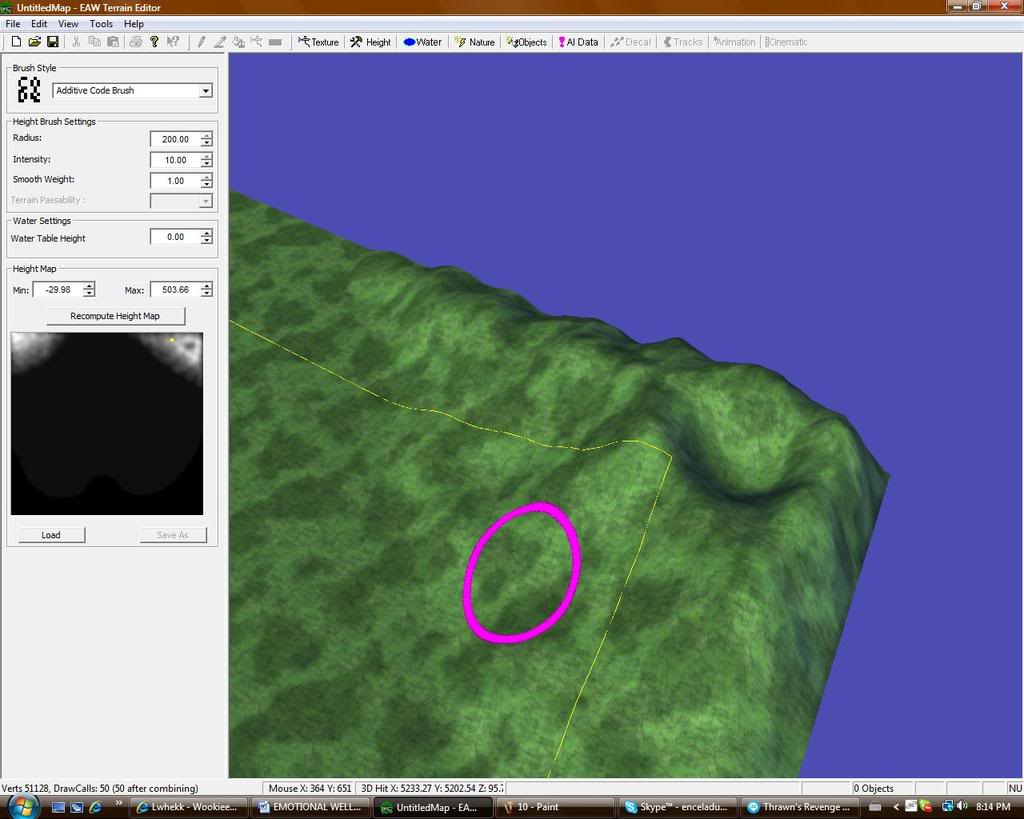
In this image I am taking the same additive brush but holding Ctrl while using it so that the terrain moves down. I will create the crater of the volcano by doing this.
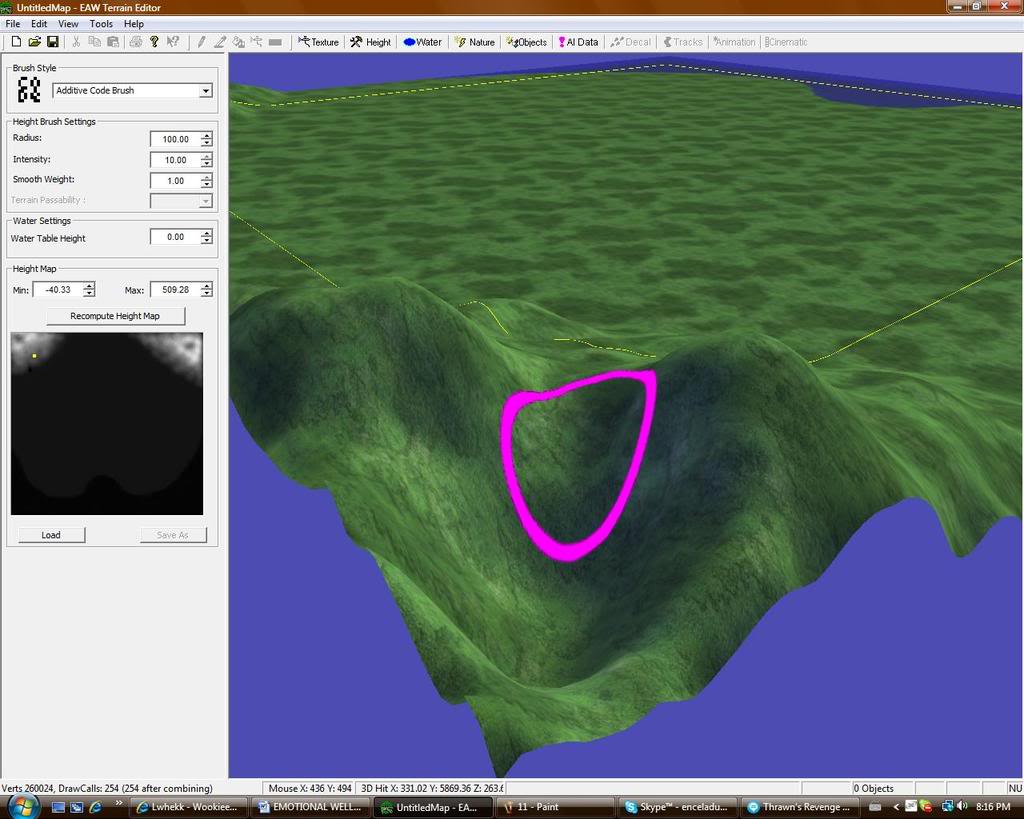
I'll make a crater in the other volcano by doing the same thing.
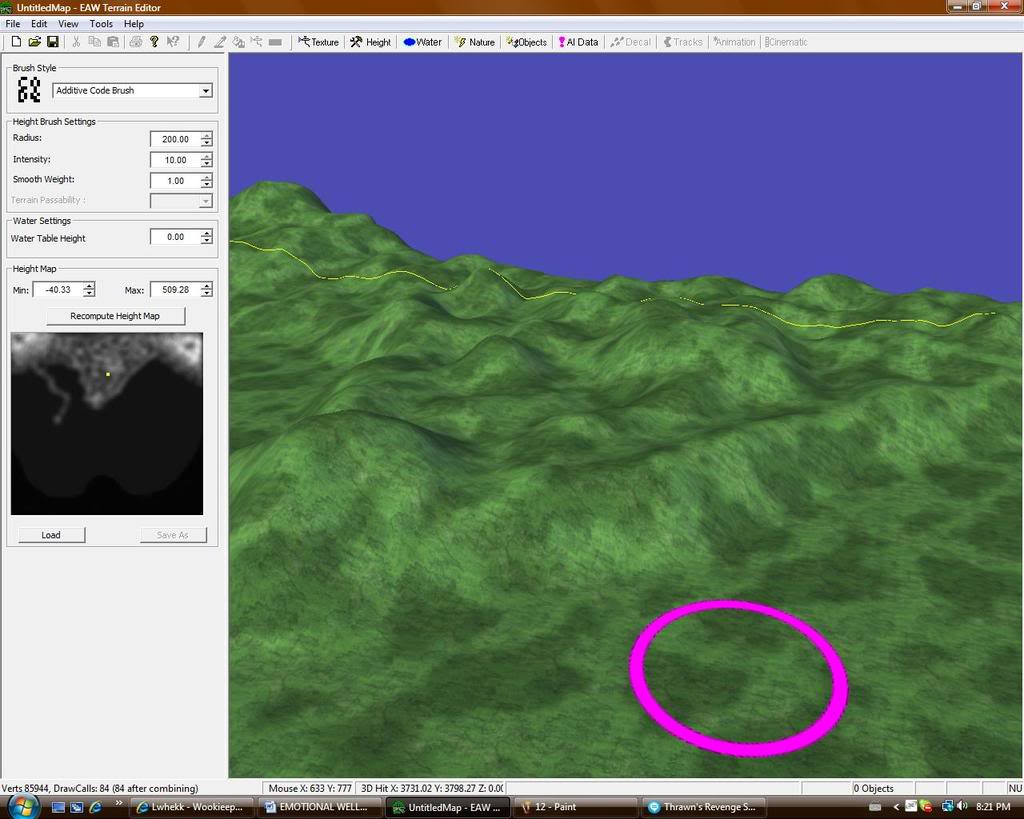
I'm now going to start the layout of the map. This is a very important part of your map making process. At this point you must choose where all the areas of your map will be like the defending base and the landing zone. I'm going to use the same additive brush to make a series of hills connecting the two mountains and then I will bring these hills out into the map as you can see from the height map in the height menu. For those of you that don't know what the height map is this is the greyscale box that displays the terrain of your map based on elevation. White parts are the highest and black parts are the lowest. Remember to be random and creative when creating these hills.
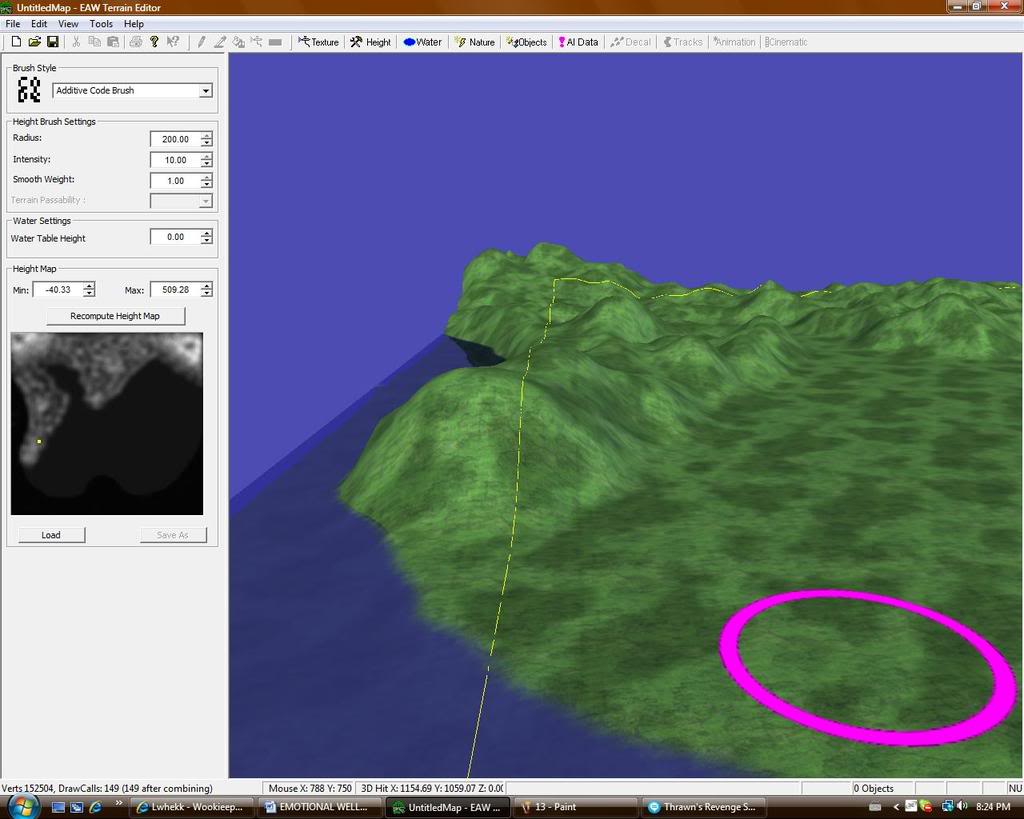
I'm now going to continue plotting the layout of my map by making hills and I will, add a bit more water in behind the hills to add an asymmetrical natural feel.
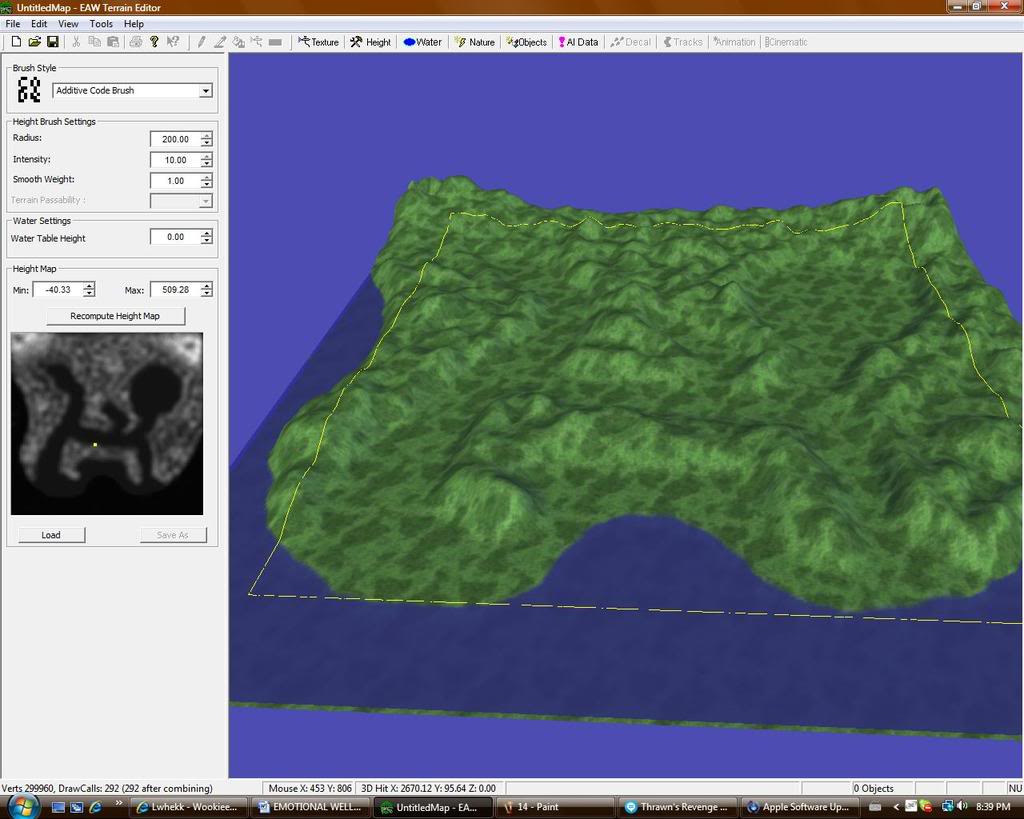
Here is the final layout of the map I have decided upon. The bottom left hand corner is where the attackers enter and the top right hand corner shall be the defender's base position. I have also added space for a Shield Generator and a couple other things I will describe later on.
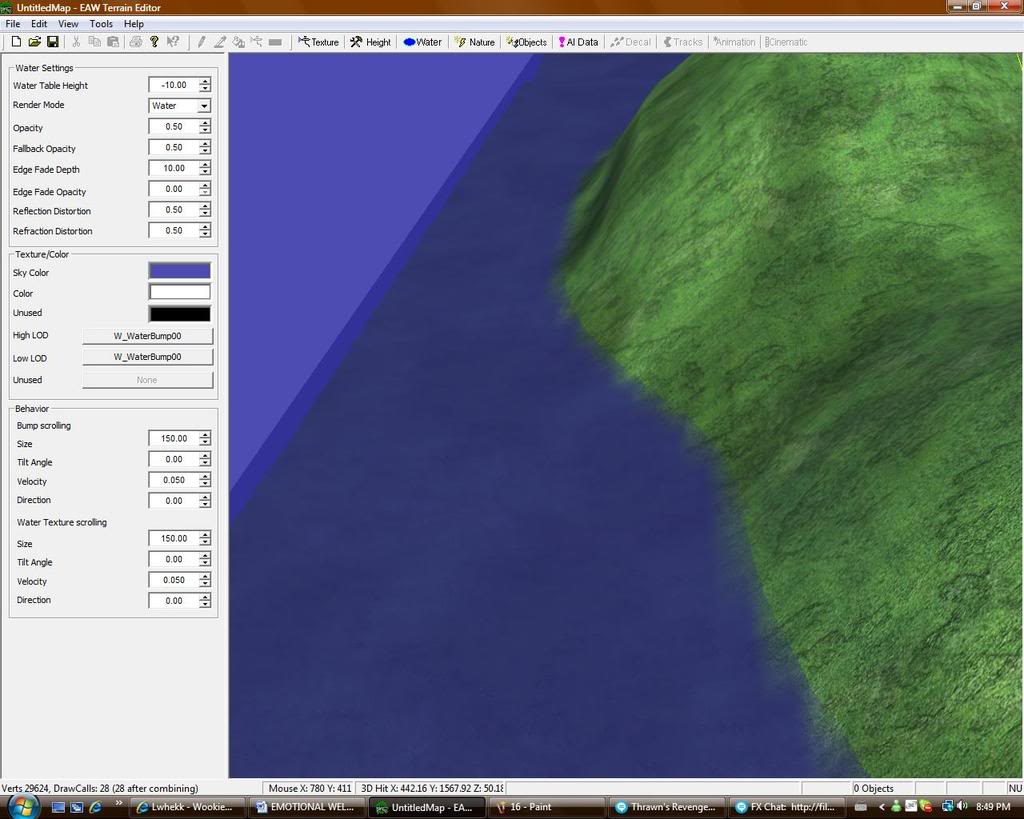
Remember how some of the water edges were jagged before hand? Well when you make hills on the edge of water it naturally smoothes the coastline. This is a good thing to keep in mind while mapping. Why waste time fixing your coastline when you know you might have hills beside it?
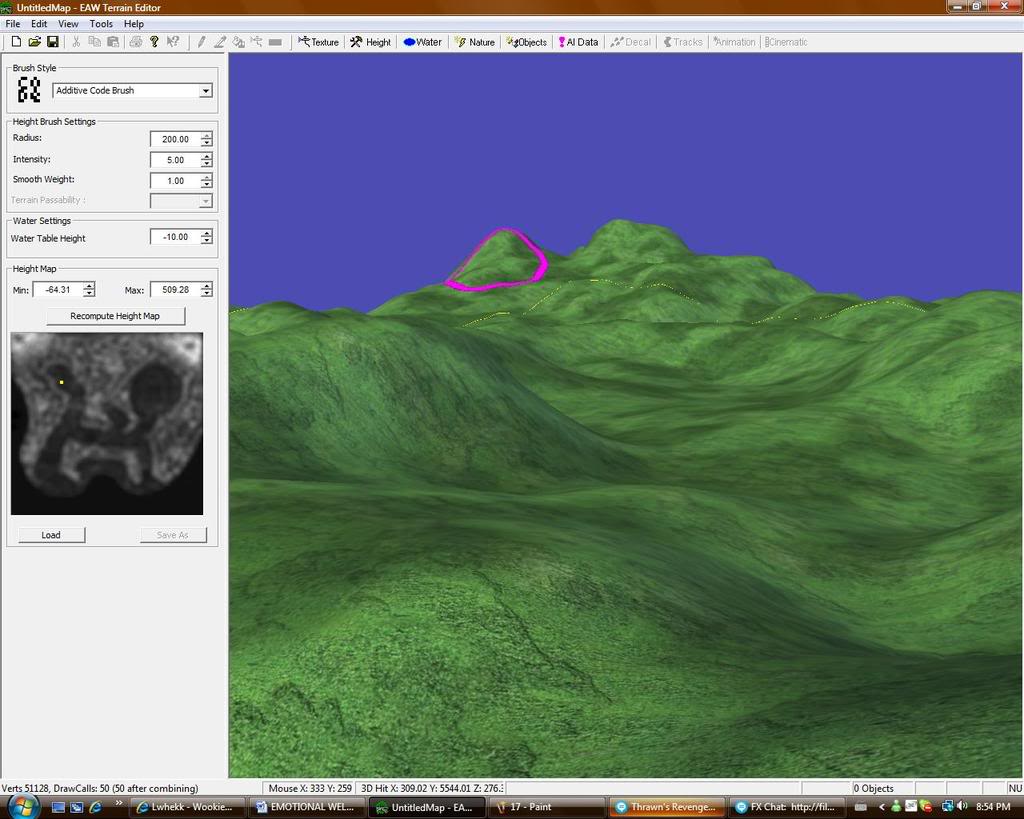
The next thing I'm going to do in this map is make the terrain where your units are moving not flat. This is key to making your map unique and more fun to play as this allows the ground to offer height advantages. I am going to use an Additive brush with a different size and a smaller intensity to create gradual hills and dips in the terrain that will give your map a natural feel. In this map I am not going to create any distinct levels of terrain. Instead I will just use a more randomized brush technique. Just remember when you're making your map: FLAT MAPS ARE BORING. That should motivate you to make your maps more dynamic. As I go along in this tutorial you should see how the terrain gradually varies.
This is what I mean by levels in a map. As you can see there is a distinct separation in terrain height on the playable area of the map.
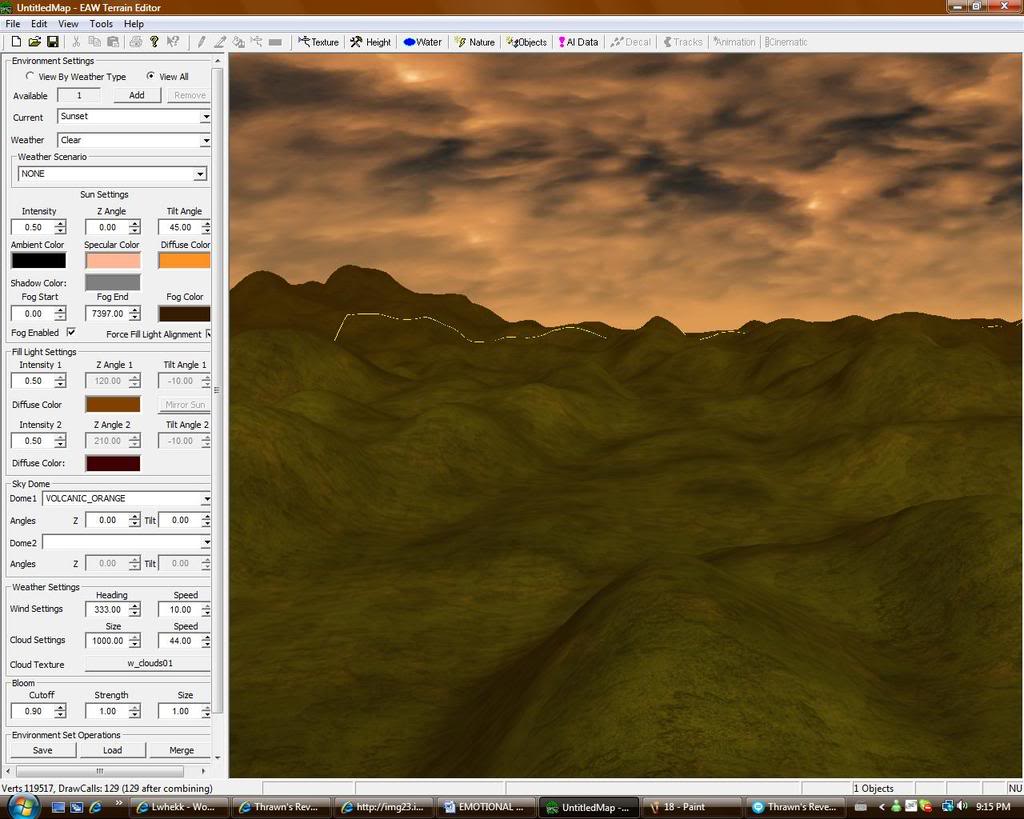
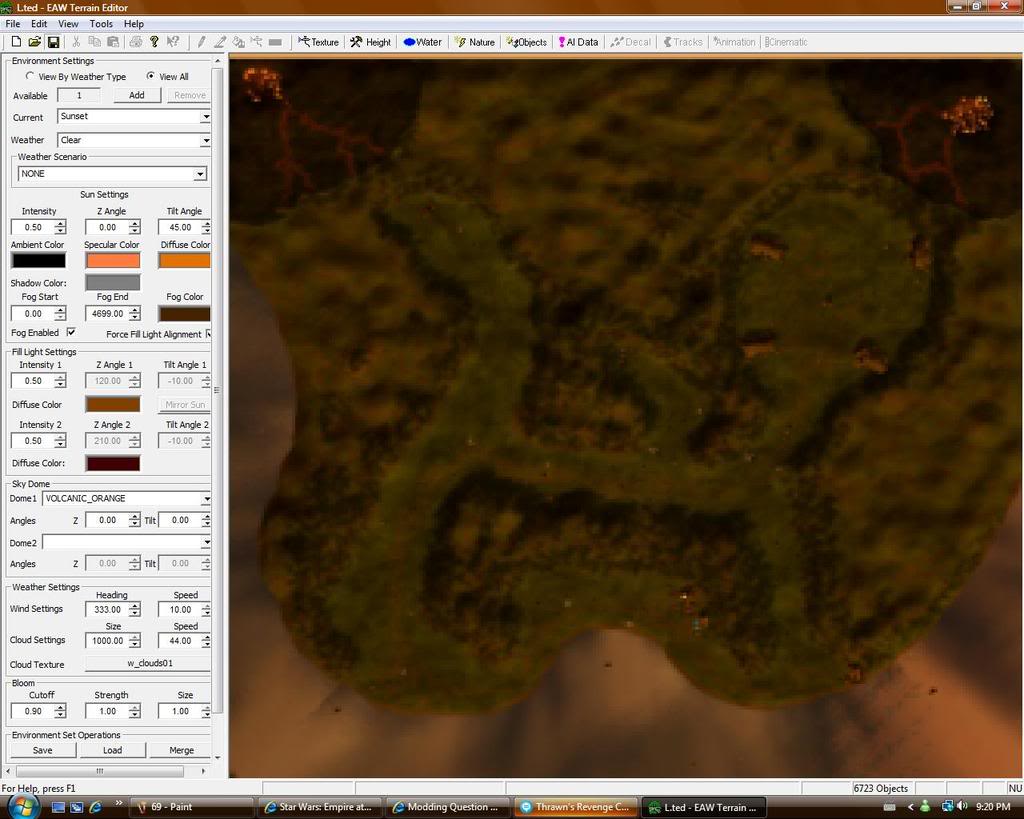
The next thing I do is different than most mappers. I do my nature settings BEFORE I texture. This is because I like to get a feel of the map and what textures I will need to use. It allows me to also easily blend the texture colours with the environment. This is merely personal preference but I recommend it. On this map I am going to aim for a sunset feel. Sadly there aren't many/any skydomes that give a sunset look but still give the proper colouration to the water. I will have to settle with using a Volcanic_Orange skydome. I am going to edit my sun angles to place the sun in the perfect spot (not shown in picture). I am going to change my specular colour to a light orange/pink and my diffuse colour to orange. I am also going to enable fog and change it to a dark brown/orange colour. I will also adjust the Fog Start/End settings. For these settings just remember that a lower number will create a more intense fog. I am going to make my fill light colours two shades of brown but I am not going to edit any other settings under Fill light because there is no need at the moment. I am going to change the Cloud Texture to w_clouds01 because I like this cloud texture. I will also the Bloom strength to 1.00.
It's a bummer we couldn't have a nice sunset skydome like this.
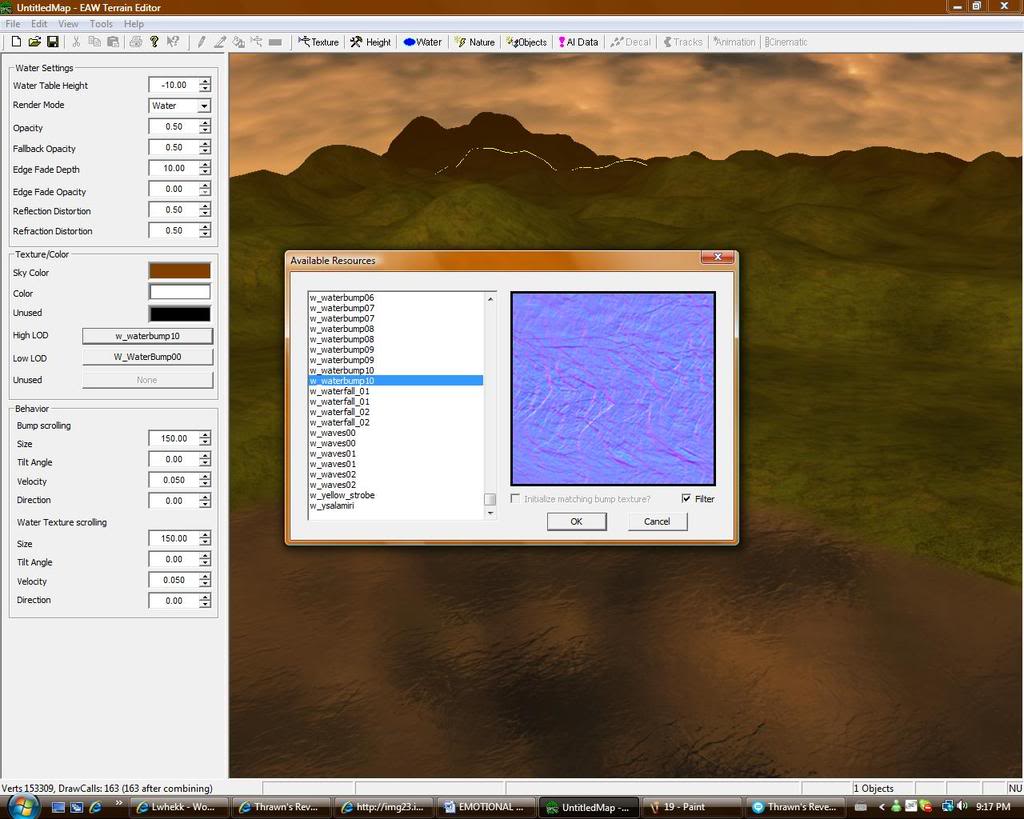
I am now going to edit the water slightly. I'll change the Sky Color to a brown/orange and I'll change the direction of the water. I am also will change the bump (shapes on water) of the water. Just click on the box beside High LOD and an Available Resources box will pop up. I'm going to load w_waterbump10
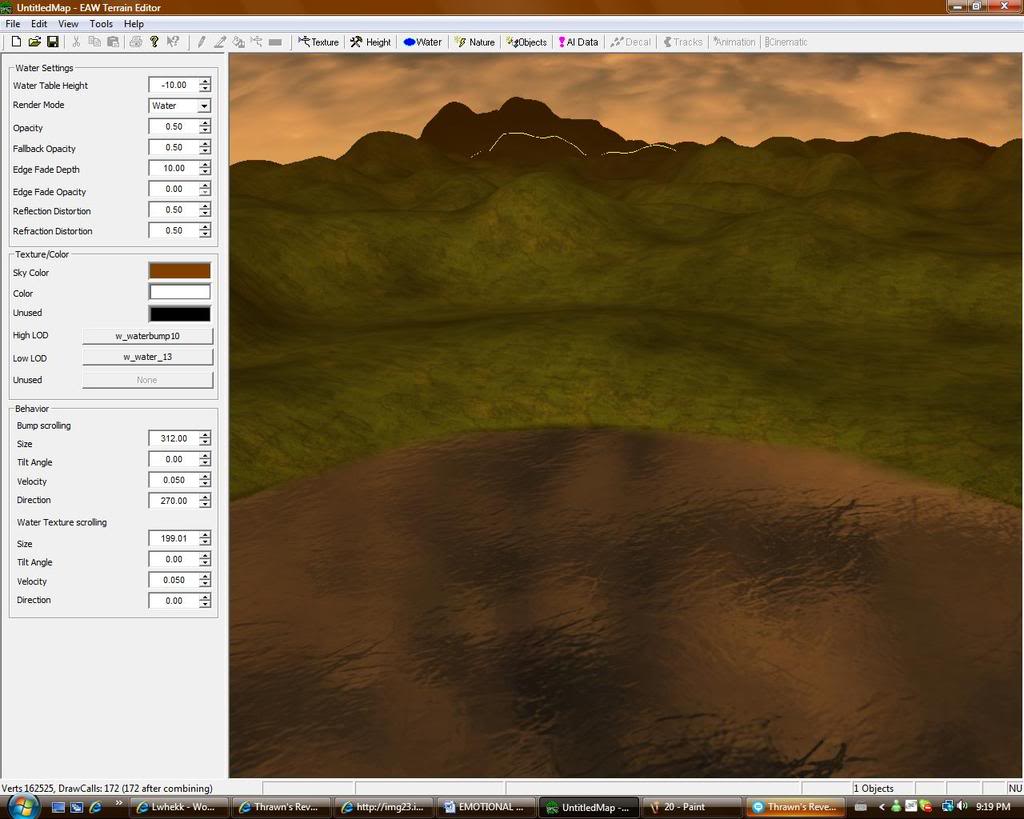
Here is a clear view of the new water.
You can do some pretty amazing things by loading different bump textures and normal textures into the water LOD. Here I created some polluted water by loading some lava textures.
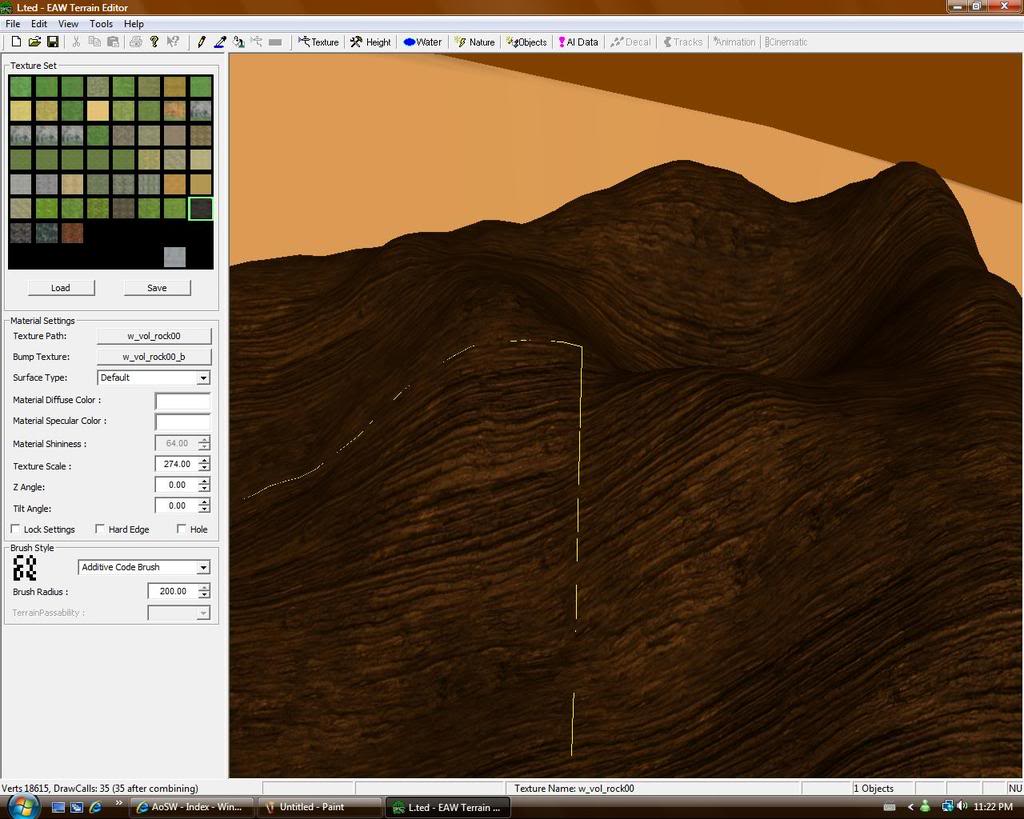
Time to begin texturing. First I am going to create a base texture on my volcano using a large texture brush and the w_vol_rock00 texture.
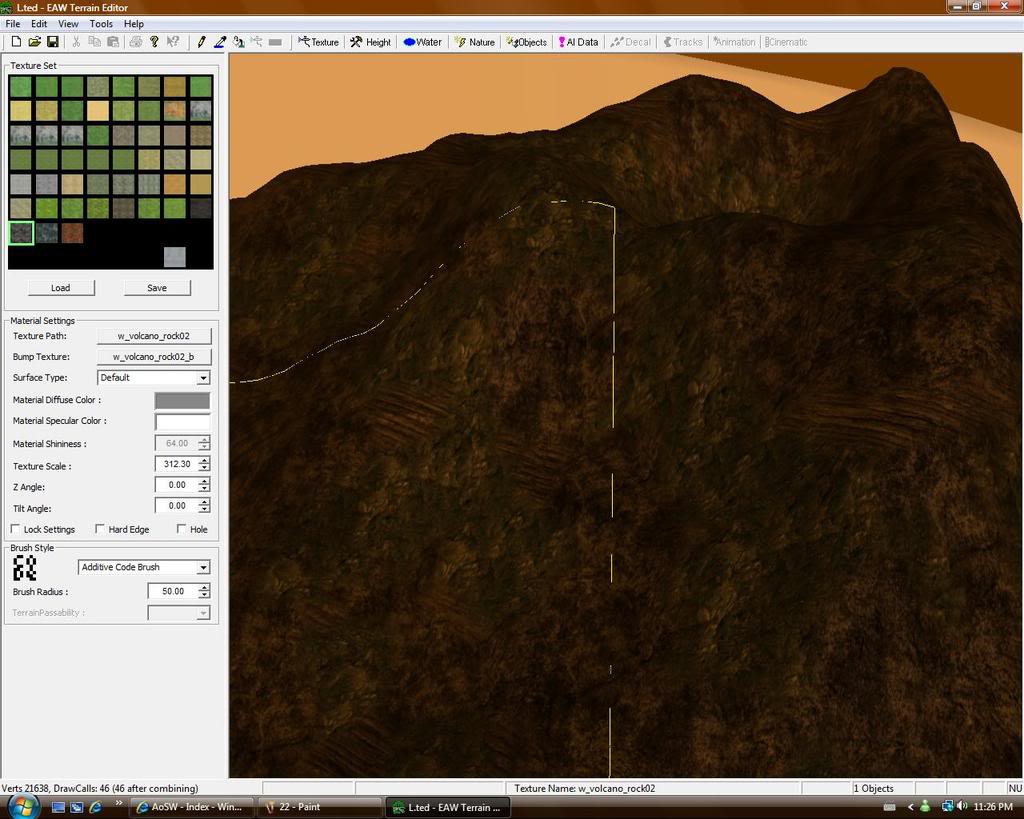
Now I am going to mix in some of the w_volcano_rock02 texture with a size 50 brush. Just remember that textures do not need to be perfectly done when they are this far out of the map since the player will never see them.
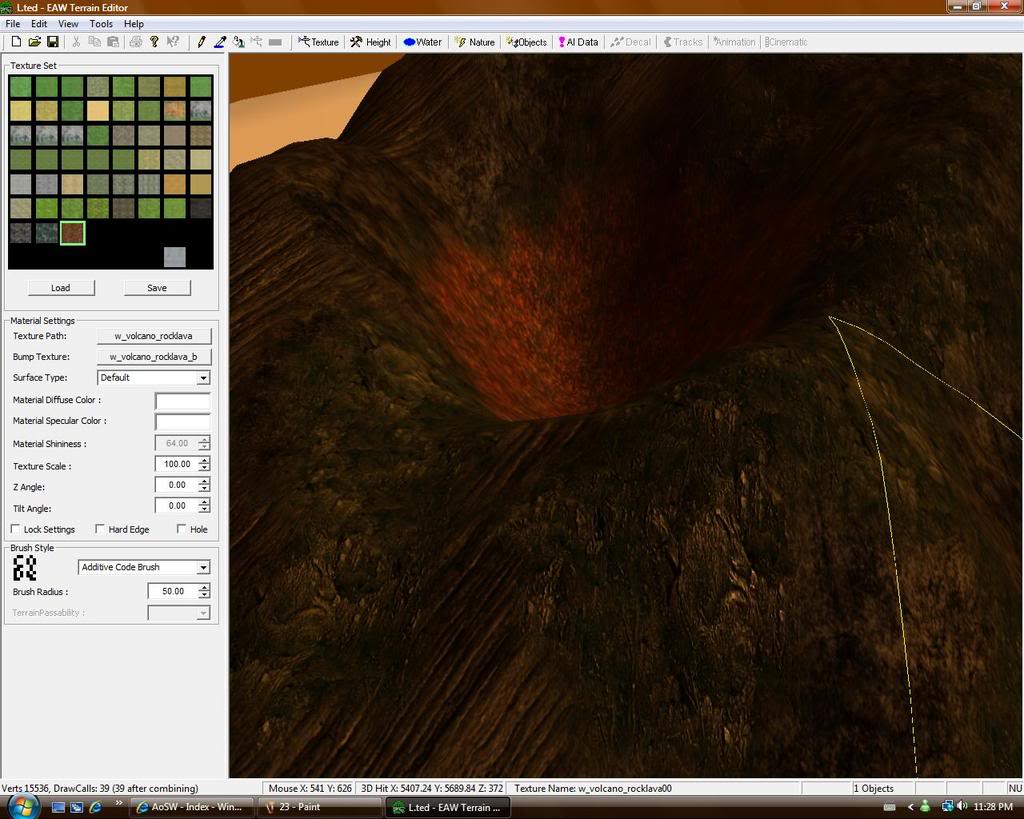
I'll now blend in my final lava rock texture and paint the inside of the crater with w_volcano_rocklava to look like lava.
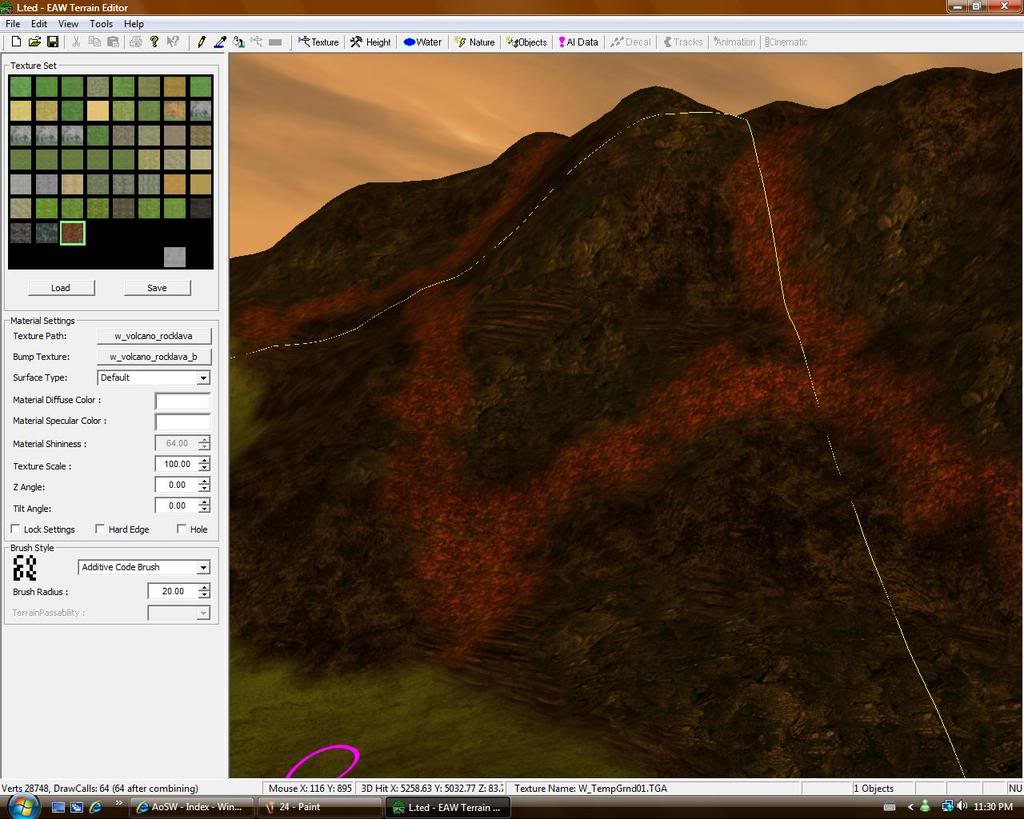
I'll now make lava paths with the same lava texture as used inside the volcano. Just follow the natural contours of the terrain you made and think logically where the lava would go. I can't wait for the supposed improved Map Editor being made by Mike.nl. If the disabled options are re-enabled in the map editor we could potentially have moving lava streams. However we will have to make do with the resources we have.
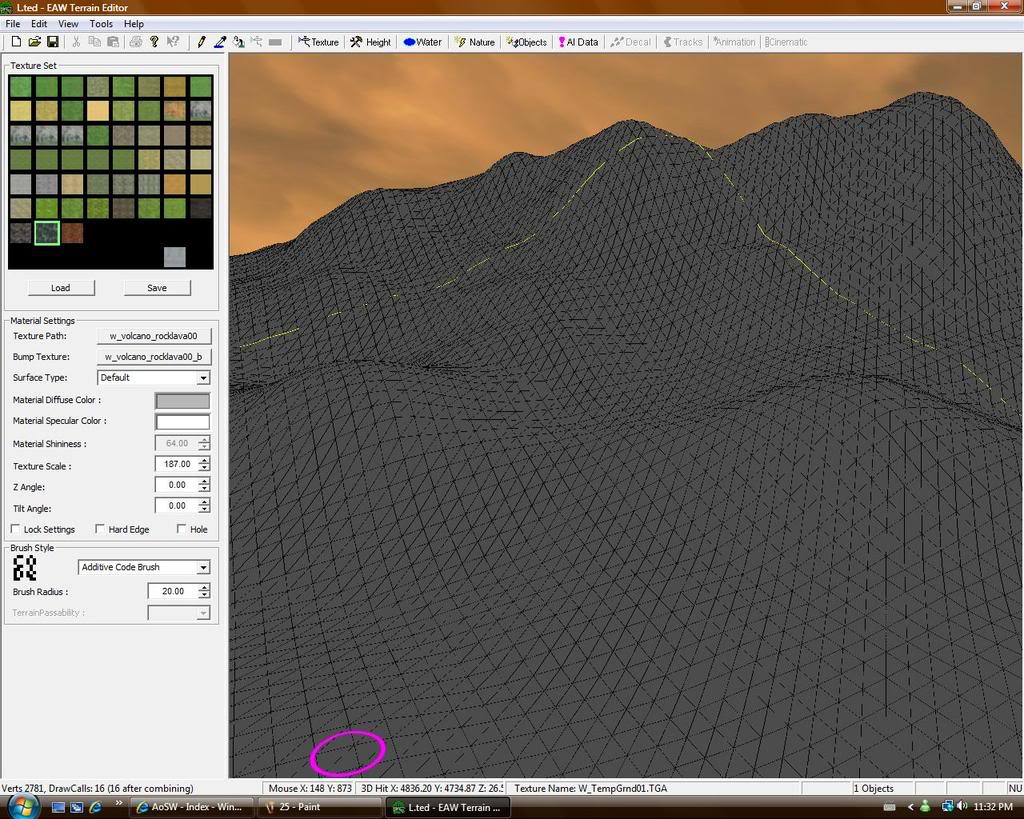
An easy way to see the contours of the terrain to aid you in your texturing is to turn on the wireframe of the map. To do this press the View button in the top bar and go down to Wireframe or press Ctrl-W.
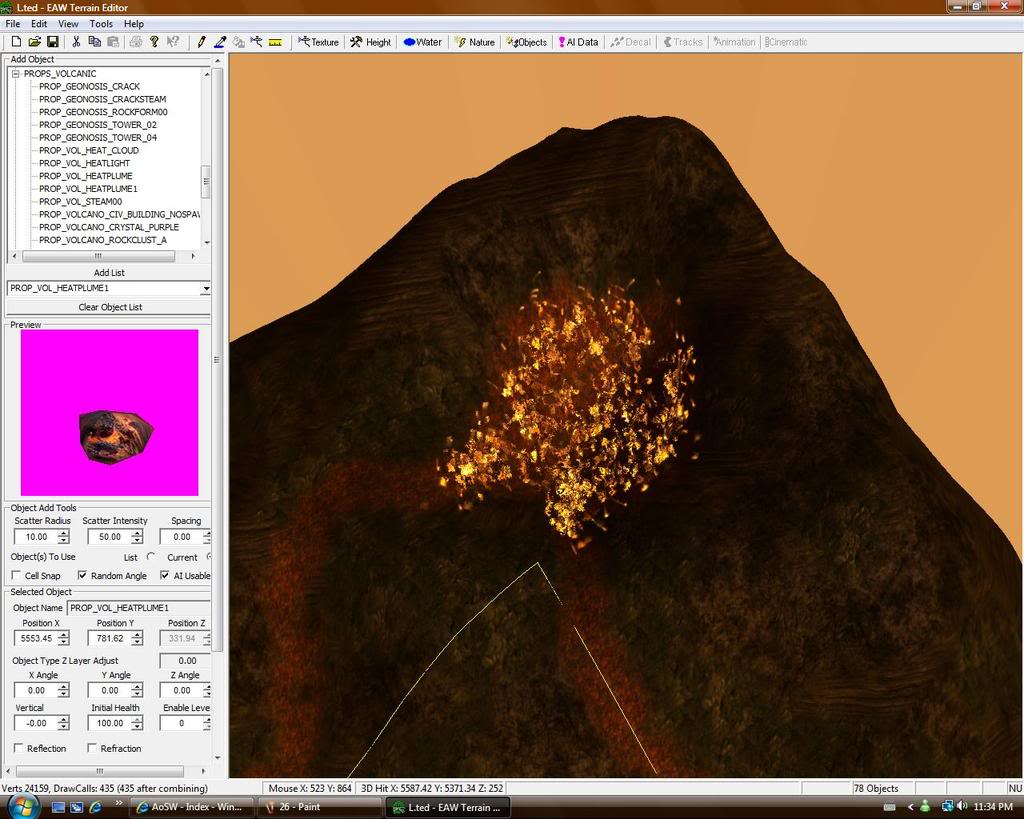
I am now going to add some PROP_VOL_HEATPLUME1 to the inside of the volcano to make it more volcano like. You can access props by pressing the Objects button in the tool bar and navigating through the Add Objects window. Just press shift and click on the map to place a prop. For more on making volcanoes see this tutorial:
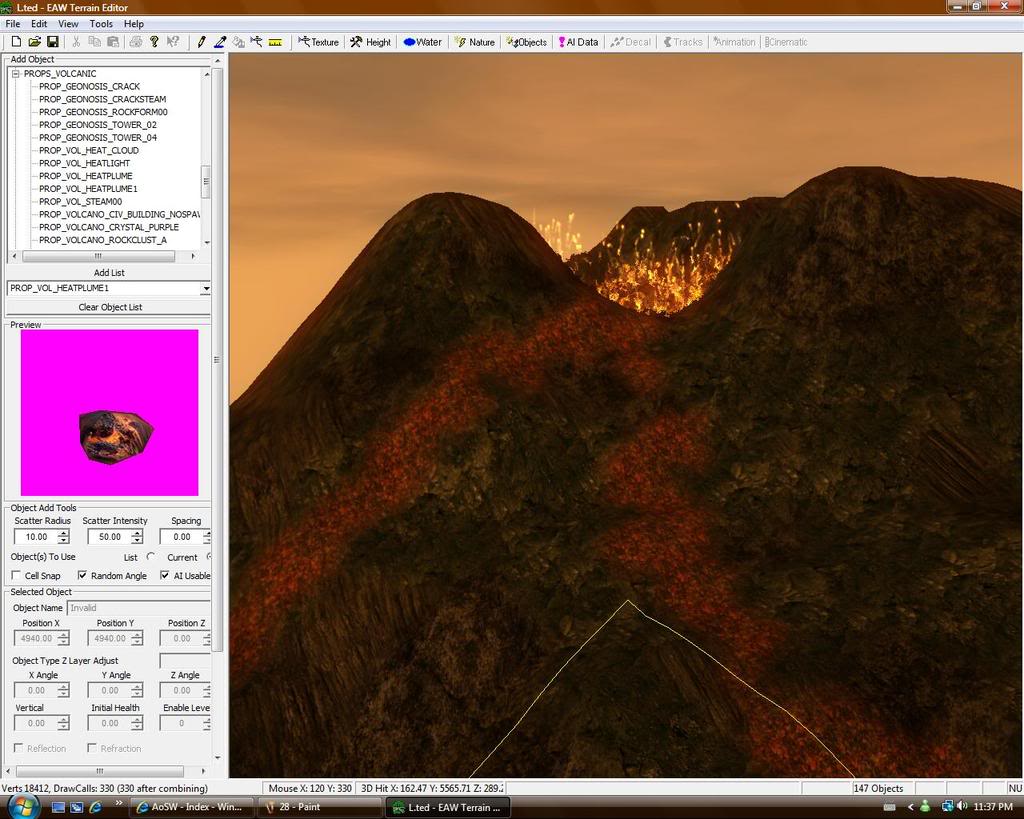
Here's another view of our volcano.
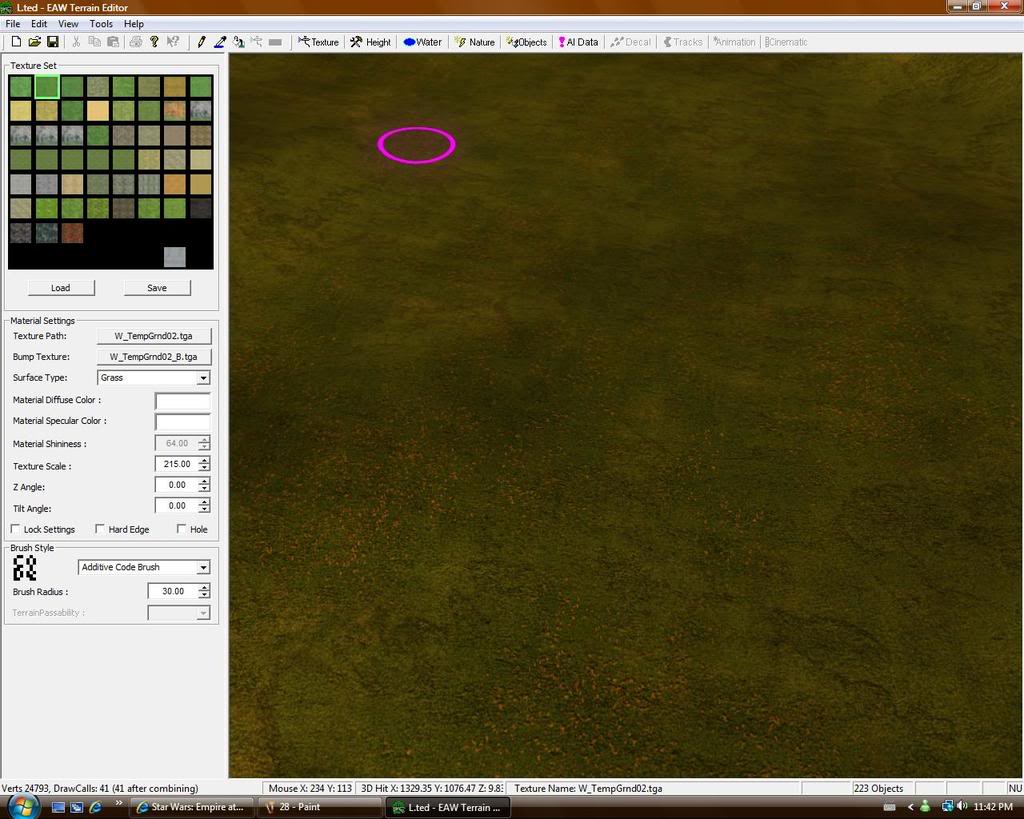
Now back to texturing. First I am going to create what I call my grass base textures. These are a mix of grass textures that will make up the majority of the map. This particular texture is W_TempGrnd02.tga. I recommend using varying sizes between 10-30 on your brush to blend in grass textures. Remember that spots with the brush don't look good. You have to vary your strokes to make the map look natural.
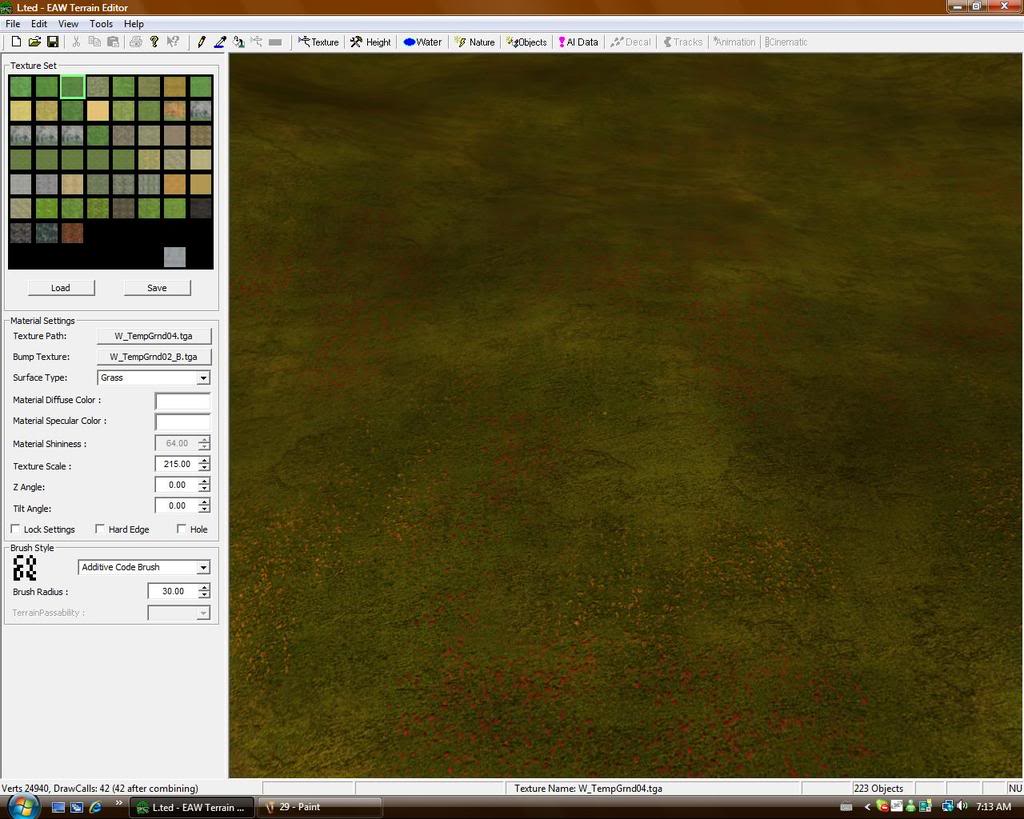
I am now going to add in some W_TempGrnd04.tga using the same technique.
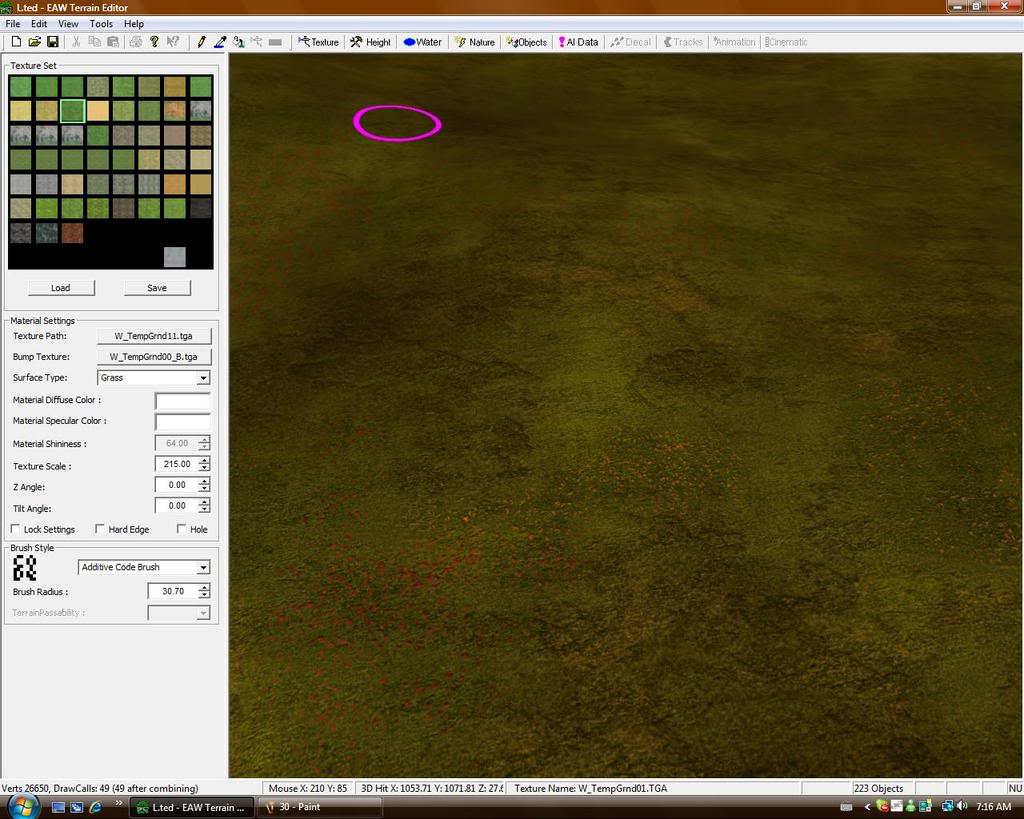
I am now going to add in some W_TempGrnd11.tga using the same technique.
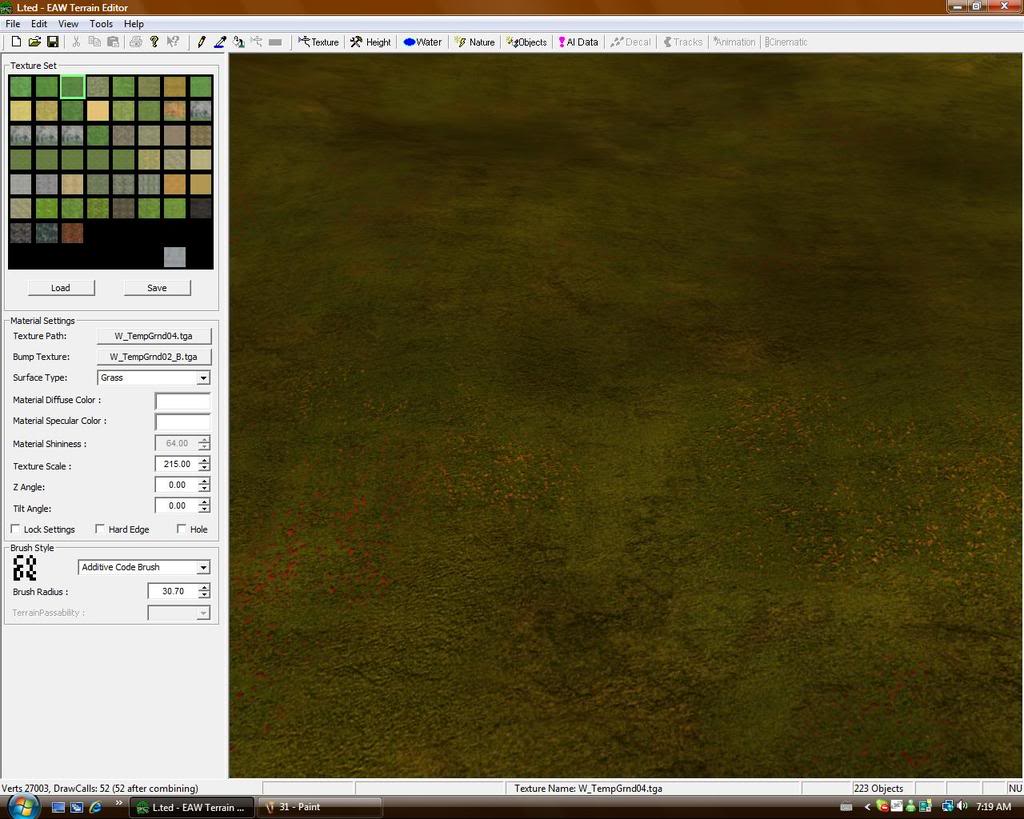
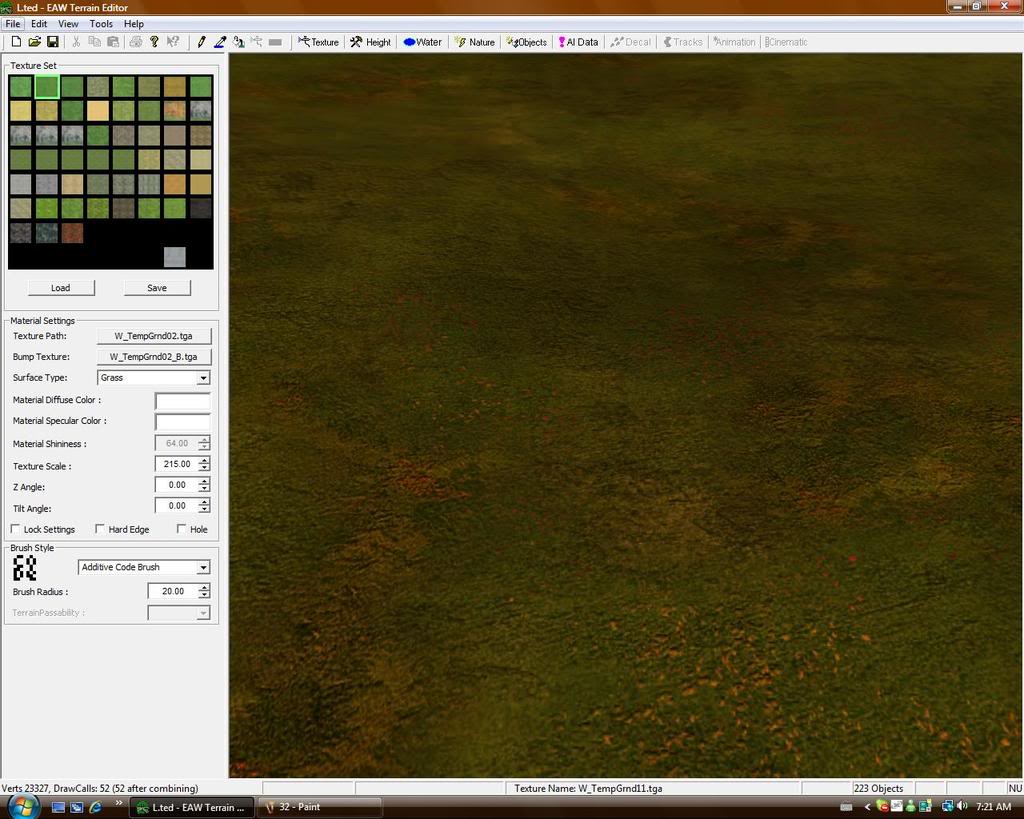
I will continue to add in and blend more grass/dirt textures in appropriate areas.
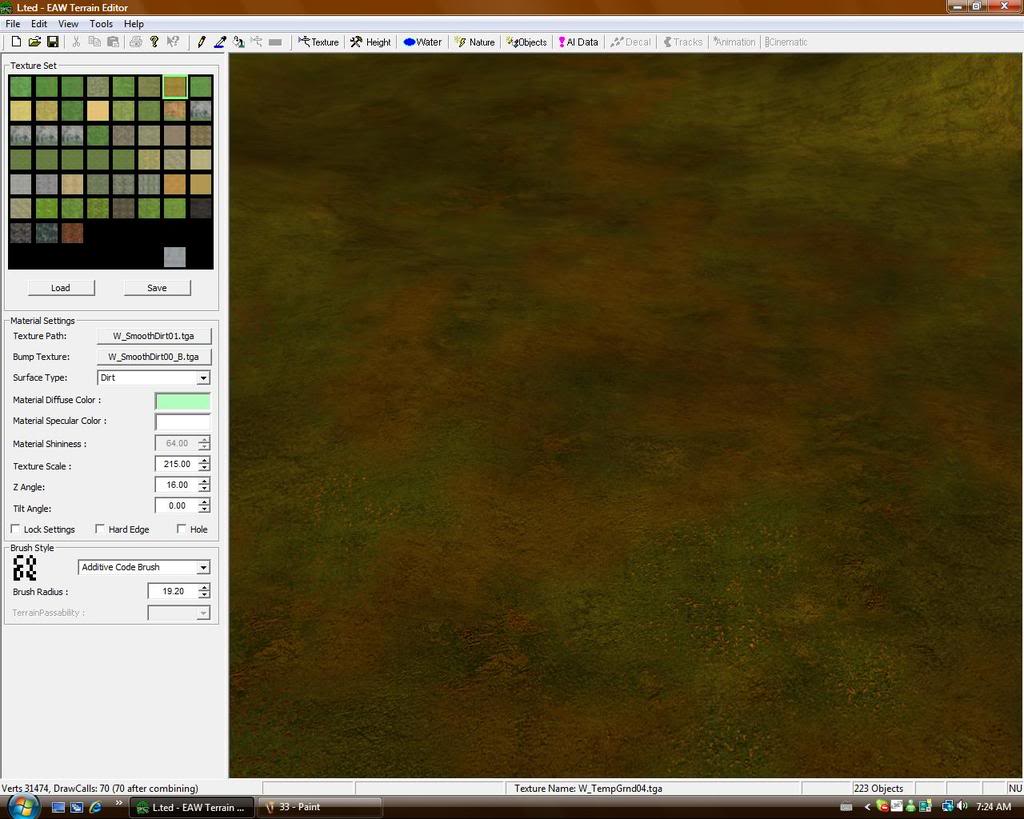
I am now going to add a dirt path to my map. The first thing I did is change the diffuse colour to help blend the texture. When I make paths on a forest map usually jitter the mouse a bit to create a beat up look. I also increase the use of dirt around landing areas. This is a landing area in the picture.
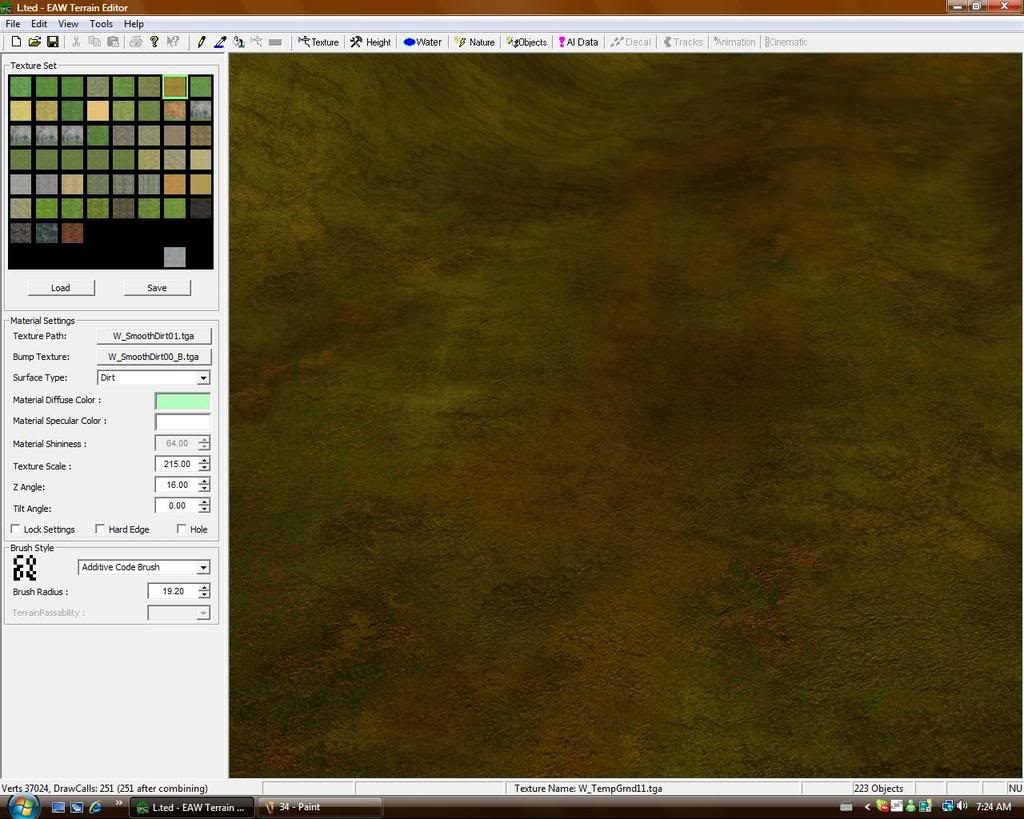
Here is the actual path.
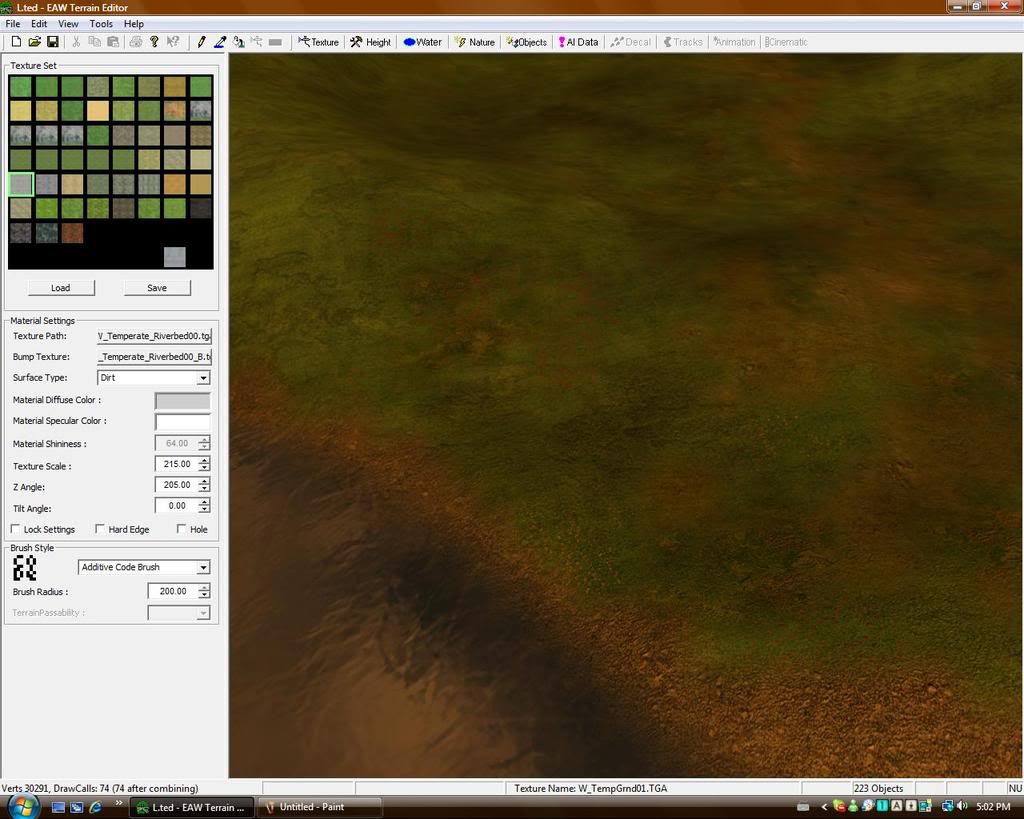
The next thing I'm going to do is to texture on the shoreline and under water with a river bed texture. This is merely for aesthetics and to make the map actually realistic. Grassy fields aren't common under water. :P Also later on I would recommend texturing with a gravel or dirt texture around any buildings you place.
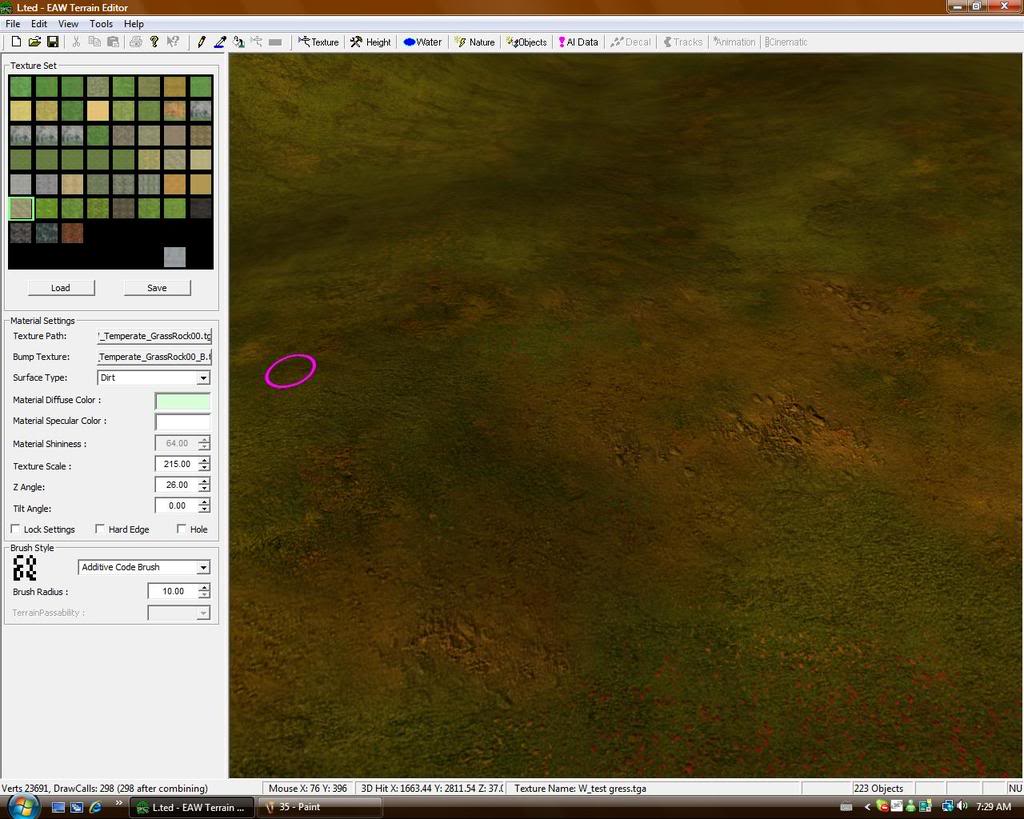
Here I am using a size 10 brush to texture small bits of W_Tem perate_GrassRock00.Tga around the path to add a more rocky and rugged feel to the path. Congratulations. You are now done texturing for the moment. You can choose to change and add what you like after this point texture wise. Just remember to make the textures fit together and seem realistic.
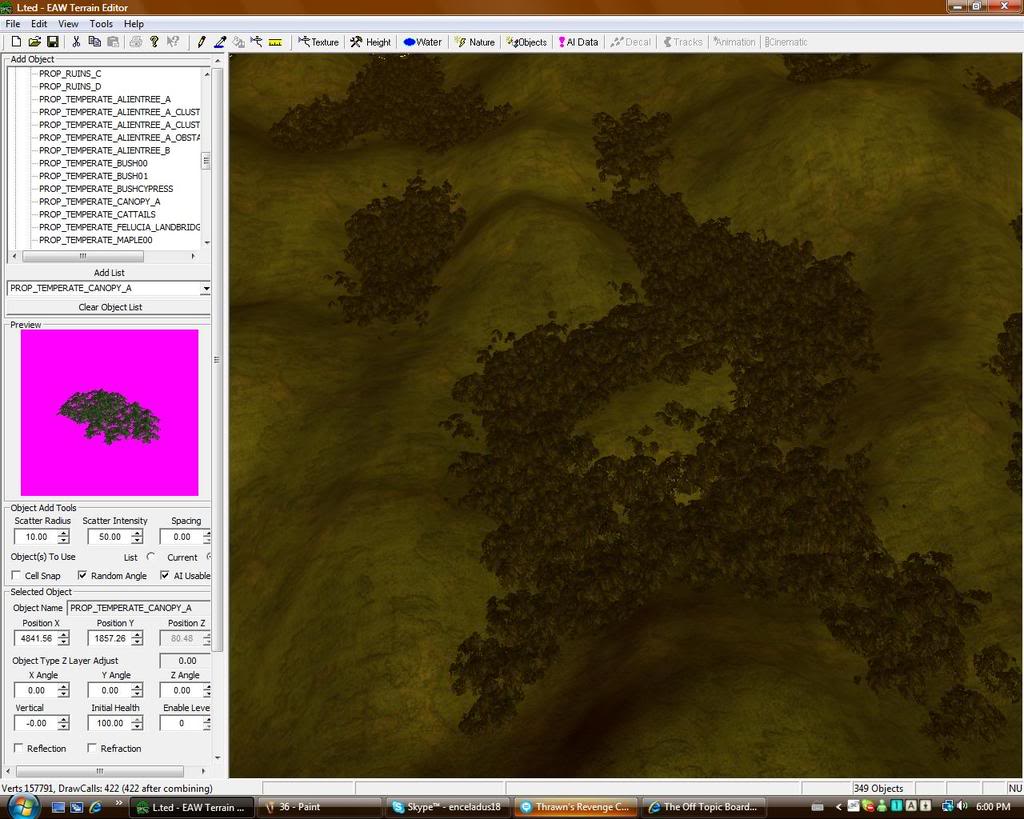
It is time to make the jungle on this map. Before I place any props I am going to remind that you I make all my maps so that I can run them. This means I may use more objects than normal due to my computer specifications. Always make maps that you can run. That is the key. I am going to place some PROP_TEMPERATE_CANOPY_A props in the valleys far away from the playable areas so that I can reduce object numbers thus reducing the possibility of lag. Always remember that you don't need to place as much props in areas the player probably won't see. You will see this in the style I place my trees.
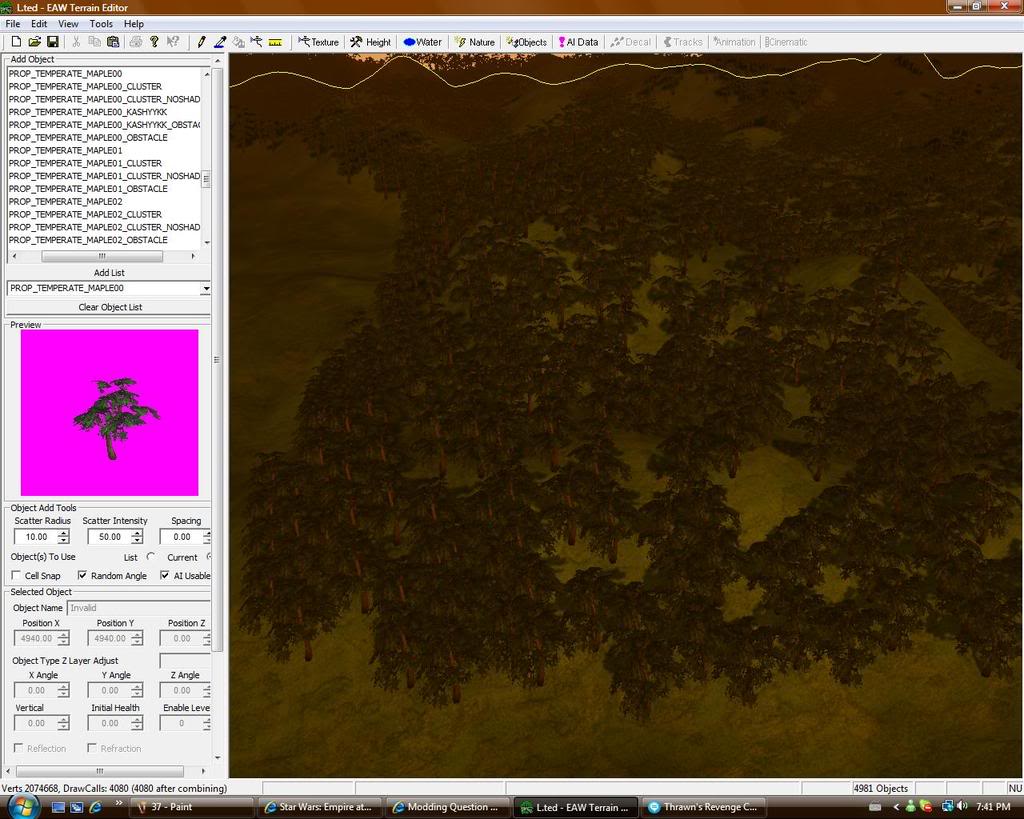
Start placing some trees starting with PROP_TEMPERATE_MAPLE00_CLUSTER_NOSHADOW props in areas farther away from where units will be moving. Shadowless cluster props help reduce lag.
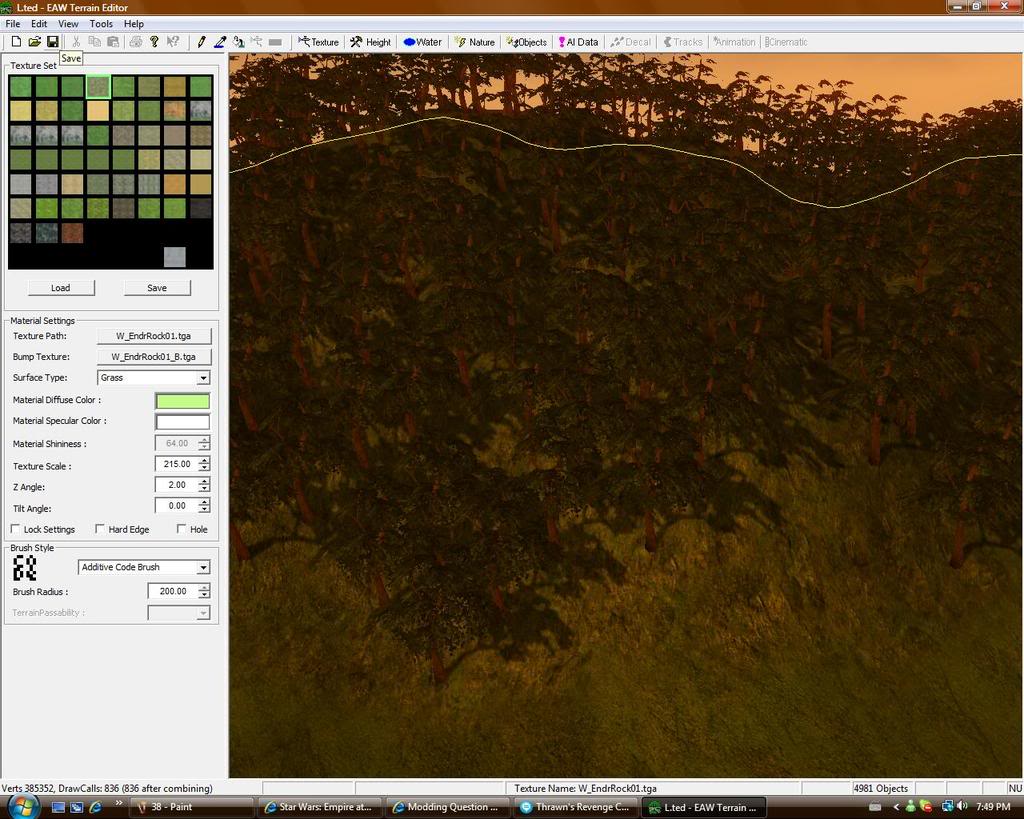
Finish off with single tree props along hills. I have decided to take a 200 size texture brush and texture W_EndrRock01.tga where the jungle is. This seems to be a better texture than the default grass texture. I also changed the diffuse color of this texture to help blend it in.
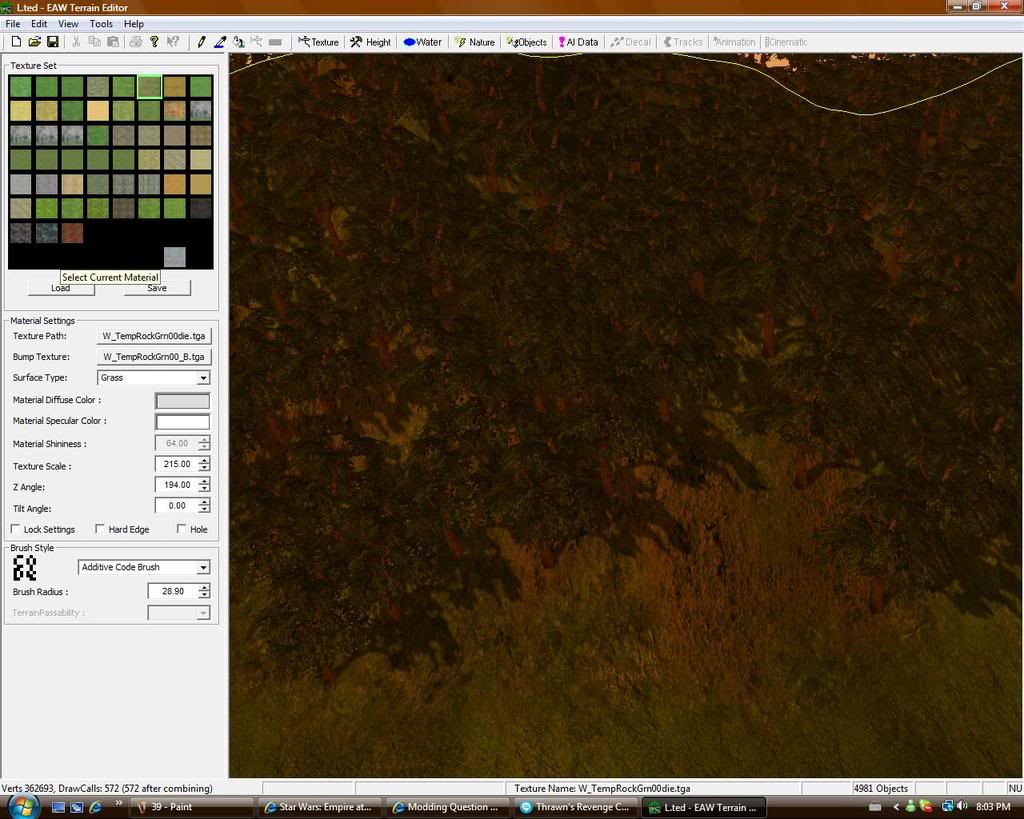
I'm now going to blend in W_TempRockGrn00die.tga and some other textures into the forest area.
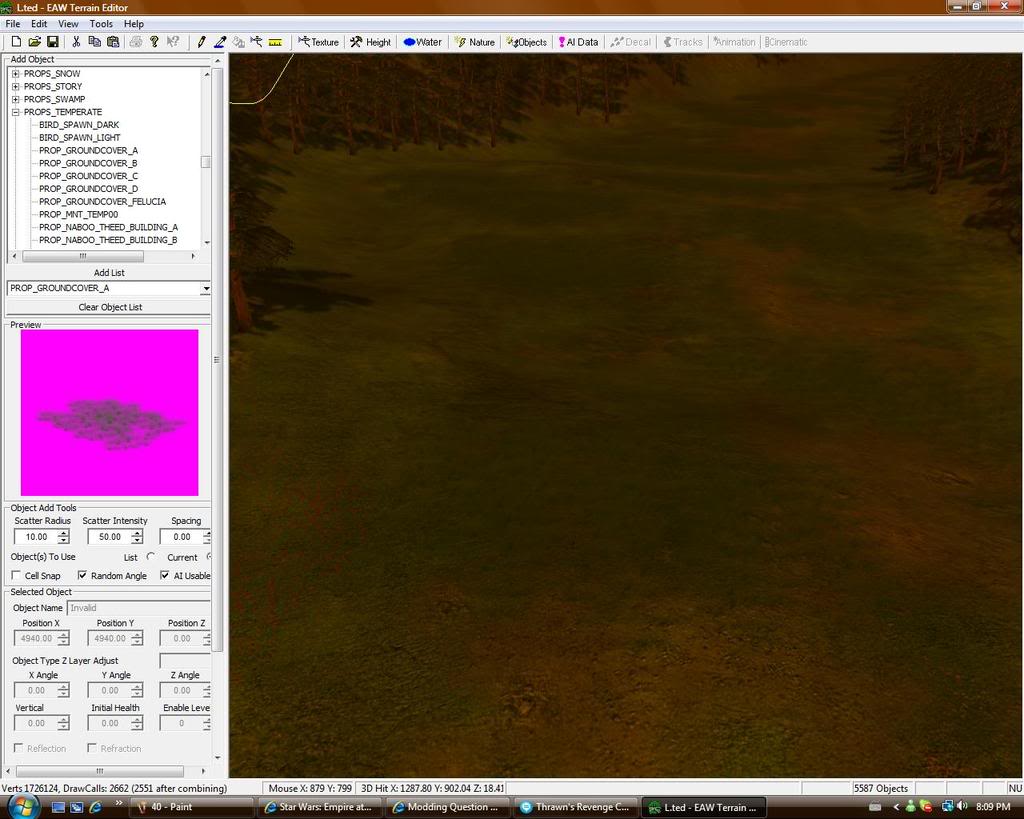
One great way of creating extremely aesthetically maps is the use of groundcovers. Using them is exactly what we are going to do. The first cover we will use is PROP_GROUNDCOVER_A.
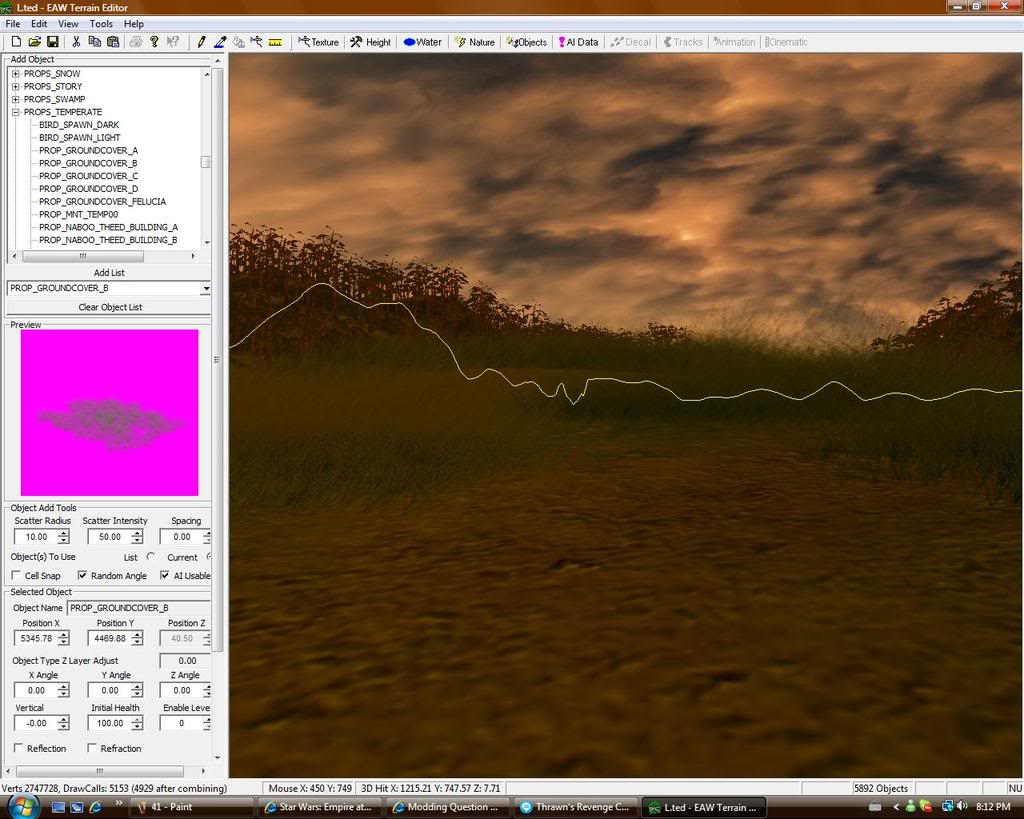
Now we'll add some PROP_GROUNDCOVER_B.
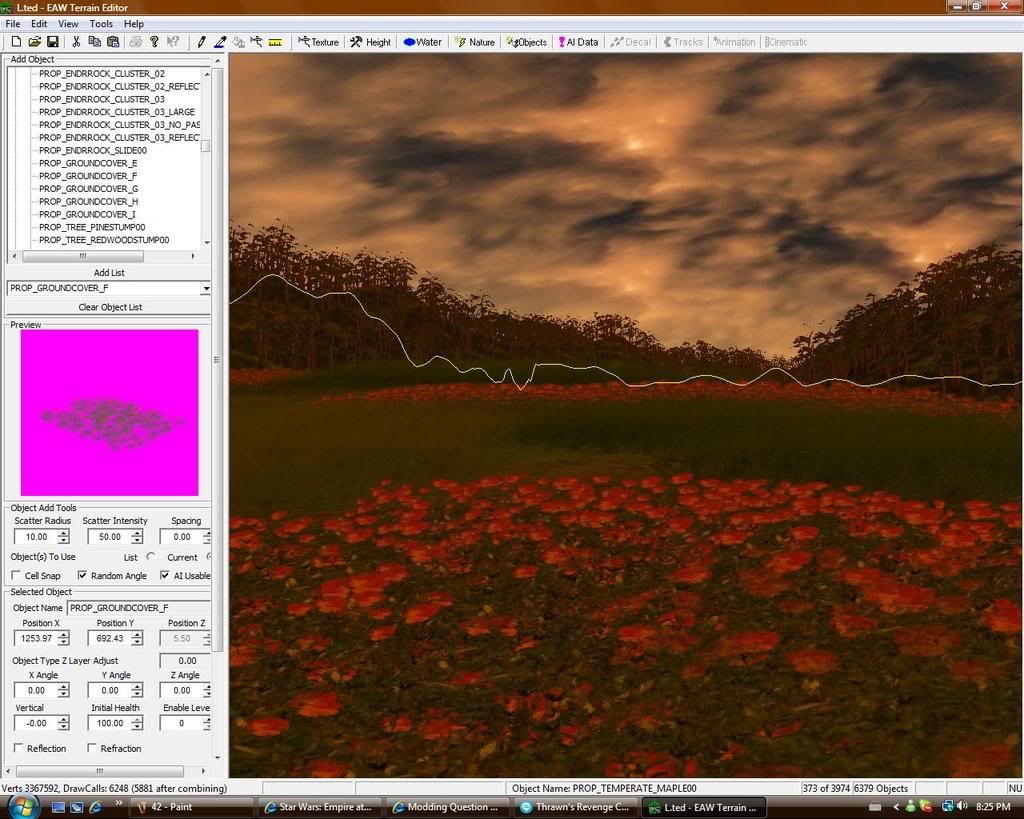
Now we'll add some PROP_GROUNDCOVER_F.
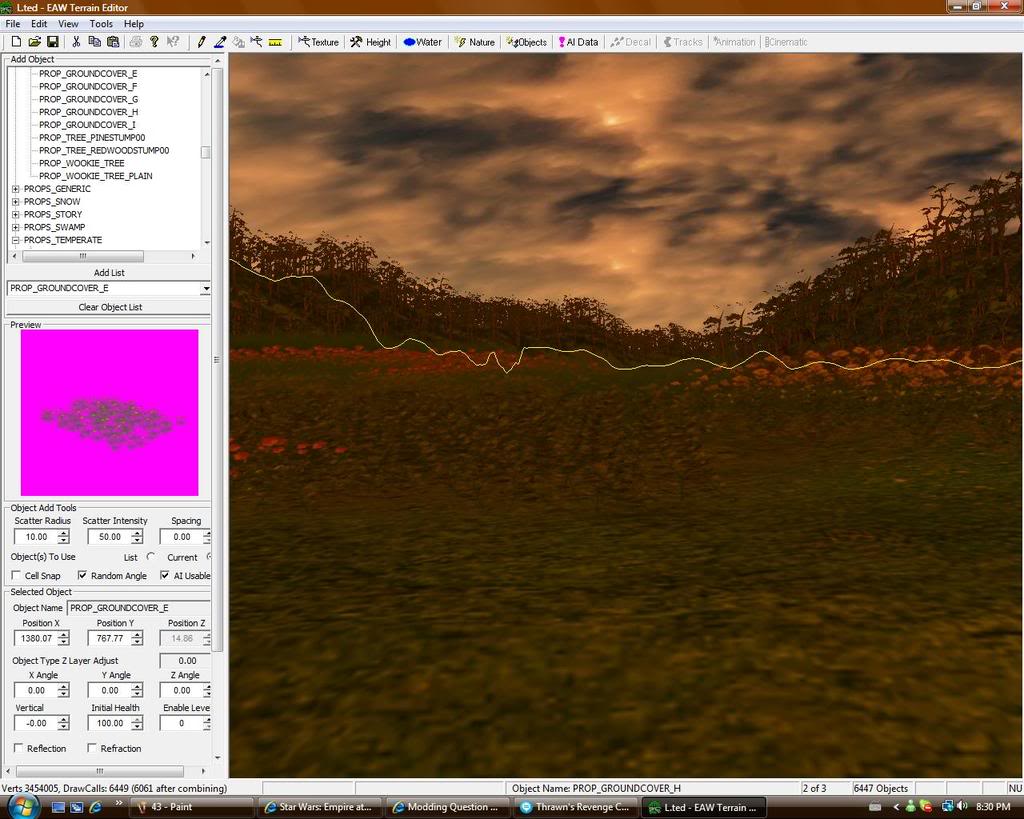
Now we'll add some PROP_GROUNDCOVER_E.
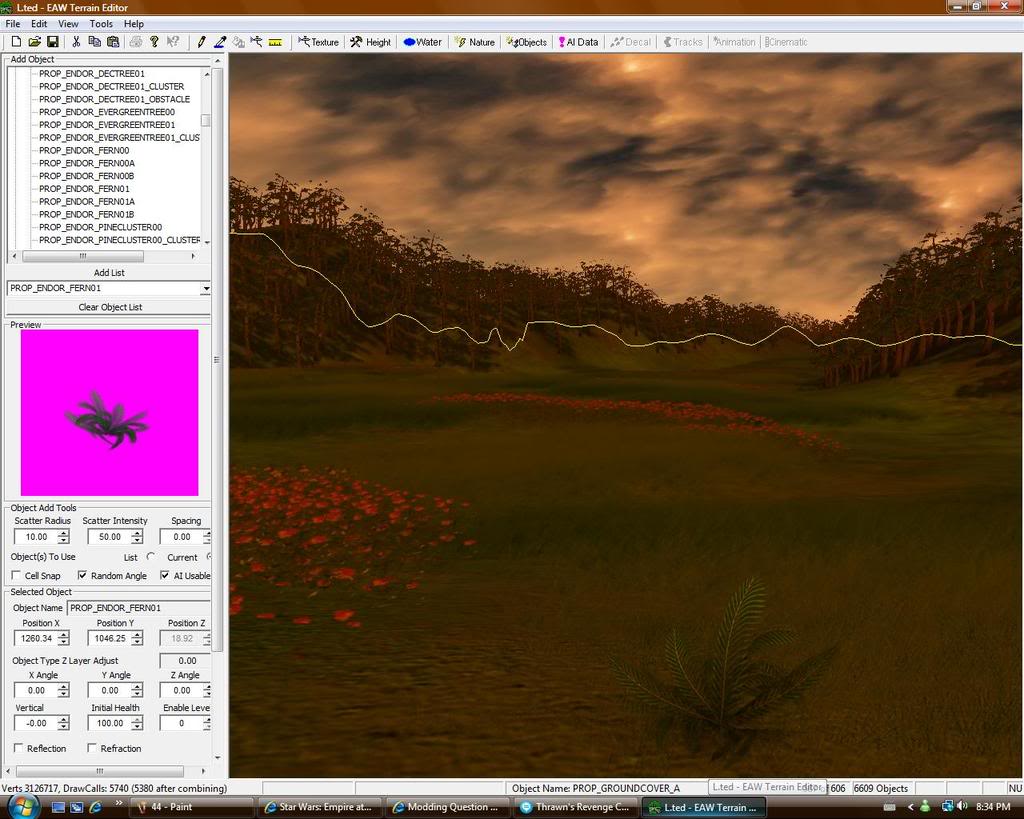
Another aesthetically pleasing detail is to add bushes. Vary the types of bushes and the sizes you use.
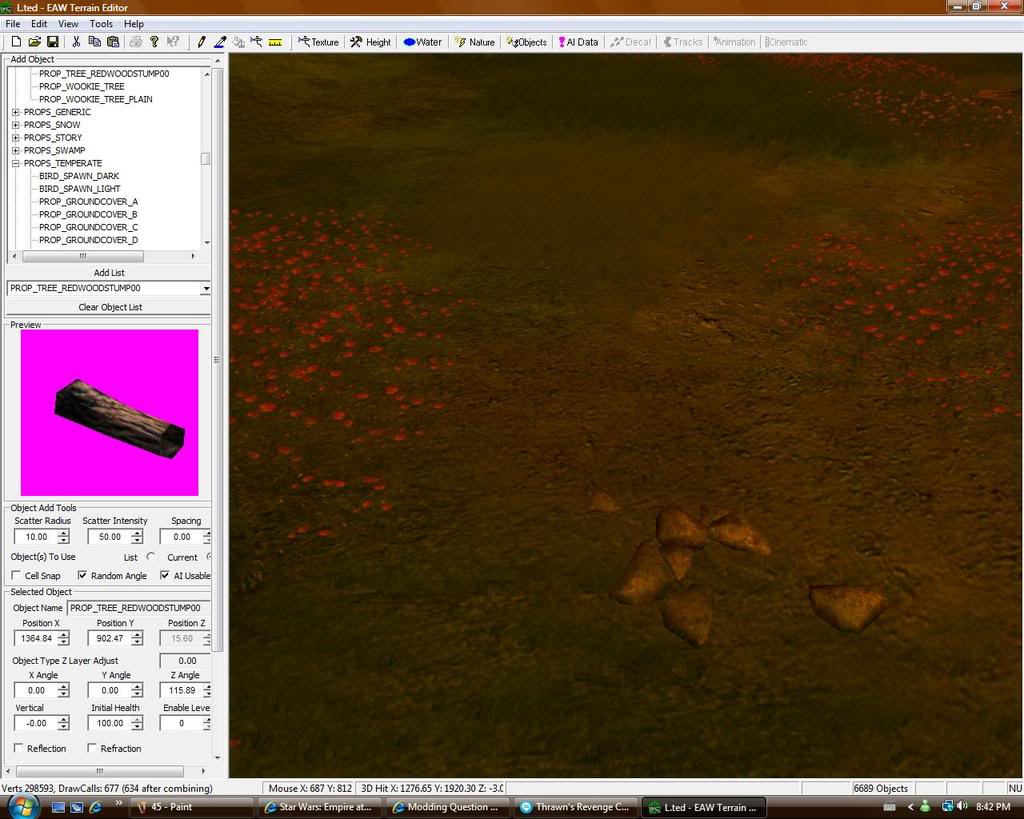
Various sizes of boulders and rocks are another great addition.
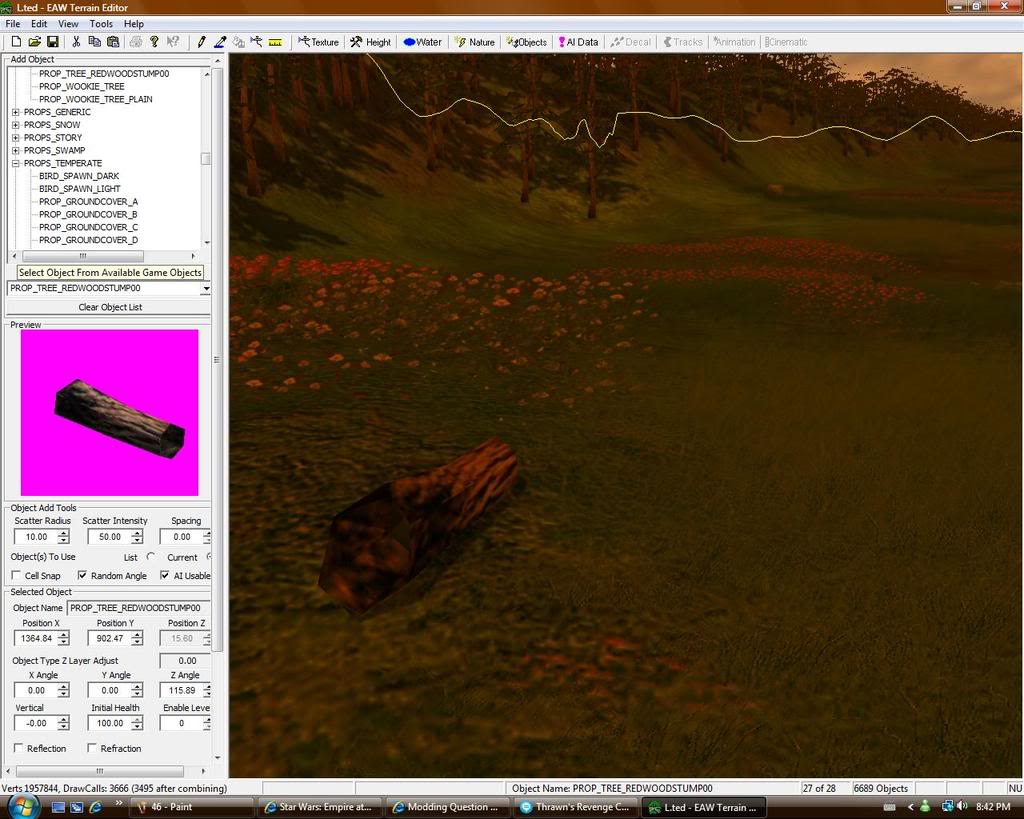
Even logs are a good thing to add (unless it's Hoth :P).
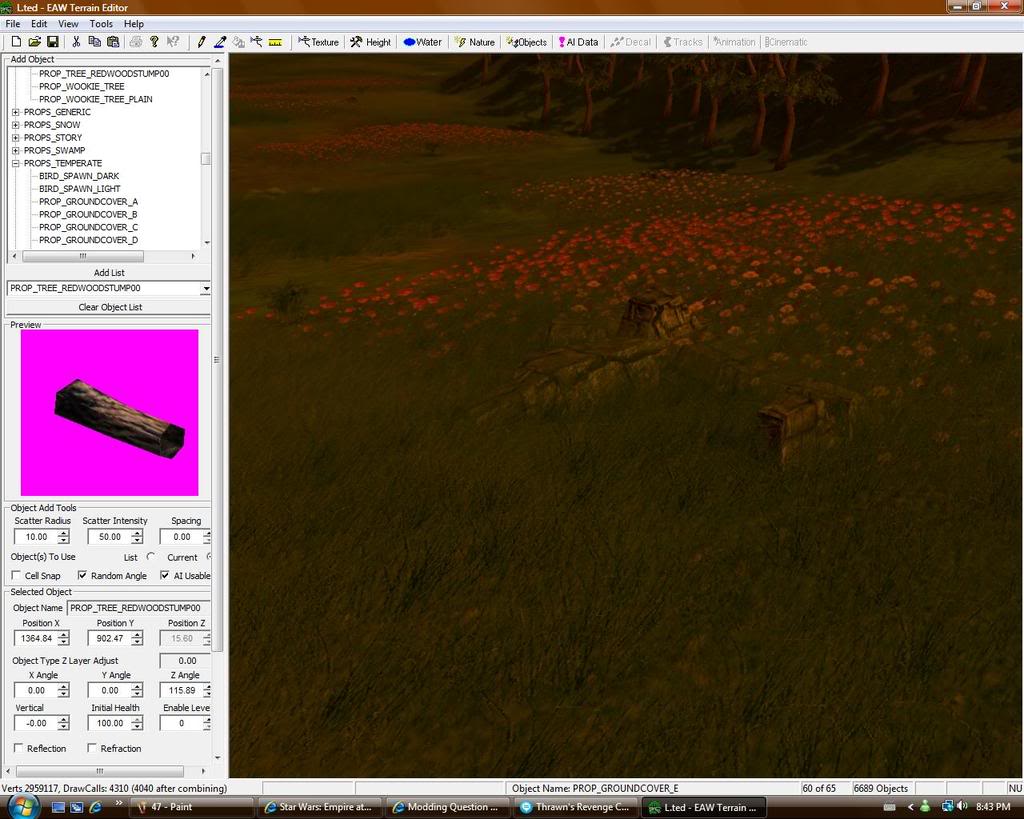
Just be creative with the placement of your props and you'll do just fine.
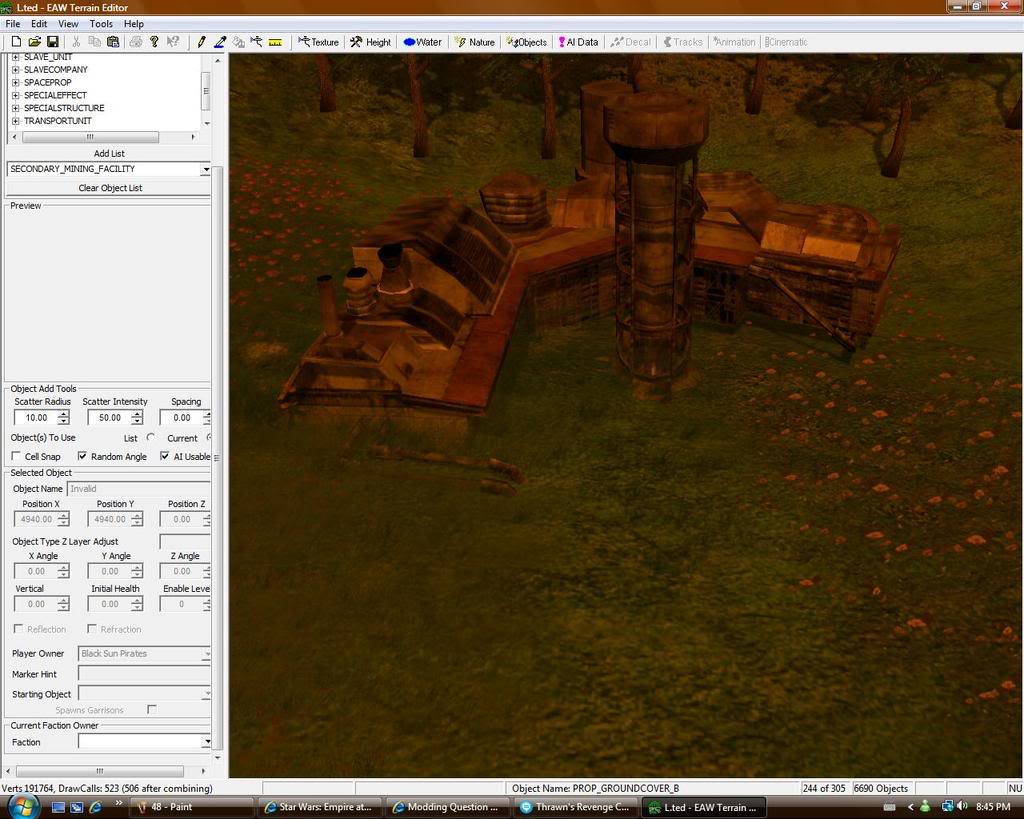
Now it is time to add your structures and markers to the map. First off I will add some structures. Go to the SECONDARYSTRUCTURE area of your object bar and place a SECONDARY_MINING_FACILITY. This is a mining facility that will earn you bonus money in a Galactic Conquest battle. I will also add an ABANDONED_SENSOR_ARRAY to this map. This is a structure that when captured will reveal the whole map.
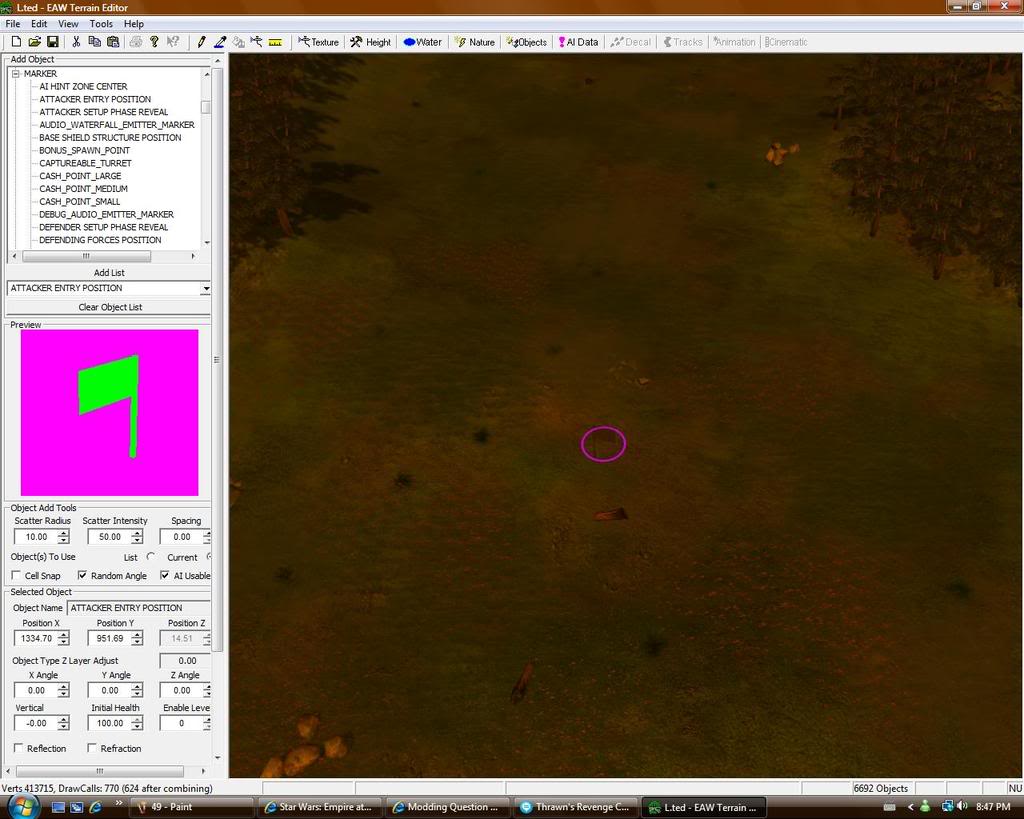
To add markers to this map navigate to the MARKER area in the object bar. The first marker I will add is the ATTACKER ENTRY POSITION which designates where the attacker enters.
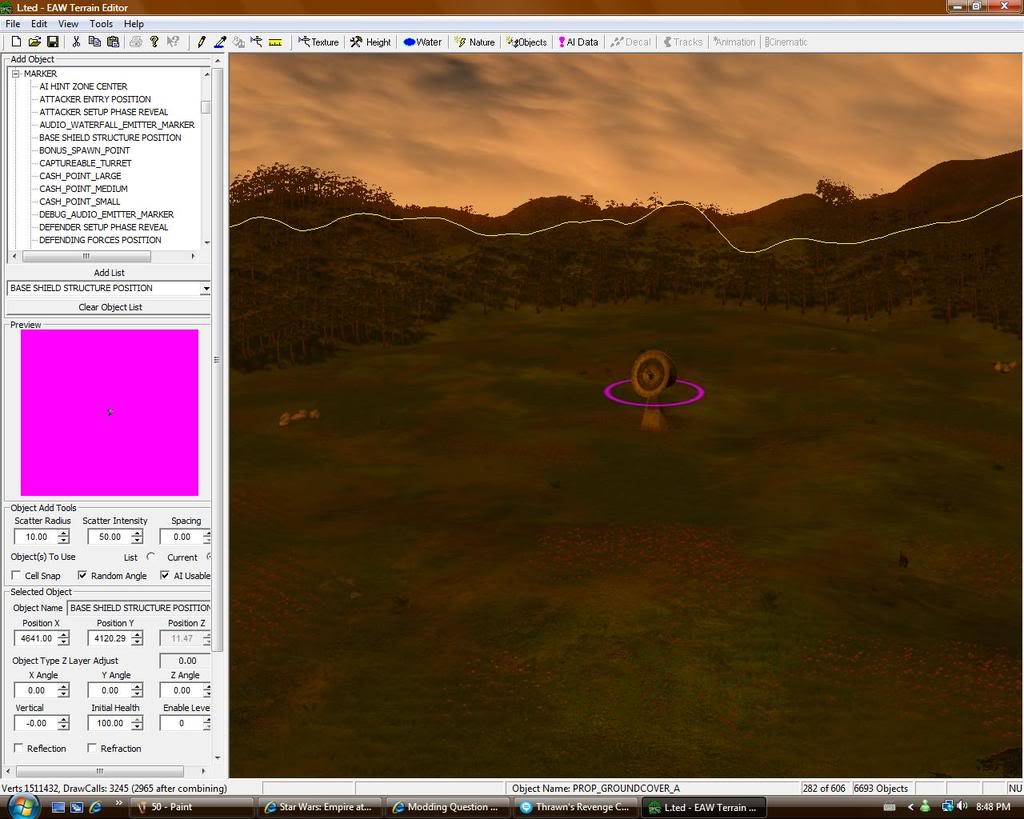
Next I will add the BASE SHIELD STRUCTURE POSITION which designates where the Base Shield will be located.
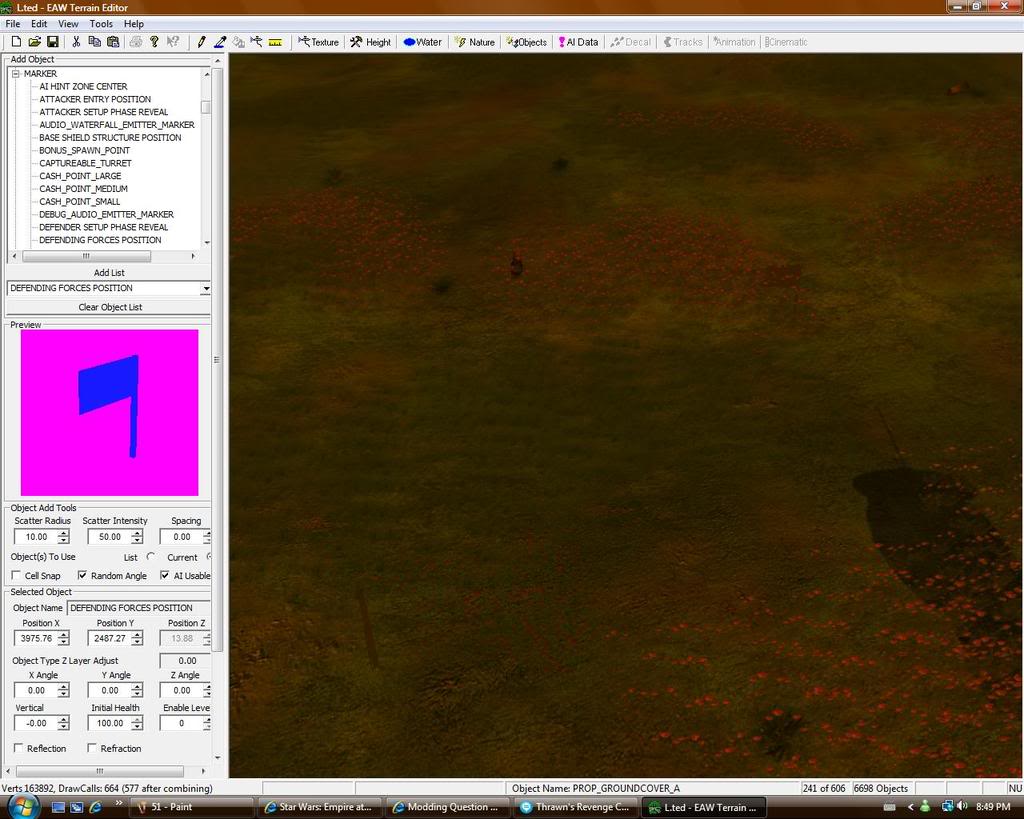
Now I will add some DEFENDING FORCES POSITION markers which show where the defending units can be placed. The number of these markers should be based on the planet you are making.
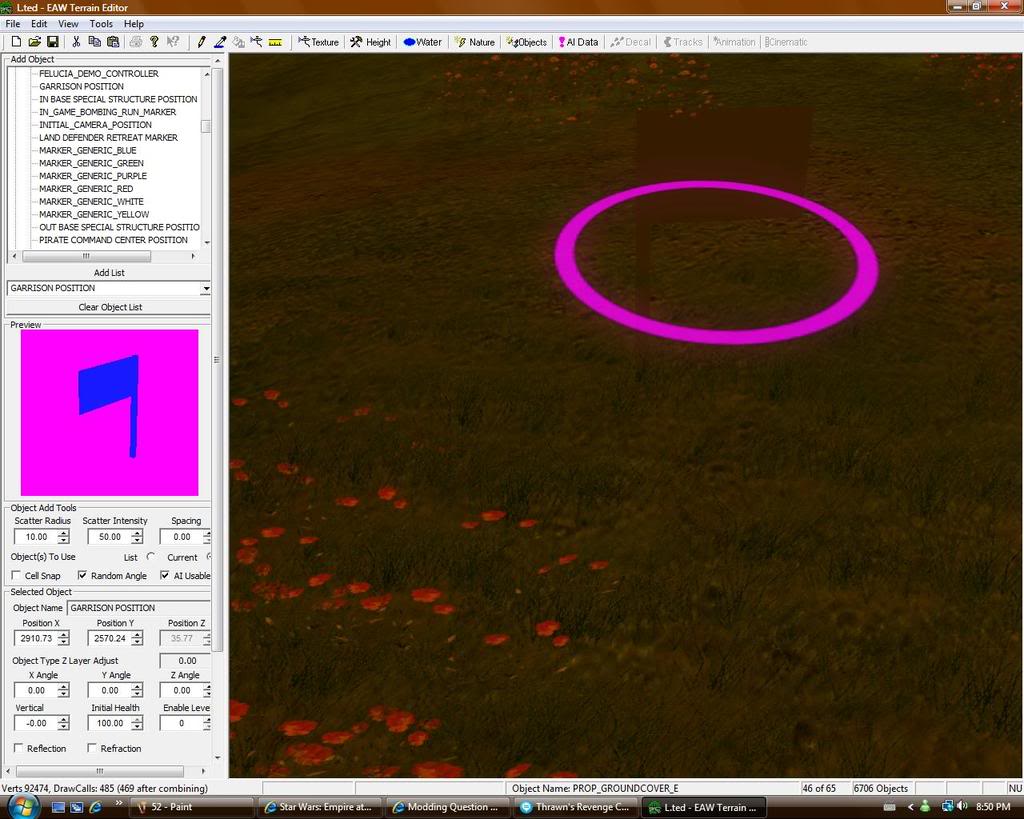
Now I will add some GARRISON POSITION markers which designate where garrison units appear. The number of these markers should be based on the planet you are making.
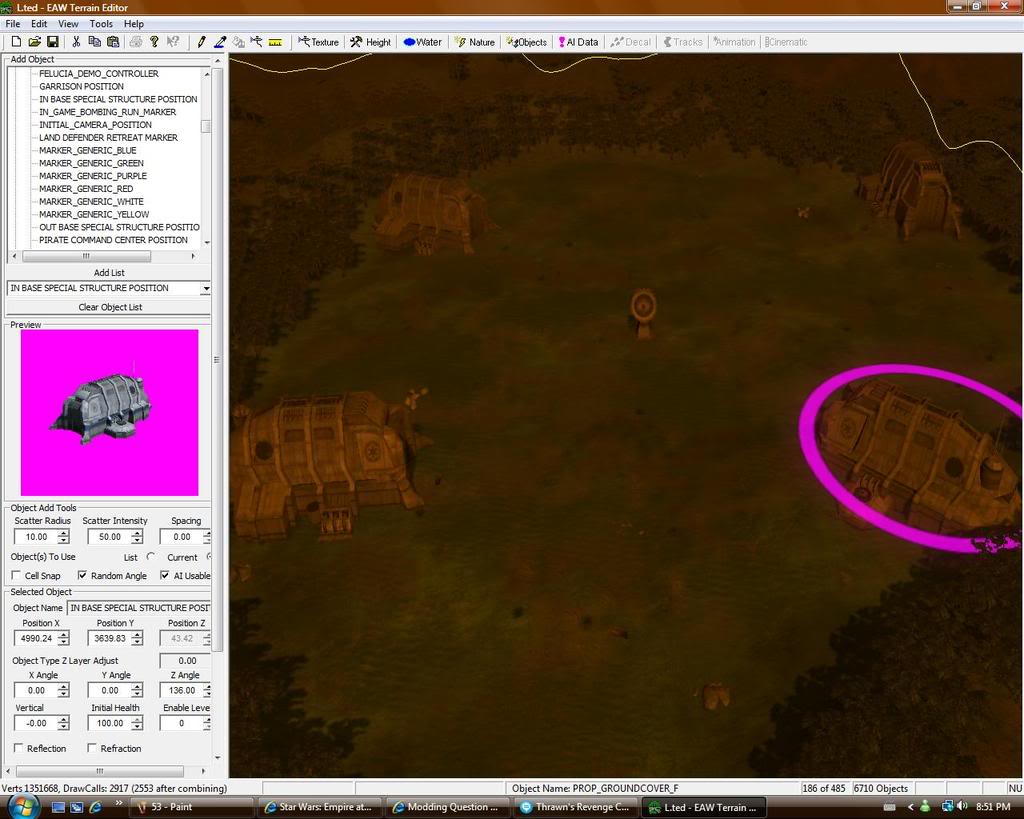
I will now add the IN BASE SPECIAL STRUCTURE POSITION markers which designate where structures inside bases appear. These structures are structures such as factories and barracks. The number of these markers should be based on the planet you are making.
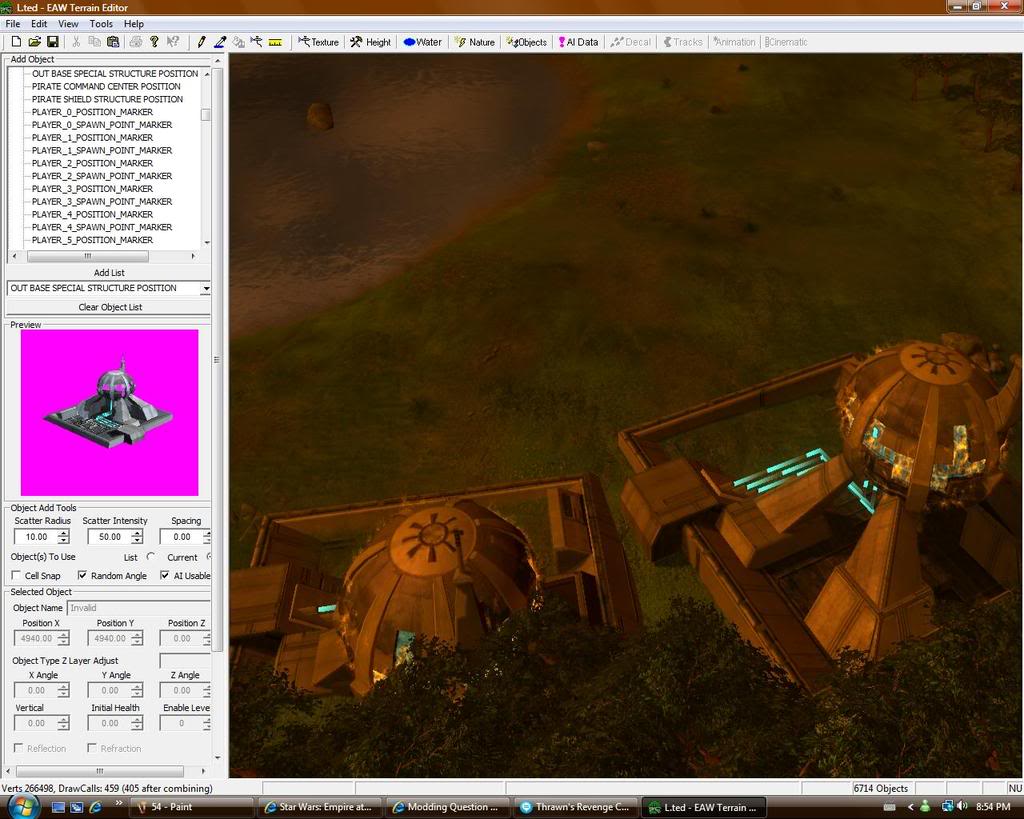
I will now add the OUT BASE SPECIAL STRUCTURE POSITION which designates where structures such as Magnapulse Cannons go. The number of these markers should be based on the planet you are making.
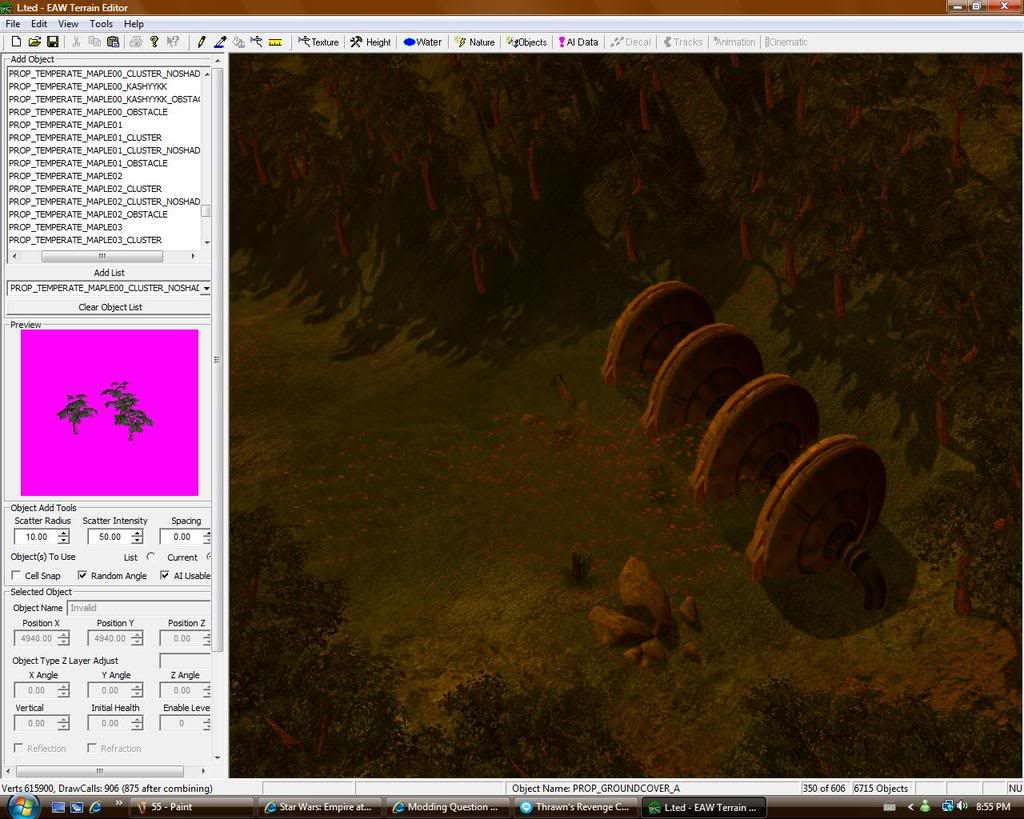
Next is the POWER GENERATOR STRUCTURE POSITION which designates where the power generator goes. I usually set aside some space outside the base for this marker.
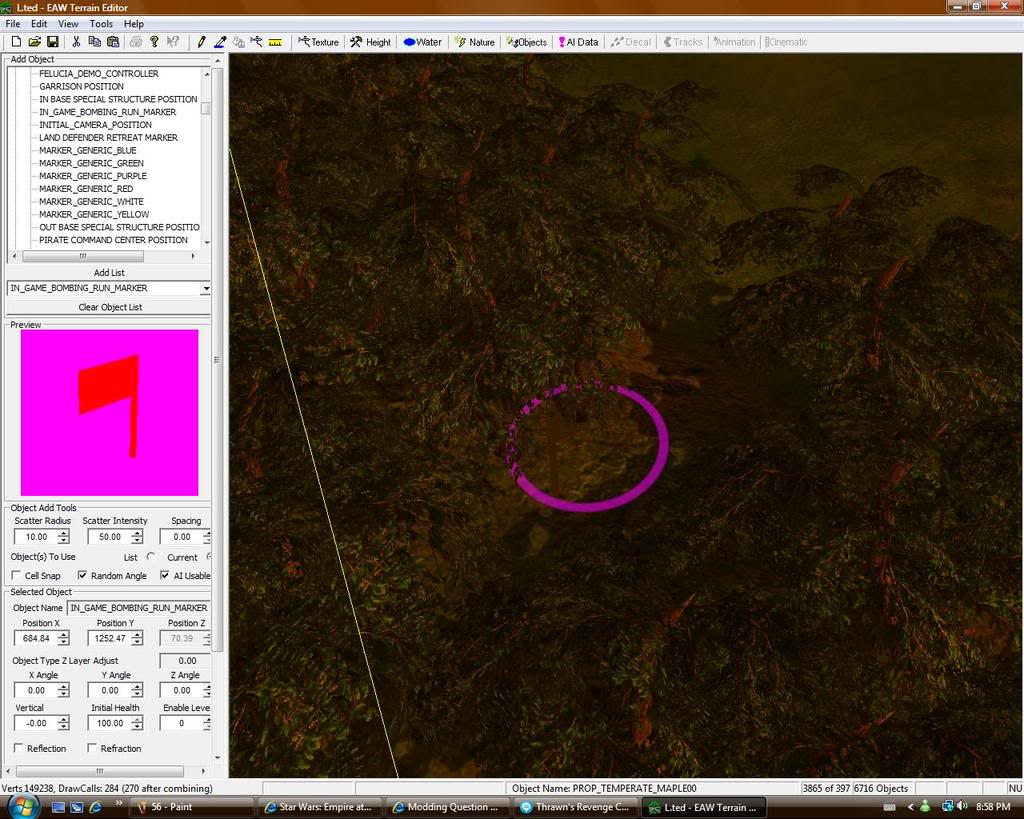
Next is the IN_GAME_BOMBING_RUN_MARKER. I can't tell you the exact reason behind this marker. To my knowledge it is used to help regulate the height and entry point of bombers during a bombing run. Put this marker in a corner of medium height inside your map boundaries.
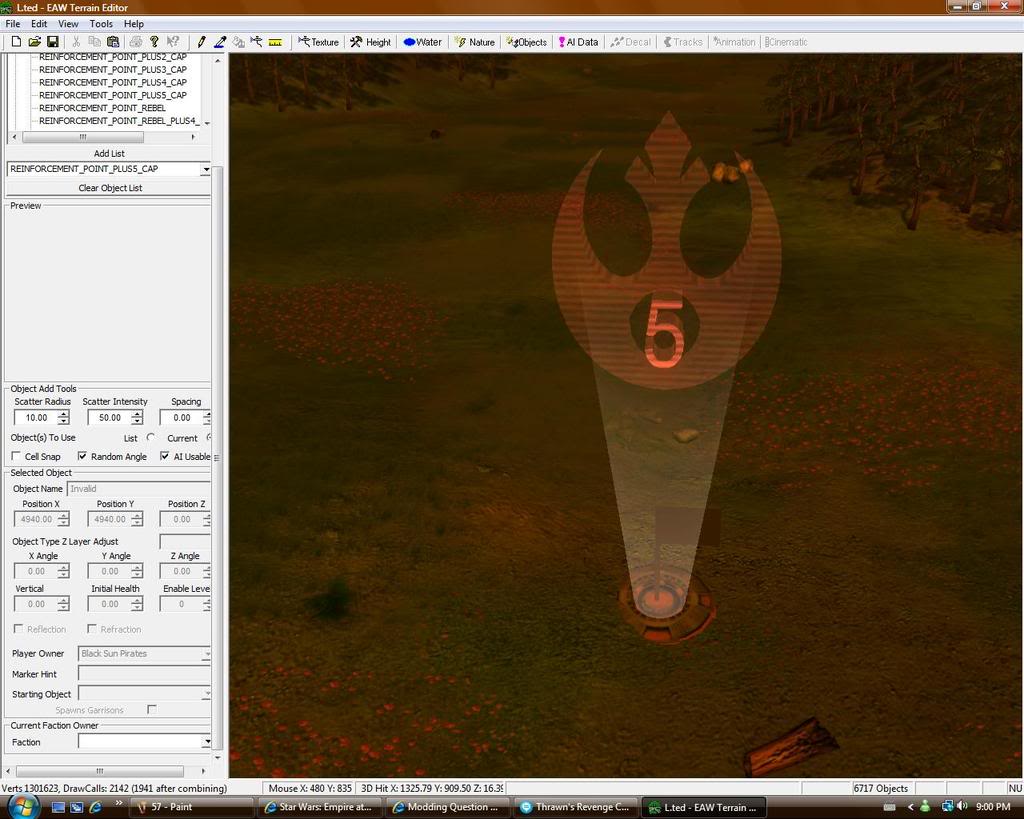
Now it is time to add some reinforcement point markers. There are different markers for different numbers of reinforcement's that you can bring in when a reinforcement point is taken. The useable markers for a Galactic Conquest maps are REINFORCEMENT_POINT,
REINFORCEMENT_POINT_PLUS10_CAP, REINFORCEMENT_POINT_PLUS2_CAP, REINFORCEMENT_POINT_PLUS3_CAP, REINFORCEMENT_POINT_PLUS4_CAP and REINFORCEMENT_POINT_PLUS5_CAP.
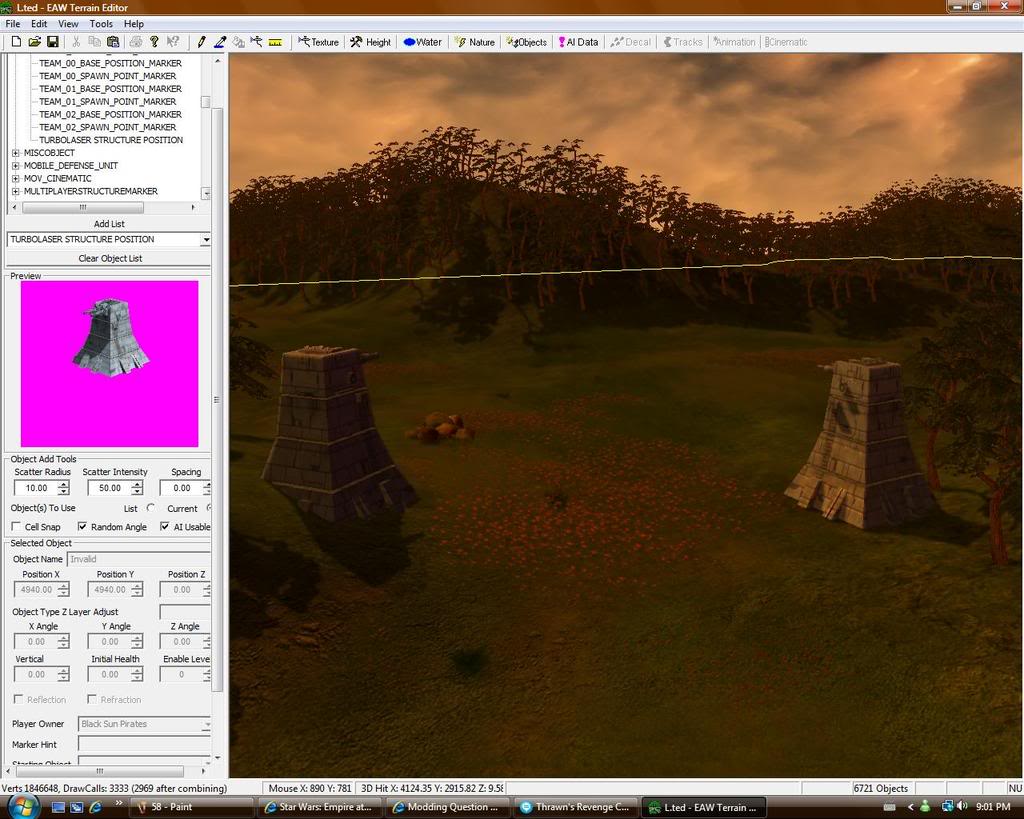
The final necessary marker is TURBOLASER STRUCTURE POSITION. This just marks where the defender's turbolaser towers will be placed.
Two markers that may need to be added depending on what purpose you will use the map for are PIRATE COMMAND CENTER POSITION and PIRATE SHIELD STRUCTURE POSITION. These markers are used to designate a pirate base when a Pirate type force is in control of the planet. Another marker that is not necessary that can be used is LAND DEFENDER RETREAT MARKER which just makes a spot the defender must head to if they wish to retreat from the planet. There are also a variety of bonus markers such as audio and reveal markers that can add some interesting game-play to your map.
One other thing you must include is BUNKER_PAD and SKIRMISH_BUILD_PAD. These are for bunkers and turret build pads respectively. The reason I don't have them is due to some ingenious coding which allows a certain unit to place these items on the map during game-play allowing more control to be given to the player.
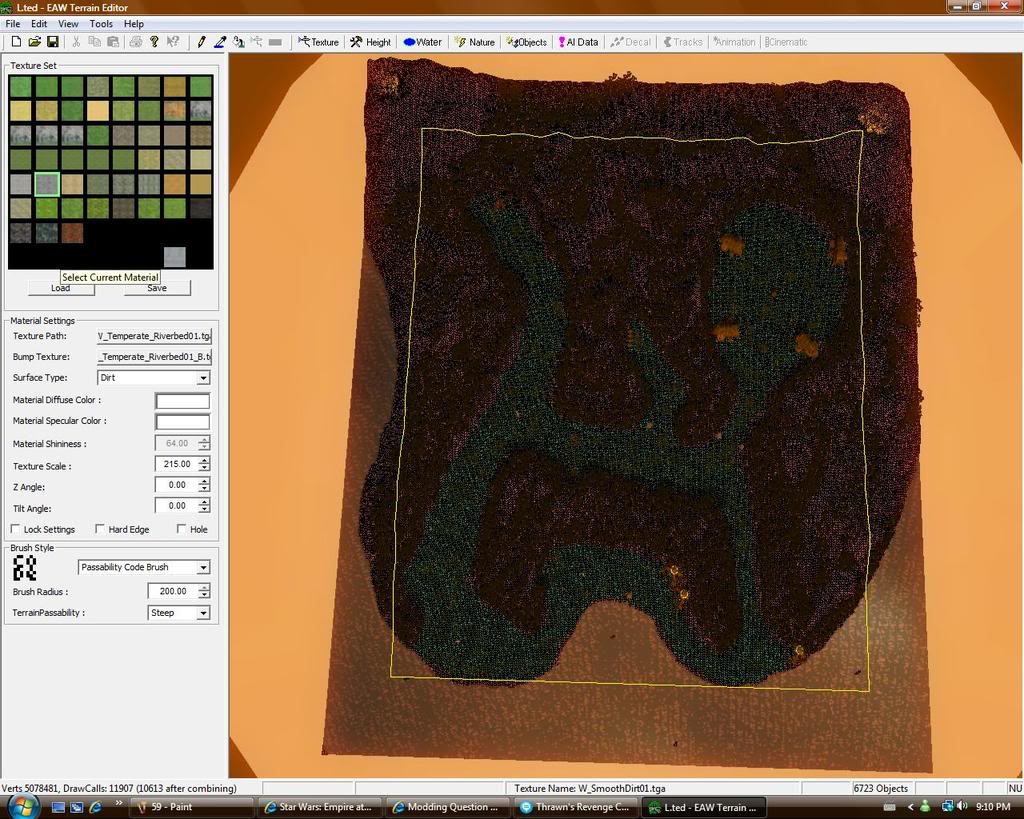
Now it's time to do passability on your map. This determines where units can and can't go. Go to your texture bar and go to the Brush Style and select PASSABILITY CODE BRUSH. You will notice that the map will suddenly change. This is normal. Now you must paint your passability. Clear(Green) allows all units to travel on a spot. Steep(Red) only allows air units to travel on a spot. Water(Blue) Allows hovering vehicles to travel on a spot. Infantry Only (Dark Green)allows only infantry to travel on a spot. Impassable(White) allows no units to travel on a spot.
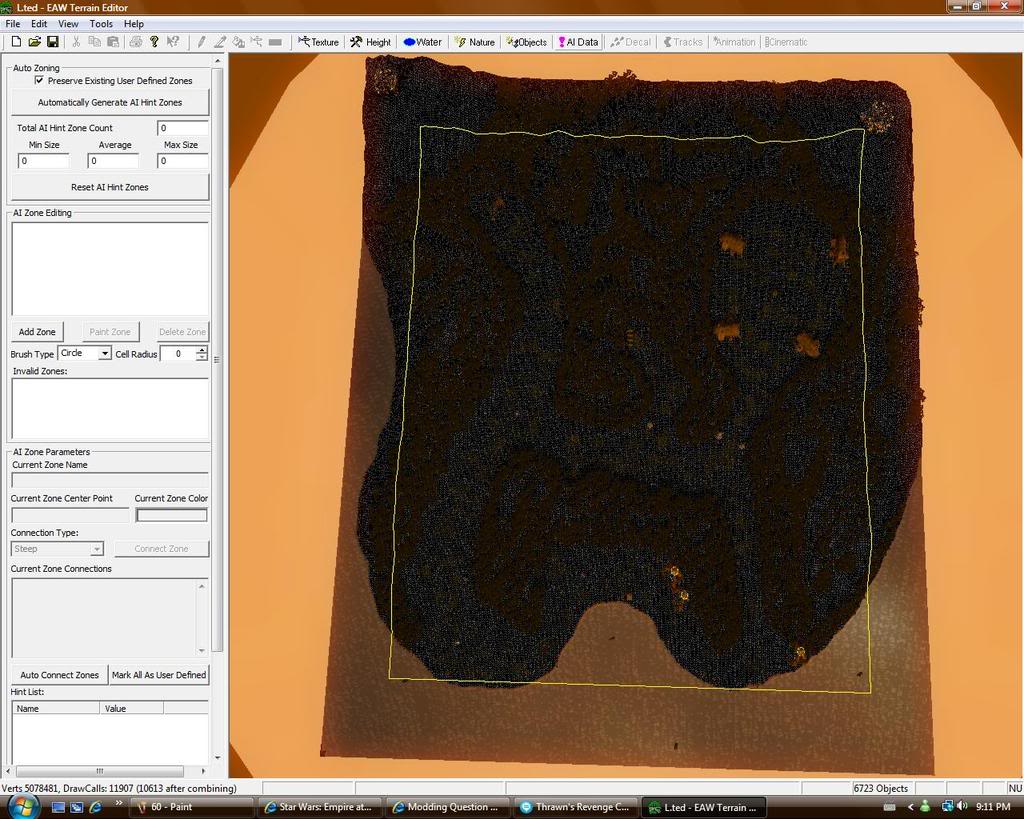
Next we'll do AI zones. These zones aid in path-finding and other associated functions for the AI on maps. To open up the AI Zone bar click on the clearly marked AI Data button on the main tool bar. When you click this the map should look like it's in wireframe mode.
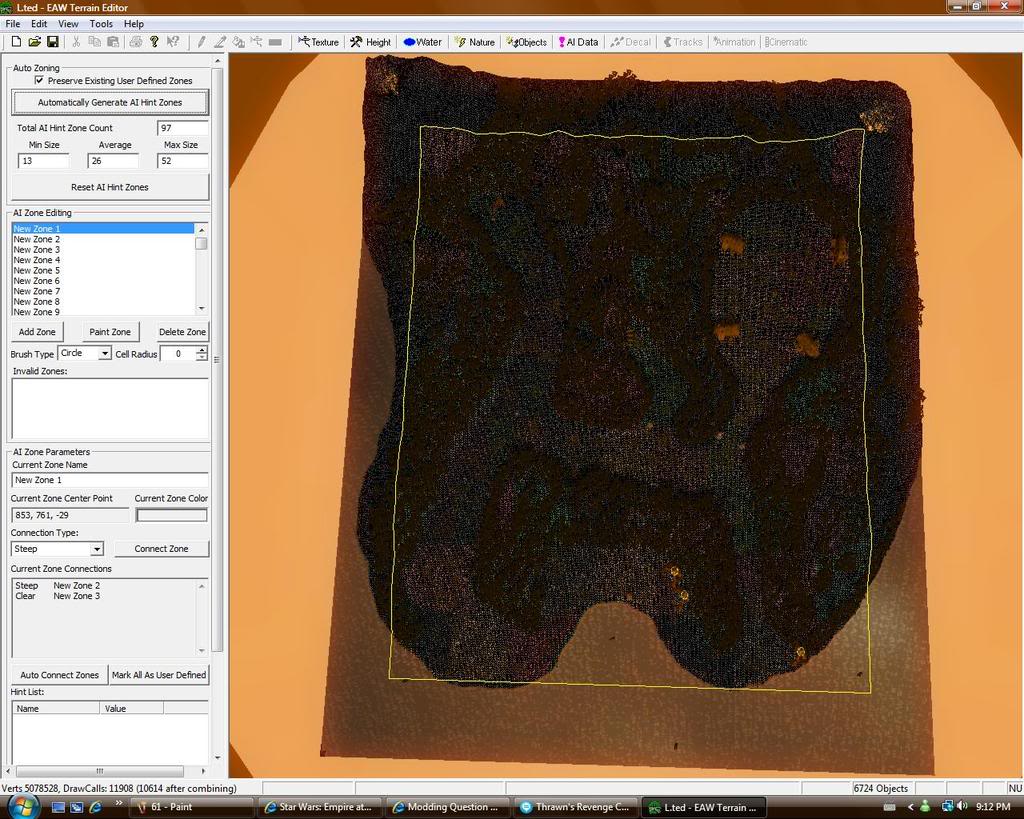
To make the AI zones just click Automatically Generate AI Hint Zones button. It should take a few seconds but a whole bunch of random coloured squares should appear on the map wireframe. This is only for the Forces of Corruption Map Editor. For the Empire at War Map Editor you must physically make AI zones yourself. Please refer to the end of this tutorial by z3r0x on how to do this:
Congratulations you have finished a Galactic Conquest map for Forces of Corruption. At this point I will still be making some edits to terrain, texture and nature. I still need to fix a few small things in my opinion but this is as far as I will take you.
Here are some pictures of what I made(up to this point):
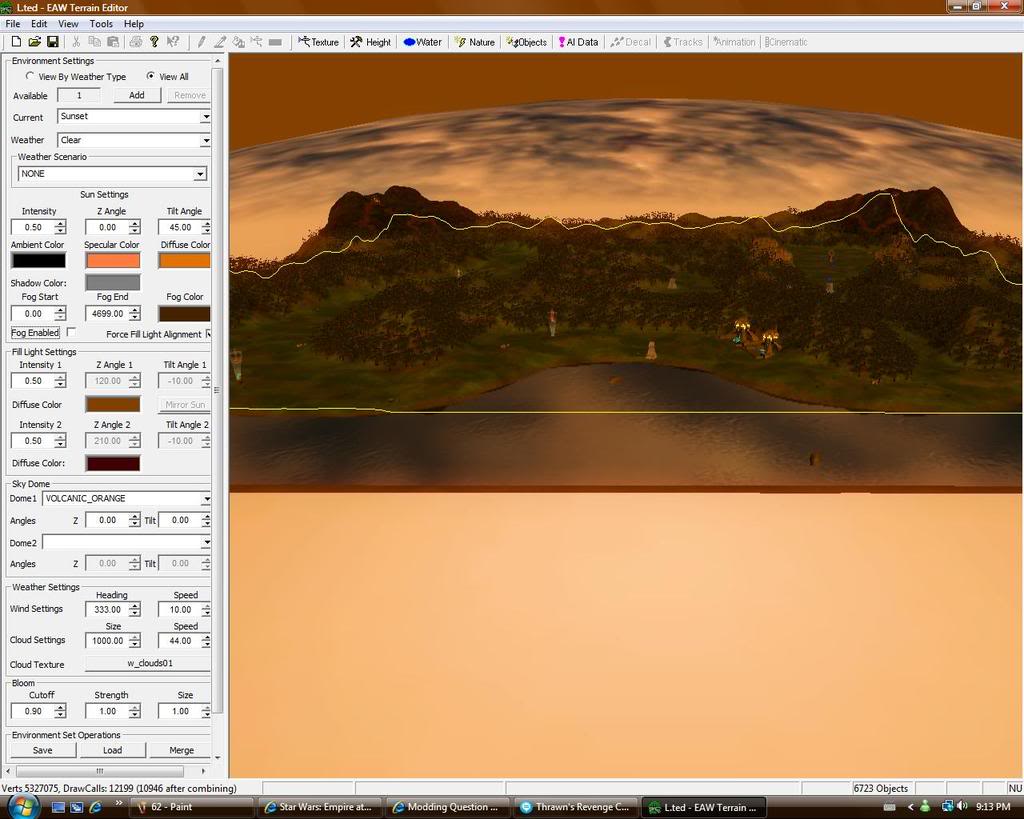
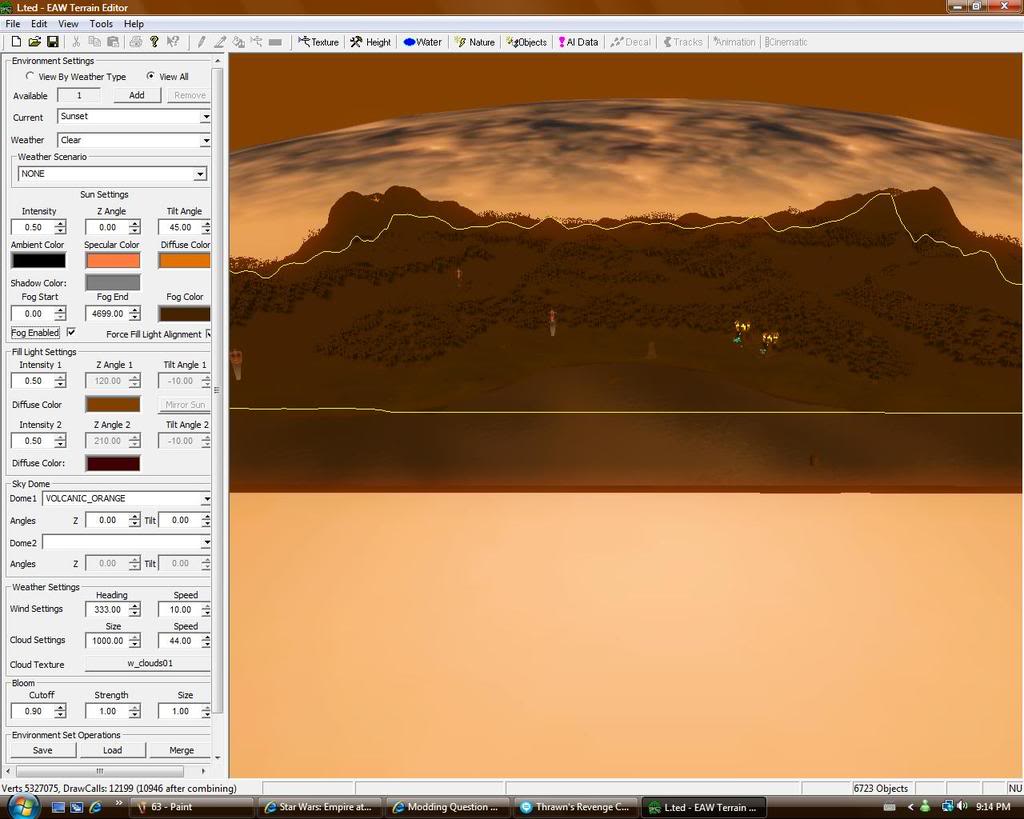
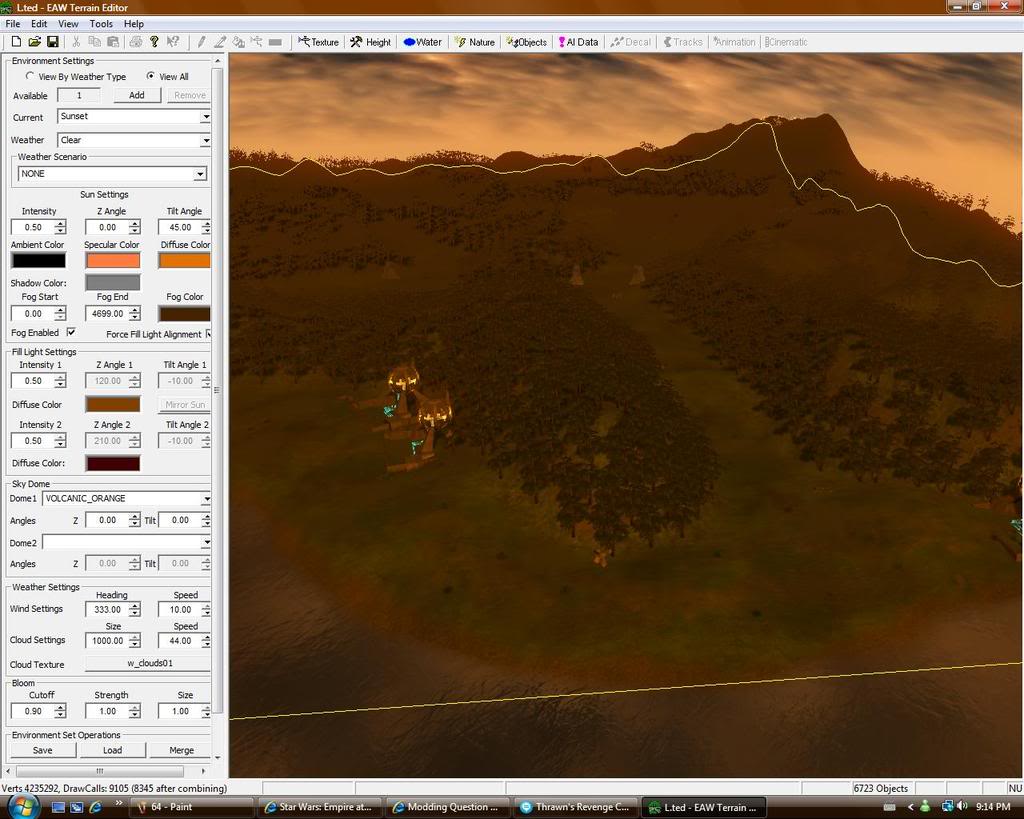
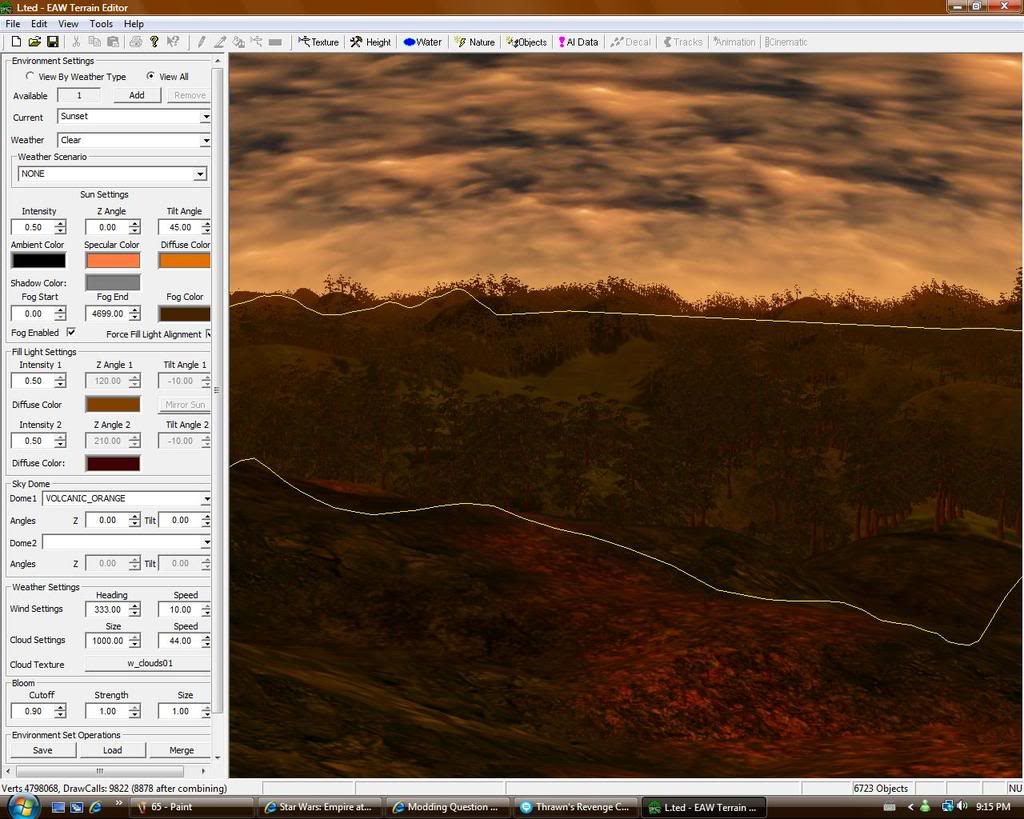
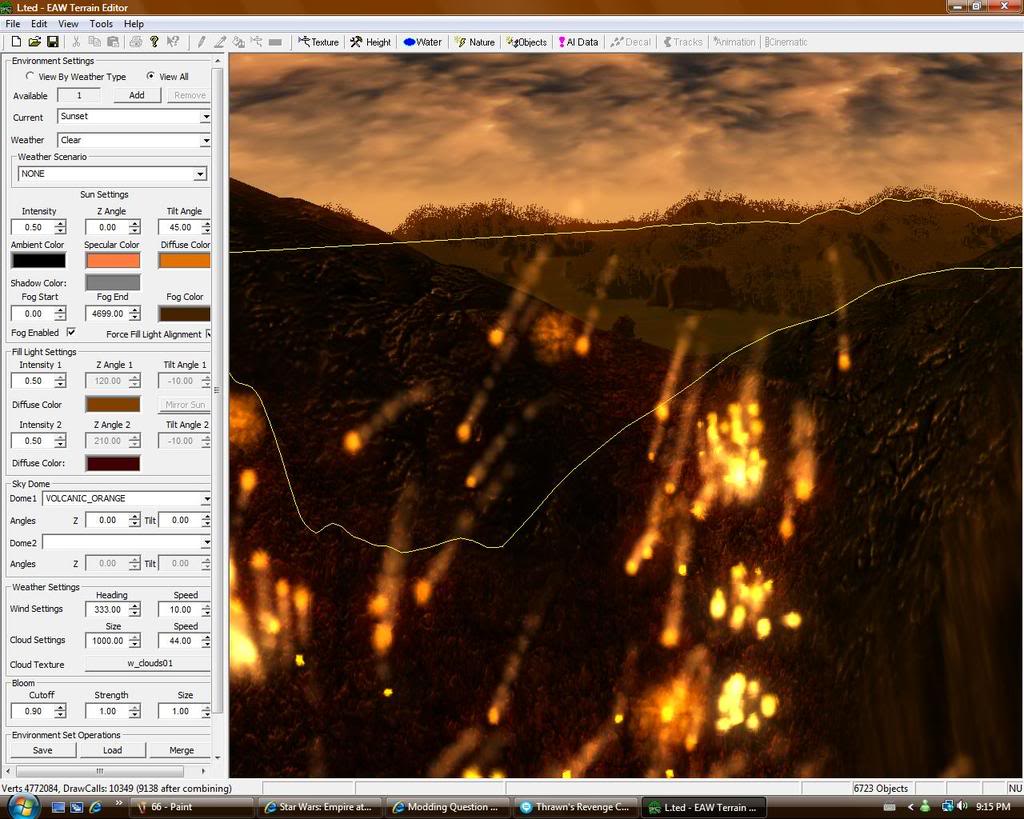
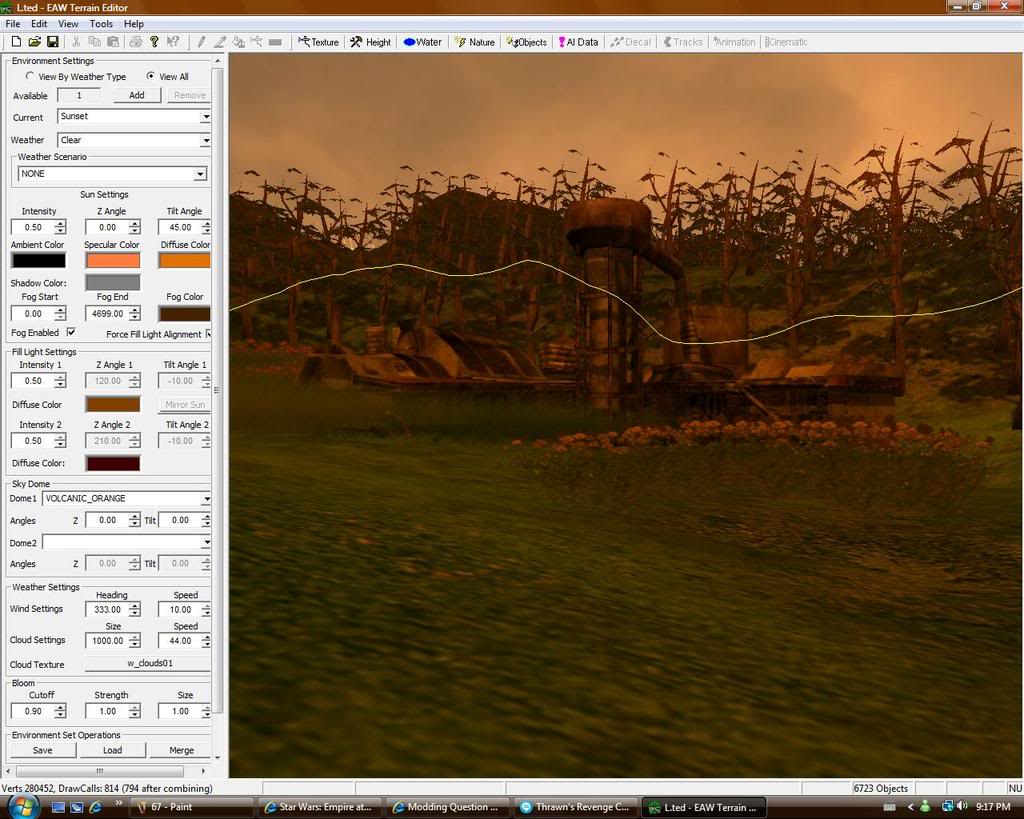
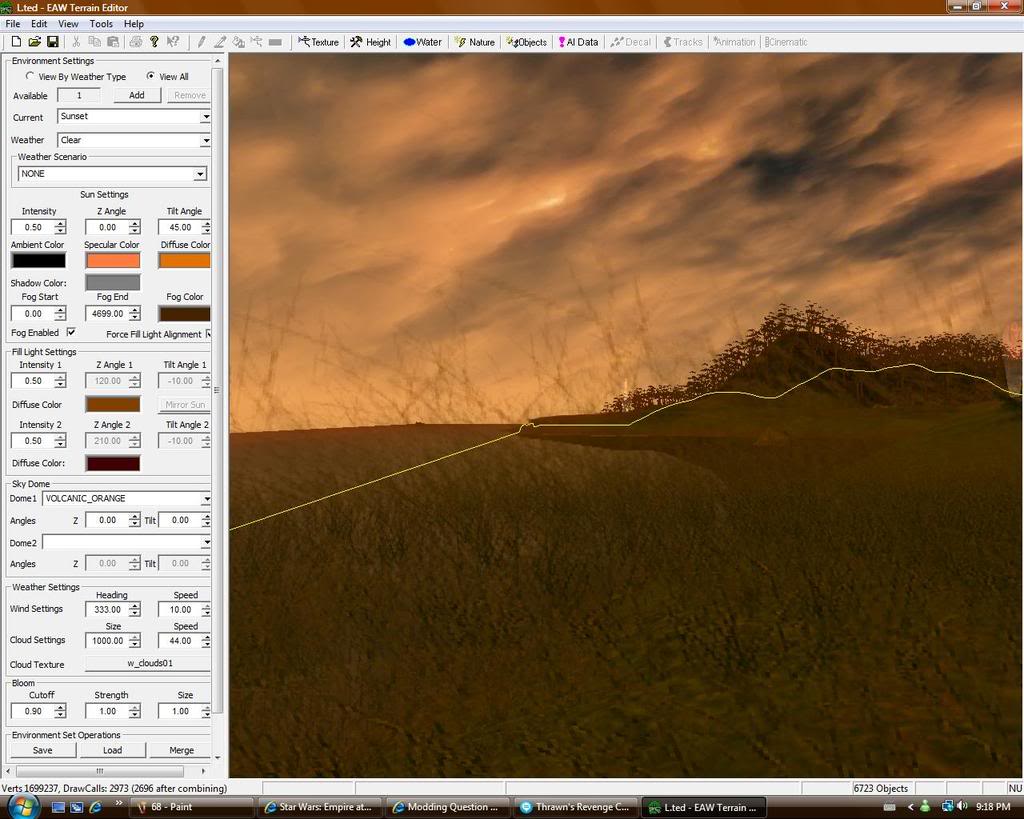
Tutorial made by Enceladus. This tutorial is the intellectual property of Enceladus. This tutorial will only be posted by Enceladus. If you see this tutorial posted by another member of the internet community please contact me at Enceladus_life@hotmail.com.
Never give up on mapping. Always push yourself harder and achieve higher.
~Enceladus~



Very nice, this should help. Your map looks awesome too!
Nice
I'm glad it helped.
how do I prevent the skydome from chopping off the tops of anything tall?
Increase the size of the skydome via XML coding.
theres a way to tilt the sky dome but it looks kind of dodgy
thanks for this detailed maping tutorial, this will surely help me with my star trek at war mod :D thanks again
Very nice tutorial. Helped me alot :)
so how do you get it into galactic conquest?
code it into a planet via Planets.xml
Thank you, this is very useful, but could you make one for space as well please, then i'm sure i'll be making my own planets in no time.
wow, your awsome at making a custom map, though i wish i cold learn how to make a space map.
cool
Can you make a space tutorial?
IMO space is easier to make then ground is.
How would I code a map into the game for GC?
I learned a lot of things about mapping by myself but this tut. answered the questions that I had, thank-you!!
what bout the player thing's
What about them? If you're referring to the player 00, 01 etc. structures and markers those are used in skirmish map creation. This tutorial details making a map for galactic conquest.
hello,
i have greated a map but how can i play with the map?
This comment is currently awaiting admin approval, join now to view.
so youre a mapper - and an awesome one too
now we know how to make land maps, and space maps. so wheres the REST of the tutorial?
how do you make a custom GALACTIC CONQUEST map? the planets and the spaceships and the like. HOW do ya make one?
How Do I Make It So That I Can Choose Where The Buildings Go?
was expecting a tutorial about how to make a custom galaxy gc map, choosing what planets would be present, starting credits, tech level, garrison etc