Its an advance tutorial which is in relation with previous tutorials,
so kindly review them before it:
Updated Character Model Porting Tutorial
Vehicle Model Porting Tutorial (Basic)
Vehicle Model Porting Tutorial (Advance)
Animated Weapons, Armors and Helmets Tutorial
Cannon, Helicopter, Tank Tracks and Hatch Tutorial
Requirements:
Character Animation Model - Updated 9-7-2019 - Mega
Character Animation Model - Updated 9-7-2019 - Media
Character Animation Model - Updated 9-7-2019 - Drop
Character Animation Model - Updated 9-7-2019 - Google
Gerrys Mod to 3D Max - Google Drive
Gerrys Mod to 3D Max - Dropbox
Garry's Mod to 3D Max - Media Fire
Combine Pack Updated on 23-8-2019 Media Fire
Combine Pack Updated on 23-8-2019 Mega
Combine Pack Updated on 23-8-2019 Google Drive
Combine Pack Updated on 23-8-2019 Drop Box
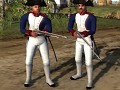
-Its a very short tutorial, as those who already master the basic porting methods this will help them to enhance their creativity, just review the file from provided sample and get along with the tutorial (and I know its ROUGH sample, but it must be, as its for the demonstration about the possibilities, will going to publish finished models in near future at separate article).
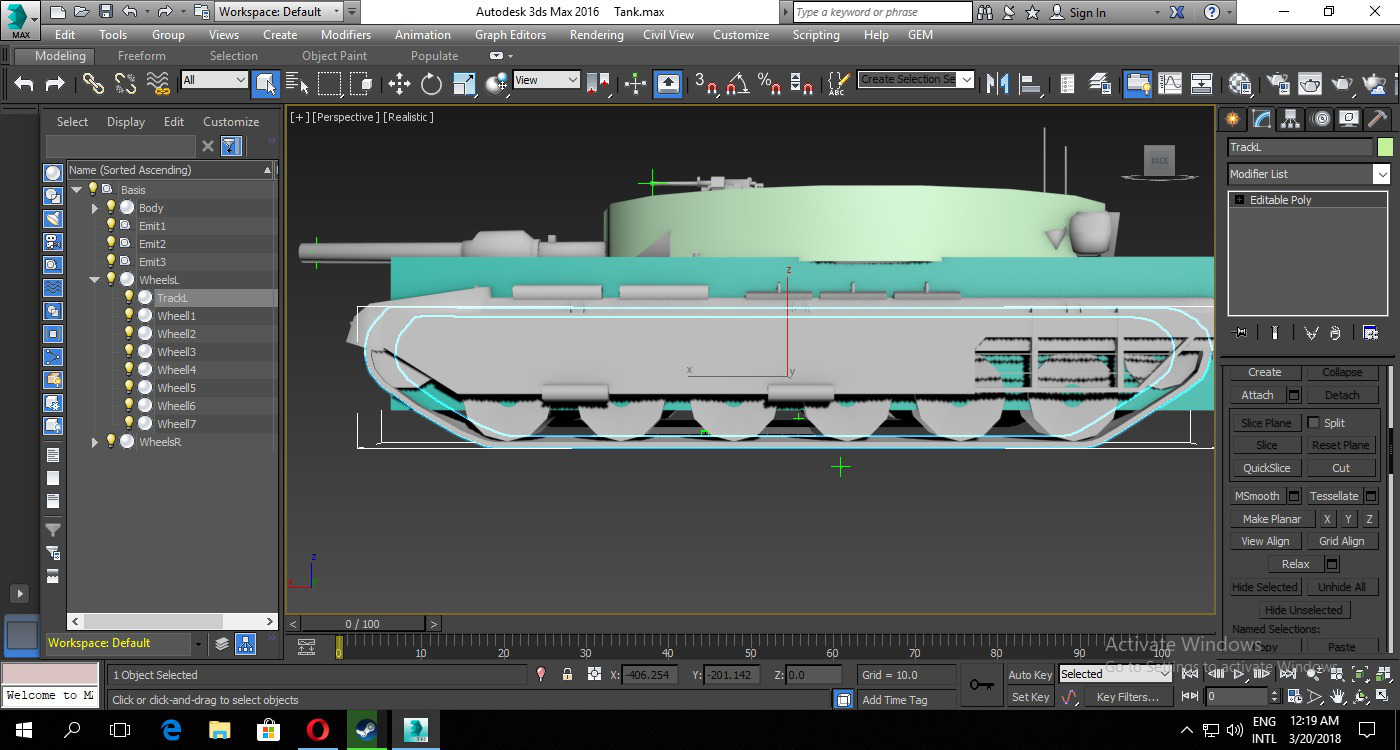
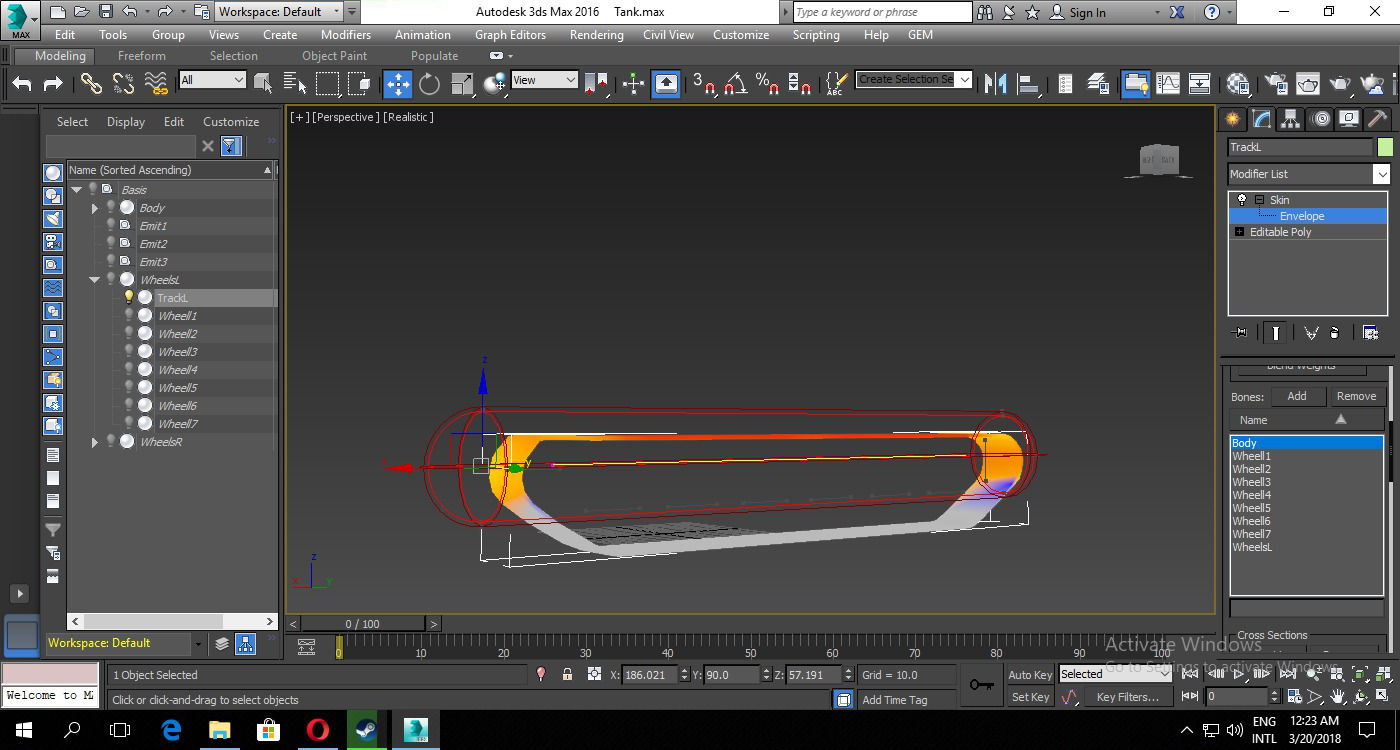
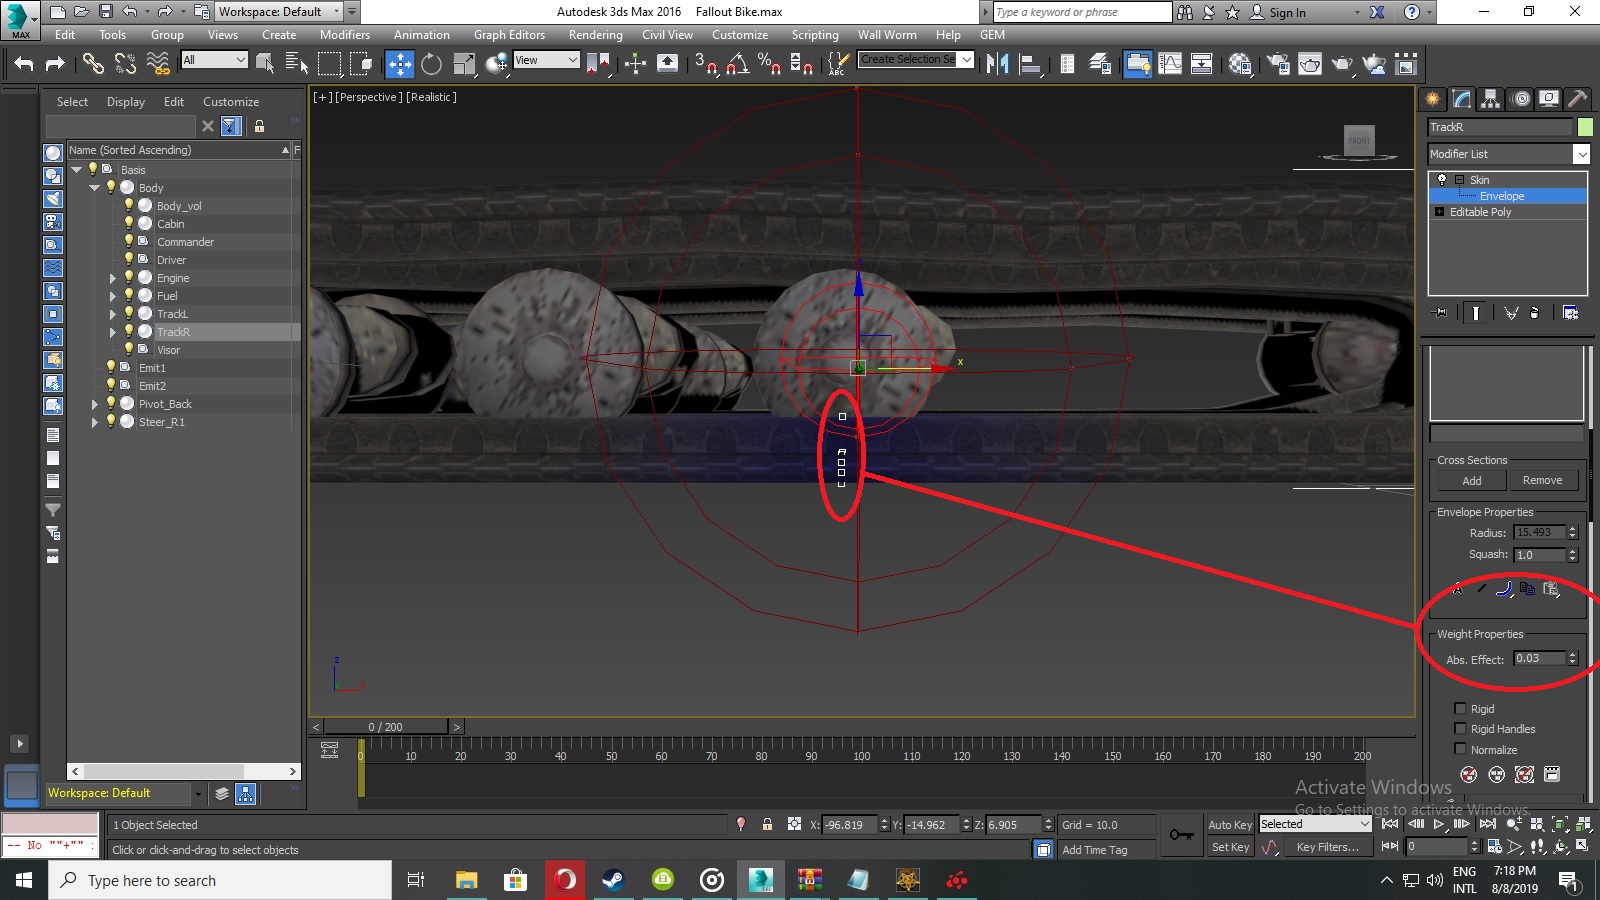
-So we start with basic skinning, we go with tank tracks, for that we have to change tank tracks as SKIN so that we can easily mold it to attach its VERTICES / VERTEX with both BODY and WHEELS, by assigning them as BONES to tank tracks, and so does this method can apply over any object from Machine Gun to Main Gun or Armored Robots or Mechs.
-Please review following picture for better understanding, as it also gives more DEPTH to tank tracks ANIMATION and by this example you can also create same physics based armors and other objects like ANTENNAS where as for bones you can control them by POINTERS instead of any visible object AS WELL and you can also give those pointers a PHYSIQUE MODIFIER to to make complete PHYSICS based MESH as to which pointers are attached.
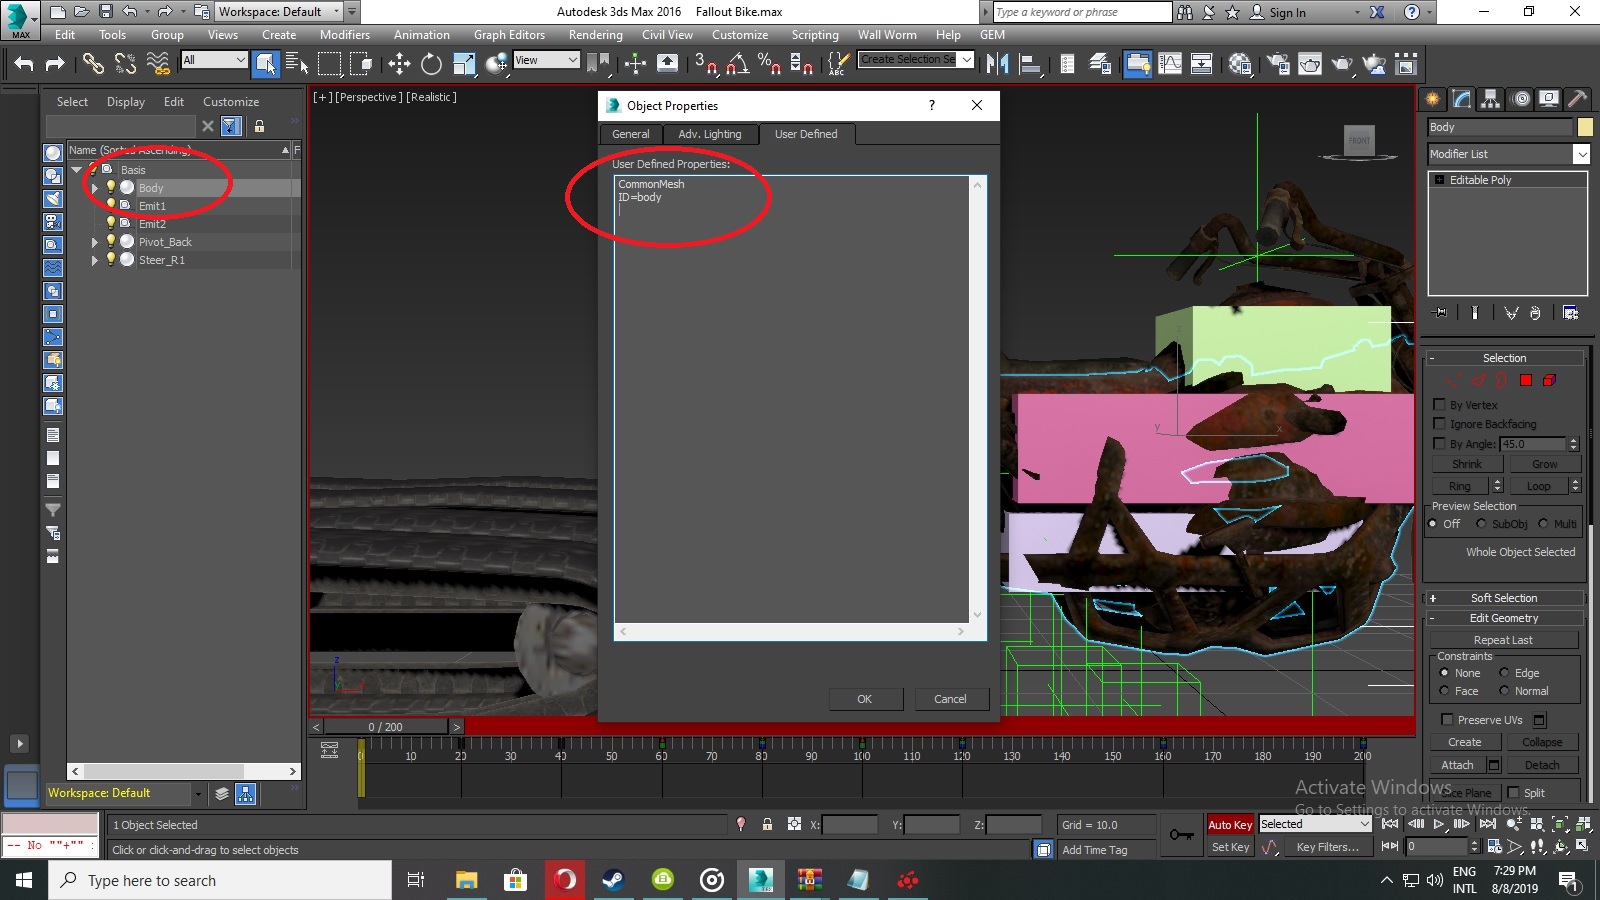
-First make sure all your objects are in EDITABLE POLY, second they must have ID (Example ID=Mgun or ID=Body etc) command and "CommonMesh" in their properties.
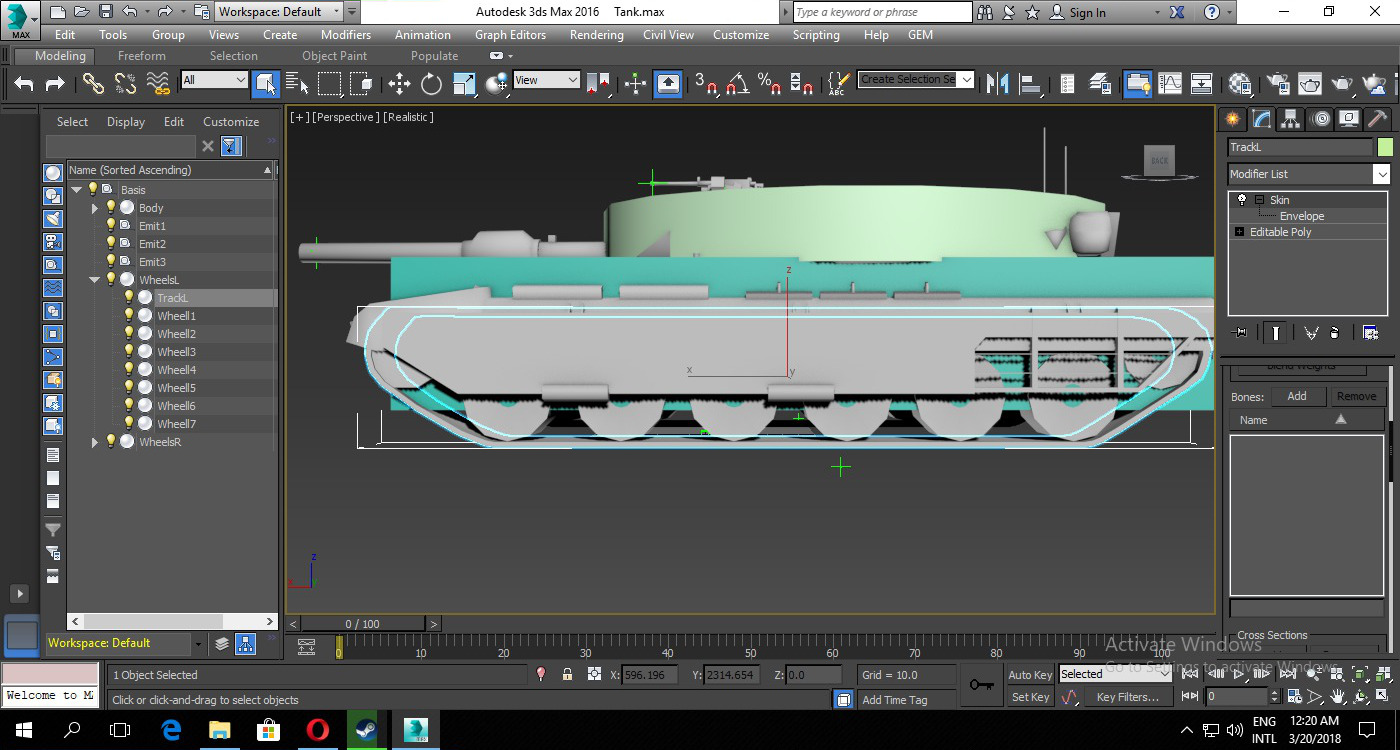
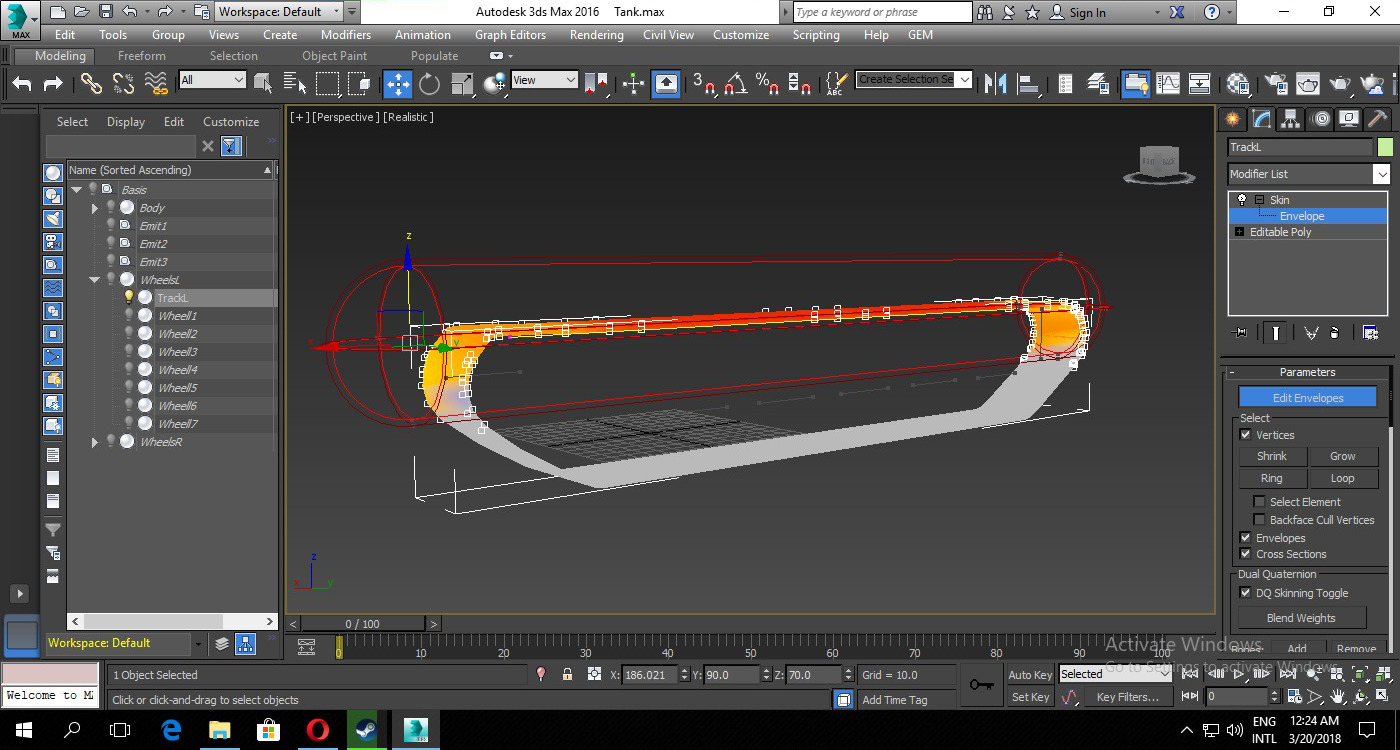
-First we have to apply Skin over object (also noted, that tank tracks basic movement isn't effected by skin but instead it will sync with wheels), so add skin modifier over tank tracks add all wheels as bones in it and set its (tank track) "abs" and adjust "envelopes".:
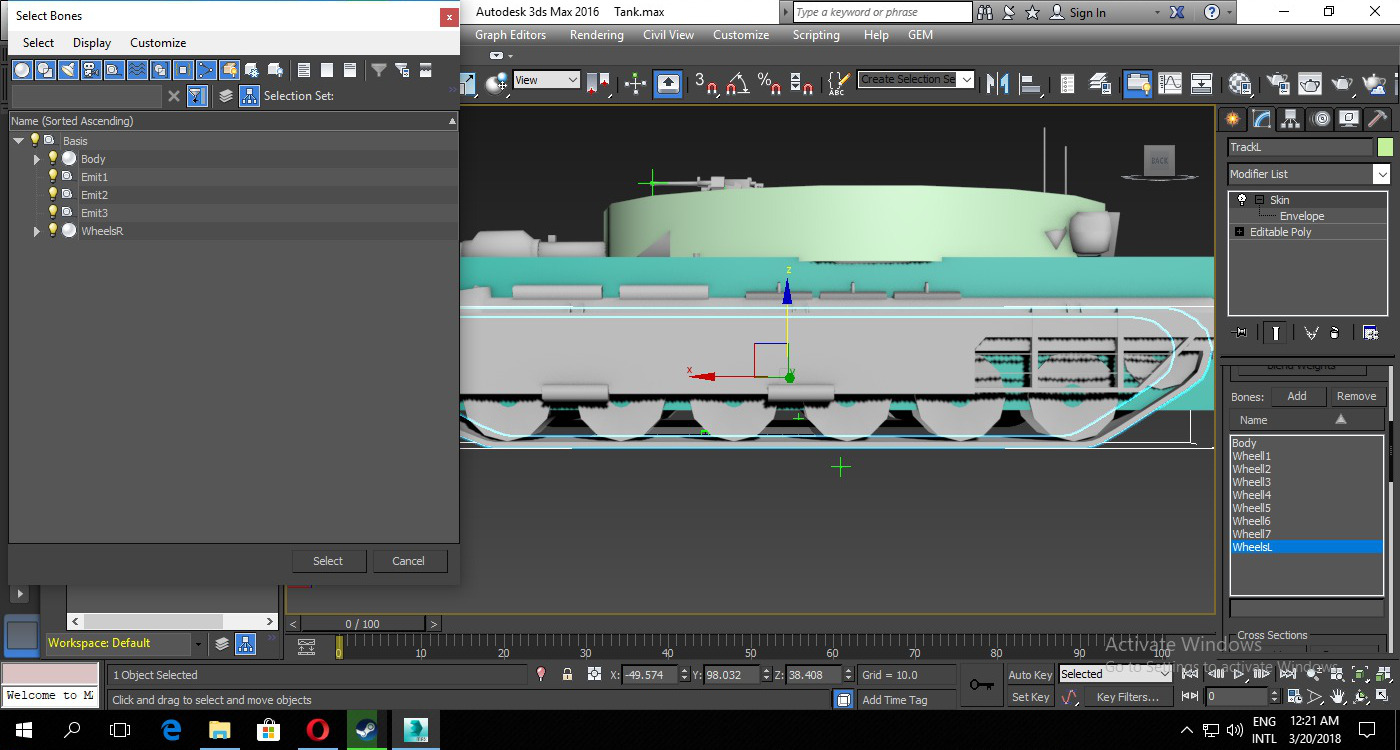
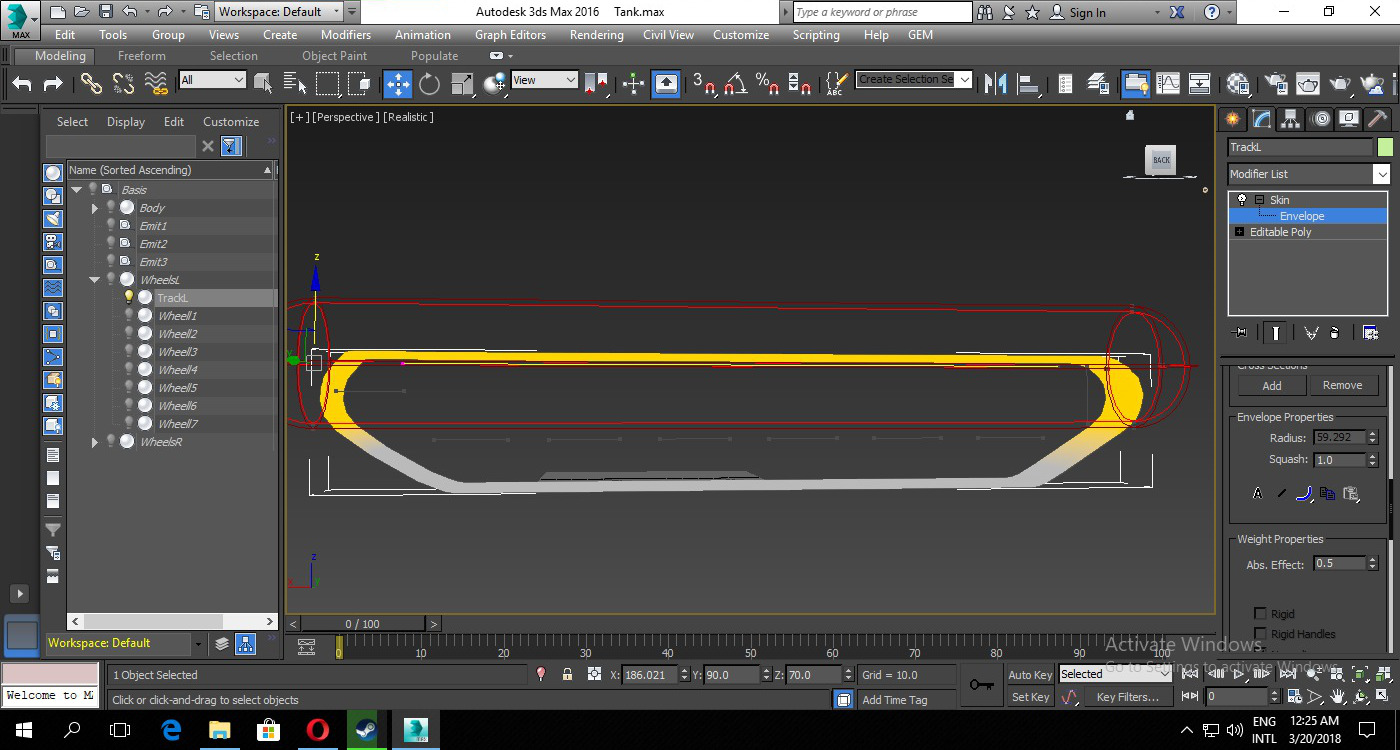
-Now to adjust "ABS" start adding wheels one by one and UN-CHECK the normalize , rigged and rigged handle before mentioning values to "ABS", adjust it to the point where it creates slightest rolling with the wheels, and make sure all vortex adjusted according to each wheel surrounding area so that it don't conflict with other wheels, so does same goes for all other skin objects with multiple bones:
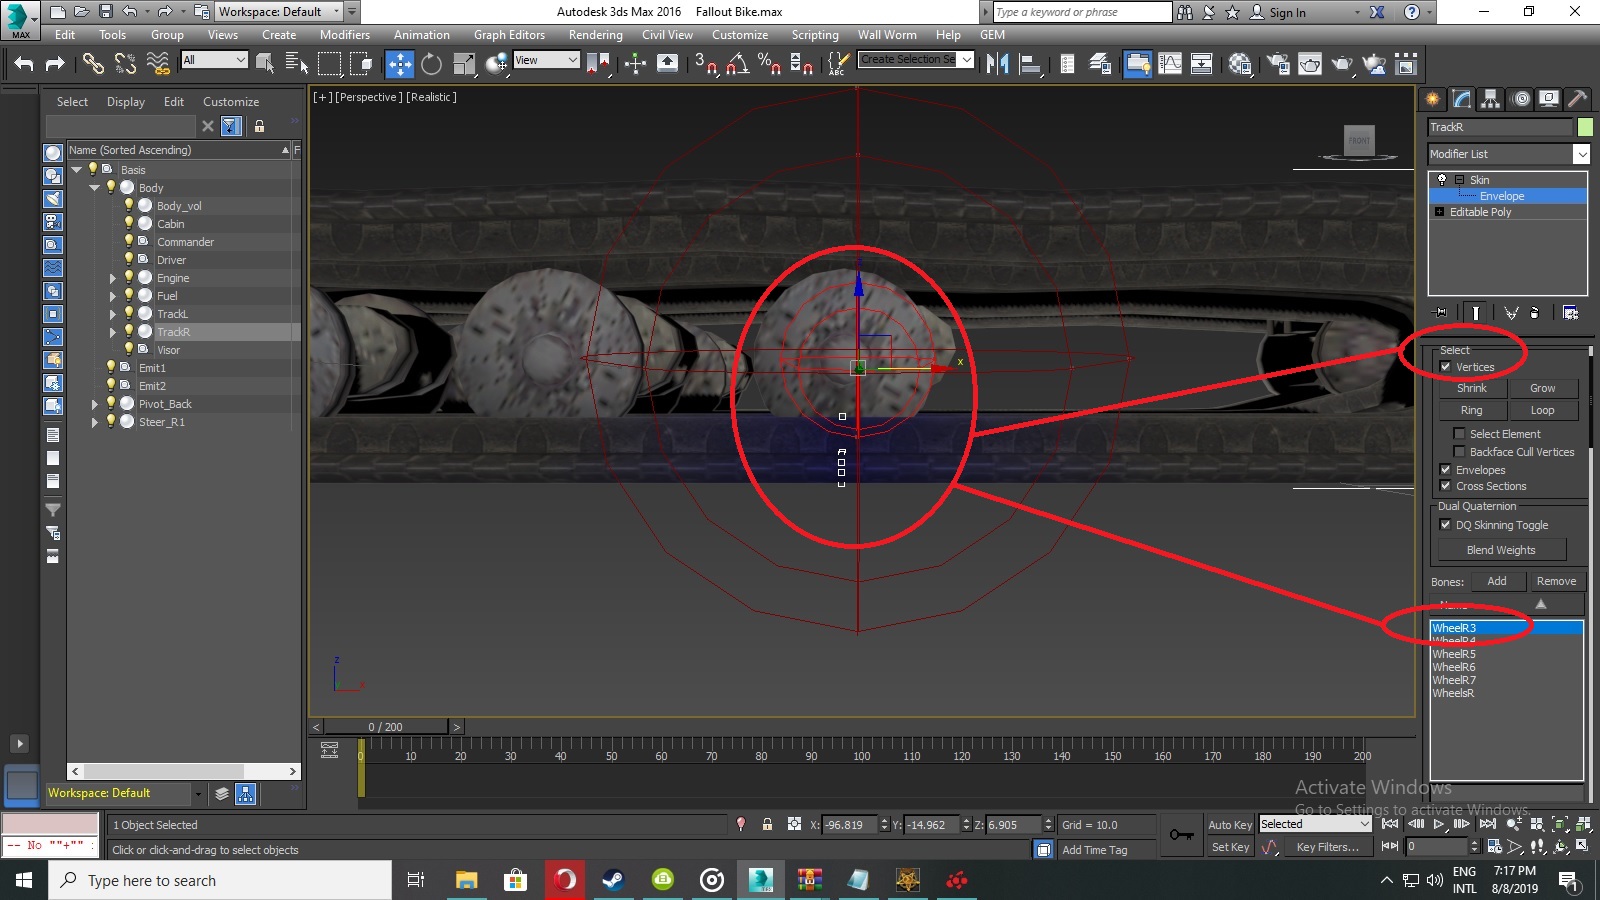
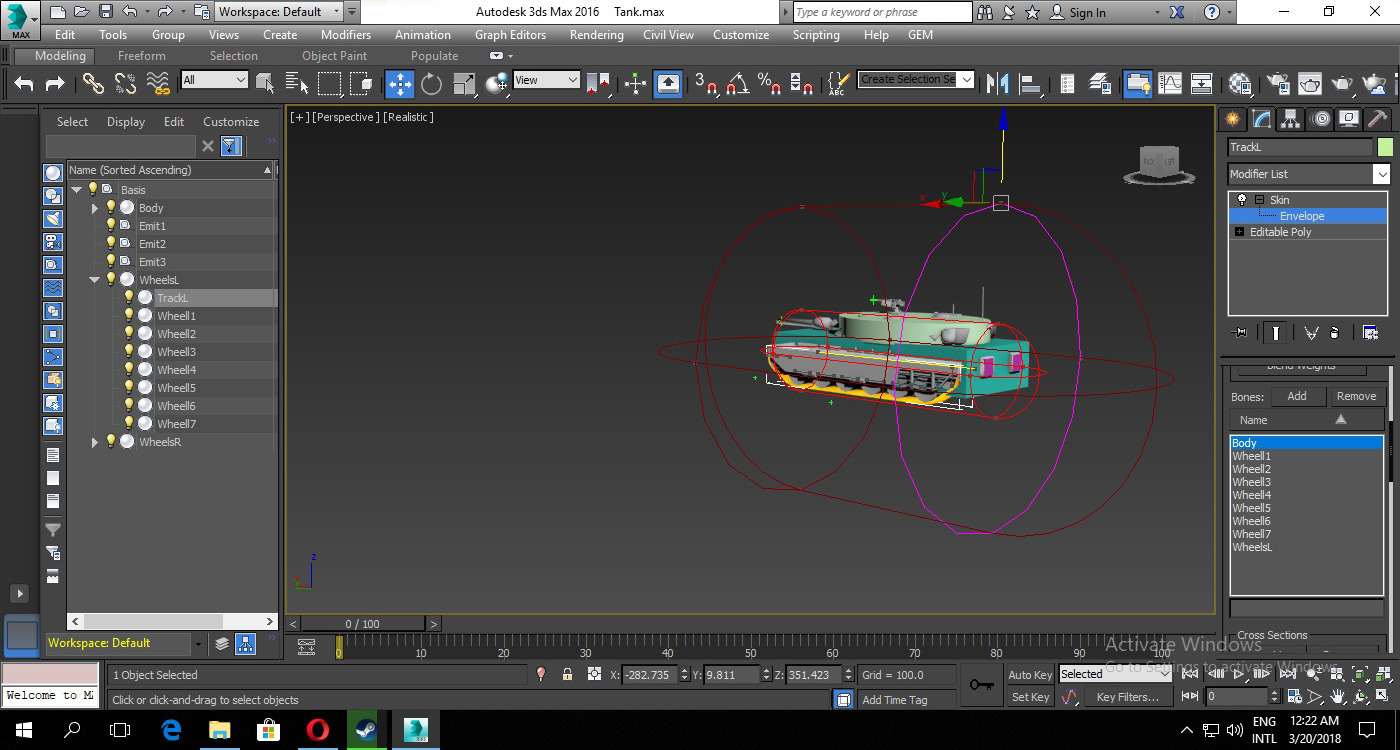
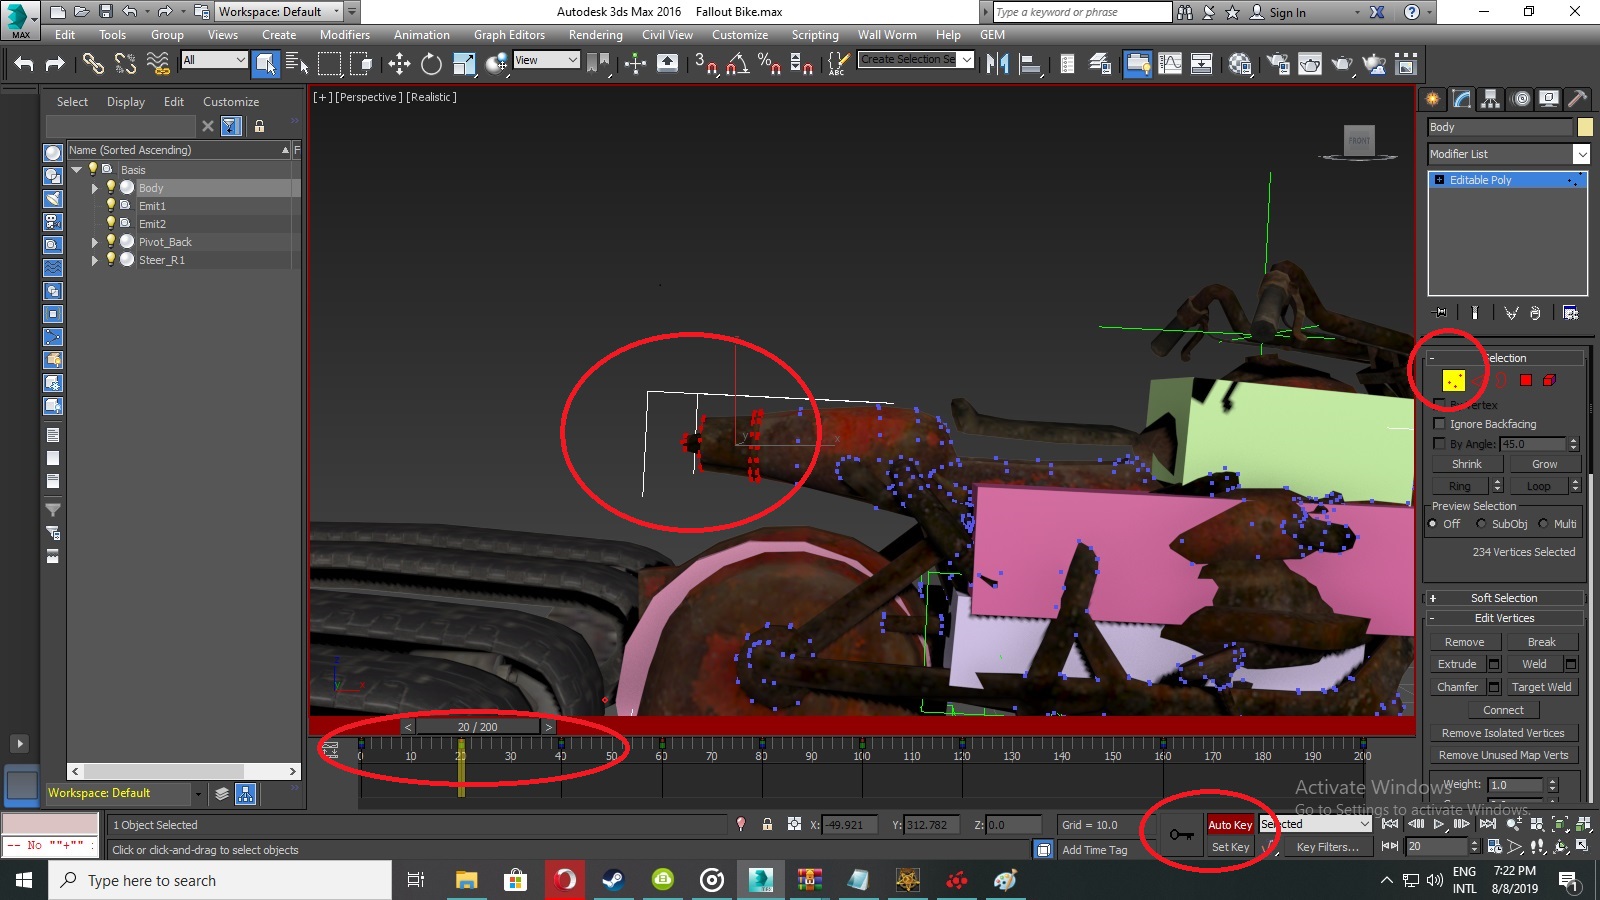
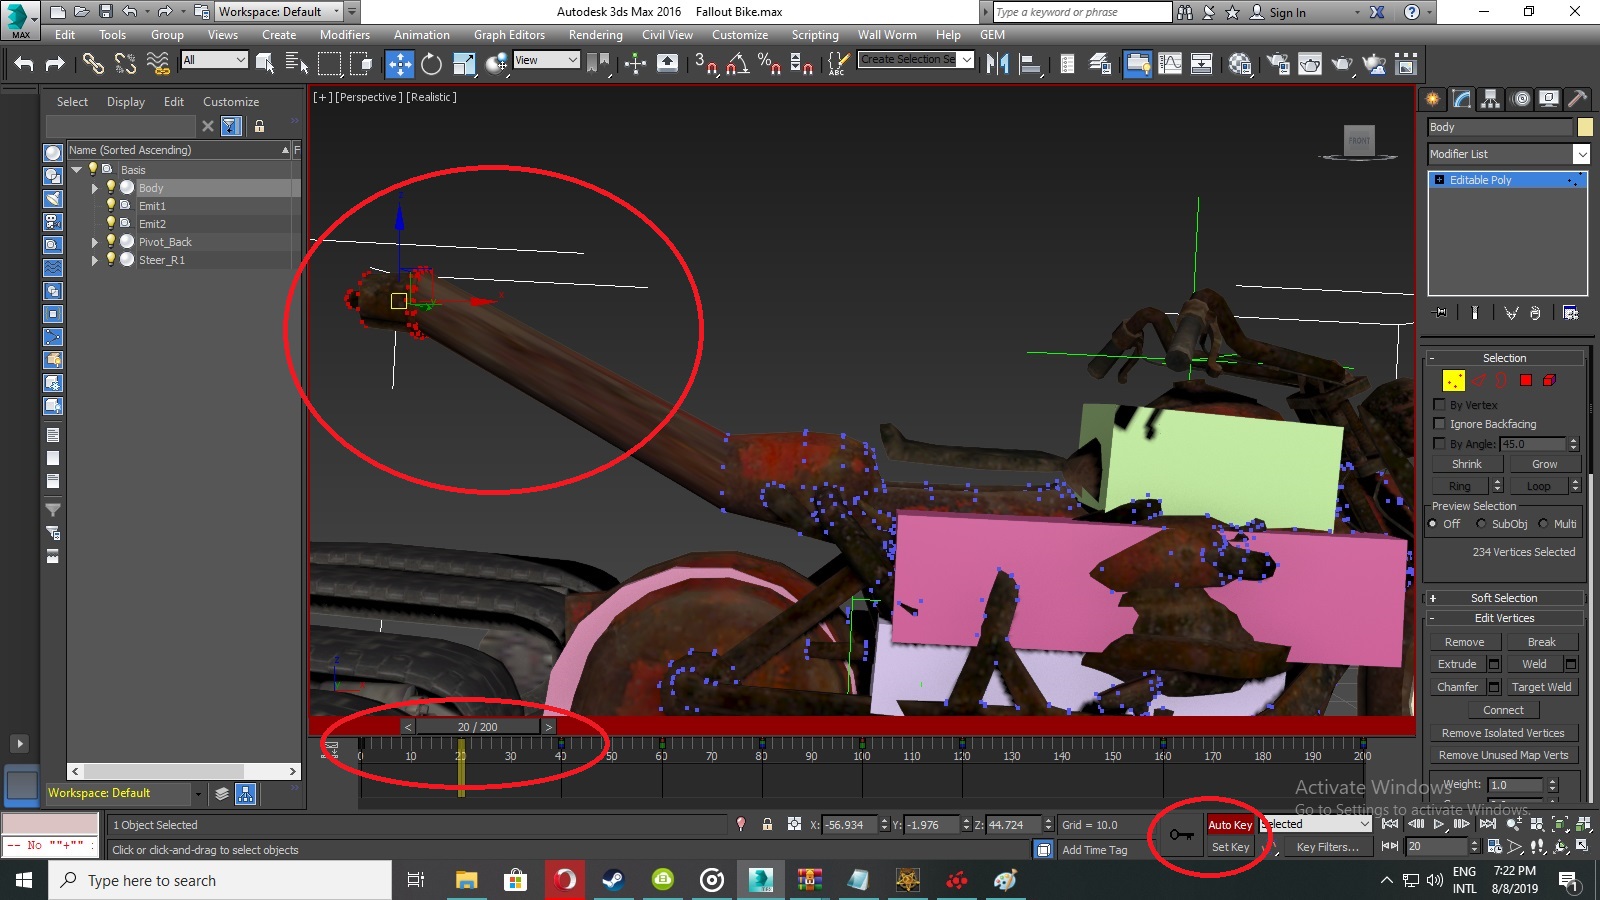
-For vertices / vortex animations repeat the same, make sure your object is in "EDITABLEPOLY" format and its properties must have "CommonMesh" and ID argument in it, while rest is simple just select the vertices / vortex from the object and and mold them or drag them do what ever you want to do to set animation and they all will played in game, you could create the human armors and weapons with same technique along with vehicles and you can also create entities like horses and other animals as ride able vehicles to cover static objects of that horse and other type of entities with skinning:
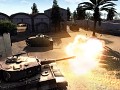
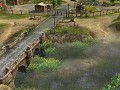
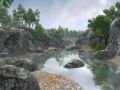
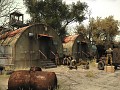
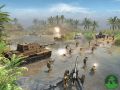
-In game demonstration:
- And again these tutorials are just food for thought, where possibilities are more than that, so trials and errors are you best friends to learn.


how about modding stat cards?