Creating an animated texture for games like Half-Life 2, Team Fortress 2 or any other source game isn't difficult at all. Just follow this tutorial, and you'll be able to make your own animated textures with ease.
The following programs I'll be using won't cost you anything. You can download them for free from these links below.
- GIF Splitter (Optional)
- VirtualDub (Optional
- Paint.NET (Optional)
- VTFEdit
Step 1 - Creating the images for your animation
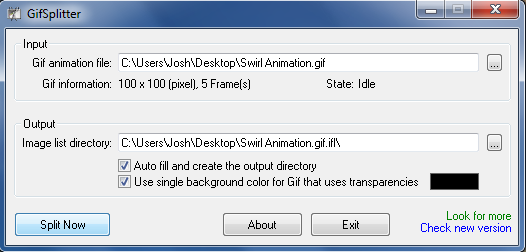
You can either use GIF Splitter for short animations, or Virtual Dub for long animations. If you're using a video clip for your animation, save it as an "Image sequence" and make sure it plays at 30 FPS (Frames Per Second).
Here, I've picked a swirling animation, and now I'm going to split the animation and place a folder on my desktop with every picture that's been split.
Step 2 - Changing the image format
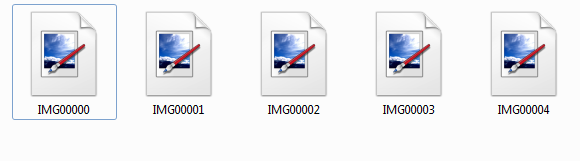
If you open up the folder, you'll see the images named "IMG00000", "IMG00001", etc. You'll need to edit these pictures using Paint.NET, Photoshop, GIMP or any other graphics editing program you prefer to use that supports the TGA format.
Not much editing is required, you only need to change the image format. If you want to resize the image, that's up to you.
Make sure you save the images in a TGA. format with these settings shown below.
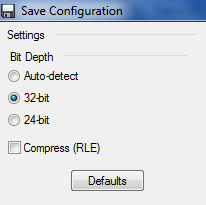
Keep the images uncompressed with a 32-bit depth, otherwise it won't work.
Make sure you keep the image names in order, like this.
When you're done, open up VTFEdit and we'll start creating your new texture.
Step 3 - Loading your saved images into VTFEdit
Click on "File", "Import" and copy the images that you've made. To select more than one texture, just hold down "Ctrl".
When you've imported the images, this window will open:
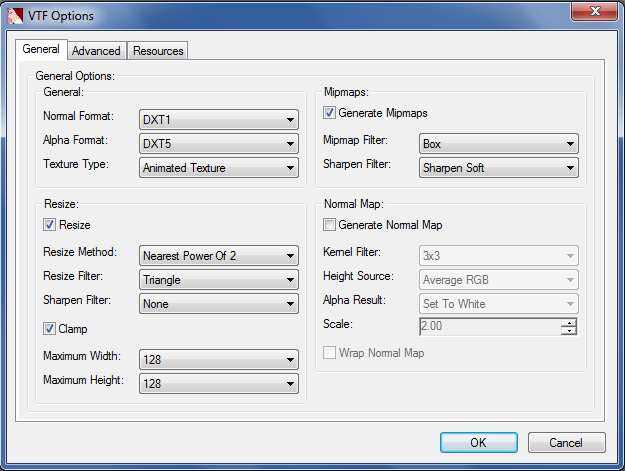
Make sure that you apply these settings but, you can change the Width and Height depending on how big your animation is. When you're done, click "OK". "Advanced" and "Resources" arn't important.
You'll see your animation in the main window. If you click on "Play" your animation will be previewed, don't worry if it plays too fast, that's normal. It will preview every frame you've added.
Before saving your animated texture, make sure that "Auto Create VMT File" is enabled. To do this, just click on "Options" and enable it. We'll be adding some code to the VMT file to make the texture animate.
Now save your texture.
Step 4 - Coding and storing your texture
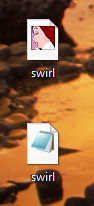
Here, I've saved my texture onto my desktop. You should have these 2 files.
Open the text file, remove all of the text and replace it with this code:
"LightMappedGeneric"
{
"$baseTexture" "animated/swirl"
"$surfaceprop" "Default"
"Proxies"
{
"AnimatedTexture"
{
"animatedTextureVar" "$basetexture"
"animatedTextureFrameNumVar" "$frame"
"animatedTextureFrameRate" "1"
}
}
}
I'll explain what some of this code does.
"$baseTexture" "animated/swirl"
This text tell Hammer where the image is. Make sure it's stored in a folder. Like this,
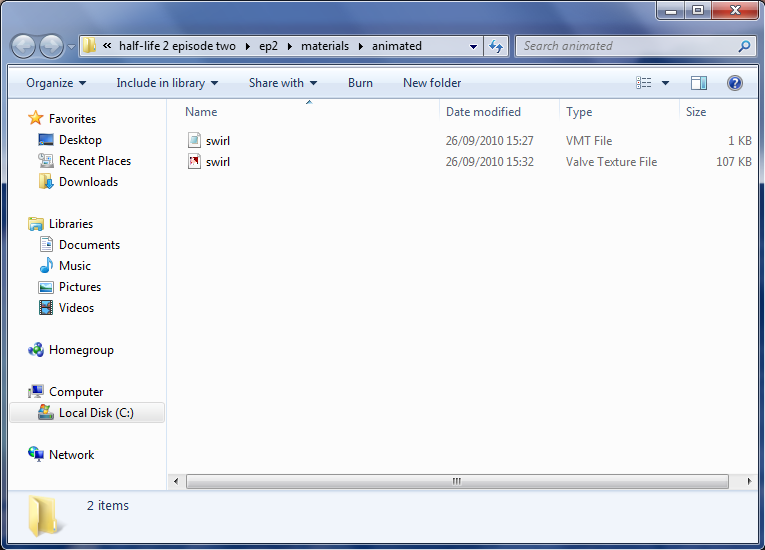
C:\Program Files\Steam\steamapps\username\half-life 2 episode two\ep2\materials\animated
"$surfaceprop" "Default"
Texture surface type. For example, you can change it to "Wood", "Metal", "Tile", etc.
"animatedTextureFrameRate" "1"
This is the textures frame rate, I'll be switching it to "30".
Save the text file and move it to what game you want to use it with. As shown above, I'll be using Half-Life 2: Episode 2.
Load up the Hammer Editor and you should find your texture under the folder you've saved it in. The texture won't animate in the editor, but it will in-game.
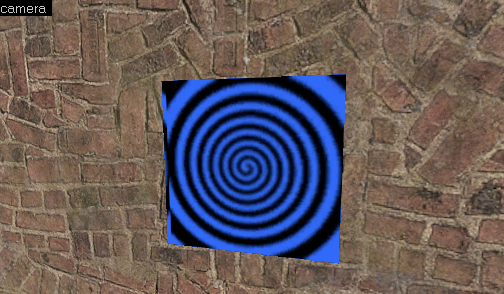
Let's see what it looks like in Half-Life 2: Episode 2.
Thanks for reading, and if you get stuck with anything, just let me know.


Should have replaced the wall texture with that swirl. Great tutorial though, really helped alot.
finally a proper help!
thanks! :D
cheers bud saved me some time.
Yay, i know how to make a clouds =) xD
Thanks man! This helped soo much :D
Now I can plaster the walls of my map with nyancat ~~~
This comment is currently awaiting admin approval, join now to view.
thank you =)
not working for me... :/ but I try with 2786 pictures... may be it's the problem ?
Into hammer i've ping & black texture and the same into game.
finaly work with little resized pics.
Jesus... 2786 frames?
yeah, for testing adding a "video" into
I followed your tutorial to the letter except for naming the animation which is a scrolling LED sign. It doesn't work. The sign scrolls perfectly in VTFEdit. I have no idea what to do now.
Have you changed the "animatedTextureFrameRate" from "1"? The higher the number, the faster the frames will animate.
This comment is currently awaiting admin approval, join now to view.
For me it's just a white thing, what did I do wrong? I even restarted SDK but didn't worked.