Shield of the North: A Guide to the Kingdom of Dale
Dale is a faction with many advantages. In some ways, it is similar to the Empire of Harad: both factions boast a large and varied unit roster, both factions can command great wealth, and both have several unique ways to leverage their power as they begin to expand.
But where Harad gets a lot of its battlefield power from overwhelming offensive strikes (in the form of its Mumakil or its excellent cavalry), Dale is more suited to defense. This defensive strength, combined with its other factional benefits, makes Dale perhaps the easiest faction in Dominion of Men - the most welcoming to a new player.
Dale begins the campaign with 7 settlements and 2 allies, in the most secure position of any faction. Much of Dale's northern border is protected by one of those allies, the Dwarves. 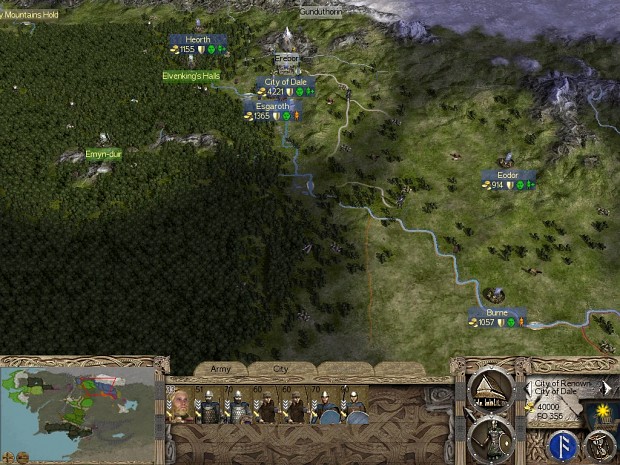
The Dale-Dwarf alliance is permanent, meaning you can leave settlements like Dale and Eodor with a skeleton garrison and not worry about inviting a backstab. And, while the Dwarves mostly defend their settlements, only rarely coming out to patrol their lands (and bribe the occasional enemy town), for the entire game, you can count on them as solid trade partners.
The Trading Posts Specialization Building will ensure that your river provinces, such as Esgaroth and Burne, are profitable. Eodor makes a fine Military Policy settlement, perhaps with a Siege Workshop (for ballistas and... other options). But Dale itself will do most of the recruitment in the early years, providing hardy Black Spears and Hearth-troops while your other settlements train lower-tier bowmen and militia types to fill in the ranks.
Your second ally is the Beornings, whose lands for the most part lie south of your westernmost settlement, Framsburg. This alliance is rather less secure. While these Woodmen are at first interested in exerting their dominance over the independent settlements along the Anduin, the Beornings may begin to eye Framsburg with increasing jealousy over the years (and indeed, Framsburg is a required settlement for victory as the Beornings).
This is obviously problematic, as Framsburg is the most isolated of your starting settlements.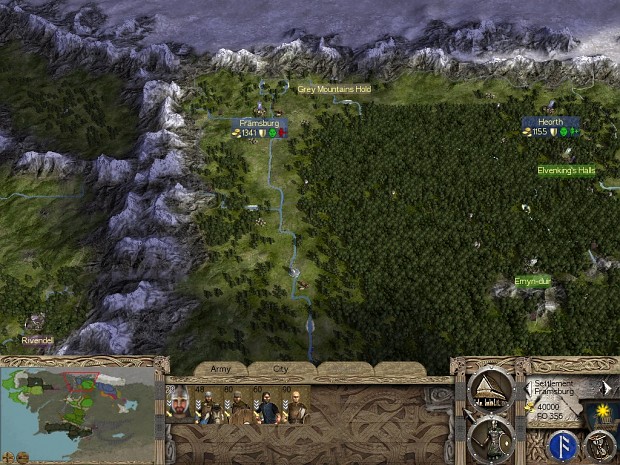
The units you can train here are Woodmen at the lower tiers - poorly armed and less disciplined than the soldiers you have available in your core provinces. In order to keep Framsburg secure, you will want a Military Policy here. This policy, with the proper buildings, will allow you to recruit essential units like Black Spears and Riders of Dale to hold off a Beorning attack and, if desired, push your realm west of the Misty Mountains. A Dwarven Armoury Specialization Building is also a good build in Framsburg, to ensure soldiers trained here wear the highest quality armor.
It is possible, however, to maintain peace with the Beornings through diplomacy. You'll need to maintain a large enough army in Framsburg to discourage any attack, while using an Emissary to pay the Woodmen to attack other factions such as Adunabar (and bribe the occasional army that wanders into your territory).
Diplomacy is actually an effective tool for Dale. Partly this is due to your Emissary Headquarters Specialization Building: construct one early on in your capital, and you will regularly have 3- or 4-Authority Emissaries to bribe encroaching armies into nonexistence, pay off your rivals against each other, and intimidate other factions into ceasefire or even protectorate status. (The Emissary Headquarters also eases the integration of other settlements into your realm - an invaluable benefit.)
But a large part of why diplomacy works for Dale is because you can grow very rich off the river trade that passes along your kingdom. Diplomacy costs a lot of money, usually, to get results - but when it gets results, it can pay for itself many times over.
One example of how to leverage your wealth into diplomatic dominance is in the early wars you face in the east of your realm.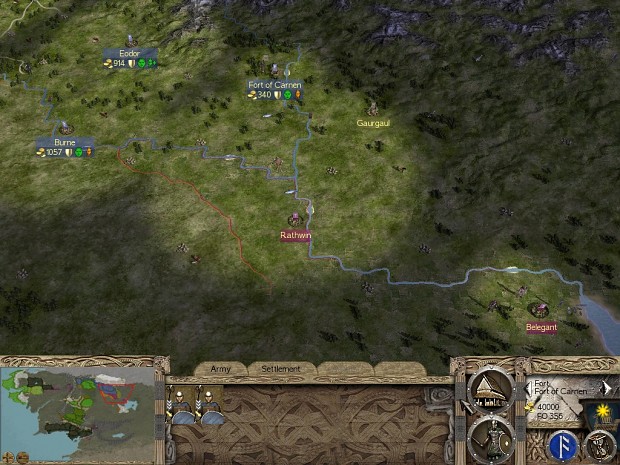
In addition to 2 allies, Dale also begins with 1 enemy: North Rhun. This Chiefdom - an offshoot of the Easterlings from further south - will trouble your lands early on, besieging and probably taking the Carnen Fort which protects your border. They are an aggressive faction at the outset, but after a few turns of training and assembling a full stack or 2, you can move against them swiftly and deal great damage with your longbows and heavily-armed spearmen.
If you act aggressively - destroying their field armies and besieging their settlements - North Rhun will likely beg you for a ceasefire. This is a sign that you have a faction right where you want them. Counter with a demand that they become your protectorate, and offer as much money as you can afford. Consider offering some of their settlements back as well.
While this may seem all too generous, gaining North Rhun as a protectorate has some excellent benefits. First of all, you will get all of your money back, with interest, on the very next turn, and they will continue to send you tribute every turn thereafter. Second, their Chiefdom will act as a buffer state between your realm and the larger Chiefdom of Rhun. Third, North Rhun can horde. If you take their last settlement, you may find that you have just made life very difficult for yourself. (Plus, their barbaric lands will rankle under your direct rule - much better to let the Easterlings deal with those provinces themselves, and send wagonloads of tribute to your capital every turn.)
So, if you can manage it, getting them as a protectorate is far preferable. Of course, the other factions in the area may not be so happy that you are extending your hegemony. Expect Rhovanion or Dorwinion - or both - to make an attack.
Fortunately, these factions are both Northmen like you, and their lands are ripe for the plucking. Your veteran armies that just subjugated (or eliminated) North Rhun can make short work of these upstarts, and swallow up their own territories - or make them protectorates, too. One exception here is Belegant. Not only is this on your list of victory conditions, but its potential for wealth is very high. It also offers some unique recruitment options in the form of Dorwinion Halberdiers.
If you have gone the diplomatic route and forced these factions under your rule, you will have a rather quiet section of the map for the rest of your campaign. For further expansion, you'll need to look west, either annexing the Beornings' lands or crossing the spine of the Misty Mountains to attack Adunabar.
On the other hand, if you destroyed these recalcitrant Northmen, you'll have more fighting to do. The Chiefdom of Rhun often conquers into Rhovanion, and if they are not occupied with wars in the south, they will take any opportunity to challenge you for these lands. Rhun can raise large armies to send against you, but your generally superior troops - and especially your longbowmen - will let you rule the battlefield defensively.
Battles for Dale go best when the enemy is obliged to march on your position, allowing you to rain down arrows and spears. But even when you must attack, your missile superiority will often force the enemy to charge your position, throwing themselves upon your line of Black Spears while your Dale Watch and Hearth-troops move to flank. The formations provided by the game when you arrive at the battlefield are usually sufficient for battles with the Easterlings, who will crumble in most infantry-vs-infantry clashes. If they field lots of cavalry, you may have a more difficult time. But if you field a reasonably mixed army with around 4 units of riders, your host will achieve victory except in the most dire situations.
One of your early large battles may look something like this: a counterattack from North Rhun as you attempt to take back the Carnen Fort: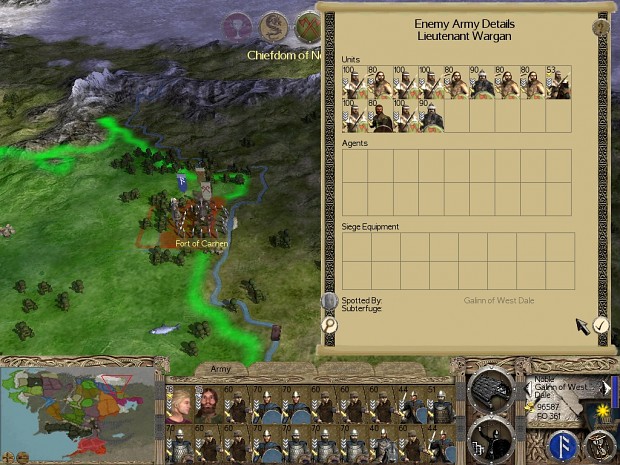
While you may be outnumbered in these early fights, your forces are easily capable. A formation of archers, infantry, archers is a good starting point:
Make sure your Black Spears are set to fire at will, and keep your cavalry to the rear. Wait for the enemy to approach and let your bowmen do their work.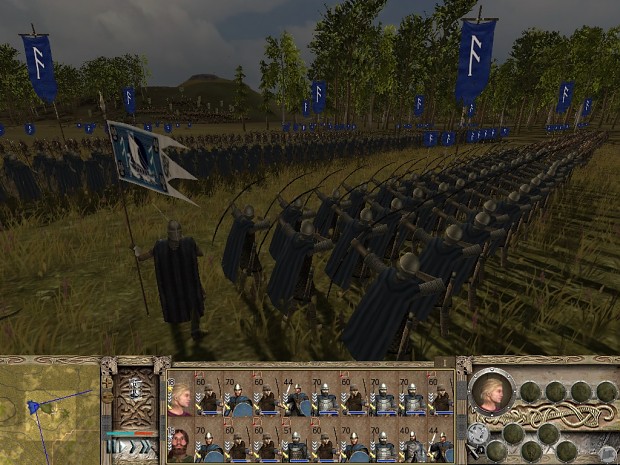
If the foe has few riders, your front line of archers can often skirmish out of the way, while your Black Spears cast their javelins at an already demoralized enemy.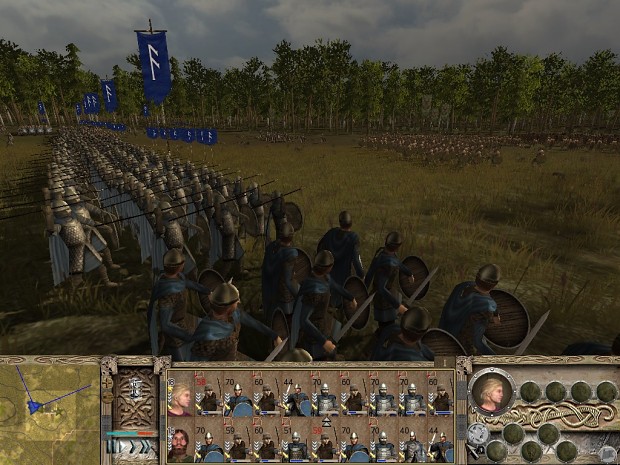
When the lines do clash, your spearmen can hold their ground while Dale Watch or riders move to flank.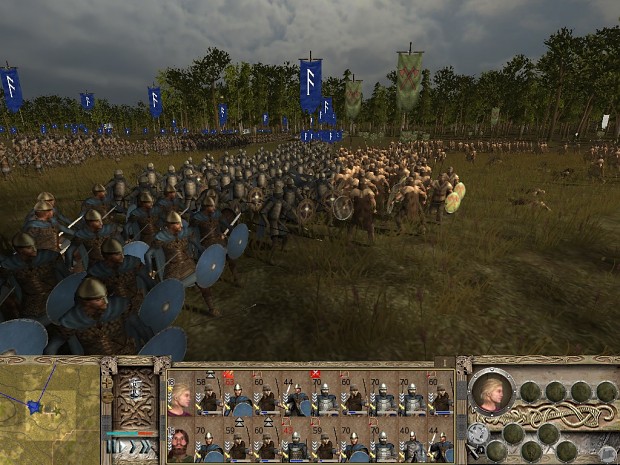
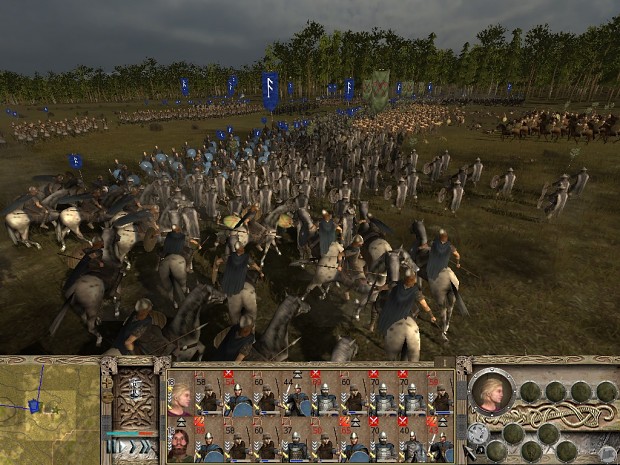
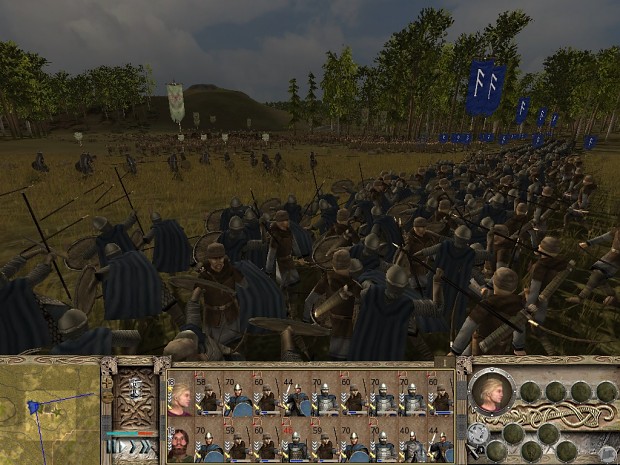
A total rout is the result - and your well-armed, missile-heavy force is still strong enough to push farther into enemy territory.
But the Easterlings are not the only foe you may face to your south. The lands east of Anduin and south of the Greenwood are a battleground between Adunabar, Rohan, and the Reunited Kingdom. Rohan is a strong kingdom with cavalry that is potentially dangerous to your mostly foot-bound armies, but by the time you face them you are likely to be fielding veteran hosts of your own. The Dunedanic powers are more dangerous, whether they take the form of Adunabar's Cultic troops or the RK's superlative infantry. These factions can field archers that rival yours, and melee troops that can cut your Black Spears to ribbons. Against such foes, you'll want to fight defensive battles, preferably on hillsides to tire the enemy, and bring Hearth-troops and any other units that are effective against armor. Several family members (with their extremely powerful bodyguard) in the army can provide some welcome shock cavalry.
These late-game battles are where you will see your well-laid plans pay off - or where you will watch in horror as your best army is destroyed by a superior force. So, while Dale has a fairly simple start to the campaign, there is still the opportunity for surprising reversals of fortune just as you feel victory is within your grasp.
With its advantages of wealth, diplomacy, and a balanced and varied roster, the Kingdom of Dale is poised to lead Middle-earth into a new age of prosperity and innovation. Whether saving the West from hordes of barbarians, or crushing rebellious kingdoms under its heel, Dale can be at the front lines of some of the most momentous conflicts of the Fourth Age, and leave its mark on the world for centuries to come.