Making a logo in the Gimp
When making a logo in the Gimp, there is the really easy way, the easy way, the intermediate and the difficult way. I will show you everything but the really difficult way to make a good logo.
Once again, this is a skill that you can use for nearly anything. Website headers, avatars, ModDB headers and when texturing or designing for a game.
The Gimp is kind enough to make this so easy that it's almost ridiculous.
Step 1 - open up the Gimp
Step 2 - Go to "File/Create/Logo" (Note that this also works for Buttons and Web Themes and Patterns)
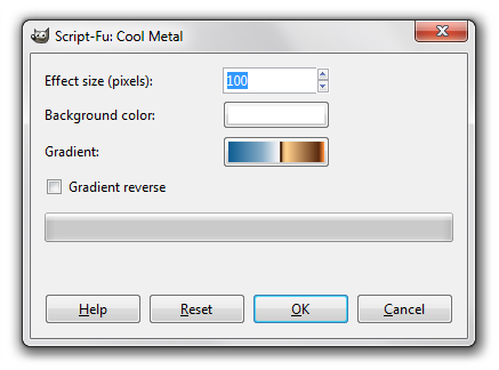
Step 3 - Select Theme (For this tutorial I will choose "Cool Metal")
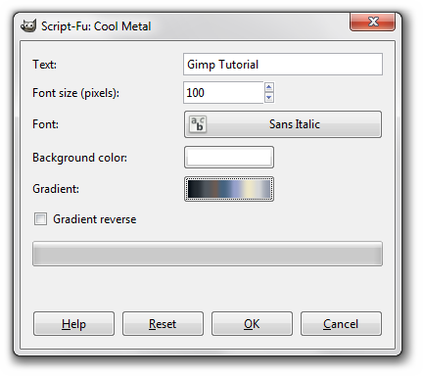
Step 4 - See Image Below
Here you can enter the text, text size and font. In most cases also the gradient or pattern which will fill the background or text of your logo. Note that you don't need to change anything here, you can press OK and the Gimp creates the logo all on it's own.
Step 5 - Press OK
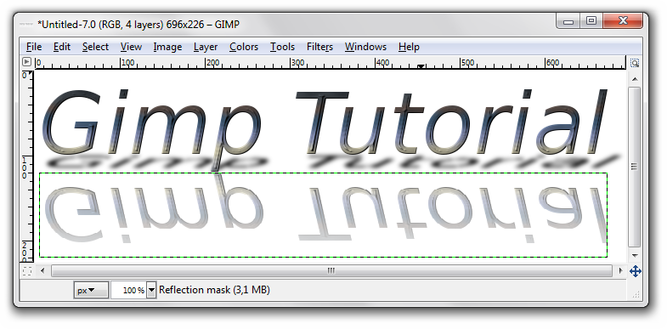
When you're finished with step 1 to 4 you should be able to see your logo like this:
Now you can further edit the logo or leave it the way it is and save.
Now for the intermediate method, this will give you much more control over the logo you are making.
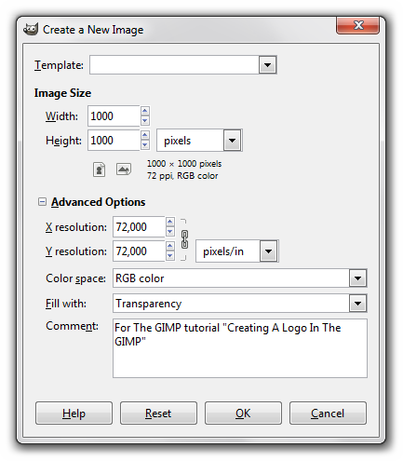
Create a new image:
I use my standard 1000 x 1000 pixels but you can use whatever size you feel comfortable to work with.
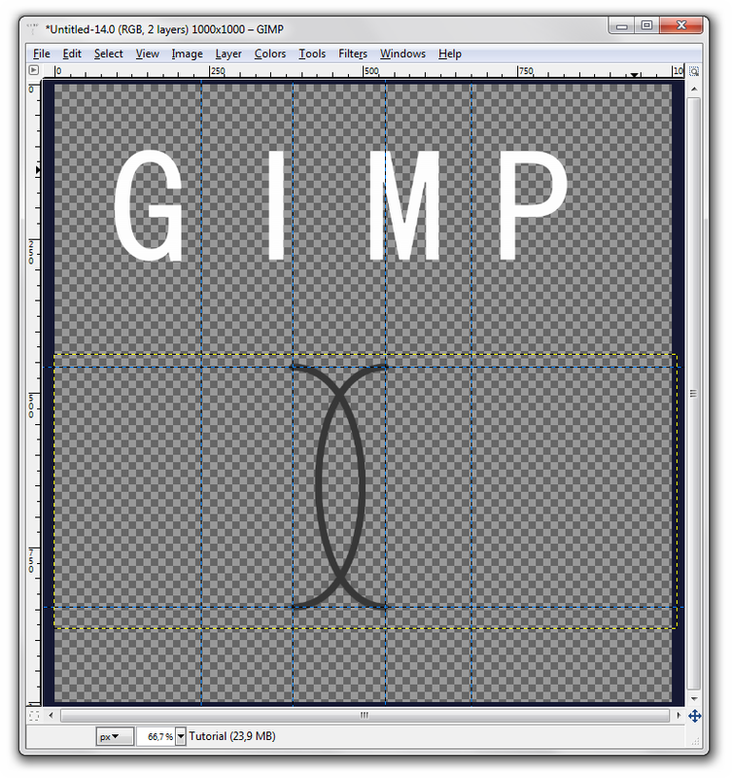
Now I can start making the basic shape of my logo.
If you forgot to add Transparency for the background, you can always add it later by going to "Layer - Transparency - Add Alpha Channel"
Here I've finished making the basic shape:
Now it's time to choose the theme of my logo. Once again, I'm going to use a logo effect to give my logo a cool look. To add an effect after you made your basic shape is done like this:
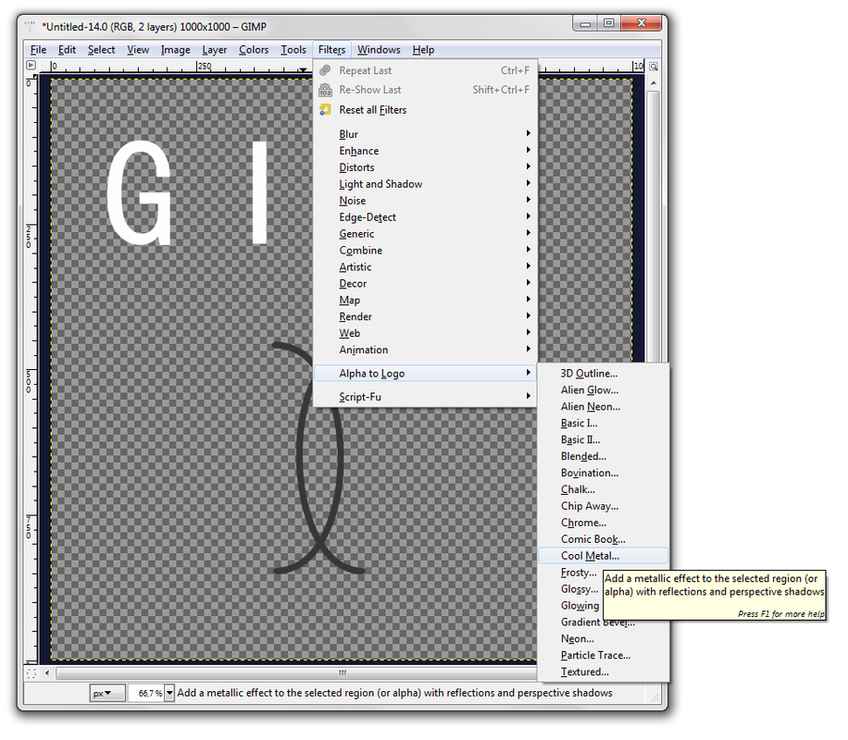
As you can see, the add text and font options aren't available anymore.
You can choose settings, for example, there are other gradients to choose from, if you like you can do so, otherwise just press OK.
After this, editing continues as normal.
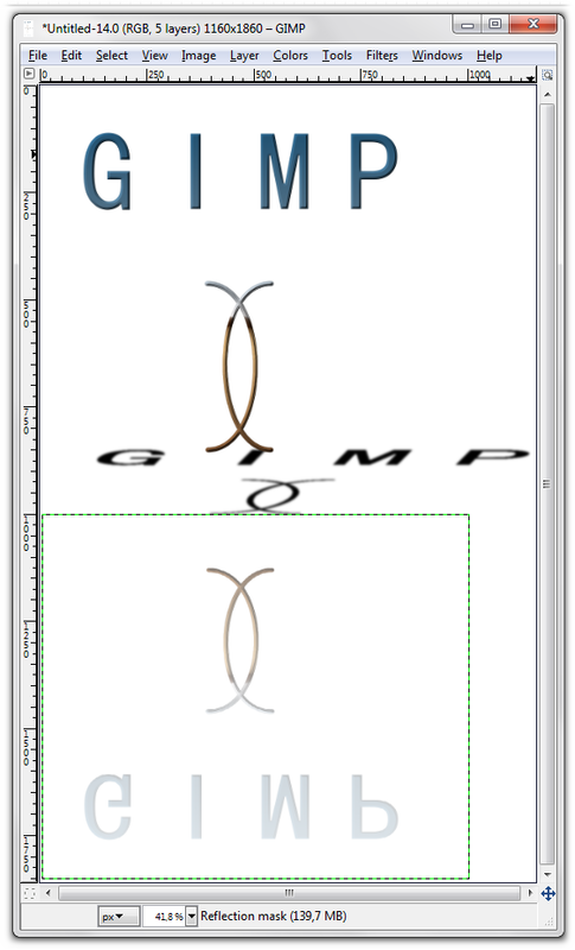
Here is the finished result of my logo:


All I edited after generating the logo were these 3 things:
1. I added the text "Tut rial"
2. I slightly tilted the thingy in the middle
3. I added different shadows under the image
Good job!
Thanks :)
These tutorials can now also be found on my website.
Cool thanks, I'll give it a try <:)
Very informative and easily understandable presentation Admiral. Well done !
Thank you :)
"I you for got" should be "I forgot"
Yeah, sorry about that. Corrected it now. It was supposed to be "If you forgot..."