These tutorials were originally written by Wolfen. And were originally posted to QERadiant's website. They are mirrored here for archival purposes. QERadiant can be downloaded here.
The Basics of 2-Point Clipping
Todays lesson is in 2-Point Clipping. Though Edge manipulation is a good tool and I do use it a lot, 2-point clipping I do tend to use a whole lot more. This is one handy tool and I am going to show those of you who do not know what it is or how to use it what you need to know to get your self started using this wonderful tool.
1. Create A Brush
Ok first we want to start a new map because we are once again just going to play with a single brush. So once you have started your new map, lets make a fairly well sized brush to play with, lets make it 256x256x256 in size. Also in case you are wondering it does not matter which texture set we use. Do not un select your brush because it has to be selected in order to do clipping.
2. Lets Make A Wedge
First I want to start with a commonly used object and a fairly simple object to make with 2 point clipping. This object happens to be a wedge or slanted surface.
First what we want to do is select our brush if we did not leave it selected when we created it. To do this just hold your cursor over the brush and press "shift +left mouse click" and it should be selected again. Now we want to turn on clipping mode. There is about 3 ways to do this.
1. You can hit the "x" key
2. You can click on the button on the tool bar that looks like 3 little blue dots and and lines forming a angled triangle.
3. By going to the menu and selecting "Selection" then in its drop down menu select "Clipper" and from there select "Toggle clipper".
Ok once you have done either one of those to turn on the clipper everything still looks the same except for the button on the toolbar is now pushed in.
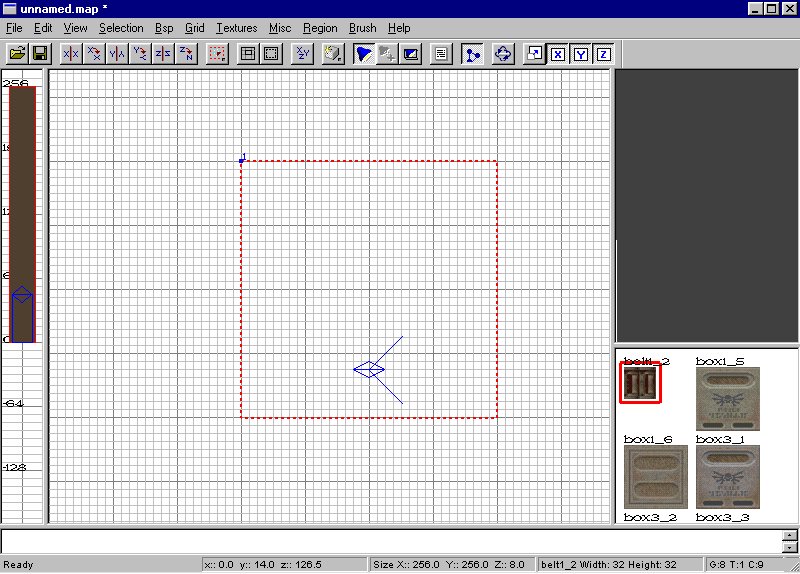
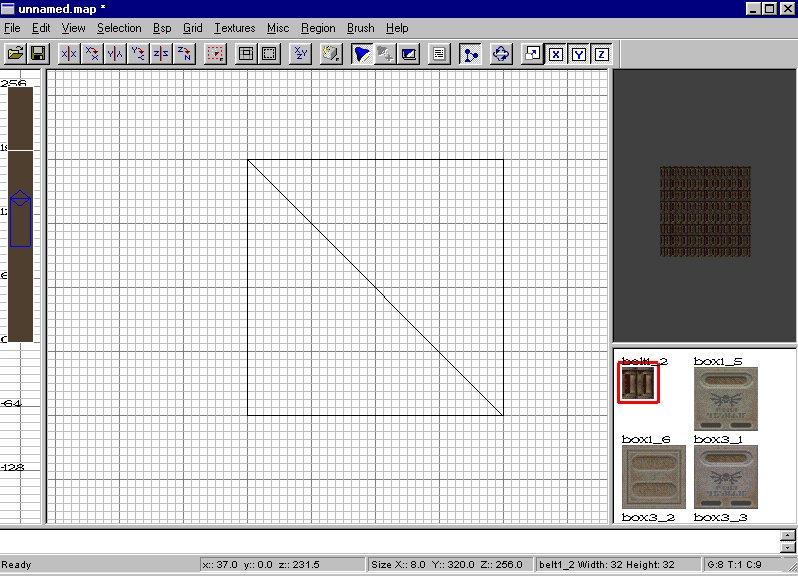
Now, take your mouse cursor and click on the top left most part of the brush, and make sure it is exactly on it at this point. You should see a blue dot appear with the number "1" next to it. It should look like this.
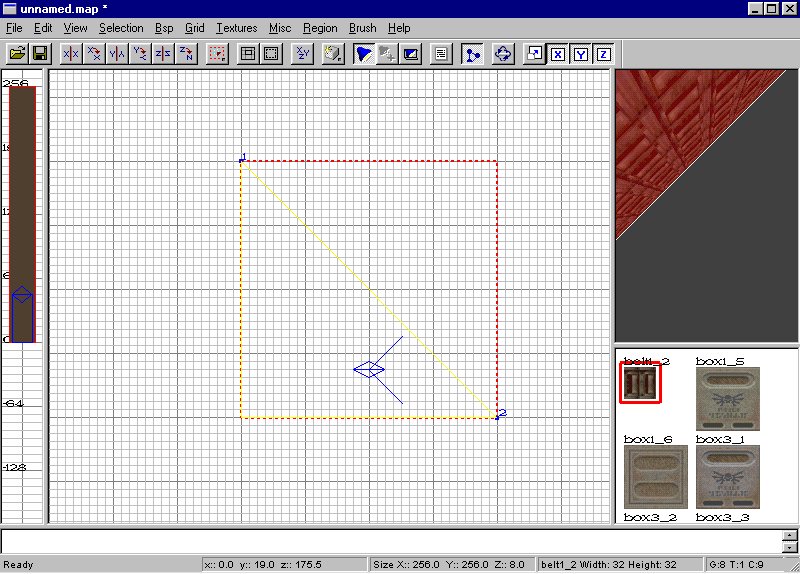
Now click on the bottom right most part of the brush, making sure it is exactly on the corner. Once again a blue dot should appear but this time it should have the number "2" next to it and a yellow line should have appeared as well connecting the two dots and going along the brush on two lines. It should look like this.
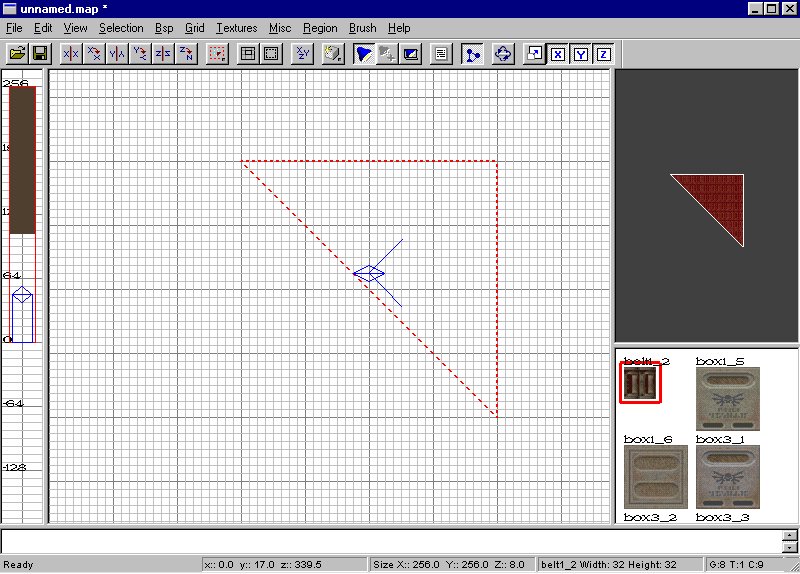
Ok now we have the points selected where we want to clip the brush. All we have to do now is hit the "Enter" key. What this should have done is cut out the area of the brush that was surrounded in the yellow lines. So you should now have a brush that looks like this.
Now you can do whatever you want to the brush, just make sure you are out of clipping mode simply by hitting the "esc" once. Please do experiment with this 2 point clipping because you can place those blue dots where ever you like on the brush for different shapes.
3. I Say We Split It 50/50
Another nice thing about brush clipping is you do not always have to make the part of the brush surrounded in yellow disappear. You can also Split the brush between those points. Let me show you how.
First lets get rid of that brush we just clipped by hitting the "backspace" key to delete it. There should no longer be any brushs in the map. Now just create another 256x256x256 brush that is square.
Ok now just do what we did before, make sure the brush is selected, turn on the clipper, put a blue dot on the top left corner and a blue dot on the bottom right corner. Should look like this.
Ok this time do "NOT" hit the enter key. This time to split the brush so that you the other side surrounded in yellow does not disappear and you end up with 2 brushs all you have to do is hold down the "shift" key and hit the "return" key all at the same time.
These are now 2 seperate brushs and act that way as well. So now you know the basics of brush clipping in QERadiant. Very simple and very usefull. Dont forget you can do a whole lot of stuff with clipping and this was just a lesson to get you started, please experiment by all means and learn the many things you can do with clipping. 3-point clipping is going to come in another lesson and I do not know when because to be frankly honest with you its a hard part of clipping to understand.
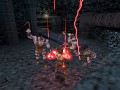
So untill next time if you have any questions or comments feel free to email me.