These tutorials were originally written by Timothee Besset and Jason Spencer. And were originally posted to QERadiant's website. They are mirrored here for archival purposes. QERadiant can be downloaded here.
Tutorial 2:
Adding a hall and door.
Ok. Here we are at Tutorial2. In this tutorial we are going to learn how to add another room and add a hallway to connect the 2 rooms. We will also learn how to put in a standard door that opens when you walk near in it and put it into the new hallway.
Before we start lets go over "real quick" what we learned in the 1st tutorial.
We learned the following things:
How to create a solid brush.
How to turn a solid brush into a hollow room.
How to add a Player start position.
How to change the players direction.
How to add a normal light entity.
How to change the light entity's brightness.
How to change the light entity's color.
That about covers that.
*note: this tutorial is a continuation of tutorial 1. If you have not yet read tutorial1 please do so before continuing.
1. Lets Get Ready
First lets load up QERadiant. Now if you had chosen to have QERadiant load the last project you were using in your preferences then there is no need to worry. If you did not then you need to go to the menu item "File" and select "Load Project" and then locate your project script in your /quake2/tutorial/scripts directory and select the tutorial.qe4 file.
Ok. Now we also need to load the map we used in the last tutorial. To do so just click on the "File" menu item again and select "Load" and then locate your tutorial.map file in the /quake2/tutorial/maps directory and select that file.
*note: as of QERadiant build 038 you can set the preferences to load last map on load up as well which makes this whole process a lot simpler.
Ok now we want to load in our textures (you learned this in tutorial1). Make sure its the E1u1 textures again.
2. Adding A New Room
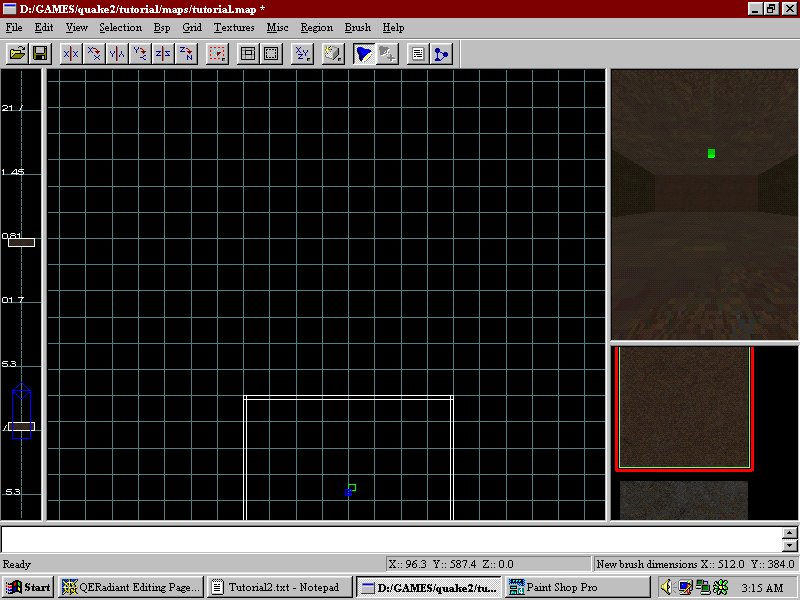
Now that everything is loaded and ready to go lets make our new room. Go into the xy view and move your view around so you can see more open area to put a new brush in. Do this by holding down the right mouse button and moving the mouse around. Get it so that it looks like fig1_1.
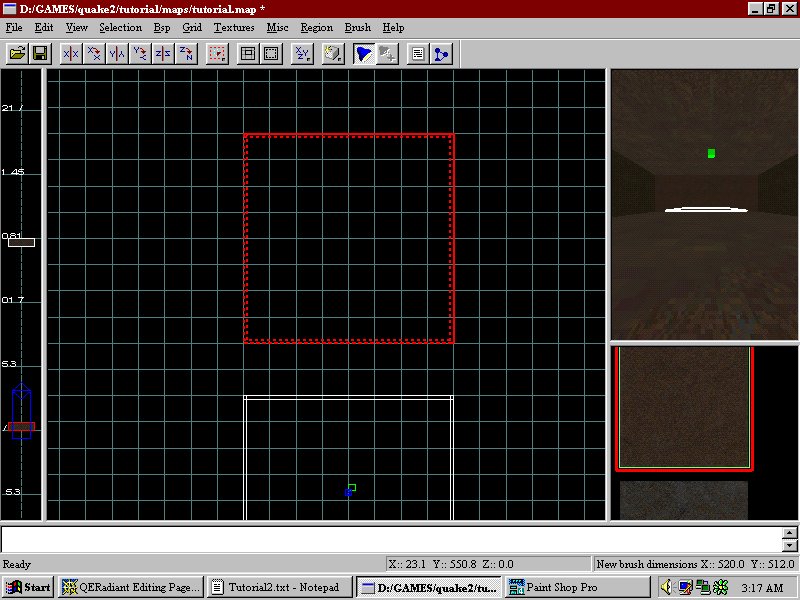
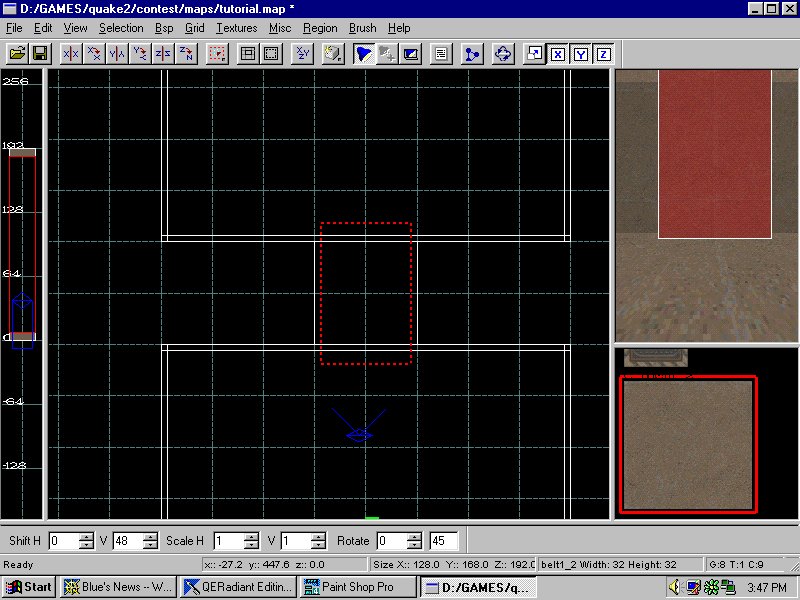
Now that we can see the area we want to put the new brush in lets go ahead and put the new brush into the map. To do this you need to hold down the left mouse button and drag the mouse so that the red box appears. Lets make this brush the same size as the other room (256x256 width and 192 in height). Now lets make the room hollow. Use the hollow button like you learned in Tutorial1. You should now have something that looks like fig1_2.
3. Adding the Hall Brush
Ok now we need to make the brush that is going to be the hallway between these 2 rooms. Deselect your new room by hitting the "ESC" key on your keyboard.
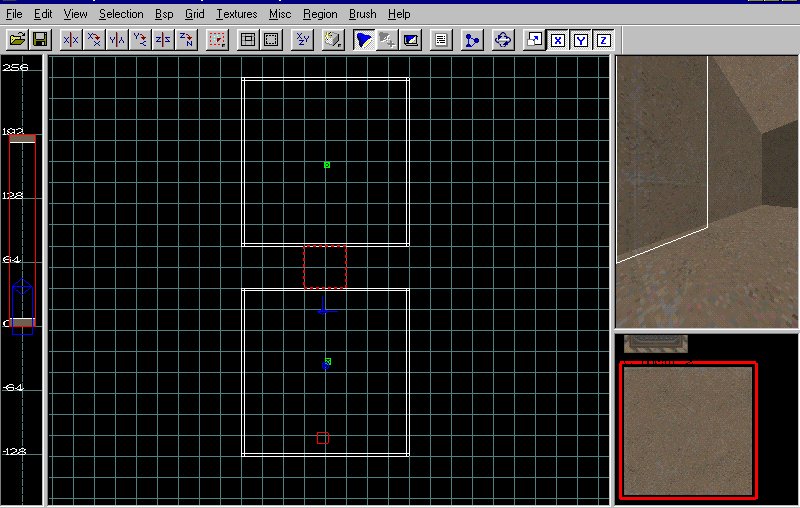
Now create a new brush between these 2 rooms and adjust the brush to the aproximate size you want the hall to be. See fig1_3.
4. Make the Hall Accessable
What you want to do now is deselect the brush we just created by hitting the "esc" key.
Now create a another brush inside that brush and make it smaller then the roof and floor and the walls.
Also make it extend outwords into the 2 rooms like in fig1_4.
Now with the smaller brush selected goto the menu and click on "Selection" and then choose "CSG" and within that new drop down menu select "CSG Subtract".
Now with the small brush still seletcted hit the "Backspace" key to delete the brush we used to subtract with.
After doing that you should now be able to see into the other room from the 3/d preview view.
We have now just completed making a new room and a hallway to our map.
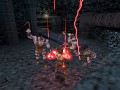
Why don't you add a light to the other room and compile the map and take a look at it now.
5. Make the door.
Now that you have seen your new room and hallway lets make that door in the hallway shall we?
First find a good a texture for your door and select it. Now draw a brush in the xy view in the hallway somewhere and be sure to make it the same size as the hallway in the xz view.
The texture you chose may not look the way you want it to and that will involve "face editing" and I will cover that in a different tutorial.
Right now lets make this new brush into a actual door. With the door brush selected hit the "n" key to bring up the entity info for this brush. It should say "worldspawn". We want to scroll through the list of entity's in there and select the one called "func_door". Double click on that func_door and it should change the brushes properties to a func_door and remove the worldspawn. Now the door opens to the 0 degree angle by default. If you want to change the direction you need to go edit the "key" and "value" box's for what direction you want it to open. In "key" you would put angle and "value" you would put the angle number (like that players angle settings) in.
Well there you have it. A new hallway room and door for your tutorial map. I will dig deeper into the door's possible angles and the likes in a misc. type tutorial.
Tutorial3 has been done by Noel Wade and he will be your guide through platforms/lifts and the likes.
Enjoy the editor and cya at the next tutorial.