Originally written by 3D Realms and was previously available on their developer wiki. Mirrored here for archival purposes.
Note this tutorial's sample level is downloadable here.
Wall Walk Tutorial
Another primary feature in Prey is wall-walking. With the use of special "wall-walk strips", the player is able to defy gravity by simply walking right up onto the texture.
Creating a Wall Walk Path
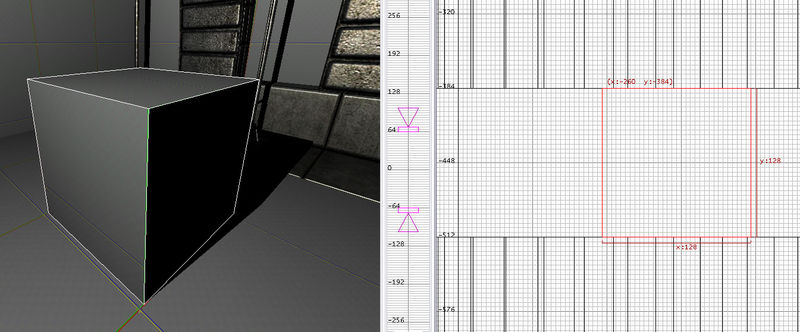
1. In your test room draw a 128x128x128 square.
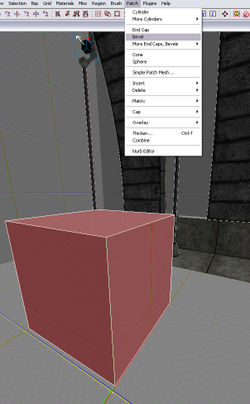
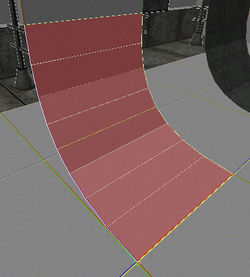
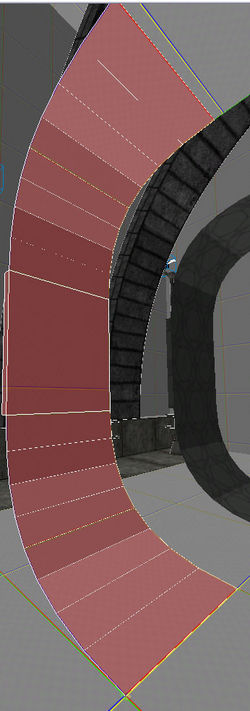
2. Up in the top menu, select Patch and create a Bevel. You will want to rotate your patch so it makes a nice clean curve with the floor surface.
3. Add a simple piece of geometry at the end of the patch to make it look as if it's continuing. 128 units would be a good size for this tutorial.
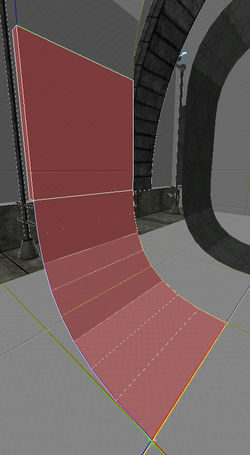
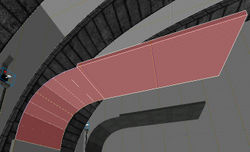
4. Repeat steps 1 and 2 only this time rotate the patch so it’s the mirror of the bottom patch.
5. Just as in step 3, we are going to create a little continuation with some simple square geometry at the top of the 2nd bevel you've created.
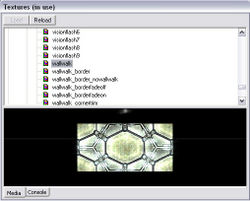
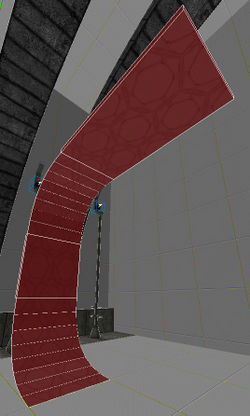
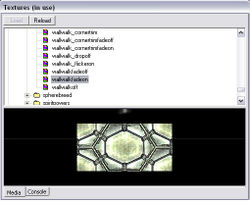
6. Highlight all 4 of the new pieces of geometry you just created. Go into your media browser and open the textures folder. Scroll down until you find the special folder and search for the texture labeled "wallwalk" inside. Select it and it will be applied to your highlighted geometry.
7. Rebuild your map and test. Bring down the console and type Give All, which gives you the boots that enable you to walk on walls. You can now walk up the curves you've just created.
Additional WallWalk Info
WallWalk also has the ability to be turned on/off with a simple switch GUI.
1. First thing we need to do is to change the texture that's currently on your wallwalk. In the first part of this tutorial we used special/wallwalk as our texture. Highlight all of your geometry that makes up your wallwalk and change the texture to special/wallwalkfadeon.
2. Keeping all of that geometry highlighted right-click the grid and move up to the Func menu. Inside you'll find a func_wallwalk. Create one.
3. The geometry that you had selected is now all grouped into one object called a func_wallwalk.
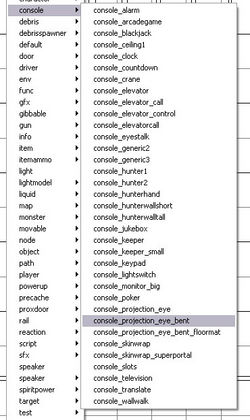
4. Right-click the grid again and select the console menu. Inside you'll find an object titled console_projection_eye_bent. Place one. Most likely the console will be floating in your room so you'll want to align it to the floor.
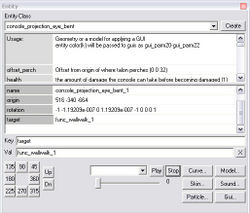
5. With your console highlighted, look in its Entity window. You're going to want to add a key/val to the console. Under key you need to put target and under Val you need to put the name of your func_wallwalk. In this case it should be func_wallwalk_1.
6. Rebuild your map and test. Don't forget to bring down the console again and type Give All. You're wallwalk will now turn on/off with the console switch you just placed.
