AOE3 3D Model Workflow: (almost final, i think)
Required App:
3DSMax8 (yep, we can't give you link for cracked ones, search by your self)
Granny Exporter (3DSMax8 Plugin)
AOE3 Material Selector (3DSMax8 Plugin)
Download
1.
Modeling and UV Mapping
For the app it's up to you, for this tutorial i'm using Autodesk Maya 2019. Now we gonna create an attachment.
Few things that i think important while doing this stage:
A. use in-game character model/any human model then scale to match 120cm human height as modeling references (very helpful when imported to 3dsmax8, so you dont need to scale a lot to match in-game scale).

B. it's important to use UV space correctly, any UV outside default U1V1 will result in-game black texture. keep in mind, this is an old RTS game, so you can freely adjust UV island proportion based on contribution on rendered pixel. prioritize front-side model face, then the back-side(not noticeable model face) use shared UV space.

C. AOE3 use back-face culling, so if there is a mesh, only the front-face will rendered in-game, back-face will be passthrough. so if wanna to create plane mesh, just copy the mesh then invert it, and stack it closely.
(example of back-face culling)
2.
Export as OBJ File to 3DSmax8
First, export your 3D model from your 3D package app.

(Example of maya export. Just turn off materials export, so it dont produce unneeded .MTL file)
Why use 3dsmax8? because the gr2 exporter plugin only available on this app.
Then, import the OBJ file to 3DSMax8 (can be done by drag and drop the obj file to the viewport).
few things that i think important:
A. Check meshname, sometimes they add "obj" prefix, so fix it. Because when exported .GR2 format save meshname as bone name. this is important for avoid attachment coding headache.
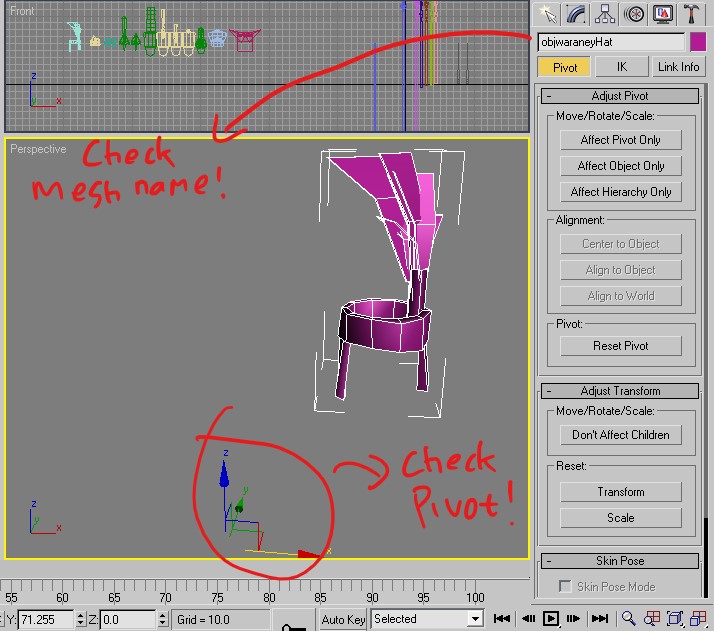
B. Object pivot, if your imported model show pivot like that, adjust it to center your model. Because when exported, .GR2 format save object pivot as a bone, and using it for in-game placement
how to adjust object pivot:
C. Flipped normal, sometimes 3dsmax8 show inverted normal, it cant get rid out by re-export from modeling app. idk why. Must be fixed using 3dsmax8 internal tool
3.
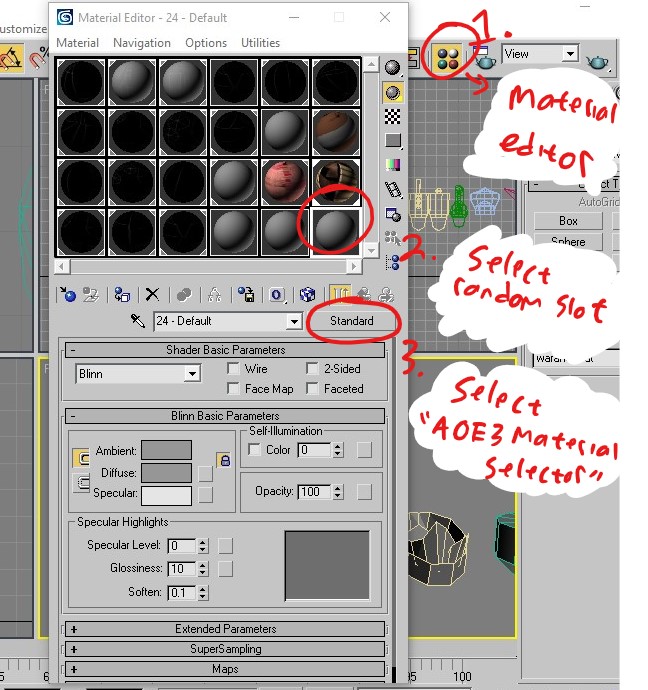
Assign Shader to Mesh
Need "AOE3 Material Selector" plugin.
First of all, AOE3 only read the .DDT texture version. But 3DSMax8 only read the .TGA texture version
Normally, on this stage, i just insert dummy .TGA file first(keep in mind, to decide folder structure first),
so we can texture later.
For this tutorial, we just assign dummy texture first, second tutorial we will learn how to convert .TGA to .DDT
Tips:
i recommend you to read This Specification first , dont forget to also read the footer references!
Dummy Texture Link: Dummy TGA Texture
It will contain dummy_diffuse.tga and dummy_normal.tga + DDT version, both of them have blank alpha channel.
Using normal map in AOE3 is optional.
Define Alpha Channel function, for this tutorial i choose Alpha channel as transparancy.


4.
Edit .XML file
You can use any app that can read XML syntax. I'm using Notepad++
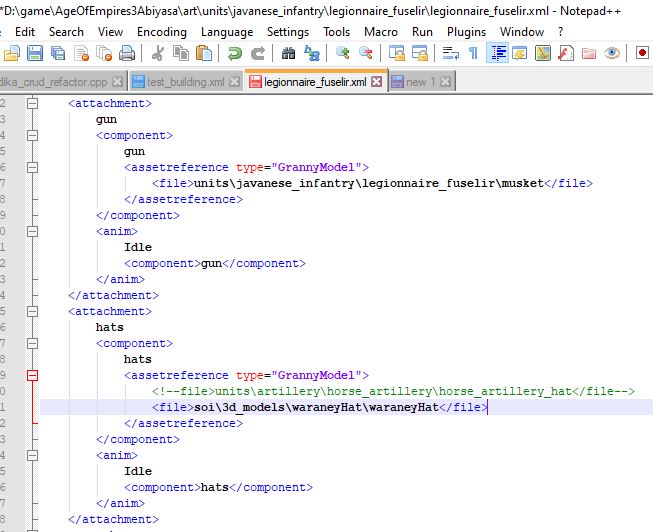
(example of legionnaire_fuselir.xml file)
usually when testing attachment, i choosing random unit that already contain attachment code, like legionnaire_fuselir from SoI mod. So i just replace the filepath code.
Remember about relative folderpath rule, so if your target file located on
"(aoe3 root folder)/art/mymod/myunit/myAttachment.gr2".
your filepath in your code must be "mymod/myunit/myAttachment".
Yep, you dont need to type the file extension, AOE3 automatically add .gr2 if assetreference type="GrannyModel" !
5.
Export to AOE3 as .GR2 format
Need "Granny Exporter" plugin.
Select mesh then export selected, and use default .GR2 export setting + enable "Include Tangent Vectors" under "Meshes" sub-menu.
tips:
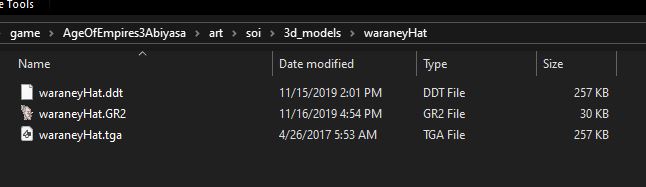
put .GR2 and .DDT file in single folder, .TGA file only needed by 3dsmax file (so when distribute the mod, this file should be removed to reduce size)
6.
Check In-Game Model
Tips:
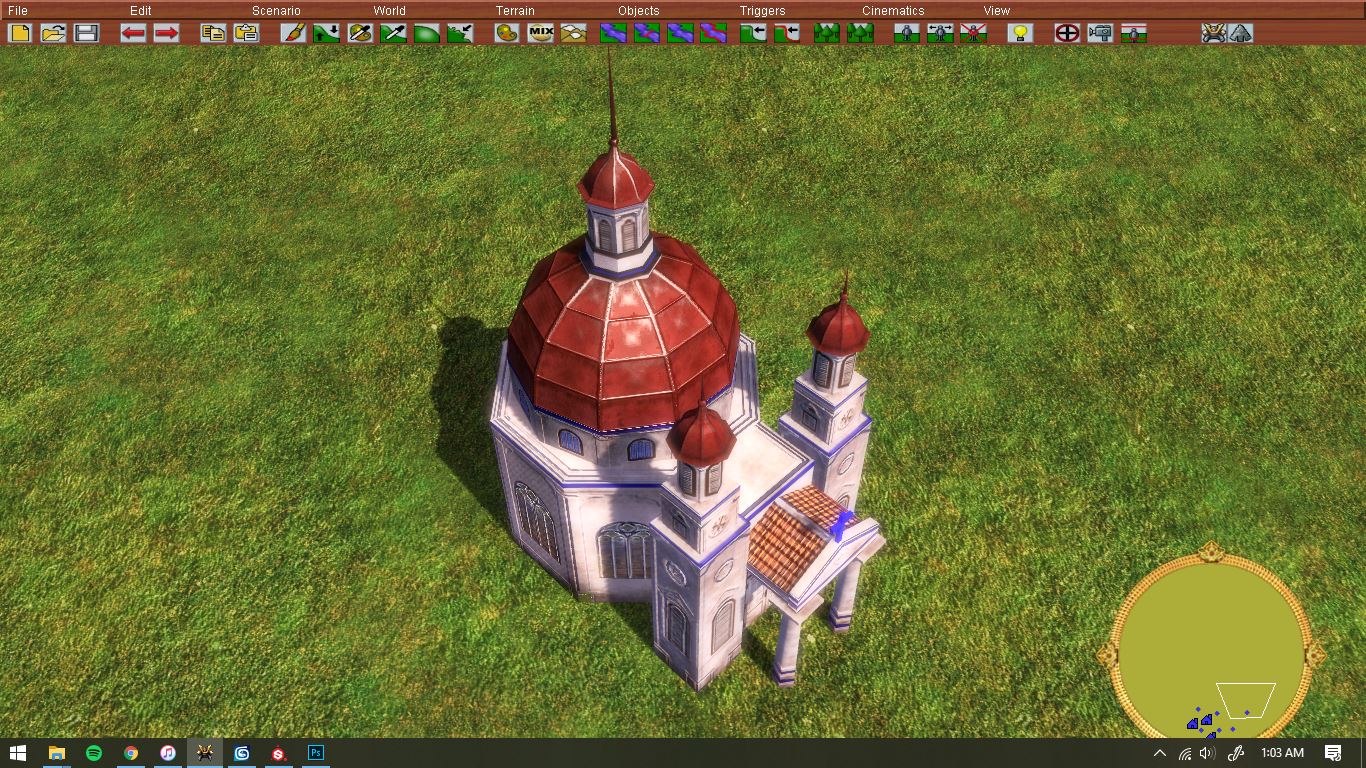
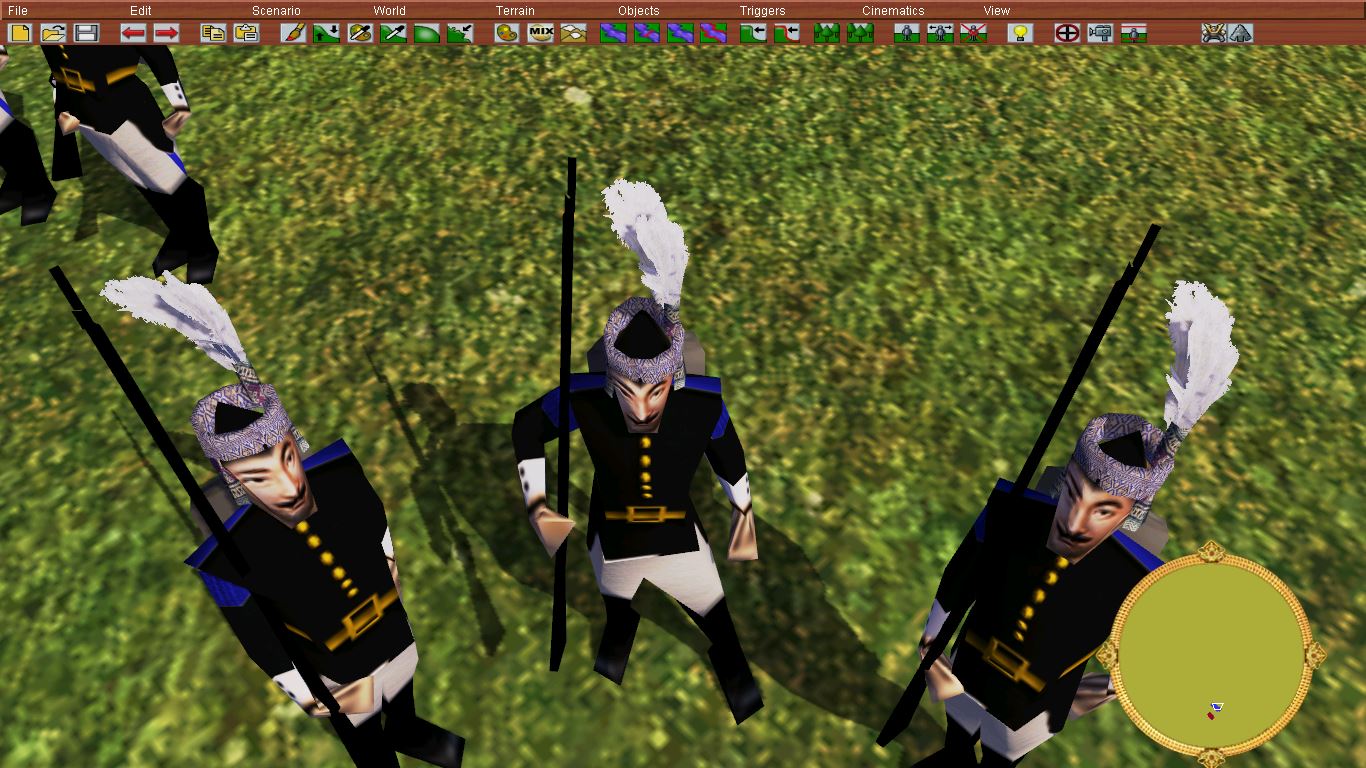
to speed up the iteration process, i usually create a scenario map that contain object that i imported. so if i create a change, i just close the game, then go to scenario editor, then load the test scenario map.
i also set the terrain height until close enough to zoom it.
6.
Polishing Model Placement
Do some iteration if your object seems odd. do step below and revert to step 5.
Rules while in 3dsmax8:
A. if you want to manipulate mesh(like the hat too small or too big) do it ON VERTEX MODE! because if you do rotate,scale,move on object mode, it doesn't change anything in-game.
B. if you ONLY want to manipulate model facing(maybe it facing side or backward) & position(like the hat too far from head) just manipulate the PIVOT POINT.
i don't know, i think just too avoid another headache.
7.
Well Done~
Your model must be placed correctly, and still textured using dummy texture(UV checker pattern).
next tutorial, absolutely texturing part.
Don't forget read official AOE3 tutorial before it gone for forever.
AOE3 Heaven - The Tutorial Database
Mister SCP Youtube - Modding Age of Empires 3
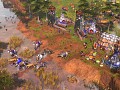
below is the example of kinda finished model


This comment is currently awaiting admin approval, join now to view.