Thy Dark Rooms of Finals
My scope is 8-9 levels with decent amount of secrets and details/polish
You need both DOOM.WAD and DOOM2.WAD to play it properly
8 maps are "done"
1 map is in progress
0 map in my mind 🧠
But so far, there is also in this WAD
- Replaced music (Tristram Theme, Lateralus, 10,000 Days)
- Custom difficulties
- Custom names for the levels
- Exit Text between each map (placeholder gibberish for now)
Footage on my YouTube Channel: @Danielkaas94

Articles
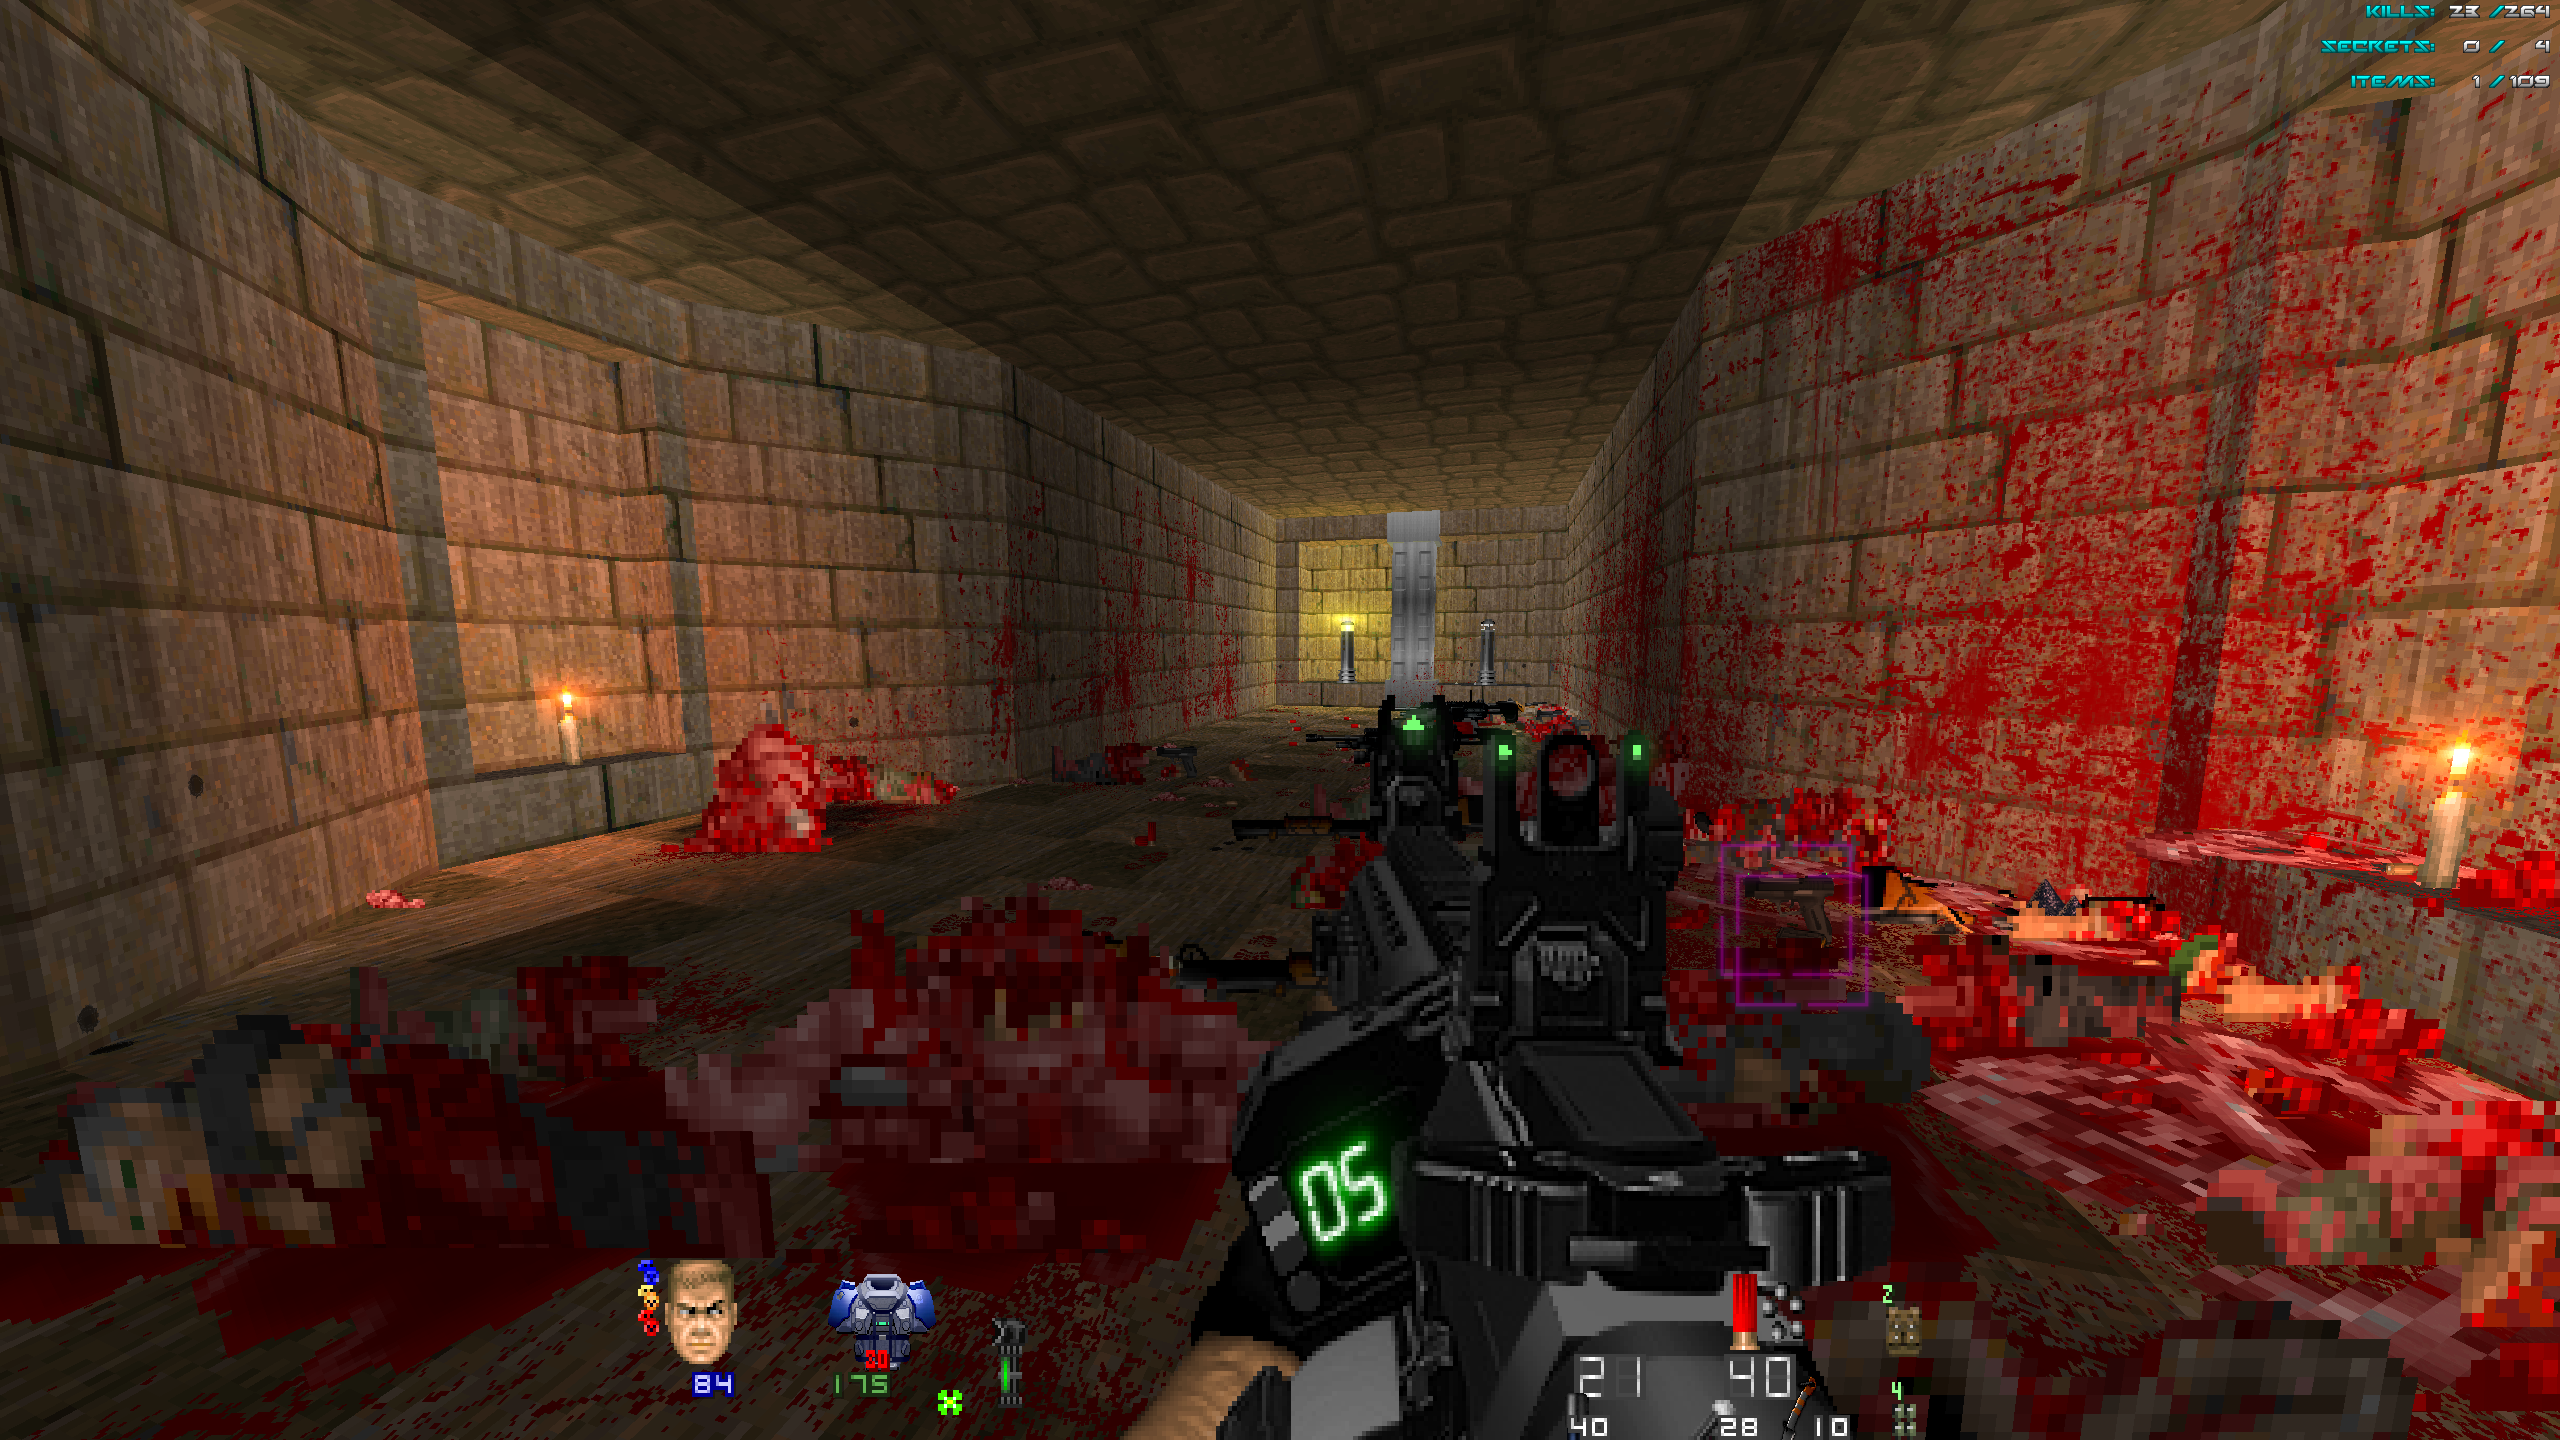
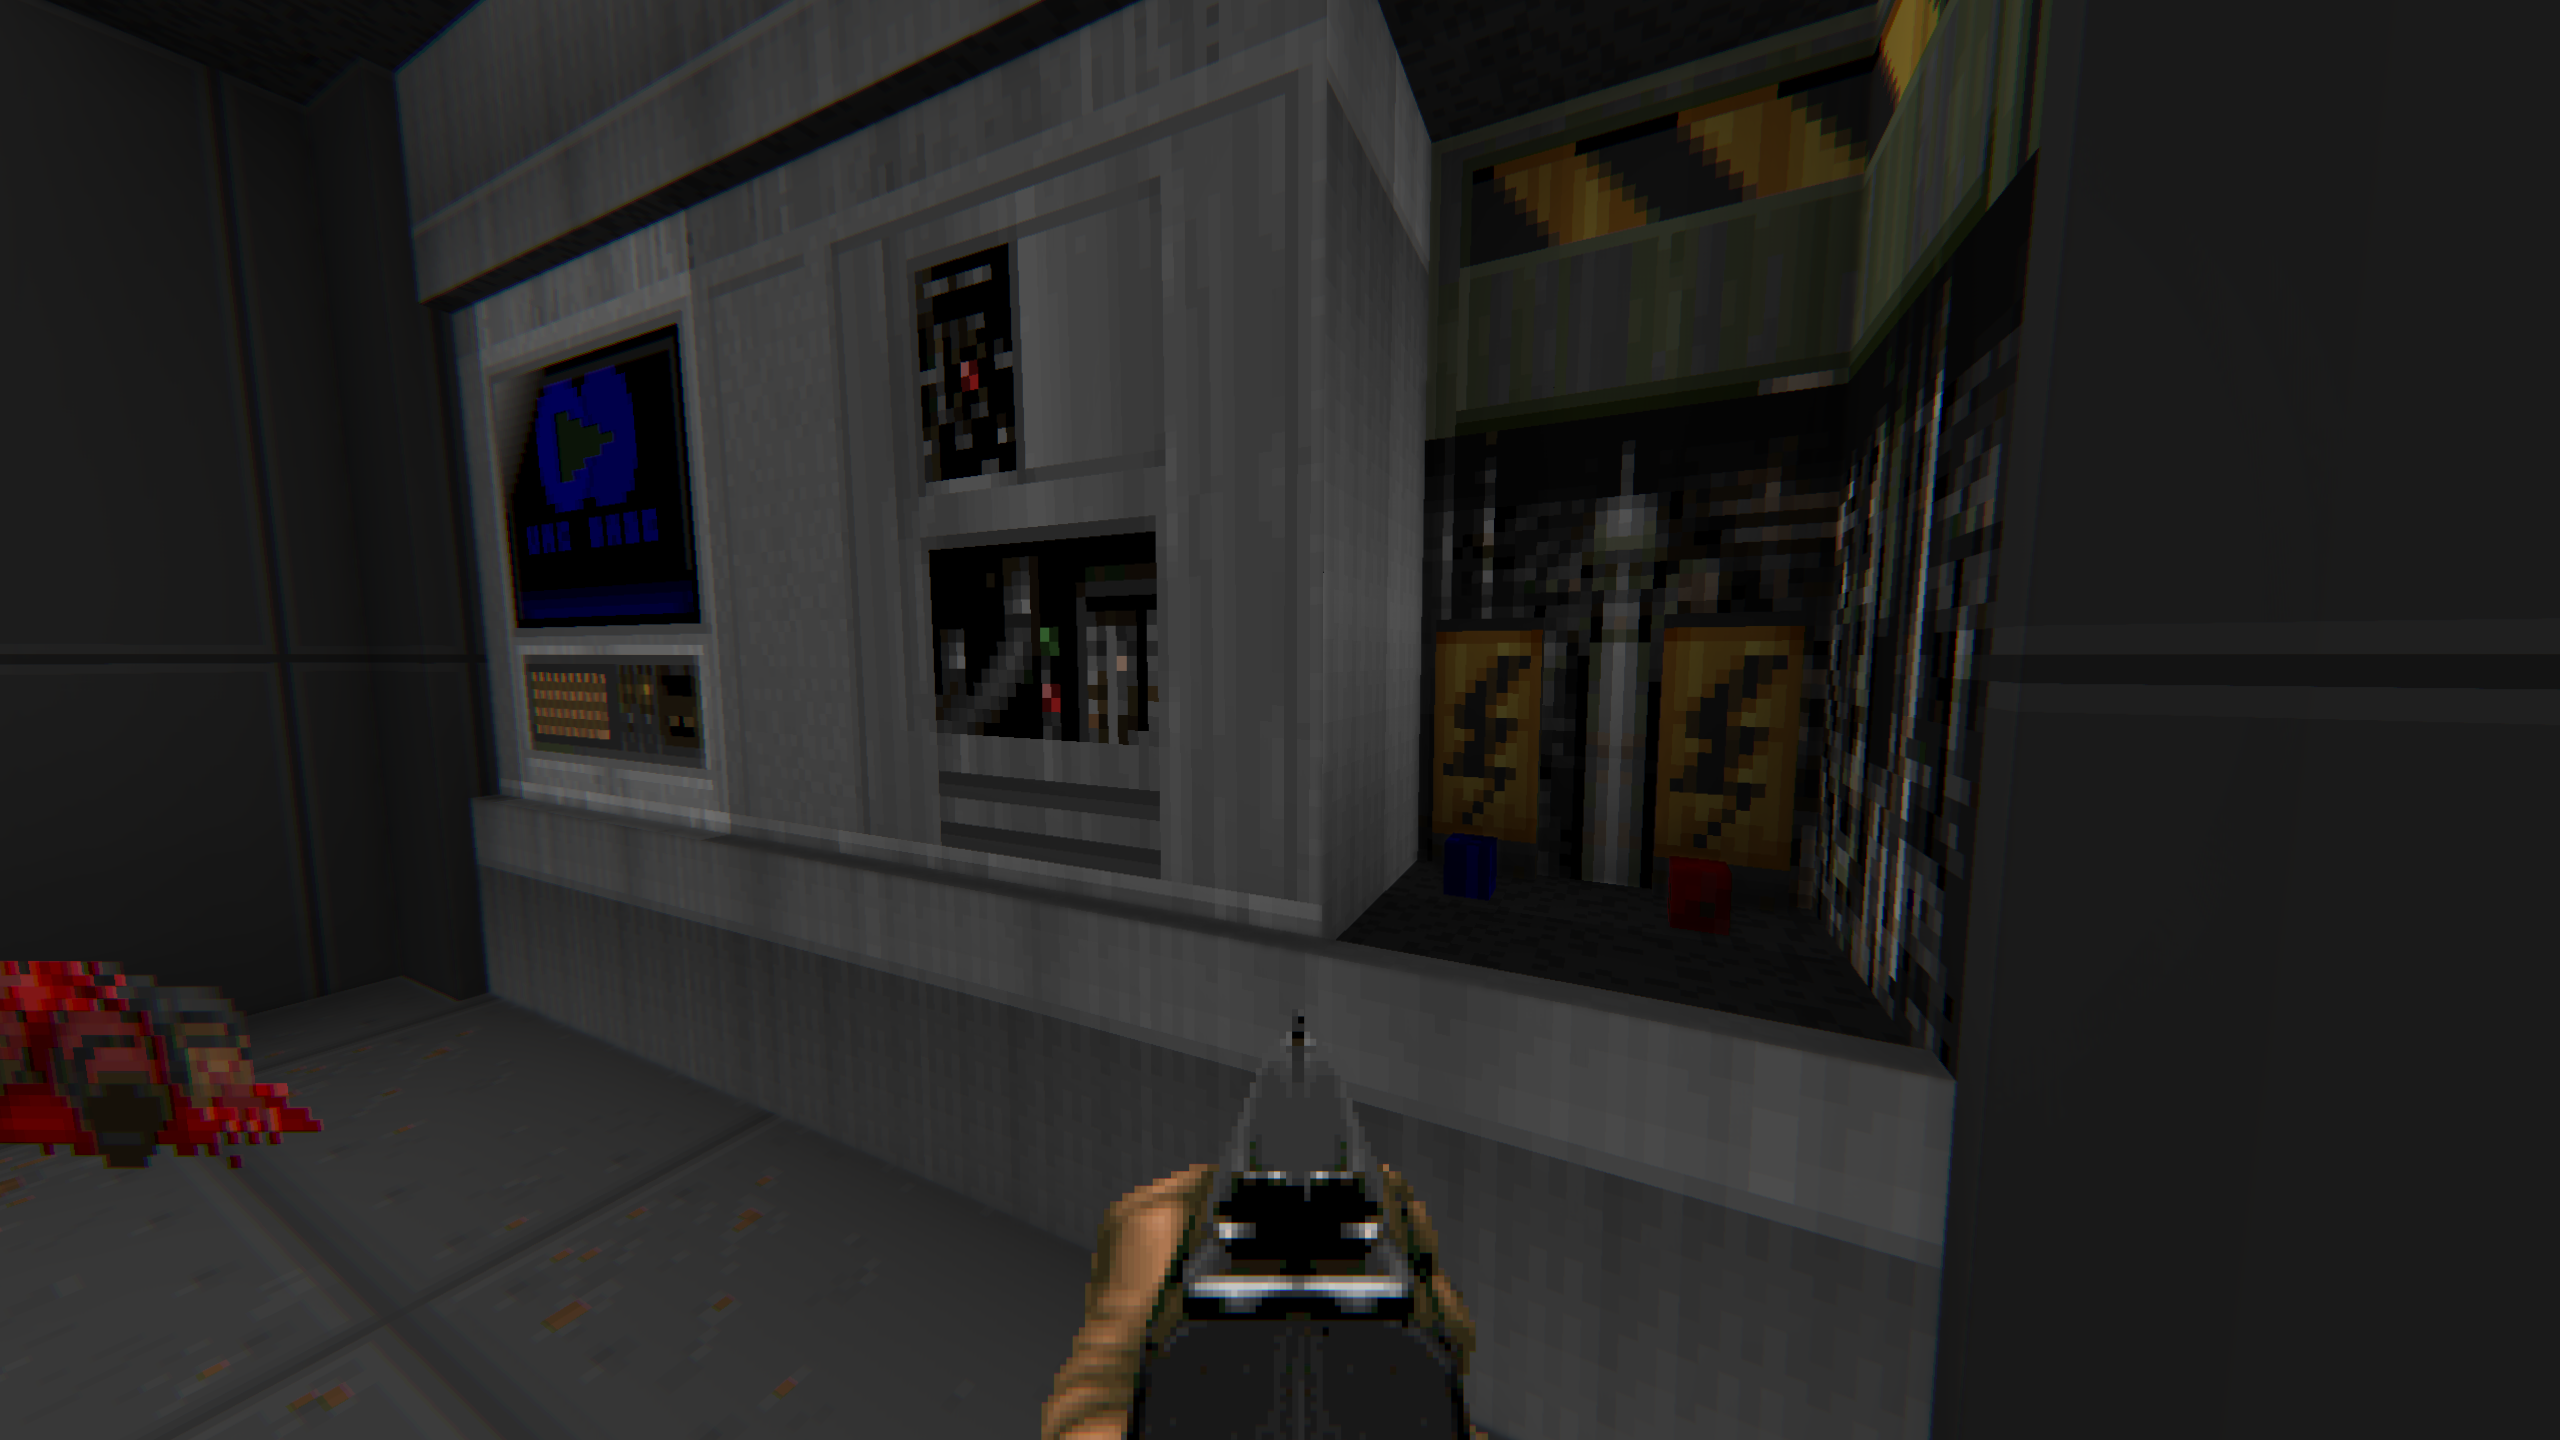
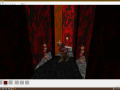
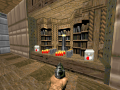
### E1M1 - The Technological Abyss
Delve into the updated horrors of E1M1, where each corridor whispers of untold secrets.
- The monitor, once confined, has widened its gaze, now accompanied by an additional plasma cell, offering a glimpse into the arcane.
- Traverse the room adjacent to the shotgun/bandage sanctuary, now adorned with intricate details that hint at a hidden narrative.
- The Blood River meanders with renewed intricacy, minor details weaving a tapestry of dread.
- Amidst the idle imps, more space is carved for fallen marines, their remnants concealing valuable ammunition.
- In the presence of the dead shotgun zombie, a monitor blinks ominously, adding an eerie touch to the macabre tableau.
- The Blue Key Area witnesses wider entrances and gradient brightness, creating an atmosphere of spectral allure.
- The once-disheveled shotgun at spawn now rests on a counter, surrounded by lights, offering an alluring beacon.
- Player Start adjusts for a better initial view, guiding your eyes through the labyrinthine horrors.
- New Tech Base Wall decorations, plasma ammo, and a socket within the wall reveal hidden truths.
- A cross fashioned from armor bonuses and variations in ceiling textures add complexity to the abyss.
### E1M2 - The Broken Sanctum
Navigate the broken sanctum of E1M2, where the echoes of malevolence grow ever louder.
- A broken floor near the Red Key reveals the chaos lurking beneath, marked by a pair of saint Peter Crosses.
- The Rocket Cave plunges into deeper shadows, its secrets more elusive than before.
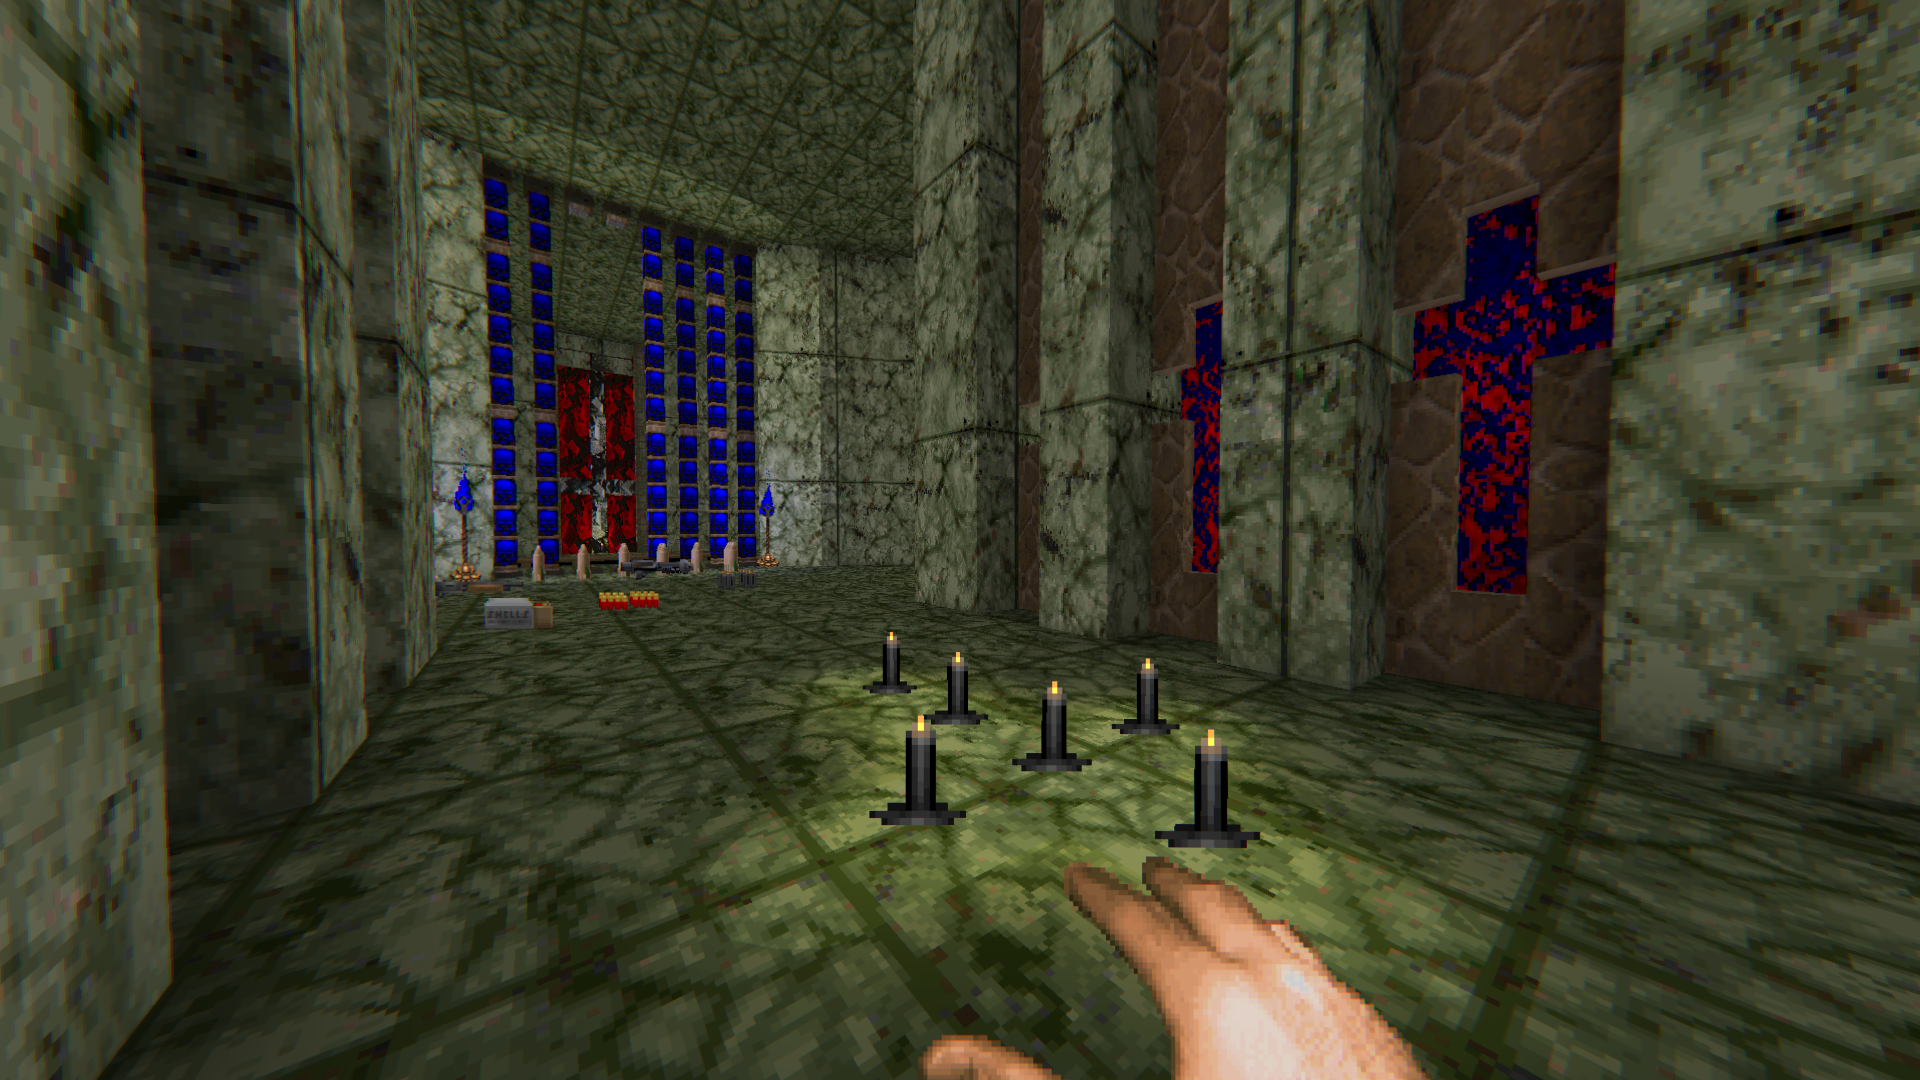
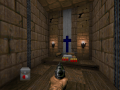
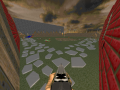
### E1M3 - The Sanctified Beginning
The sanctified beginning of E1M3 unveils new symbols and mysteries.
- Additional crosses grace the starting area, their presence shrouded in mystery.
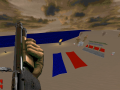
- Behind the Blue Gate, a Danish flag emerges, crafted from red and white rock textures.
- Double the armor/health bonuses enhance the Blue Skull key room/Baron's Lair.
- Bloodfall and brightness gradients deepen the enigma.
- Armor/health bonuses flourish around "The Box," enriching the journey.
- More firesticks guide you towards the Red key room, and the Red Rock Cave descends into darker depths.
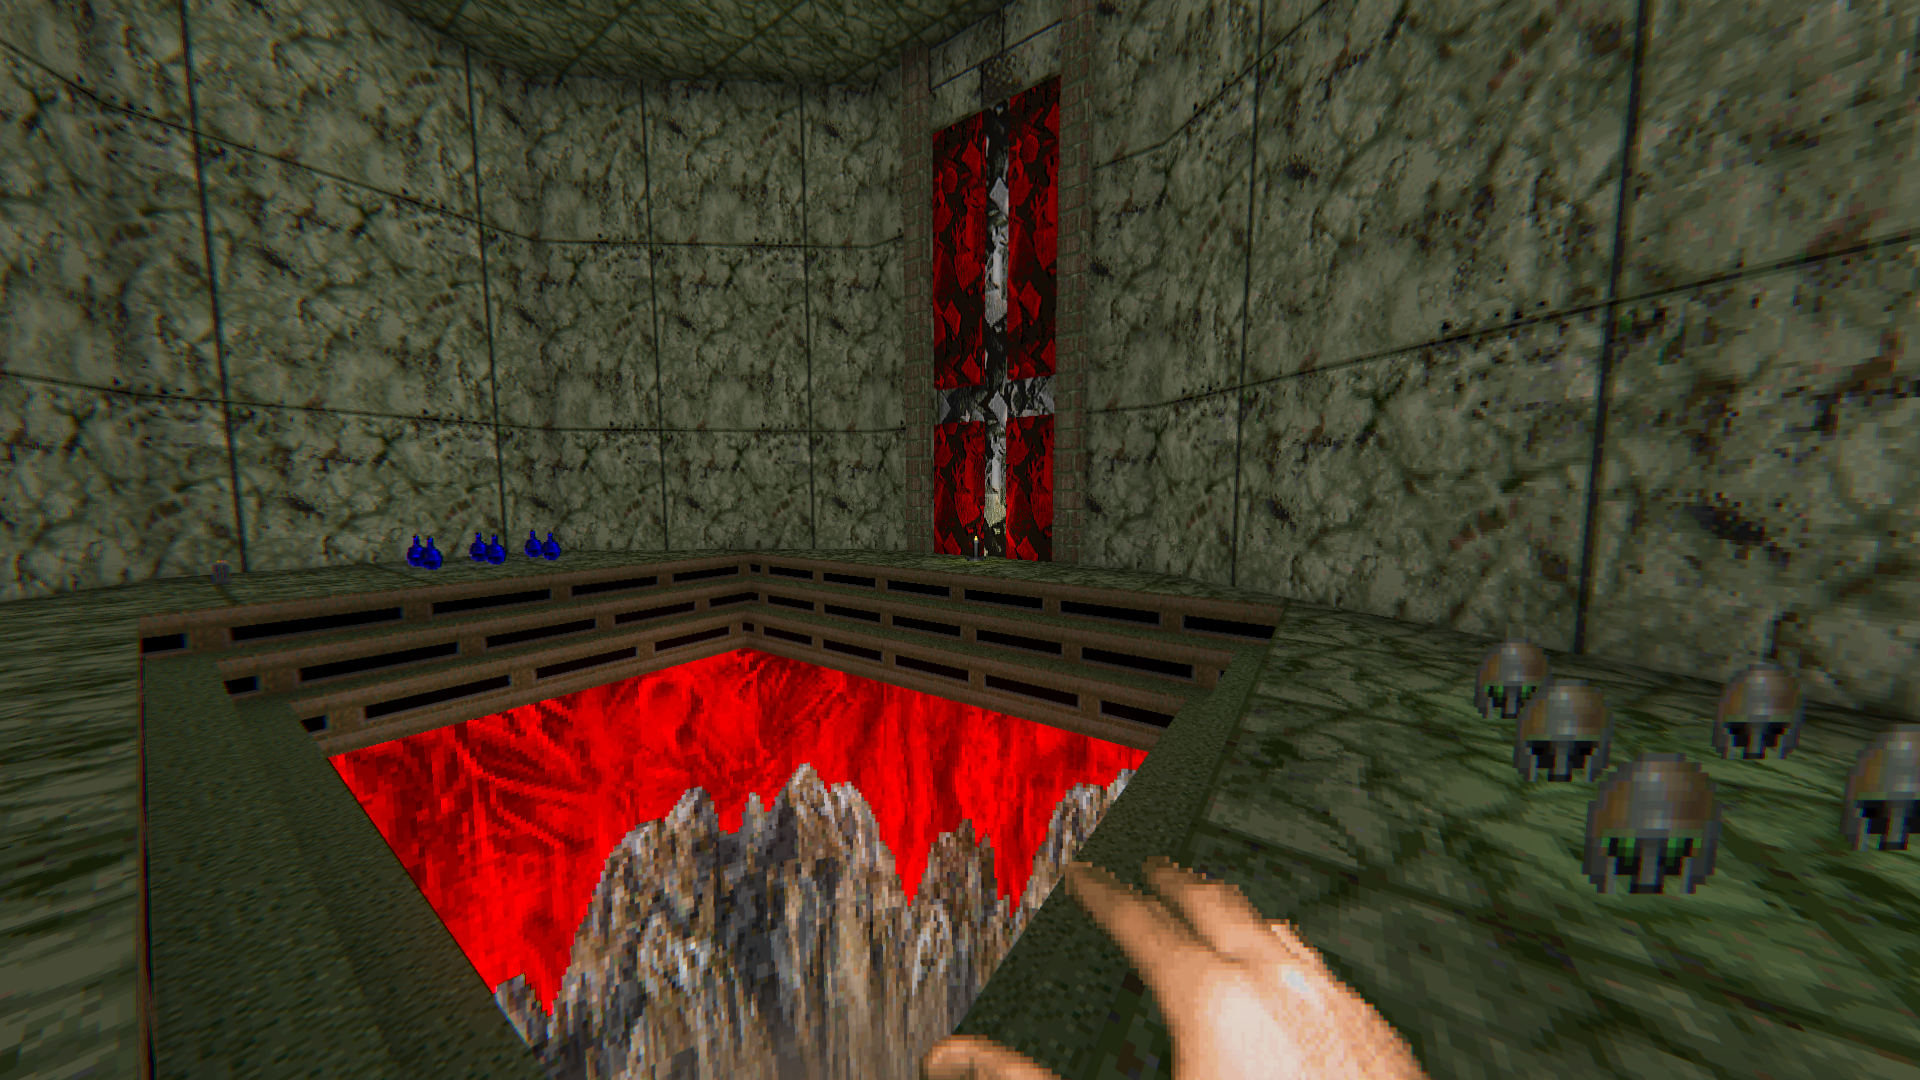
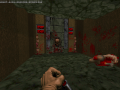
### E1M4 - The Marbled Abyss
Traverse the marbled abyss of E1M4, where darkness and detail intertwine.
- The starting platform now boasts armor bonuses, medkits, and health bonuses, a sanctuary amidst impending doom.
- The Hanging Dude Hallway plunges deeper into shadow, revealing additional health and ammunition.
- Brighter corners illuminate the vast marble expanse, while the Blue Armor Room undergoes simplification.
- A mysterious "light shining inside the window" adds an enigmatic touch to the foreboding corridors.
- The toxic trap's server room widens, illuminated by added light and punctuated by barrels.
### E1M5 - The Dark Symphony
Step into the dark symphony of E1M5, where ambushes and secrets abound.
- Medkits await outside the cross-marked door, a beacon of hope in the looming darkness.
- The imps' ambush location descends into deeper shadows, heightening the element of surprise.
- A new row of armor bonuses fortifies the starting area, preparing you for the trials ahead.
- The library beckons with additional first-aid, a refuge for those seeking respite.
- Tall firesticks rise at the second Archvile's lair, casting flickering shadows on the unfolding chaos.
- The monster-only teleporter at the elevator is banished, altering the dynamics of the abyss.
### E1M6 - Camp Pasar - The Unearthed Secret
Unearth the secrets of Camp Pasar in E1M6, where monsters and mysteries intertwine.
- A Blue Armor conceals itself in a newfound secret, guarded by the denizens of the abyss.
- Ammunition proliferates, ensuring you're armed to the teeth.
- A monitor guards the shotgun ammo, a sentinel in the chaos.
- Wall details near the exit weave a narrative of the camp's hidden history.
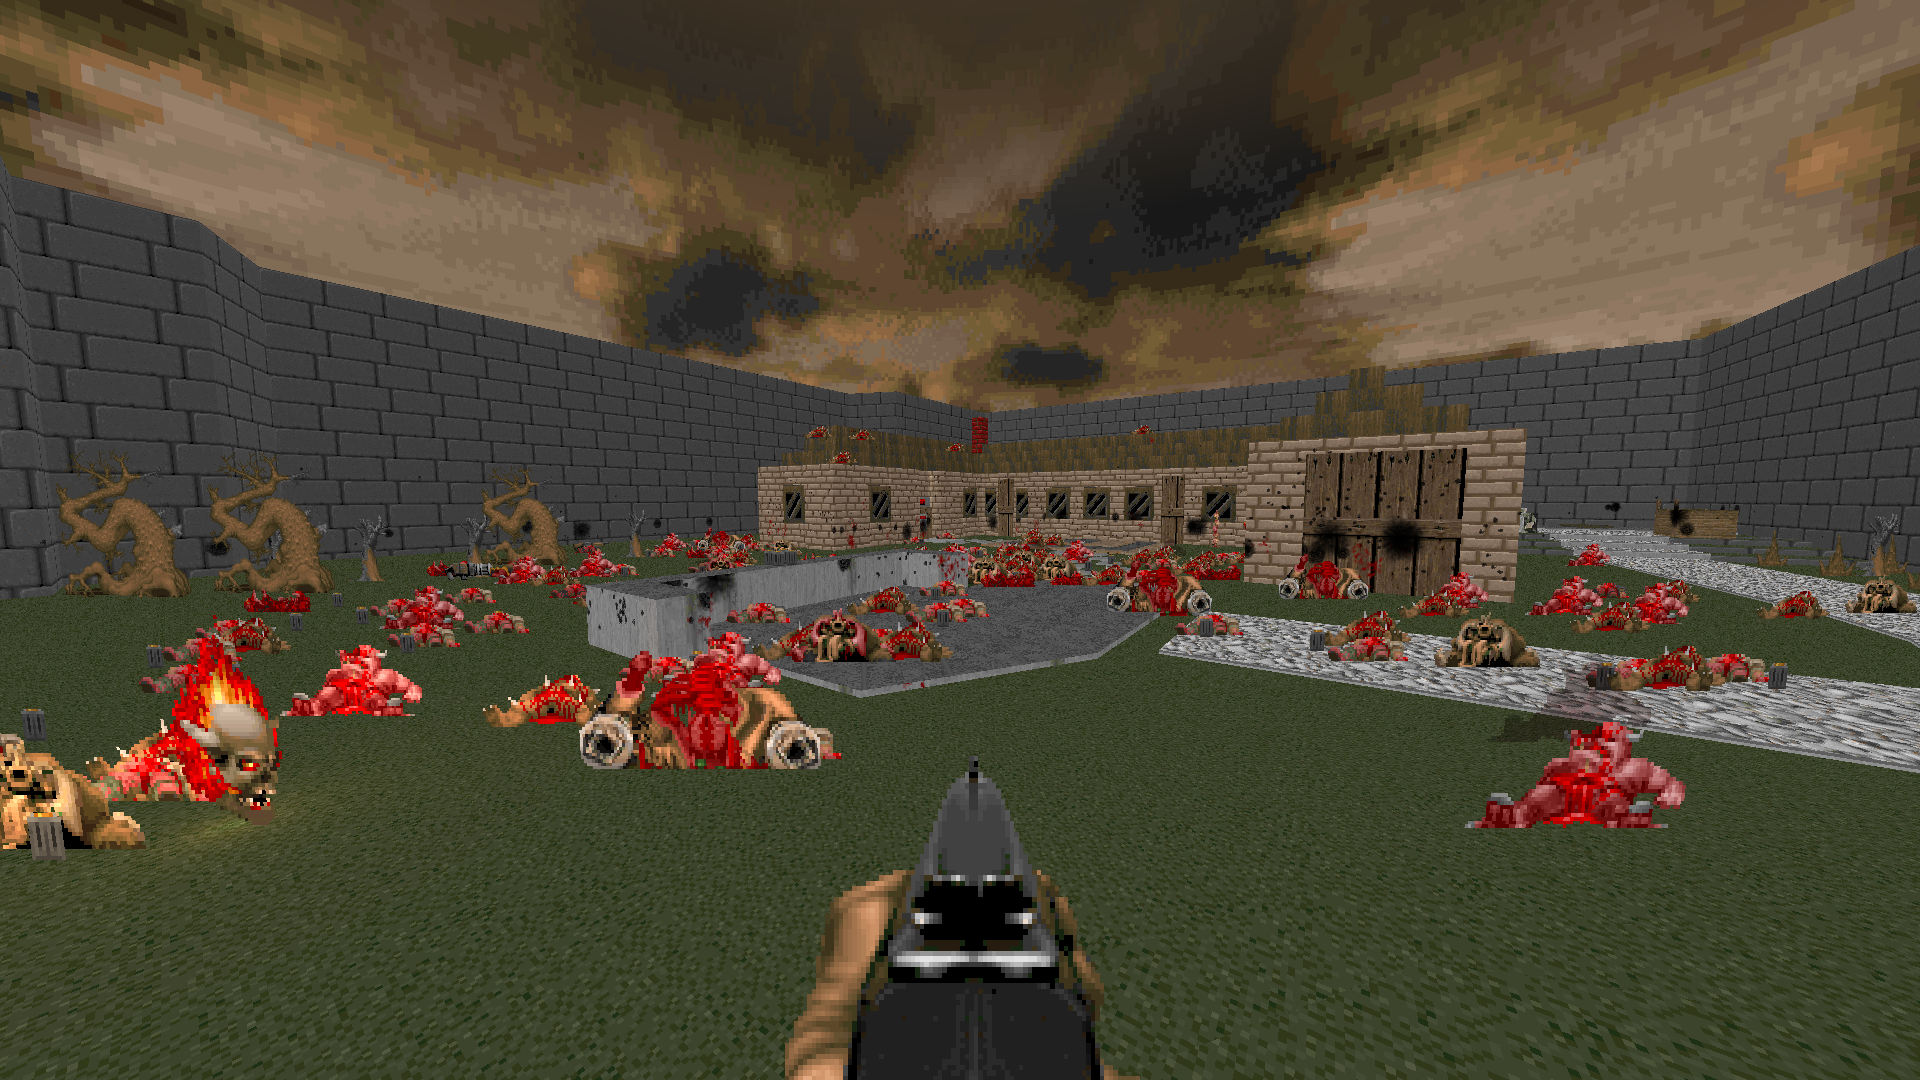
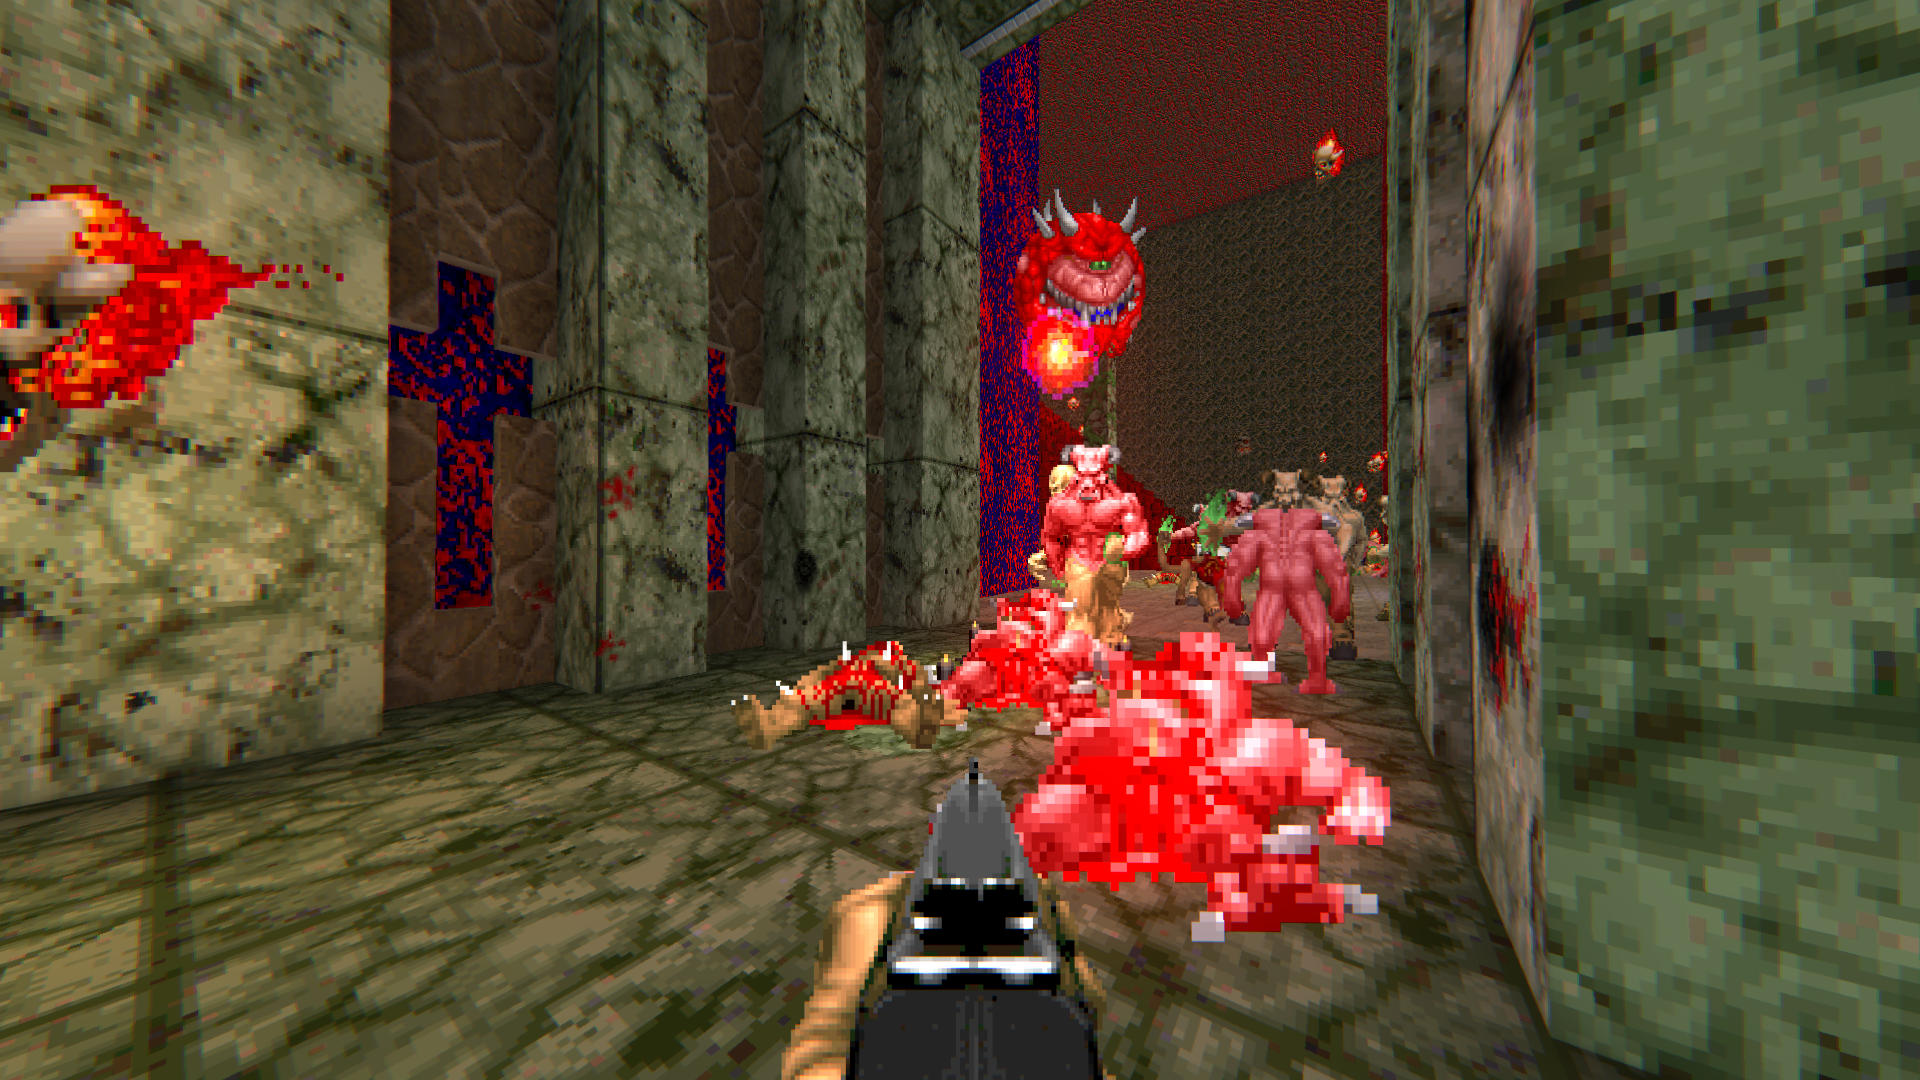
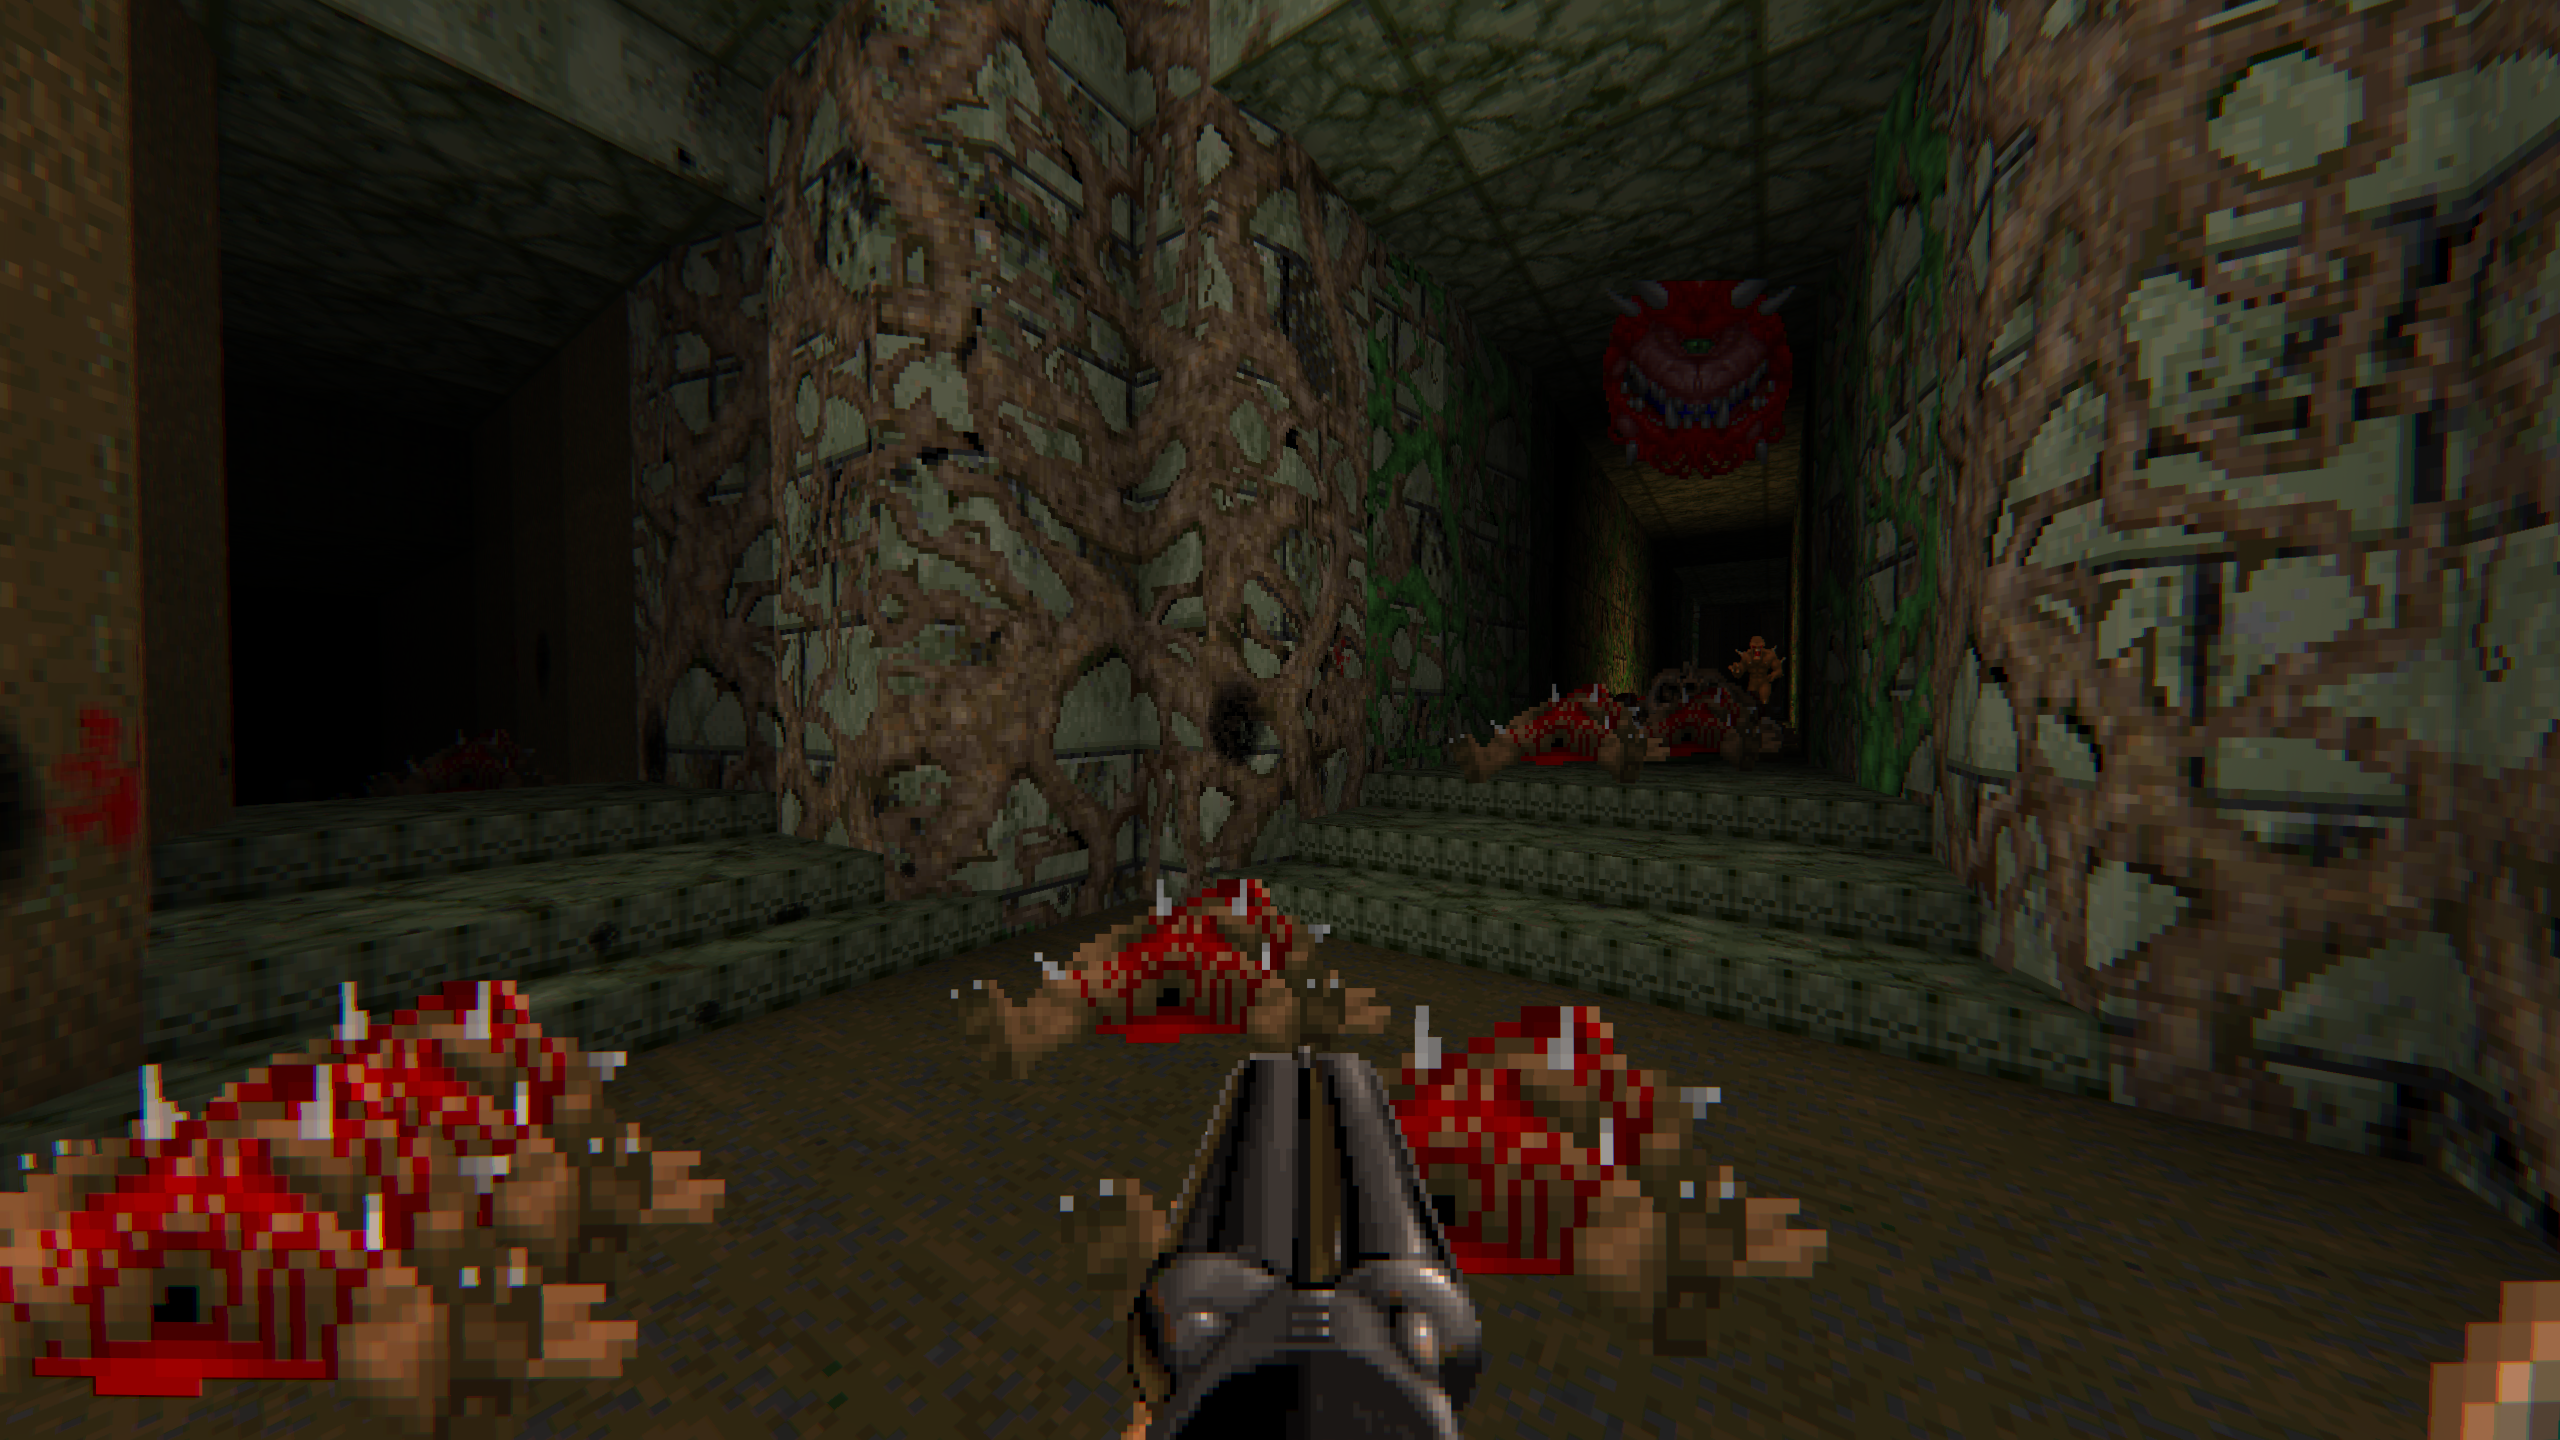
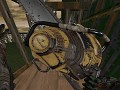
### E1M7 - The Abyssal Maze
Embark on the abyssal maze of E1M7, where darkness and danger converge.
- Additional health bonuses pave the way in the starting area hallway.
- Armor bonuses await at the treacherous three-way, fortifying your defenses.
- Rocket ammo materializes near the imp teleport alter, a deadly resource in the chaos.
- The door to the blue key room yields to manual intervention, granting control over fate.
- Space expands around the pillar in the dirt maze, revealing plasma ammo amid the shadows.
- The dead end is now barricaded, forcing a detour through stone rubble.
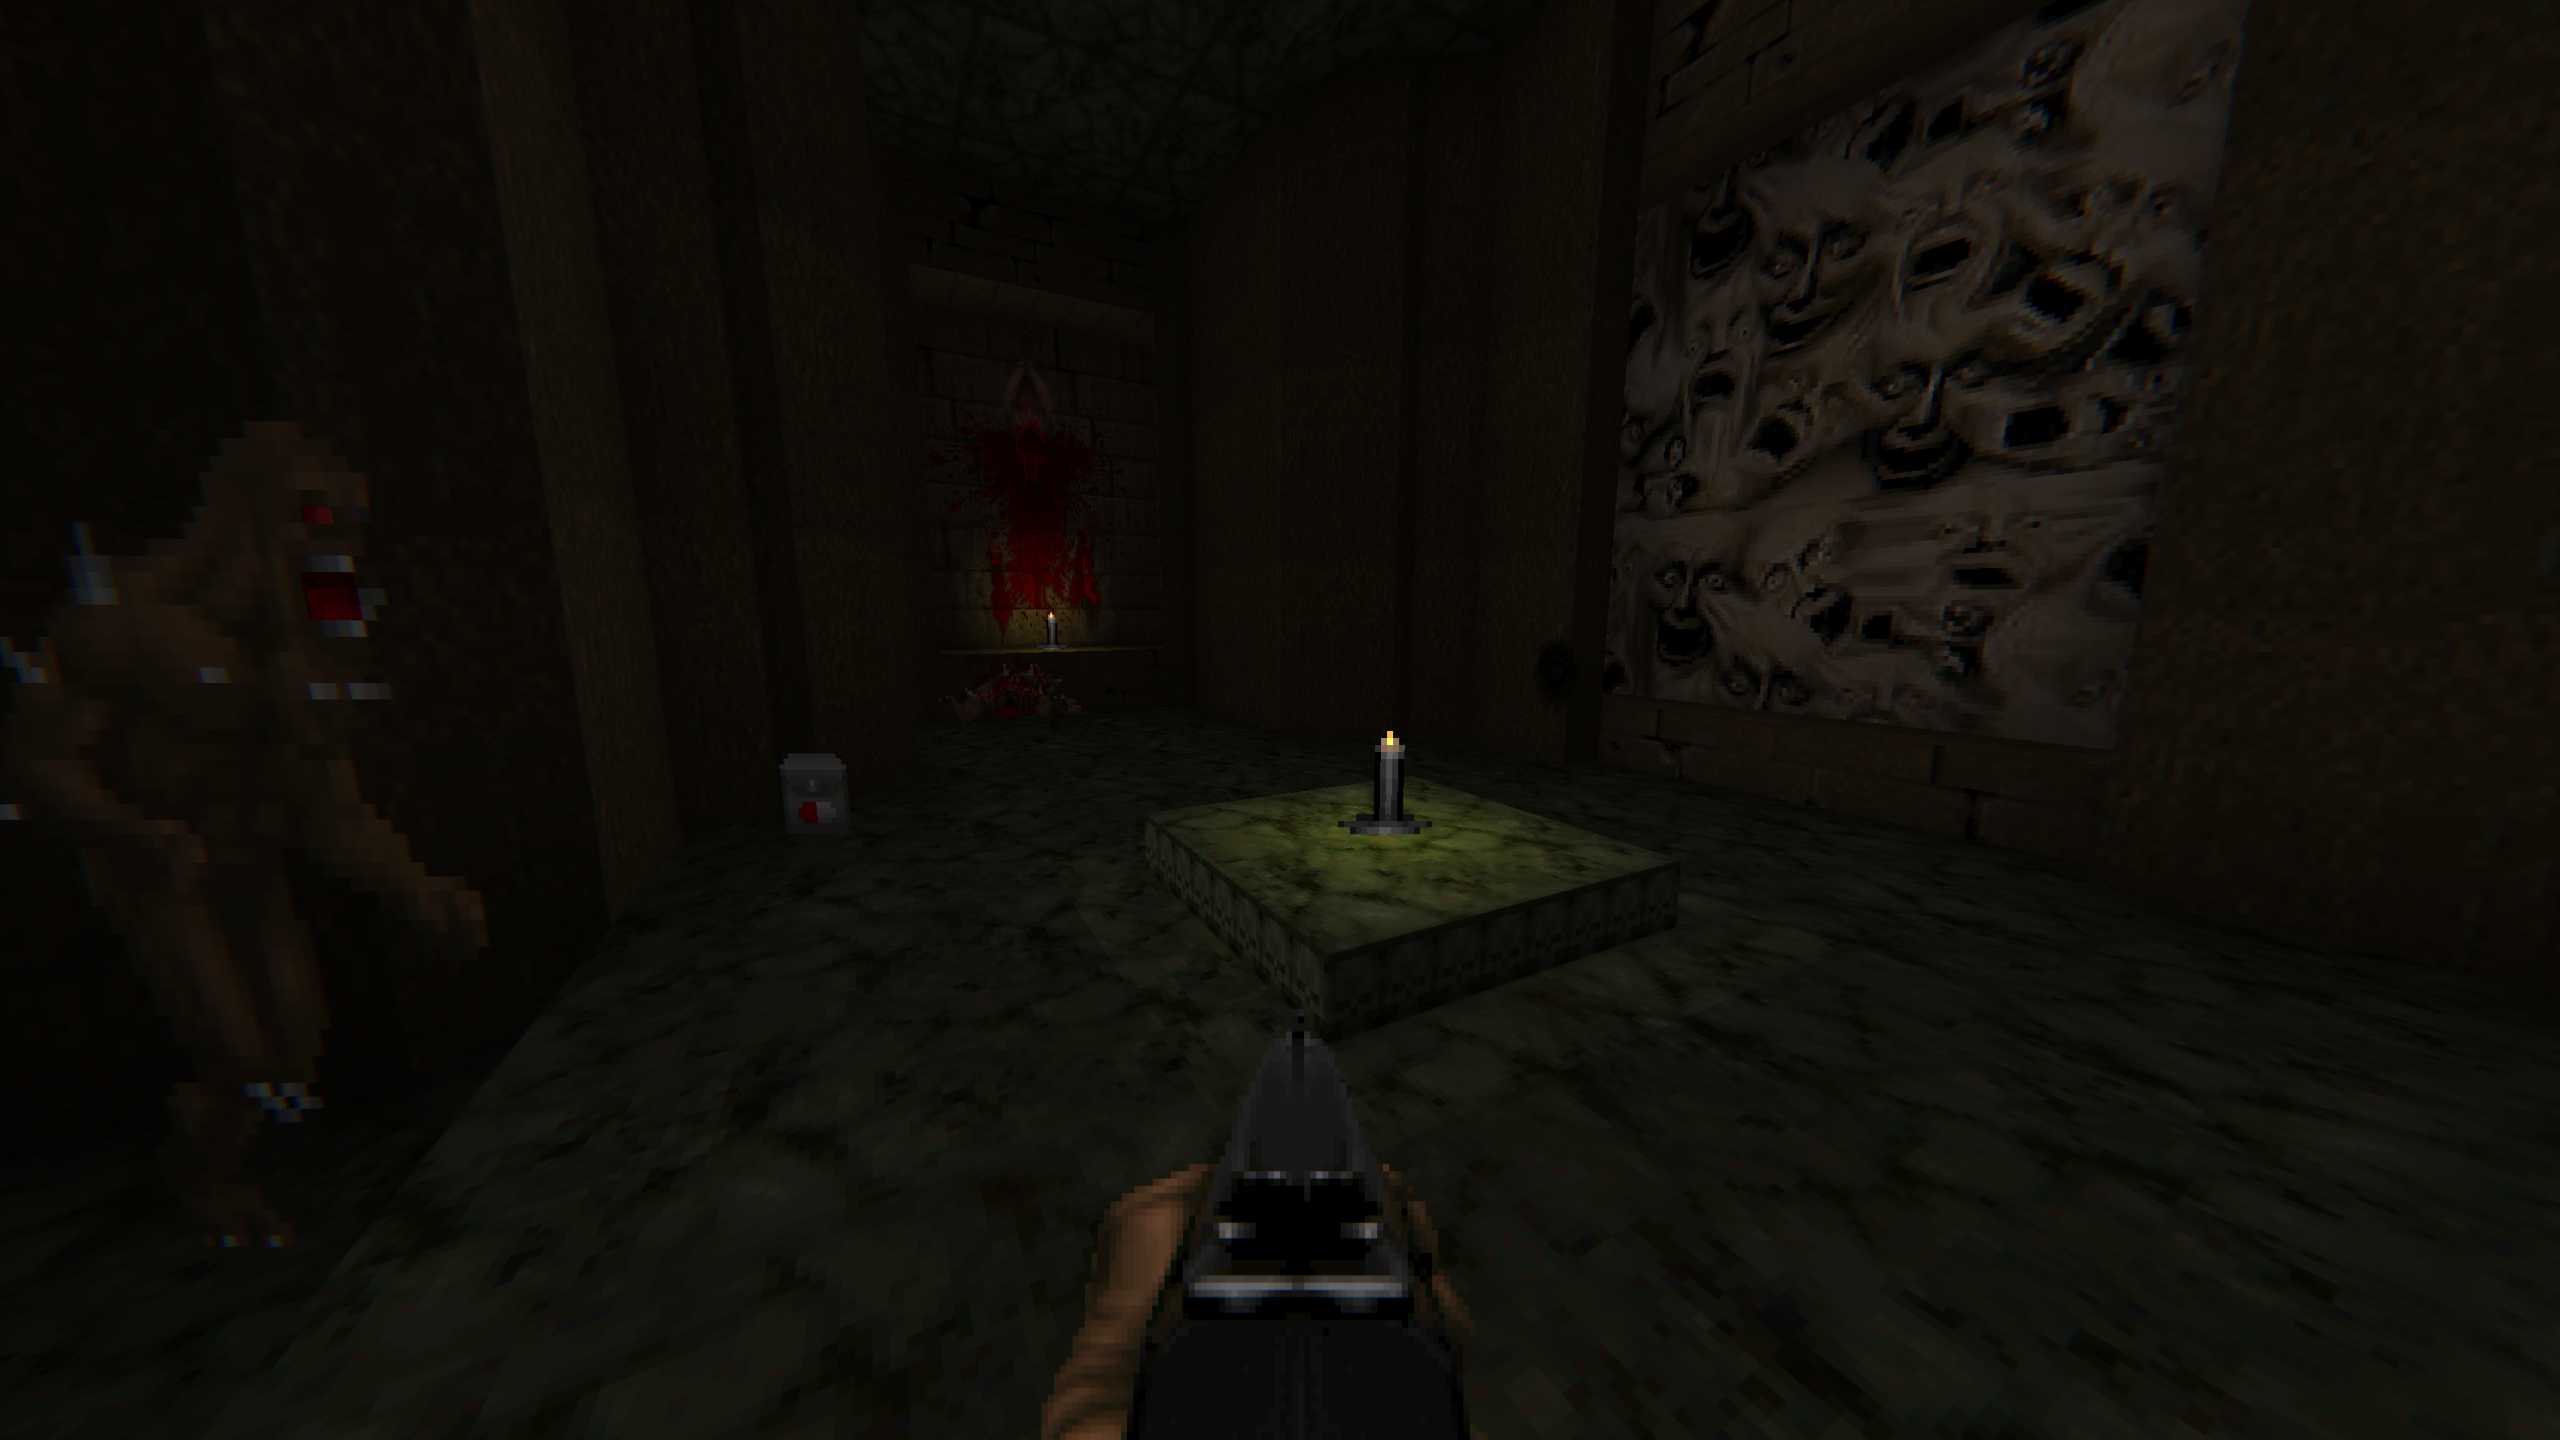
- Wall details breathe life into the dark hallway, panels of skulls and flesh on one side, rocks and stones on the other.
- Candles illuminate the Demon/Spectre Room, casting a flickering light on the lurking horrors.
- The Blue Armor Secret no longer discriminates by difficulty, sharing its secrets with all who dare to seek.
- Wall skulls adorn the grand tech-flesh corridor, a testament to the arcane machinations at play.
- Gradient brightness weaves a mesmerizing tapestry, guiding you through the shifting shadows.
- Hell Knights emerge from the dark cave, a relentless force on the unforgiving grounds of hard difficulty.
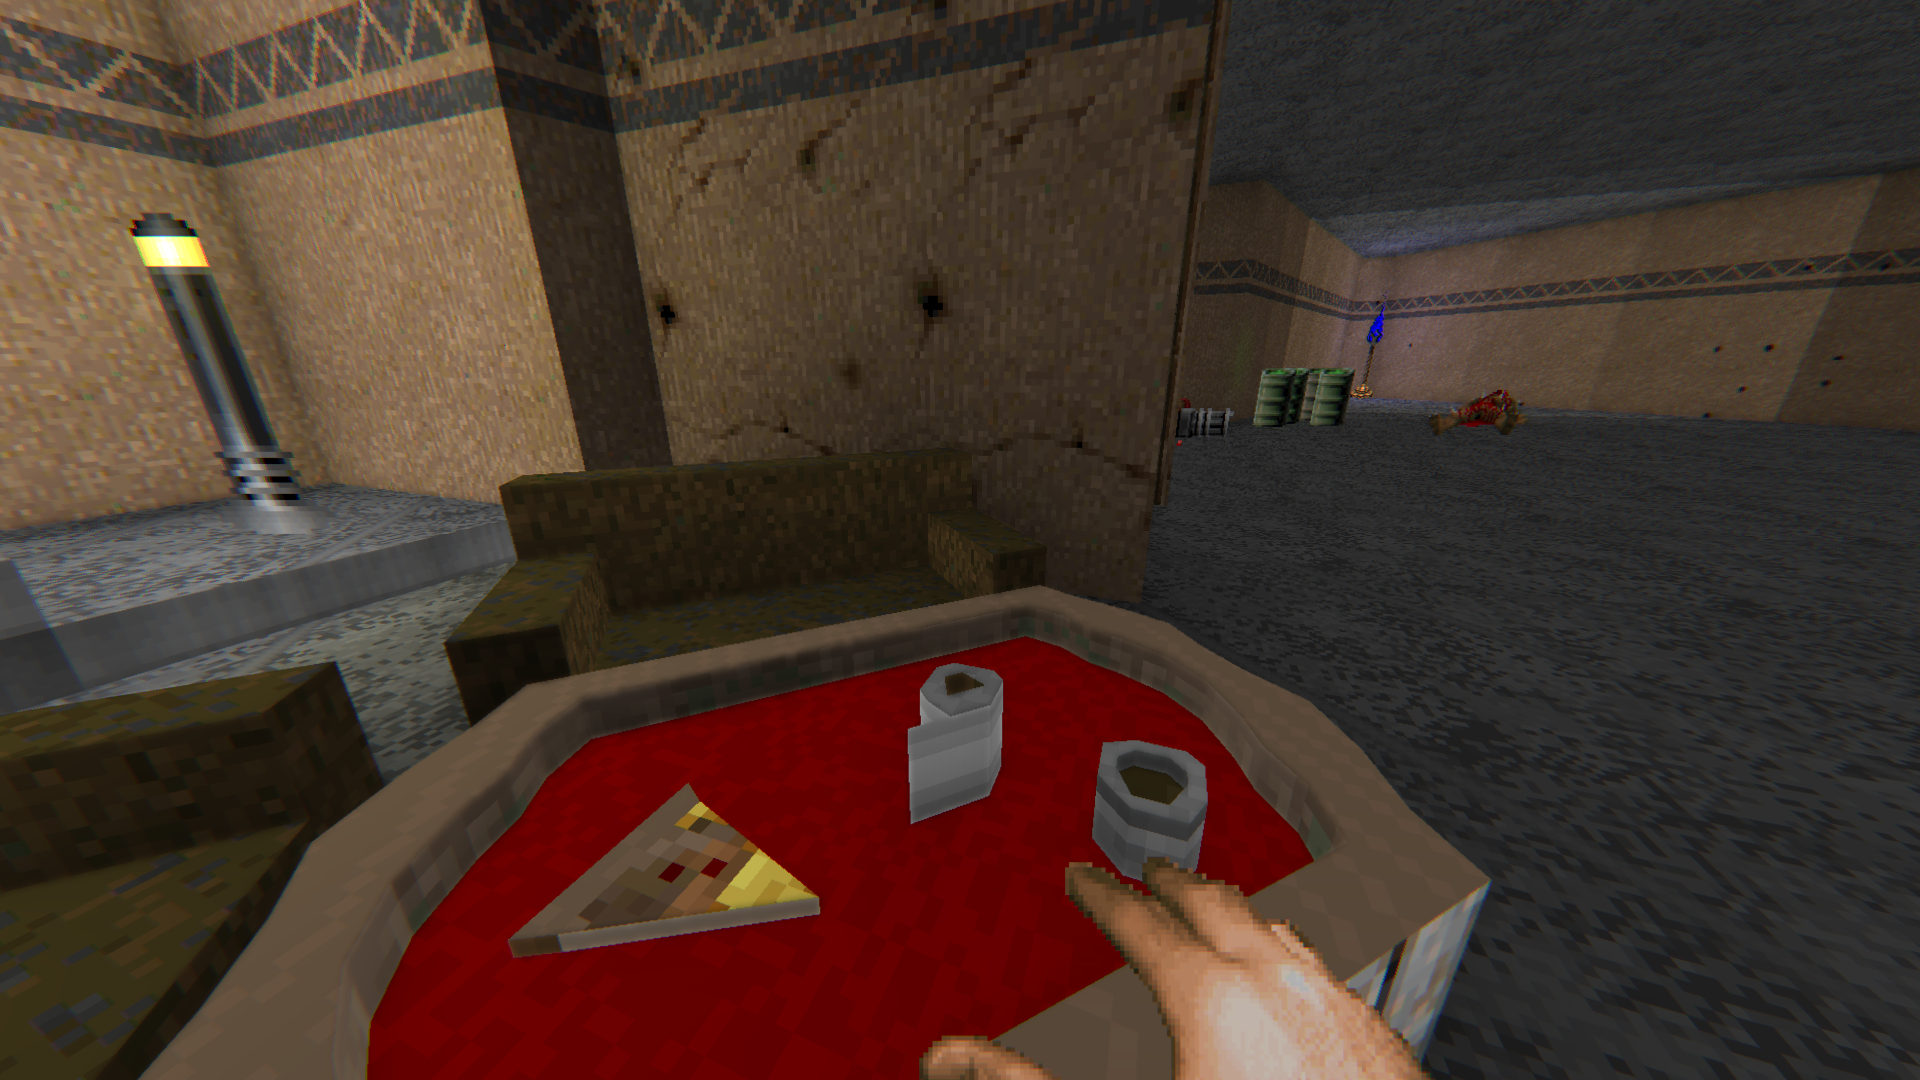
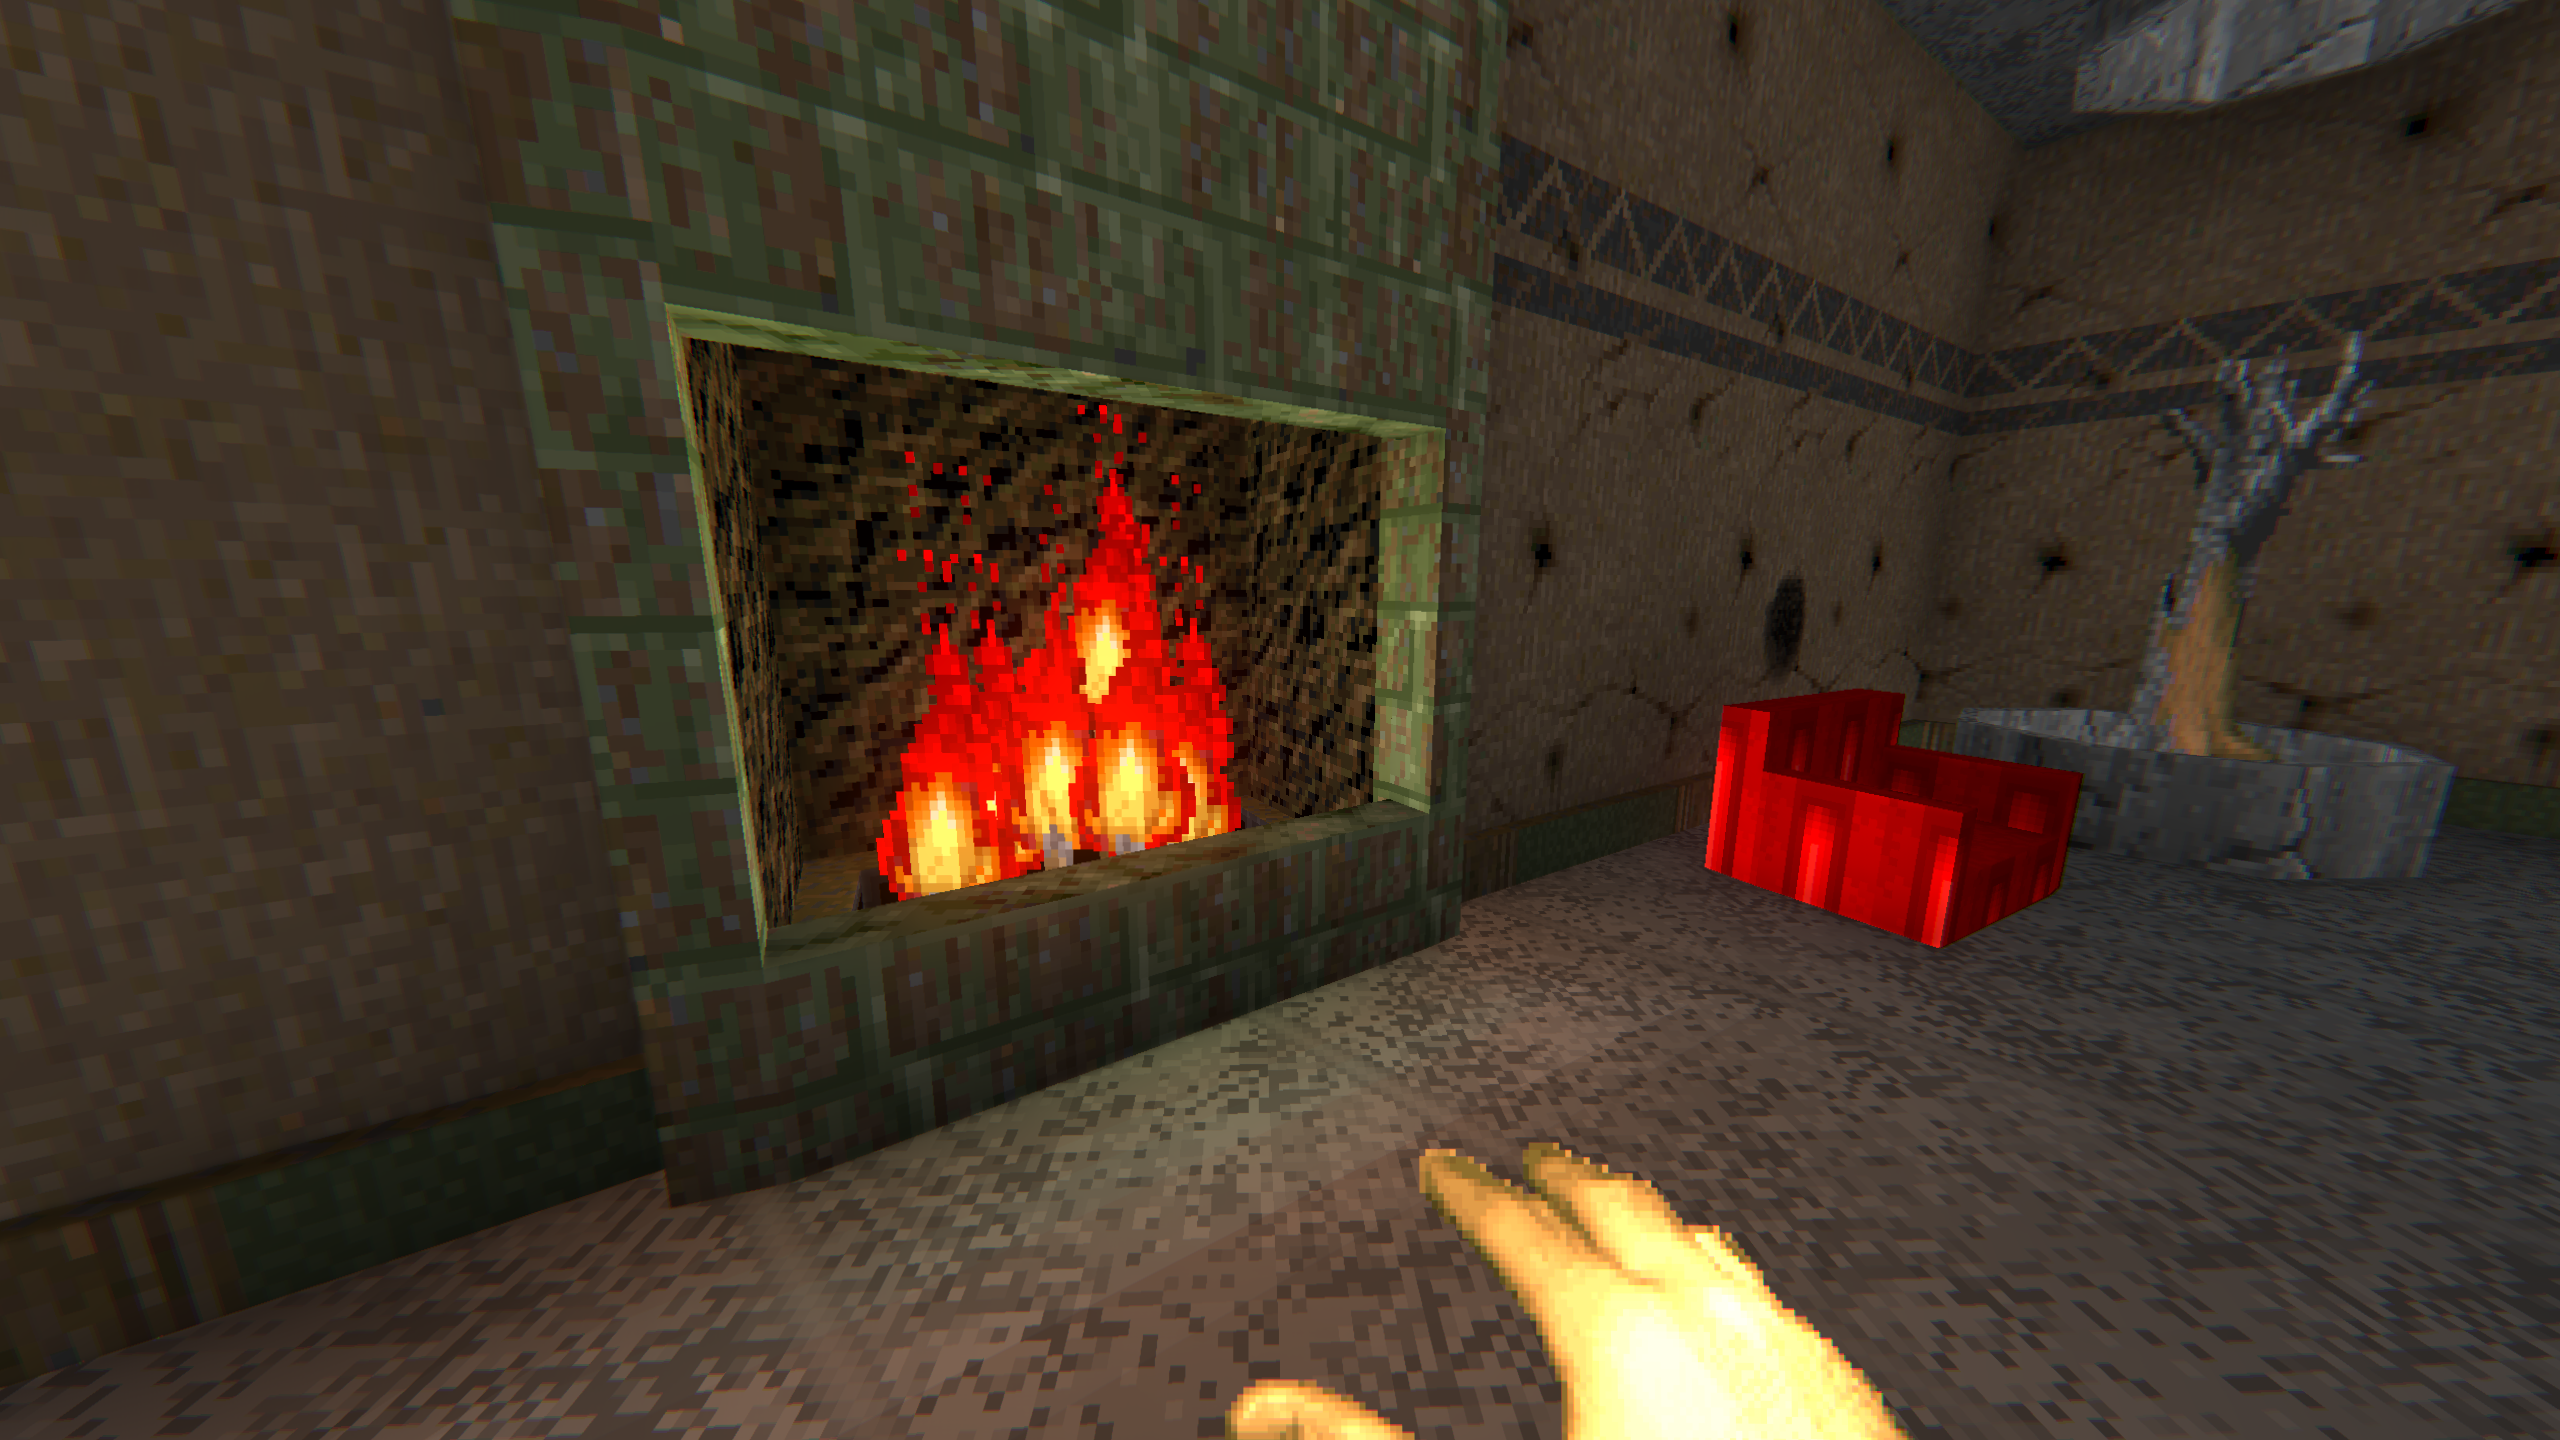
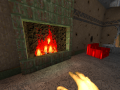
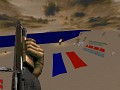
### E1M9 - The Surreal Oasis
Immerse yourself in the surreal oasis of E1M9, where absurdity and danger coalesce.
- The hotel house plant claims more space, accompanied by a red chair and a cozy fireplace.
- A second row of health bonuses lines the path to the grocery store, fortifying your journey.
- Wood panels embellish the garage front, adding an unexpected touch to the chaotic landscape.
- A sand castle emerges on the beach, a whimsical creation in the midst of chaos.
- Pizza graces the table inside the hotel, a delicious diversion in the face of impending doom.
- A book rests on the table within the home, its contents a mystery in the abyss.
- A pool of piss emerges at the toilet, a surreal addition to the bizarre tapestry of E1M9.
- Corrected the amount of secrets to 11 and added brightness gradients in several locations.
- Highbeds with plants as cover close to the store deepen the sense of surrealism.

The Decorative December Update 2023
NewsSome funny text generated with ChatGPT based on my current list of new changes since my Christmas holiday has started! Peace be with you, Merry Christmas...
Thy Dark Rooms of Finals
News"Gameplay Chronicles: Unleashing the Fun" "The Quest Begins: A Playtesting Adventure" "Game Trials: Behind the Scenes of Playtesting" "The Gamer's Journey...
Files
DarkRoomFinal_1901_24
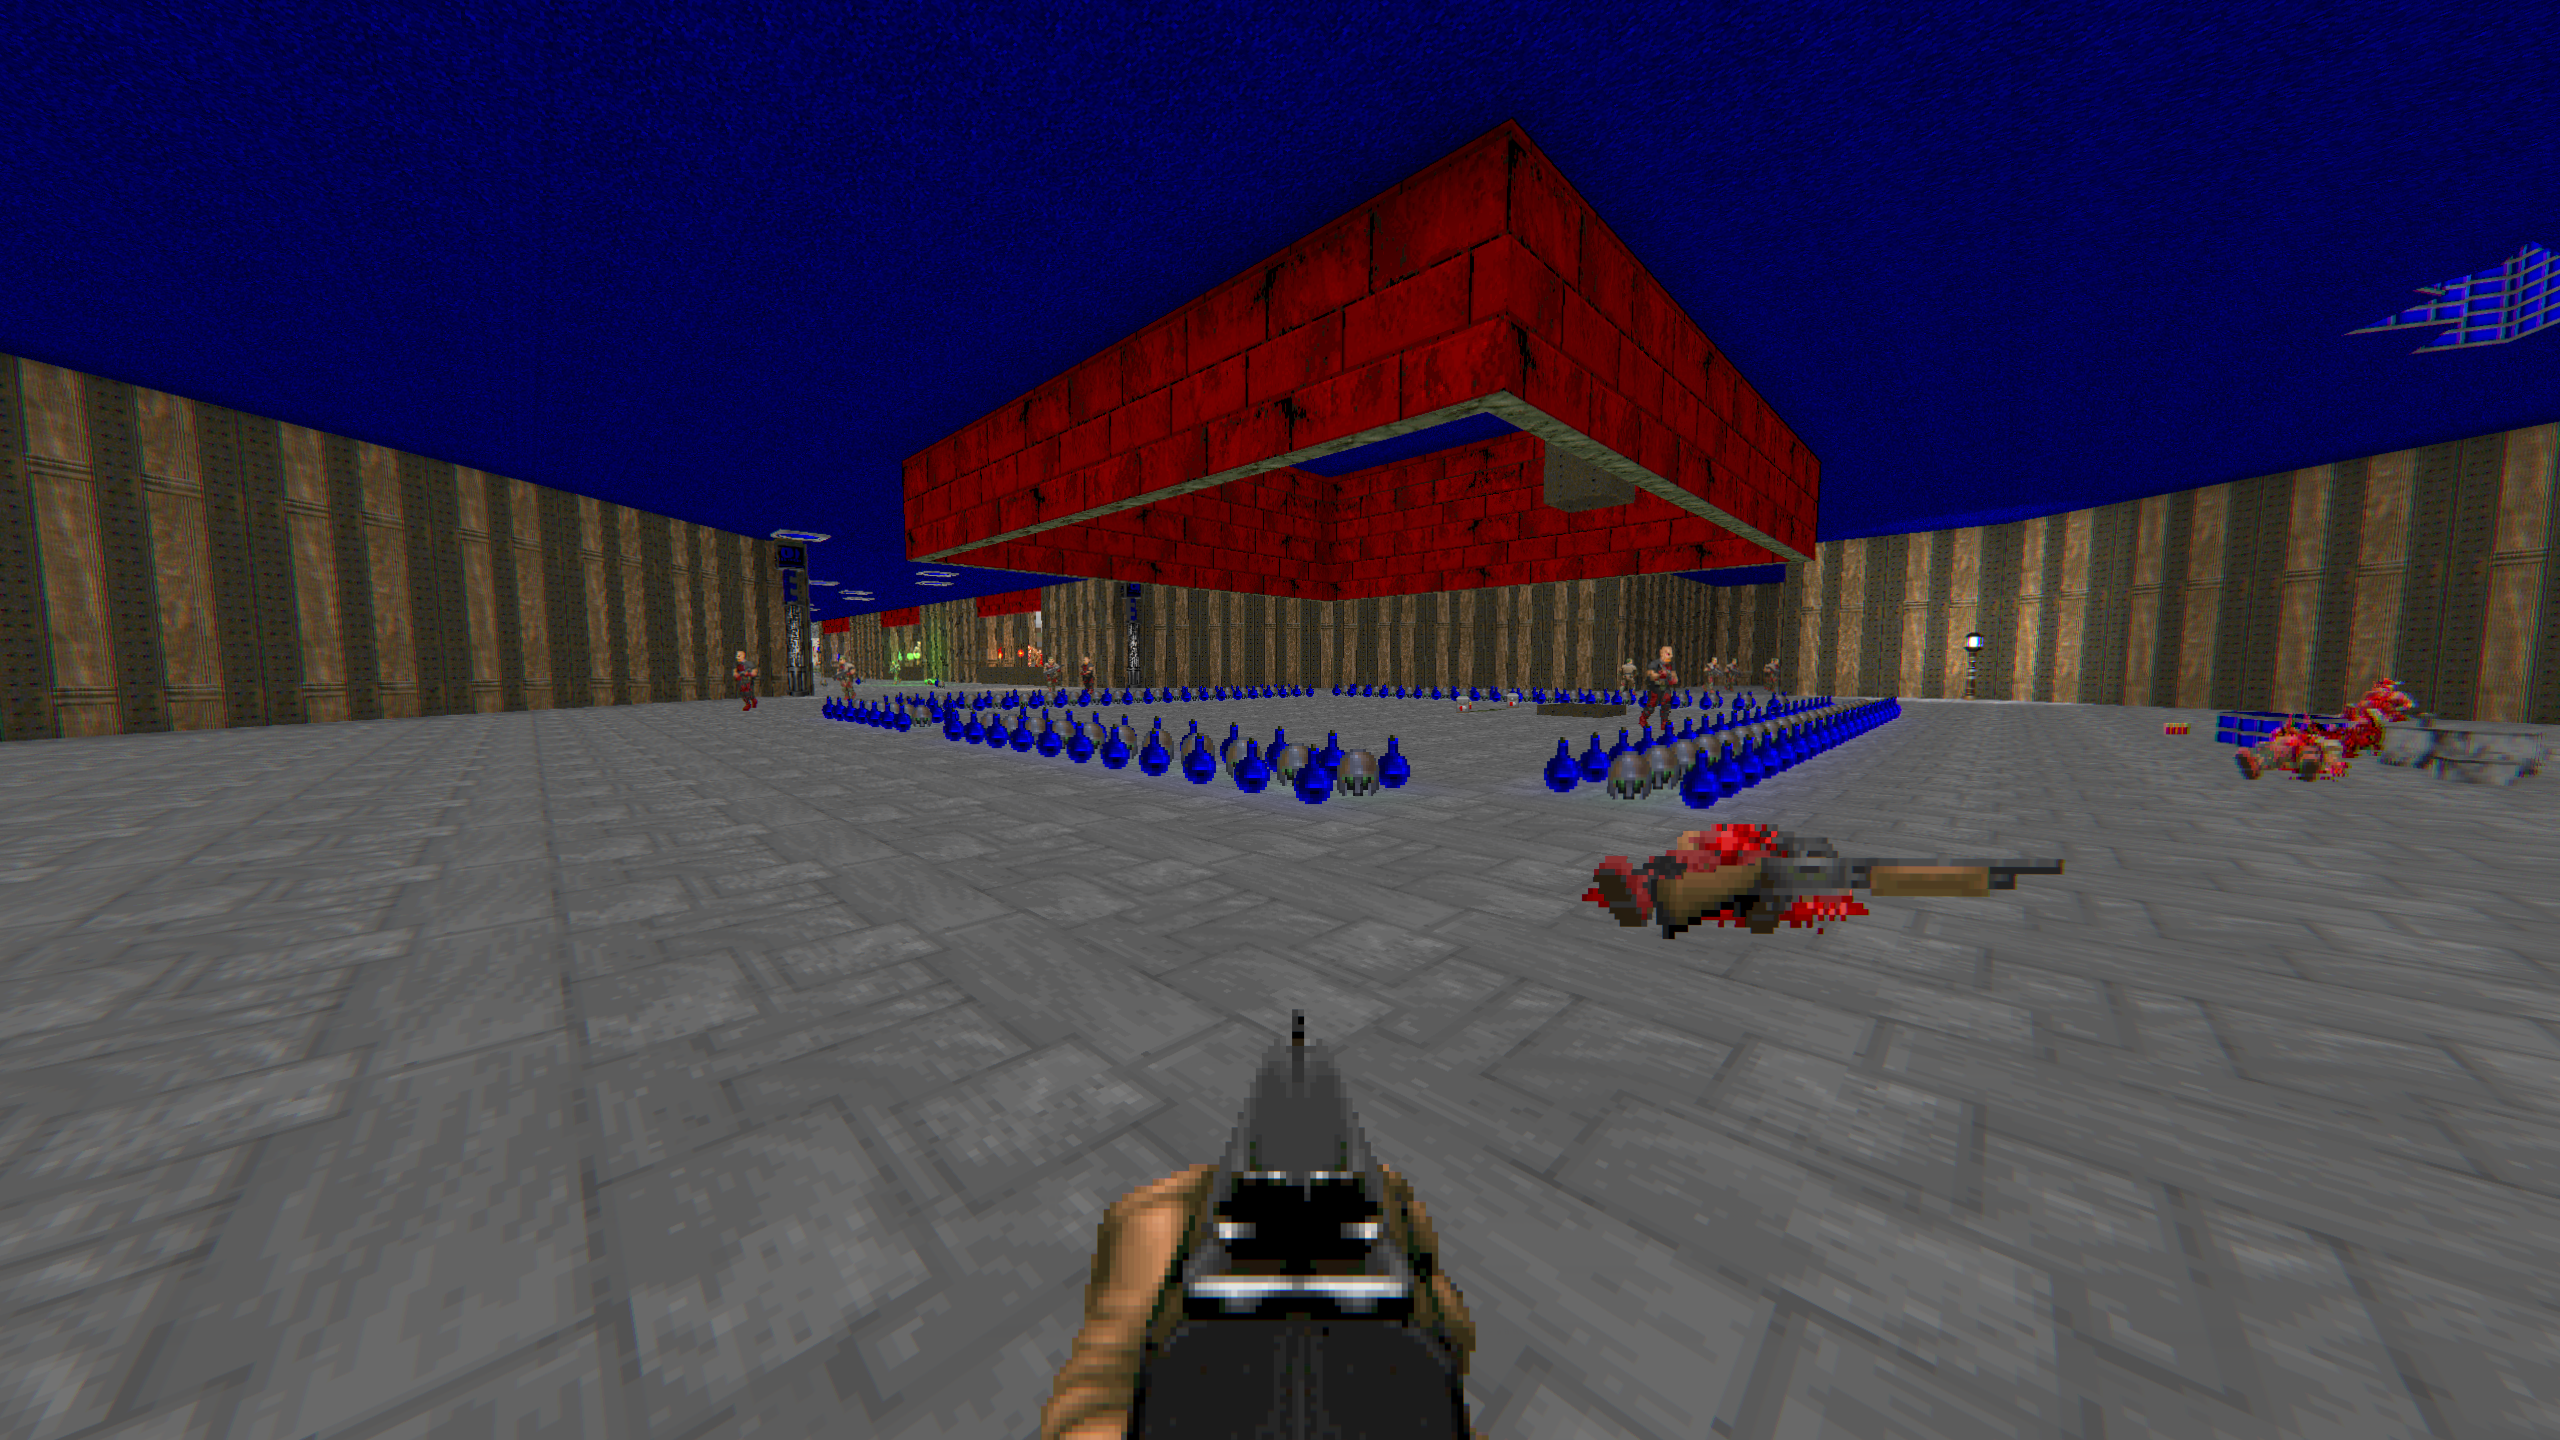
Demo 2 comments🌟 Balance, DoomCute & Details, Gradient Brightness, new and expanded areas 🌟
DarkRoomFinal_0511
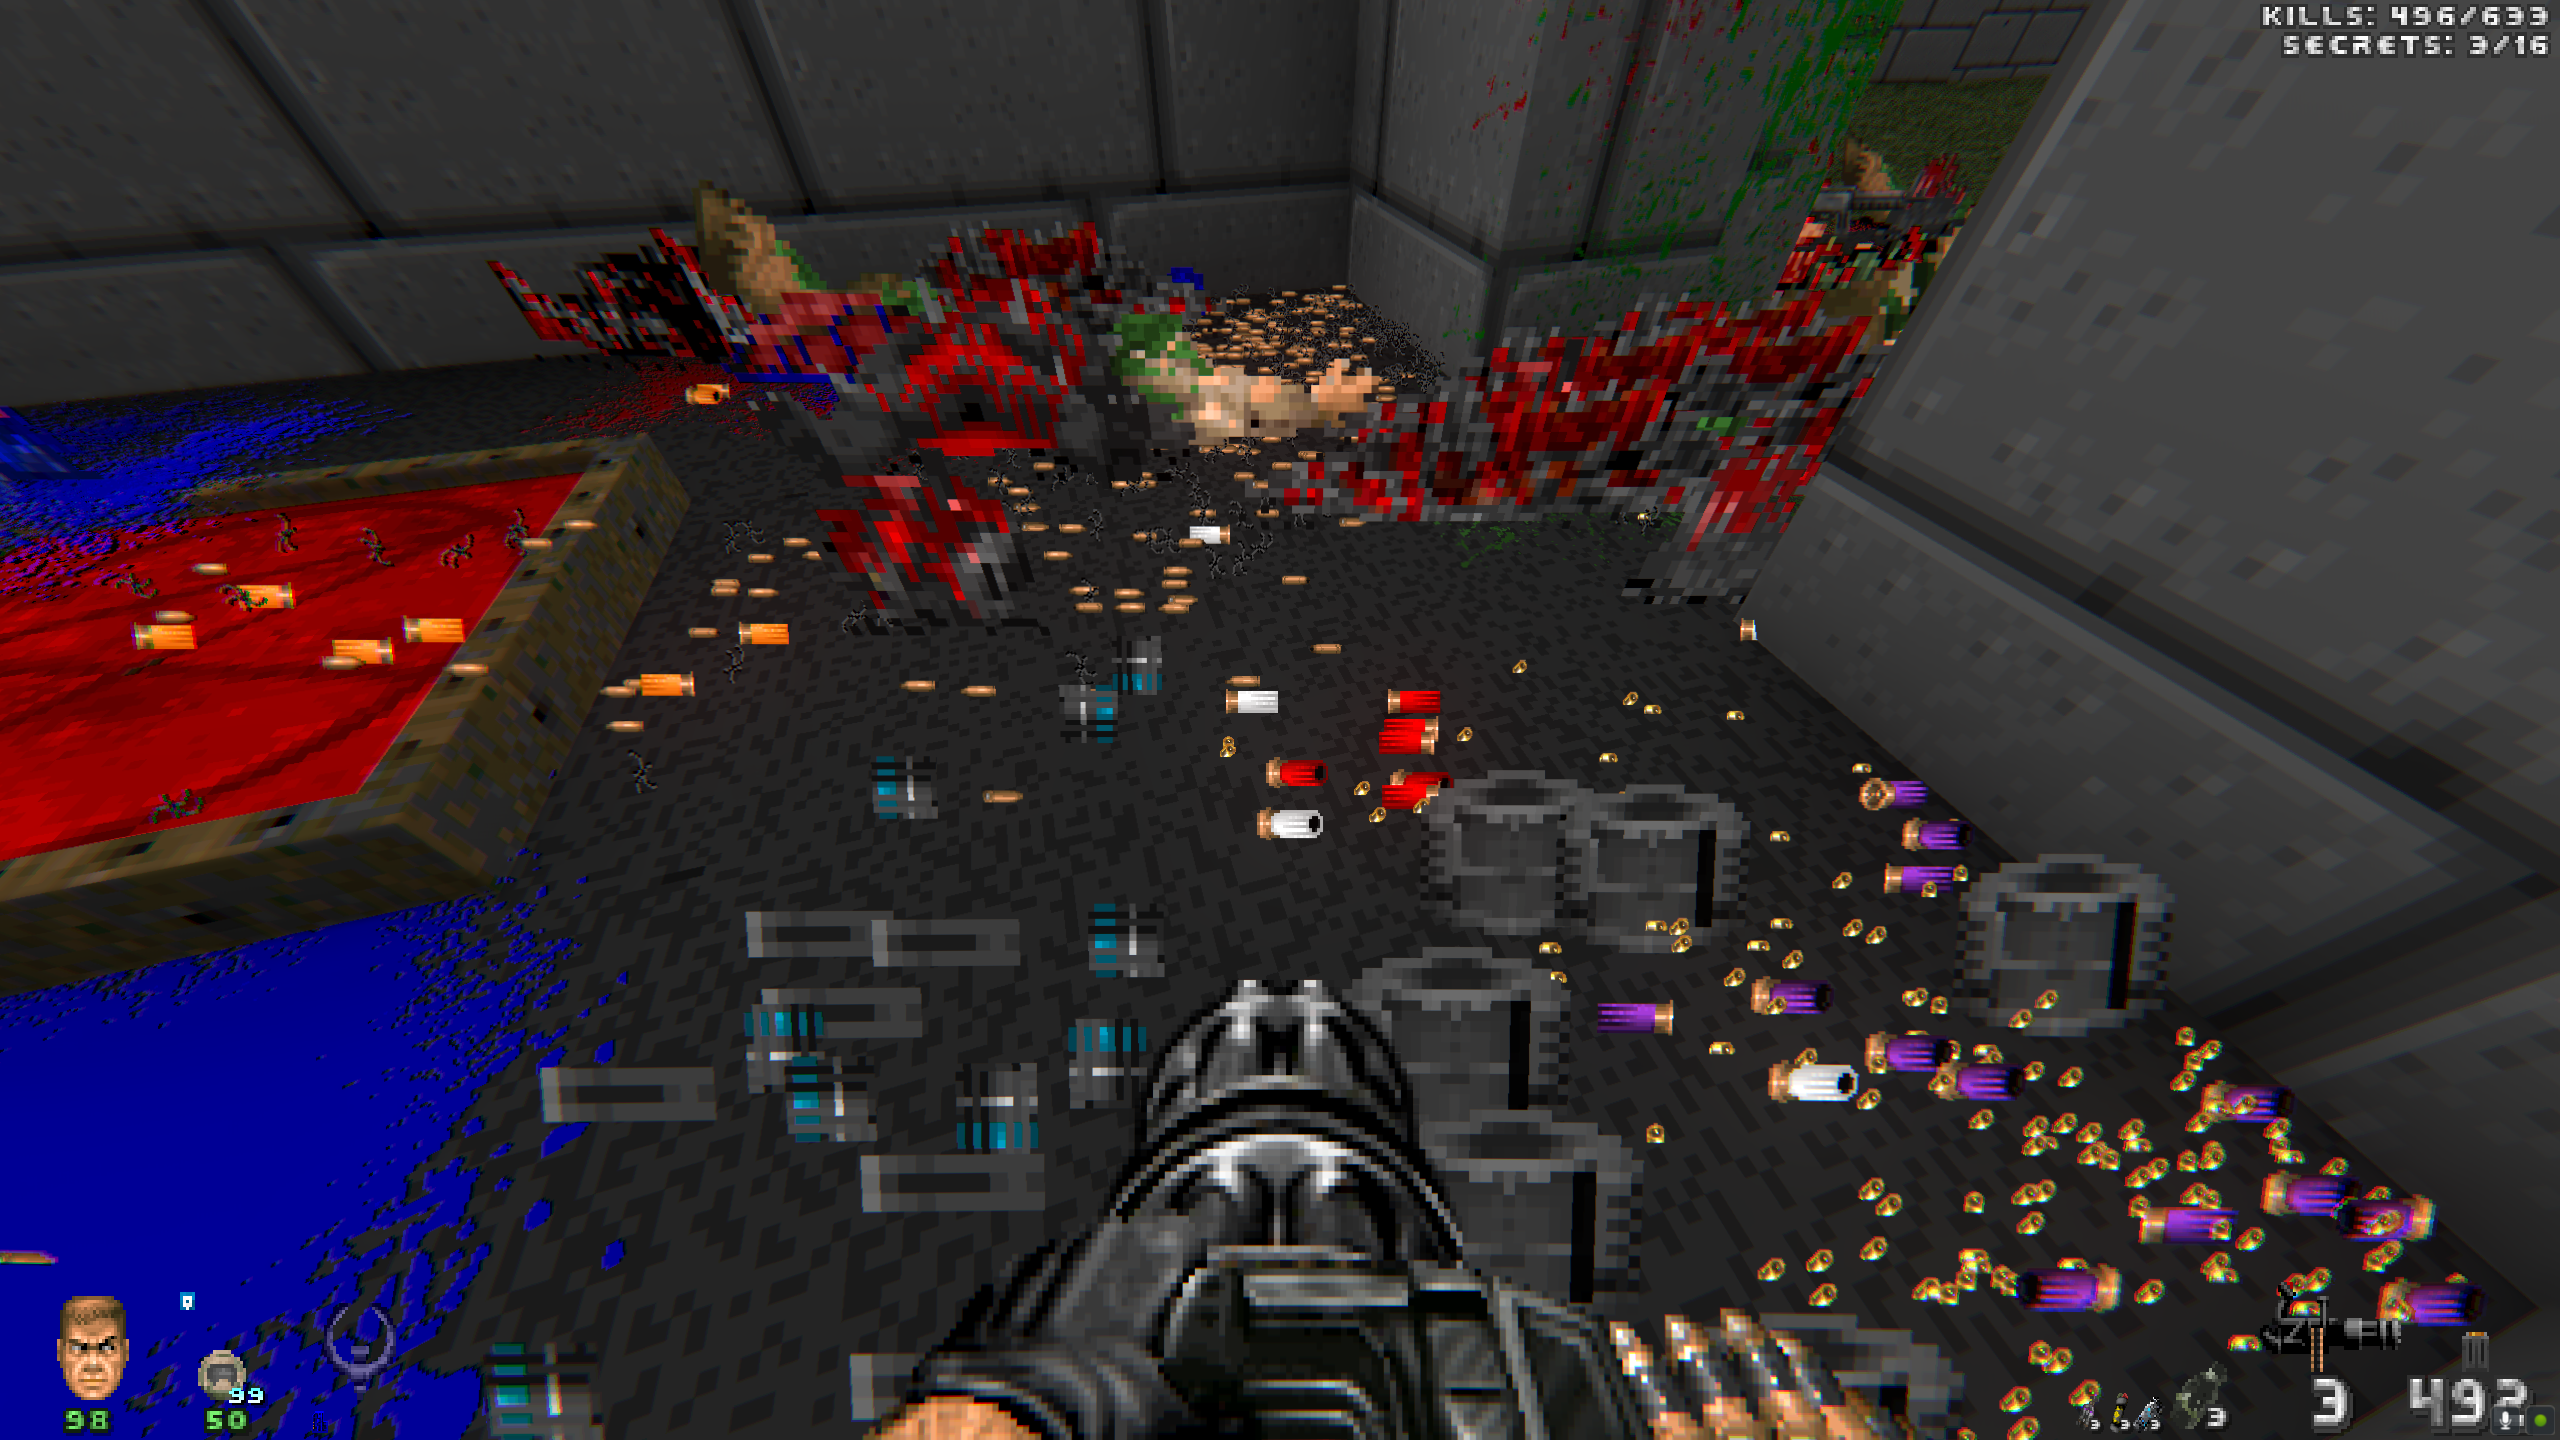
DemoE1M7 - A new map!! This will truly be a test! over 400+ monsters and on higher difficulties double the boss monsters. My pro tip would be do some wall...
DarkRoomFinal_2110
Demo 2 commentsLong time no update, but I have been busy! No new maps this time, but making the current maps more appealing
DarkRoomFinal_1307
DemoThe Detail & Toilet Update! New Hotel Roof, Tools... I need TP for my bunghole!
Post a comment
Profile
X
Tags
Embed Buttons
Link to ✝ Thy Dark Rooms of Finals ✝ by selecting a button and using the embed code provided more...


I do not understand, why are both Doom.wad and Doom2.wad required?
Usually only one of them is required.
To be honest I am not completely sure, but are all the textures from DOOM.wad included in DOOM2.wad?
is each file a difrent map or is it all one file just updated
Thanks for asking! All maps are in a single WAD file, it should be a full episode when it's done