THE DARK MOD was once a total conversion of Doom 3, and is now a STANDALONE GAME with the release of TDM 2.0! A dark and moody stealth game, inspired by the Thief series by Looking Glass Studios.

The Transaction Images (Part 2)
(view original)
")
Post a comment
Description
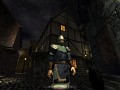
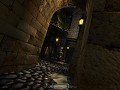
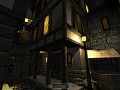
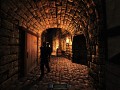
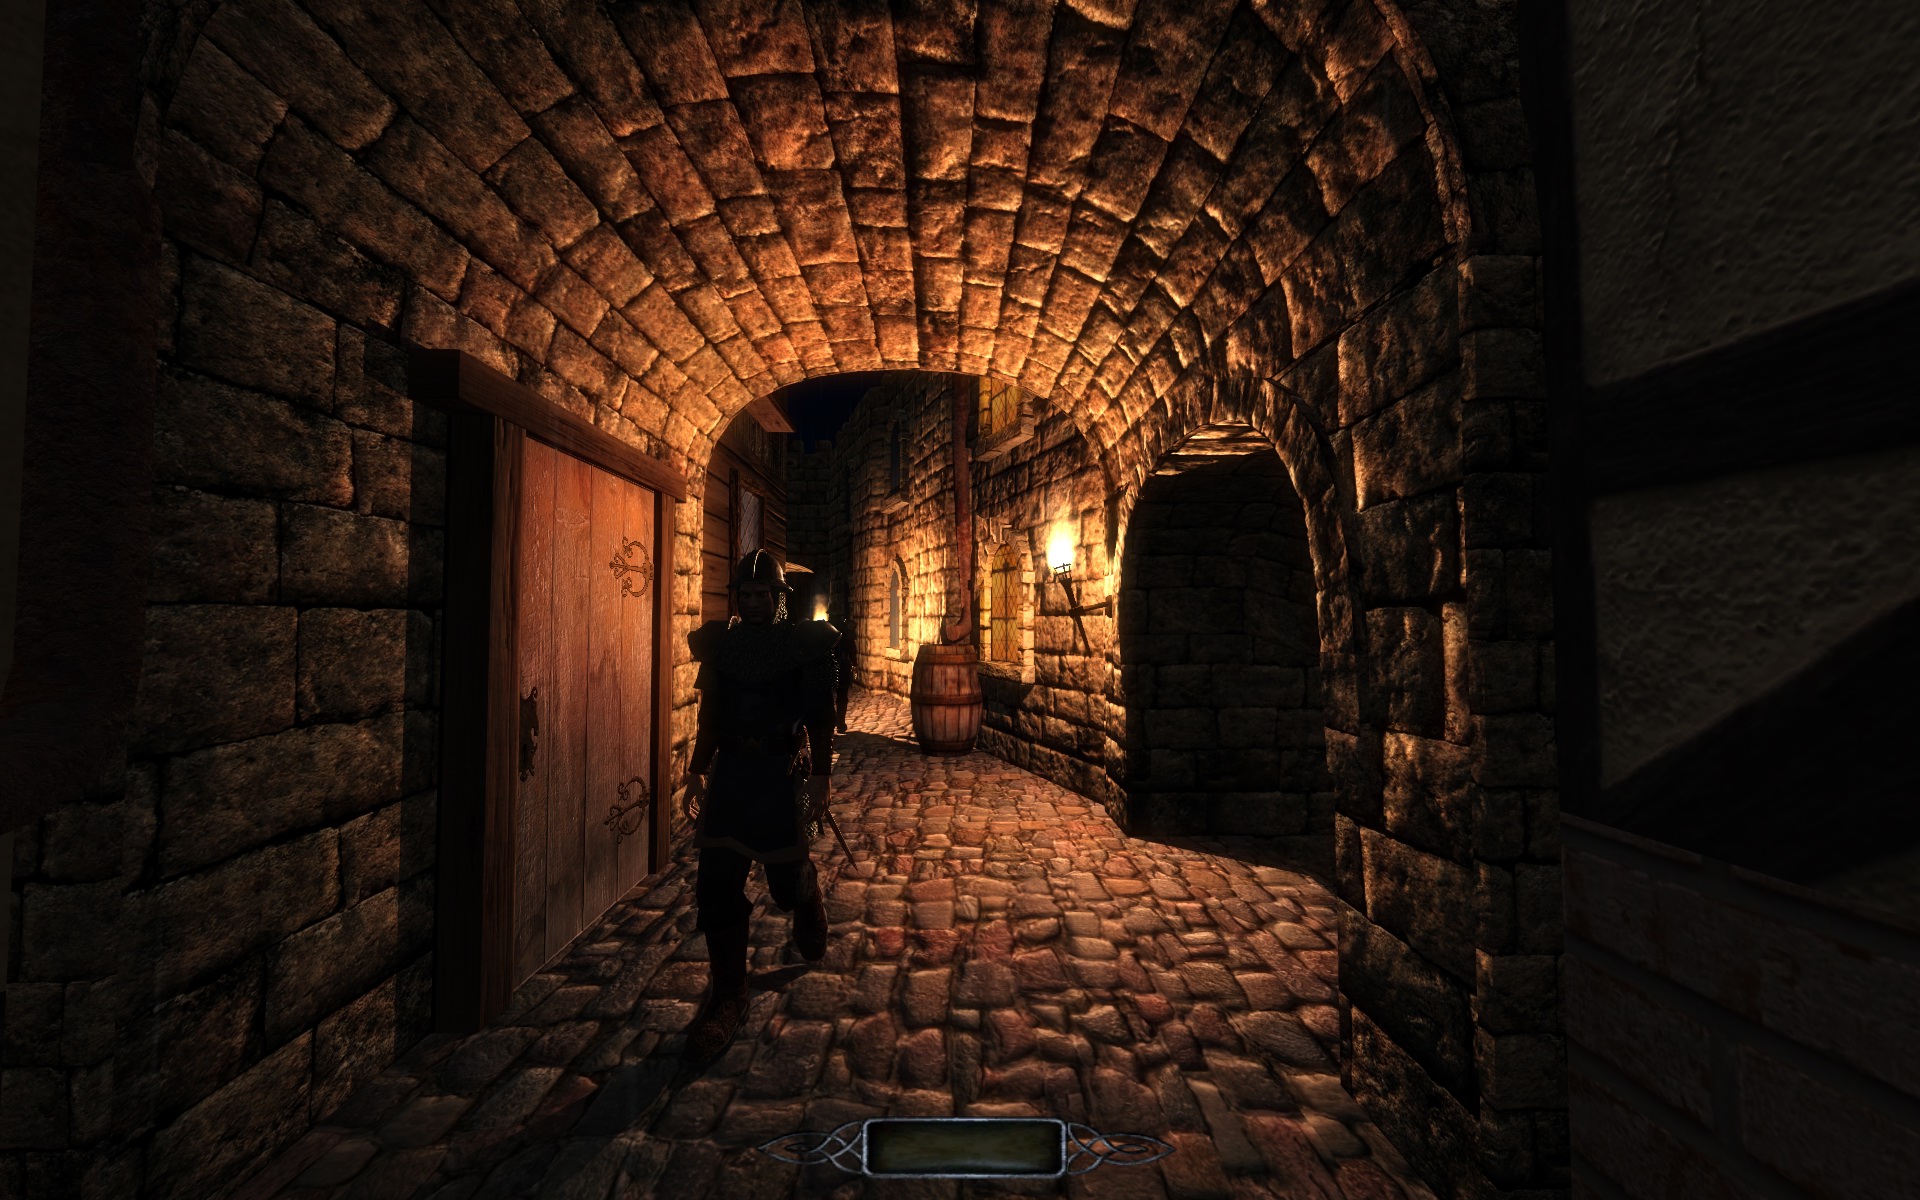
Images from Sotha's 4th Thomas Porter series mission "The Transaction". (Courtesy of AluminumHaste) The rain and lightning effects showcased here set the bar high for our Seasons Contest entrants. Also showcased are more of the enhanced normal maps from v1.04.
enhanced normal maps indeed, are they based on highpoly source objects?
Quote from out texture expert Serpentine:
Well, since I've worked on the other moldings, let me try give you my approach to this. Do note that I have taken to doing things very manually and it does take a bit of time.
First of all you need to come to terms with what you are trying to work with here. Lets do it
* Take the diffuse you are making the new normal for, blow it up to double size - because when remaking something, why not make it last?
* Take the old normal and throw it into njob, convert normal->heightmap.
* Overlay it on the diffuse.
* Does this heightmap seem correct? it wont be perfect, but does it reflect the depths and levels which the diffuse shows? Keep these things in mind, and take a look from time to time to make sure you're avoiding the mistakes you saw.
* Chances are it doesn't, so hide that layer.
* Make a new folder in your layers, starting at black, layer on the different levels, working your way up to white, do each one as a separate layer, start out with rough shapes and once all the layers are there you can work to match it up to the diffuse by overlaying it with low opacity.
* Avoid blurring/smudging to make gradual height until you're satisfied everything is in place, when doing gradiant slopes merge the two layers and using whatever tools, usually a bit of blurring and smudging try to match the expected results.
* Once you think it shows the basic layer of the texture, copy a merged version of the heightmap and throw it back into nJob, convert height->normal.
* Test it ingame, does it show up the areas you want as you would expect? Does it miss depth in specific areas?
* If you need to increase heights or blur hard edges, its easily done with the layers, much easier than using levels to adjust specific parts.
Part Deus:
Bringing details back into the normal - be gentle!
* Duplicate your old diffuse, desaturated it and then use a high-pass filter to pull out the details, edges and such. Using darken/multiply or whatever seems best blend the details into your new heightmap, you'll find you need very low opacity to just bring in some details, sometimes you will want to mask out the larger edges and let that just come from your hand made heights if they are accurate already.
* Test again.
* Now that you have a better understanding of what areas would be darker in normal illumination, maybe you want to try your hand at removing downlighting or whatever from the image, remember not to make it completely flat, a 'true' diffuse does not look good in games, it might look good in a 3d render where you have a million other things to displace/whatever. Diffuse changes (besides lining things up and doing shape changes) should be done after normalmap, I've regretted doing it before many times...
* If your diffuse didnt have much lighting to start with, take your heightmap, throw it into njob and output an AO map. Multiply this onto your diffuse, careful with opacity, you don't need to completely blacken areas or anything like that. Use a mask to remove details you dont want, using a soft brush add in deeper areas that would be flat-lit but dimmer than you're getting.
Part Trois:
Does your new normal look good, but it's a bit too strong, making harsh black slopes and over-bright edges?
* Chances are you should be using less 'scale' and rather soften your heightmap a bit by blurring some stuff, use layers/adjustment masks to do it non destructively.
If you're missing depth in some areas and an AO pass doesn't seem right:
* Take your normal map as you see 'complete' go to the blue layer and gently darken the area. Note that this should not be abused as it will make your normal map look retarded!, the blue chan should be predominantly 100% white for flat facing things. Blend the edges a bit to give a slope. This will adjust the angle at which light illuminates the surface ingame, avoiding the 'straight on' lighting a deeper area would have.
This approach is very intensive, yes.
But once you get the hang of the workflow you can simplify parts of it, specially knowing which tools work best for what and how to use their outputs to augment your work. For example the xNormal photoshop plugin's cavity maps provide a really nice alternative to AO maps for flat textures. SSBump is excellent for drawing out specific elements from a diffuse, such as cracks from some tiles without getting excess data from elsewhere on the image etc.
Love it. Really shows off the stone textures nicely.