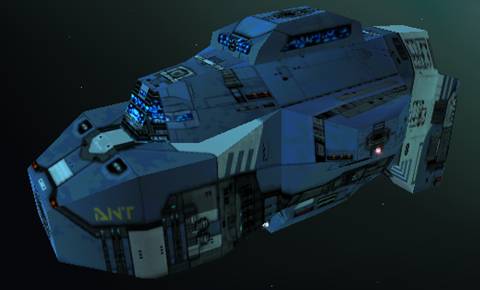
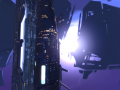
Multibeam Frigate - original from Homeworld Cataclysm
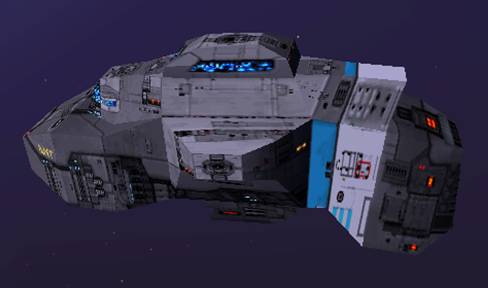
 Multibeam Frigate - with all textures finished
Multibeam Frigate - with the example texture applied

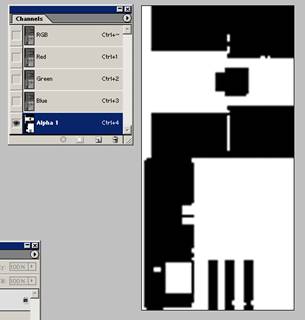
 Above right shows the .dds file with alpha channel shown layered on top of the texture, the visibility of the alpha channel may be turned on and off with the eye next to it's channel and may be on or off when saved the ship will look the same regardless. The next step is to save the .dds file and move on to making the glow texture. This can be accomplished quickly by going back to the saved .psd, this examples page0_EXPORT[1].psd and hiding all layers except for TEX and by creating a duplicate layer of it. Then the procedures are the same as in the original conversion page, just be sure to have the correct layer showing when applying the contrast and channel mixer procedures. After that a new layer will be needed for the glowing portions as also described in the previous conversion page, this layer needs to be atop all other layers. The _EXPORT[2] glow texture can then be saved, again make sure that the glow layer (blue) and the glow thru layer (green parts) are the only ones showing and save as the .dds file. Finally as above the second exported file needs to be opened and have the COL1 stripe layer imported into it's alpha channel. Finish the group, add them to the .hod and the team colors will appear.
Although I am unsure of what an Alpha channel is exactly, in relation to this game it acts very much like another layer to the file that can be colored by the game. The amount of grey on the texture underneath the Alpha channel is directly related to the amount of detail that comes through the texture. The closer the areas underneath the filled areas in the alpha channel are to black, the more black will show through, the more those areas are closer to white, the lighter the color will show during the game, I believe that the exact middle of the spectrum between black and white is where the color shows at it's exact color as selected in the game.
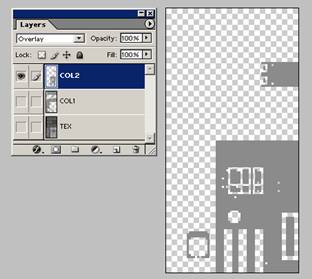
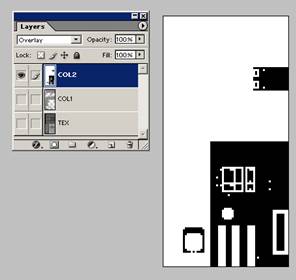
The file will look like the file above center, the next step is to fill the grey areas with solid black, using the fill tool, uncheck contiguous if not already to fill all areas in grey even if they are not connecting. Next fill the transparent portion of this layer with white. The file should look like above right when finished, the next step is to hide COL2 and repeat the fill procedures for layer COL1. After both color layers have been filled appropriately the file can be resized (if desired) to 4x size by way of changing the image resolution from 72 to 288 - this is explained in greater detail in the previous conversion walkthrough. Now save the file with save as, so you can leave the original file untouched, this example is saved as page0_EXPORT[1].psd.
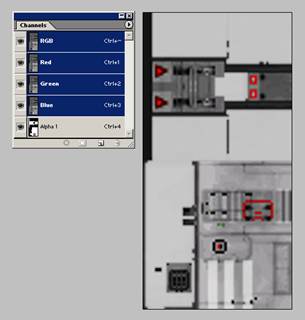
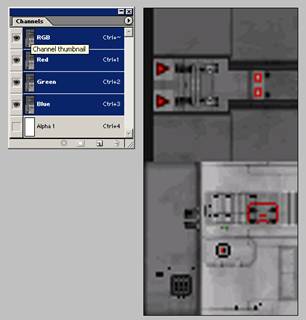
Once resized and saved make sure to have both team color layers hidden and save as the _EXPORT[1].dds texture file. Make sure to save as DXT5 and with no mip-maps as per the original conversion page. Since the original file is a .psd the .dds will be saved as a copy and you will need to open it to import your team color layer into the alpha channel of the file. The next step is to make COL1 the only visible layer, make sure the layer is highlighted in blue and use the rectangle marquee to select the whole layer. Next open up the .dds file that was just saved, this one is page0_EXPORT[1].dds. The channels menu bar must be open to select the Alpha channel. After selecting Alpha 1 (make sure Alpha 1 is highlighted blue), paste in the contents of COL1, below center.
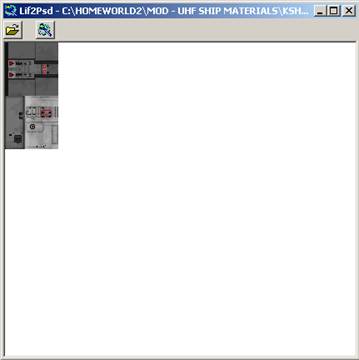
Next use Lif2Psd.exe to convert the .lif files to .psd files while preserving the layer system, this utility can be found on the internet. It is previously noted that 3D Exploration "flattens" the layers on export, it may be that these layers are stripped on export, in either case using the Lif2Psd will produce near identical final results for both ship base texture and glow texture. Once the file is converted it may then be opened up in Photoshop, the layer menu needs to be on screen to view the different layers. On textures with both a team color and a stripe color there will be one layer for each. The base layer is called TEX, COL 1 is for the team color and COL 2 is for the stripe color. The first thing to do with the file is to turn off viewing of the TEX layer, and COL1, so all that is visible is COL 2 - stripe color.


 Homeworld 1 & Cataclysm ships to Homeworld 2 conversion sidebar: Adding Team Colors
Adding team colors requires a different procedure for texture conversion, this example will use the Multibeam Frigate from Cataclysm. A model from Homeworld 1/Cataclysm still needs conversion with 3D Exploration, in the final window of the save as procedure there is a drop down menu next to the selection called Texture files:, this should be changed from an image format to "Store links to existing files" as to not create duplicate unnecessary textures. Next the .lif files from the original game folder need to be copied into the folder containing the converted model from 3D Exploration.


PLZ not that it seems that it goes from bottom then top down after i copied and pasted the stuff.