Madin
Madin joined
This member has provided no bio about themself...
My Blogs
Concept artist needed!
(Please note that this is for a free Tiberium Wars modification, and as such is a non-paying role!)
Hand Of Nod
The base Hand Of Nod will be done in the Tiberiam Dawn style. What I plan is to have a choice of 3 upgrades that a player can purchase, that will provide the player with certain gameplay options, and that will greatly change the look of the Hand Of Nod.
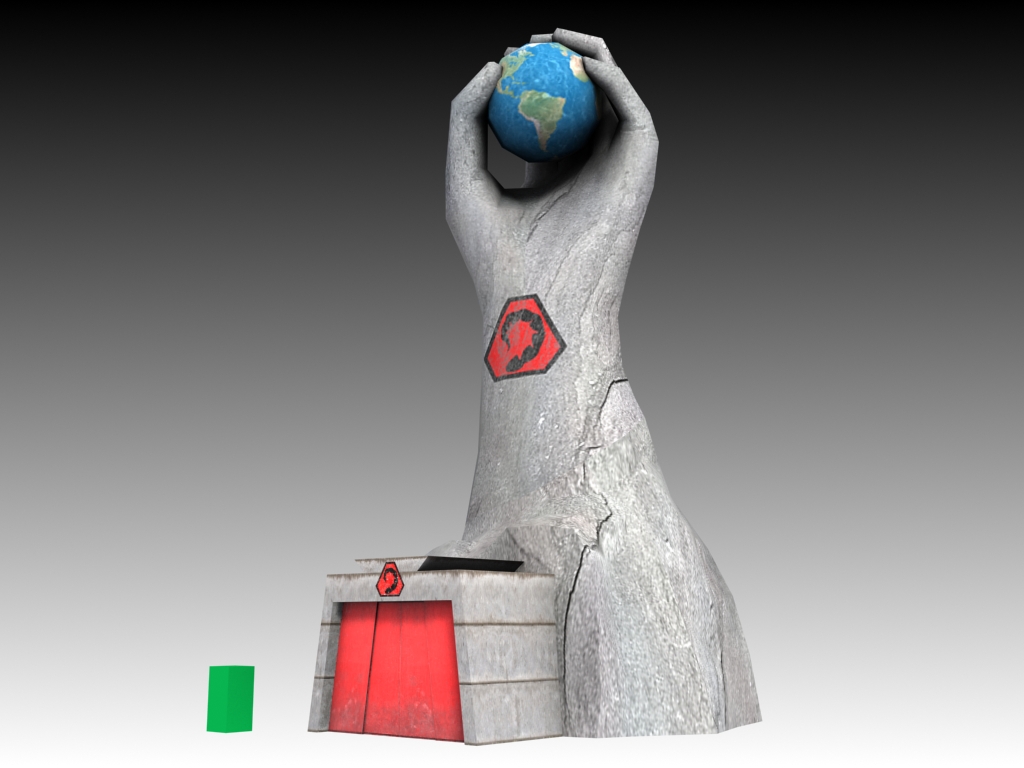
I need 3 different concepts, because I am not good at all when it comes to designing, drawing, or conceptualising things.
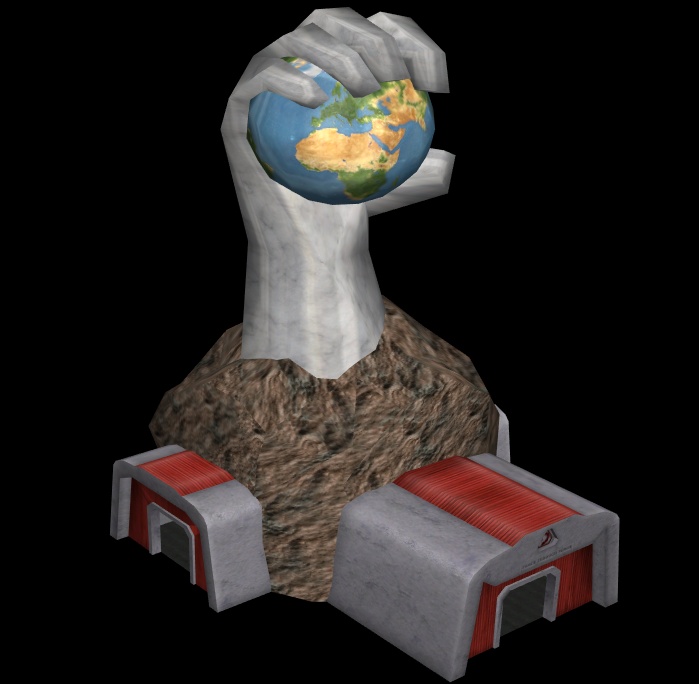
Tiberium Future
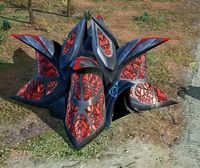
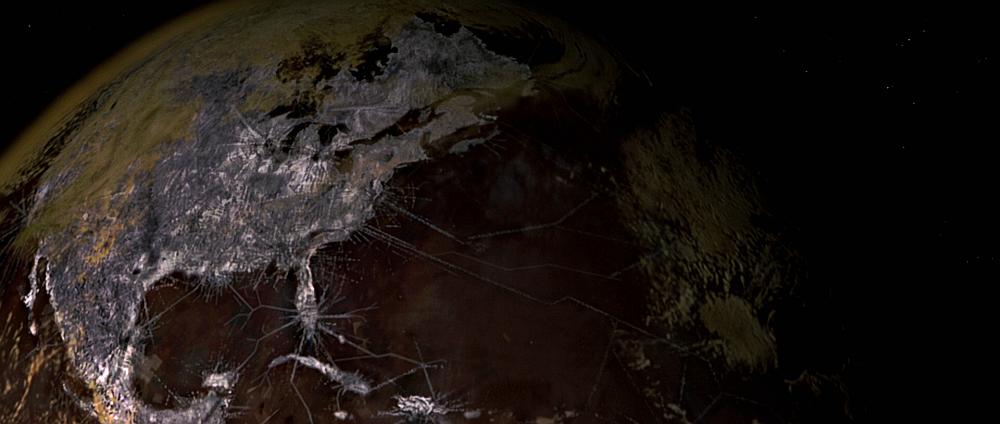
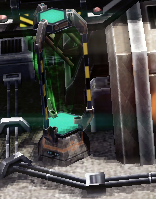
The concept that I am looking for with this upgrade is to have the 'hand' part of the Hand Of Nod look like a tiberium mutants hand. This could be done by having green vein details, and or having small tiberium growth coming from various parts of the hand\arm portion of the structure.
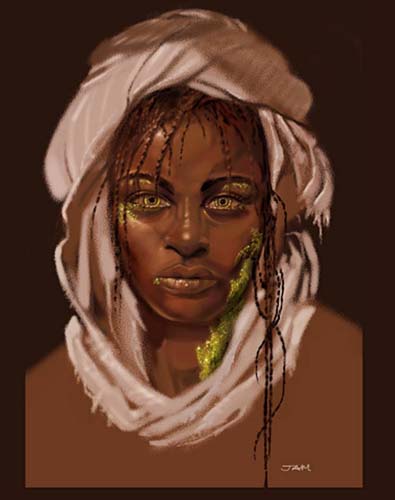

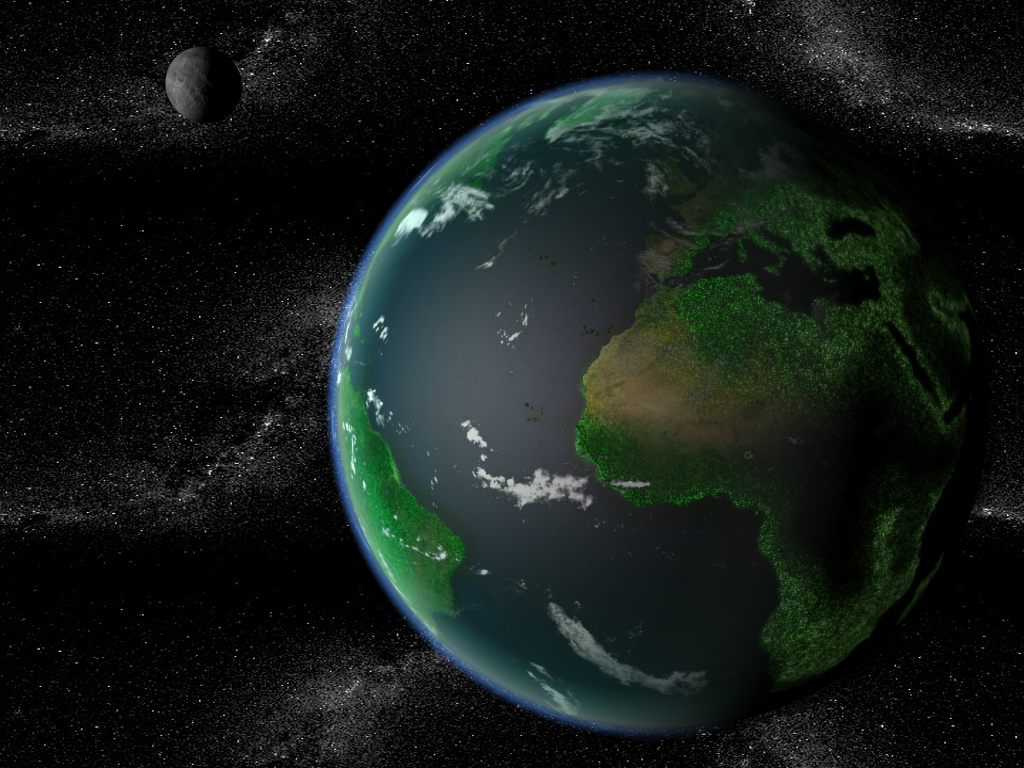
The Earth that the 'Hand' holds, should suggest an earth that has been overrun by Tiberium infestation.
The artist can feel free to add any further Tiberium themes in the concept as they see fit!
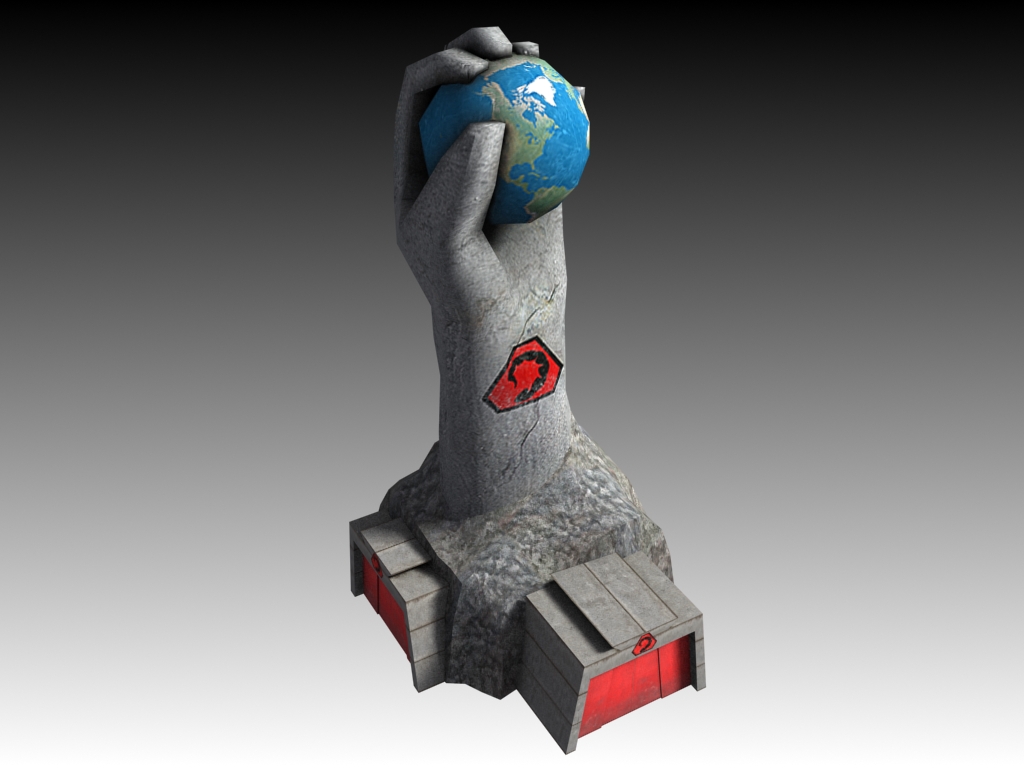
Black Hand
The Black Hand version of the Hand Of Nod should be black, just like the Tiberium Wars version. The texture will suggest a polished black stone finish. The structure should have a more 'complete' look to vs the basic Hand Of Nod (ie the brown uncarved rock area should be tidied up, or omitted).
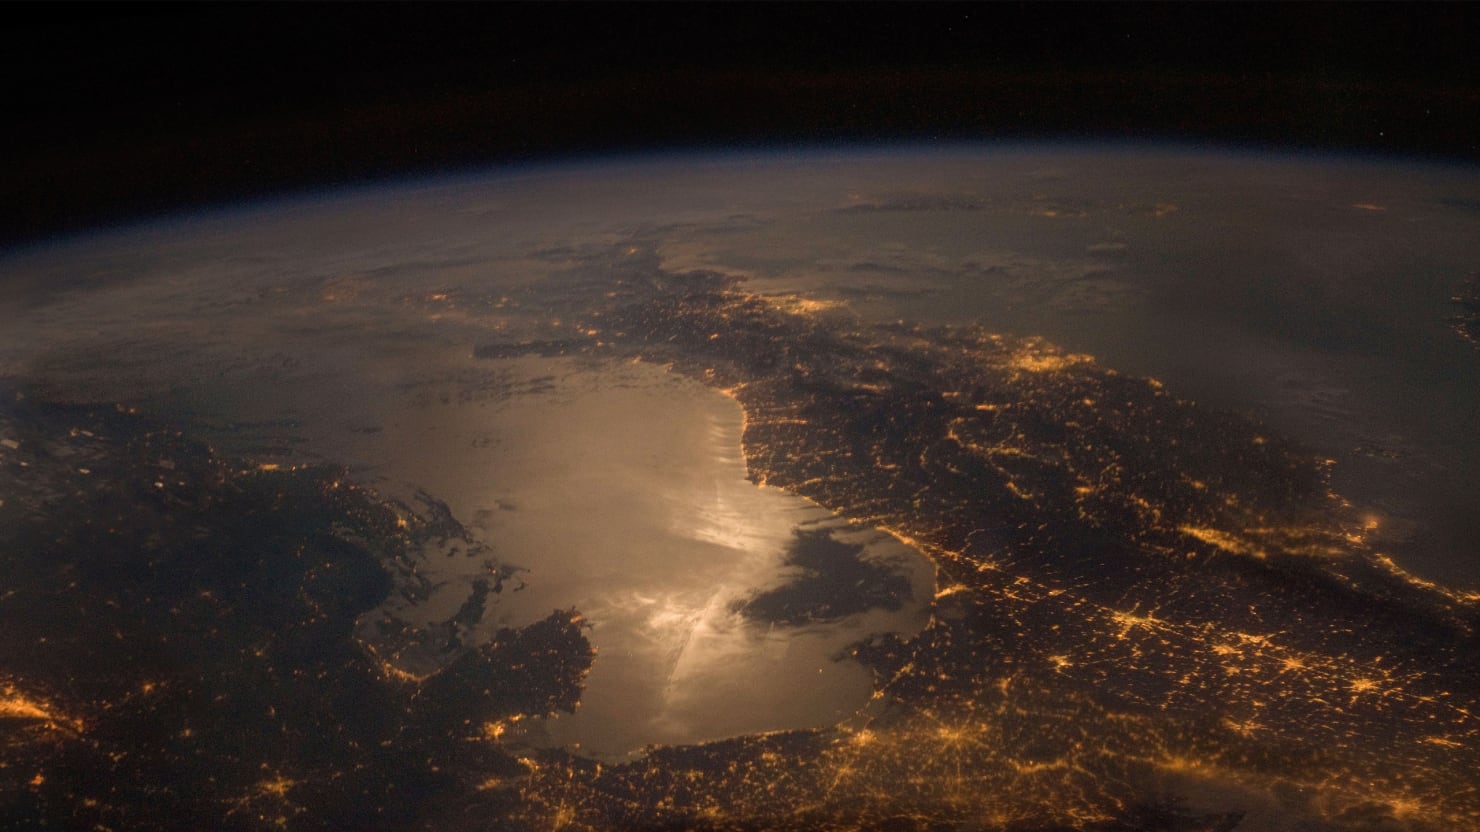
The blazing earth (as seen in the Tiberium Wars concept Hand Of Nod), will be a main feature of the Black Hand Hand Of Nod.
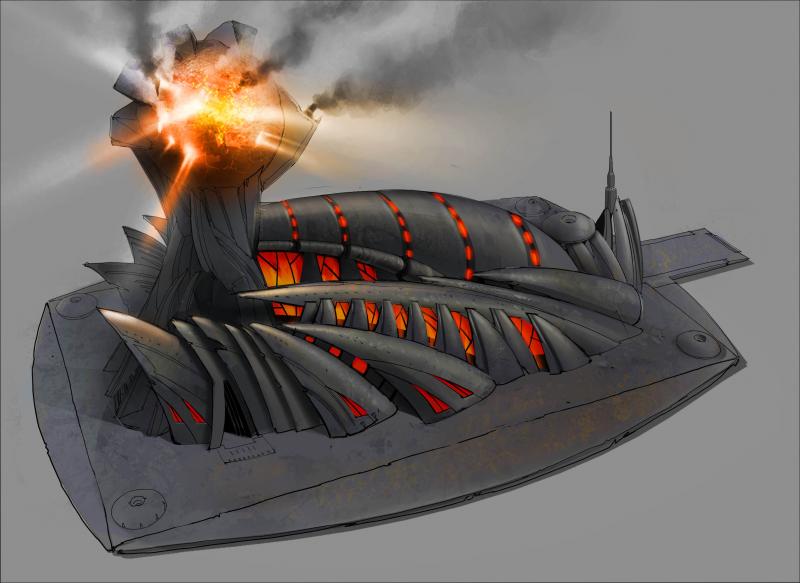
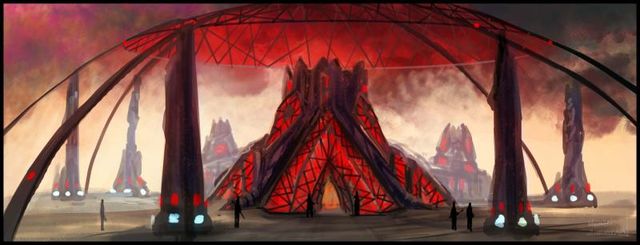
Stain glass windows, as seen in the Tiberian Dawn Temple Of Nod, or the Tiberium Wars Secret Shrine, is also heavily encouraged.
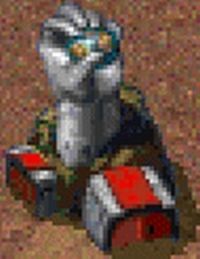
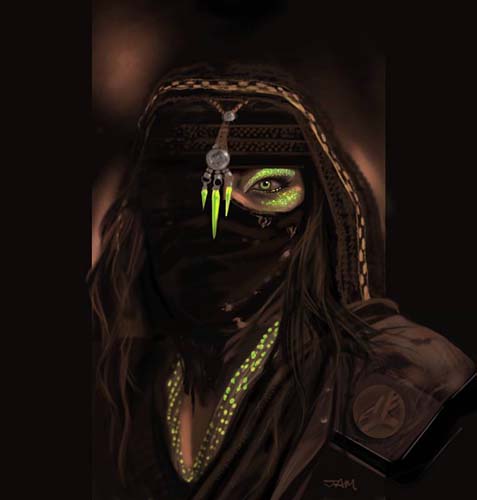
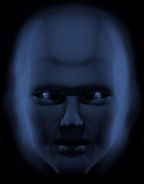
Cabal
The Cabal version of the Hand Of Nod should not have any, or hardly any visible stone details at all.
The 'Hand' should be a robotic\Cyborg hand.
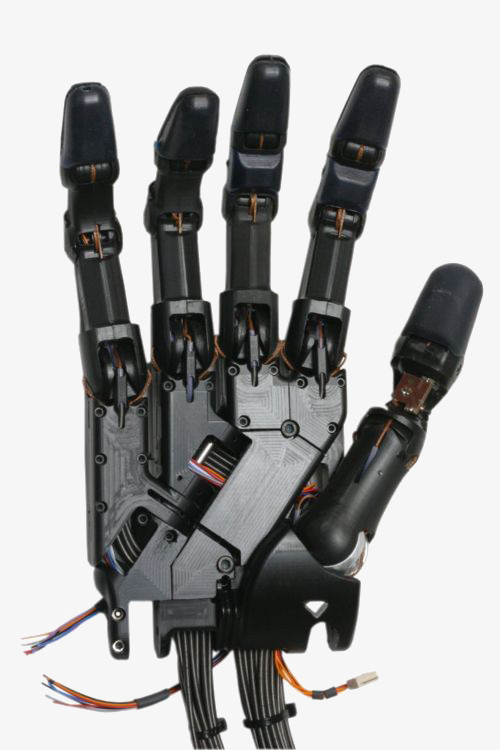
The Earth that the 'Hand' holds, should give the impression of an earth whose surface is dominated by cybernetic activity. Any further visual themes that the artist can add to the Cabal\Cybernetic feel is encouraged.
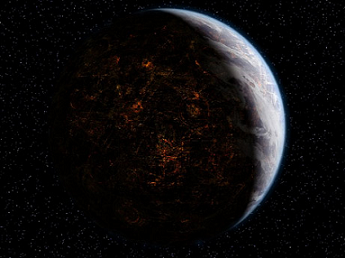
Having something that has Cabal visible is also heavily encouraged.
In all cases the upgraded structures should not cover a significantly larger surface area then the original structure.
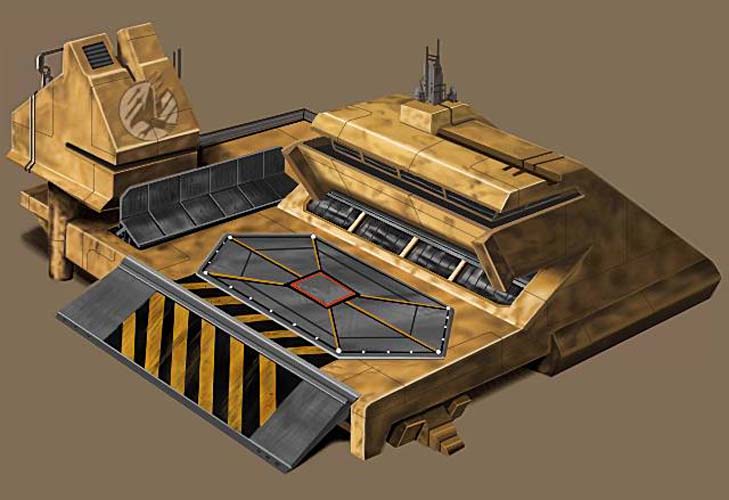
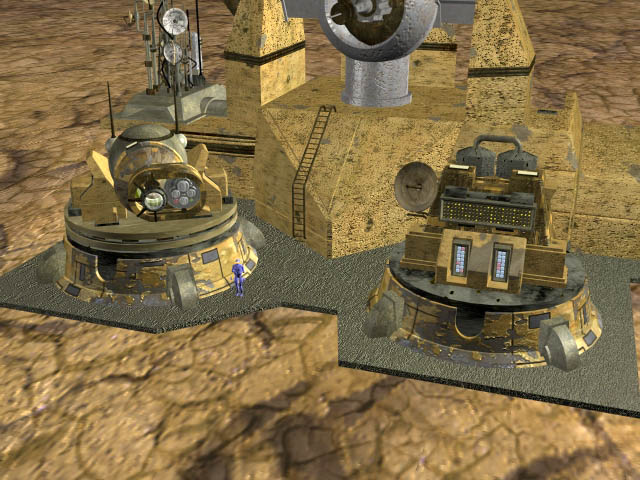
GDI Tech Center
Once again, due to me having issues visualising things, I cannot come up with any ideas how the 'other' side of the tech center looks, and also how to detail the tech center.
A concept art piece that shows the other side of the building along with a reasonable amount of detail (for both modelling and texturing purposes).
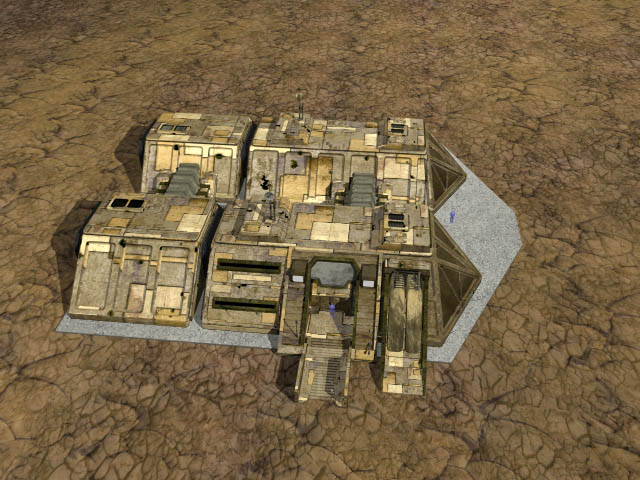
Examples of Tiberian Sun GDI structures for reference
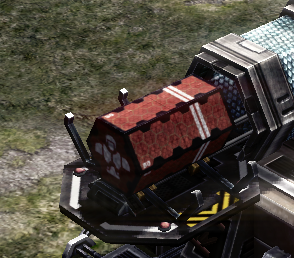
Optional is to also do a concept of 4 upgrade additions to the concept that you do. These would be the visible model sections that are revealed once a player has purchased an upgrade at the tech center.
Feel free to come up with your own upgrade themes (Tiberium Wars Tech Center has Rail Gun, Pitbull Mortar, Firehawk Strato booster, and Orca Sensor Pod).
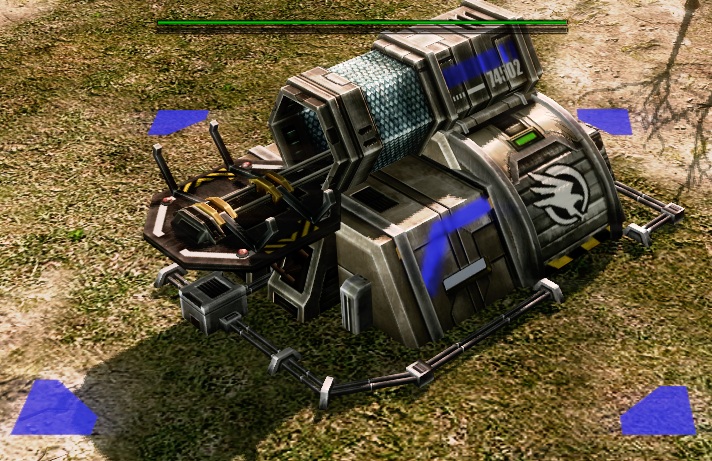
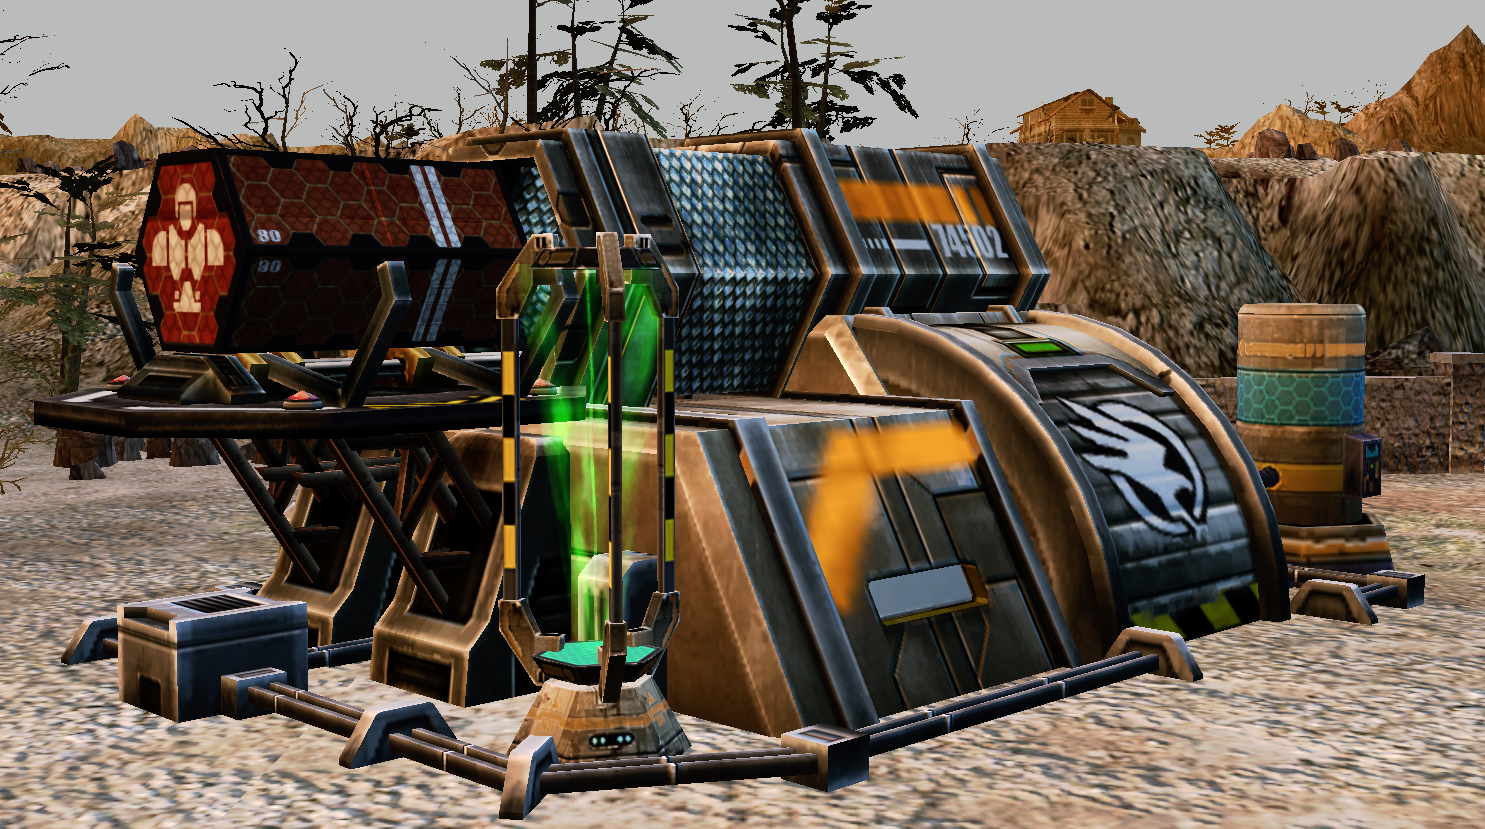
This shows the CnC3 GDI Armory with and without upgrades!
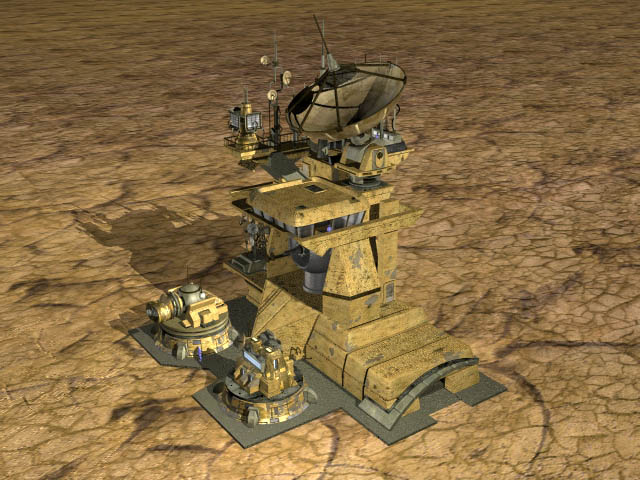
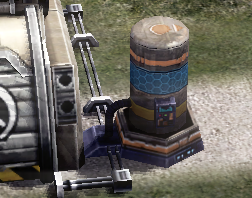
GDI Upgrade Center plug-ins
I would like for a number of additional plug-ins to be drawn, based around the Tiberian Sun GDI Upgrade Center\Concept Radar. I would like at least 16 different designs and upto 32!
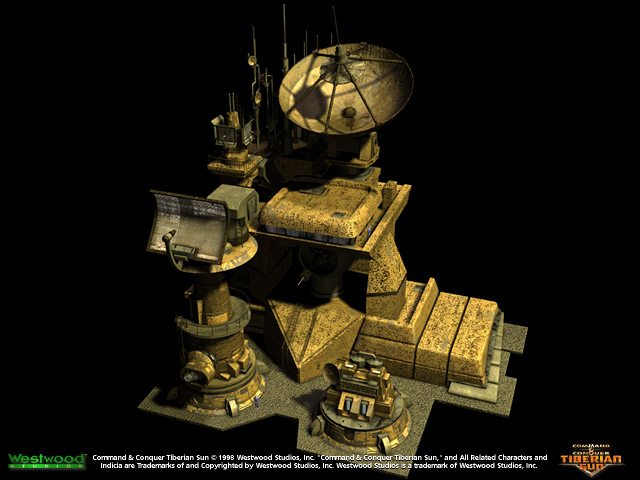
Only the plug-ins should be drawn, there is no need to draw the structure they are placed on.
Themes include:
Ion Cannon variants (4)
EMP
Radar scan
Stealth detection
GPS satellite uplink
Hunter seeker controller
Forgotten Monument (Tratos holding the tacitus aloft Statue of liberty style!)
And other plug-in themes of your choosing!
Feel free to pick whatever project that interest you from the above, there is no need for you to do all of it!
(About me! I have been modding Tiberium Wars for 7 years, I have 2 mods that I work on: Moddb.com & Moddb.com I mostly model and texture, although I can also do basic animation work. I have no formal training in any aspect of game design).
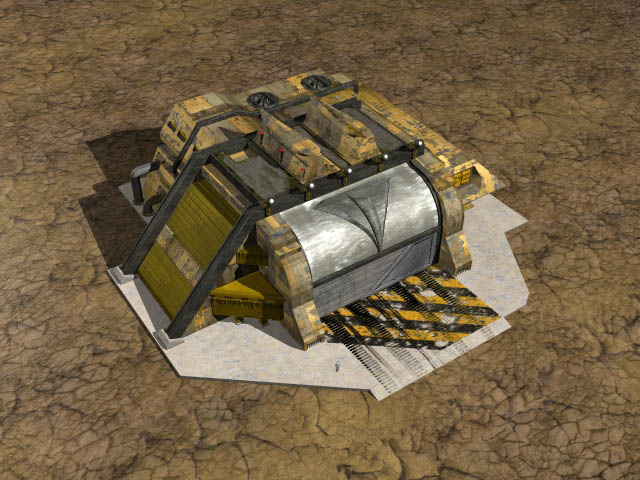
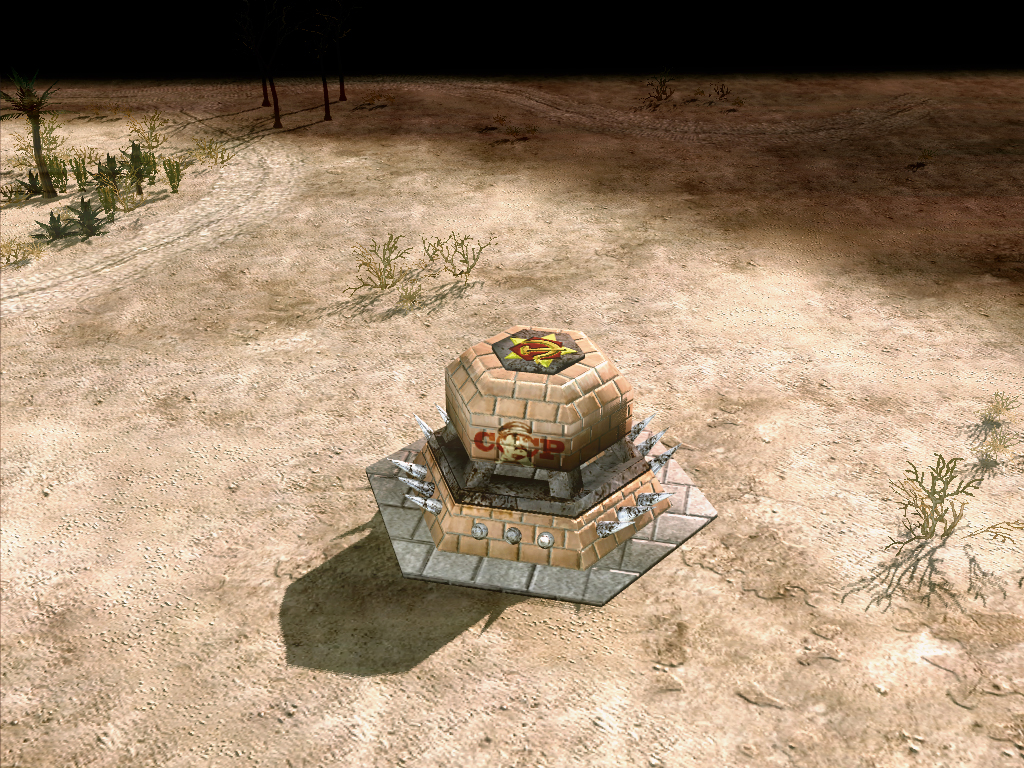
Soviet Bunker series: 3 of 3
It is time to end the Bunker series. It has only taken over 8 years to complete 3 simple models...
2009
The first bunker in the series was one of my earliest models and textures. It is pretty bad, and you might be able to tell that I still did not understand how the W3X exporter required that all surfaces have a smoothing group, or else the exporter would assign its own!
At the time I really liked it!
2011
By the time I got around to the second bunker, I had done a bit more modelling and texturing. My unwrapping was a lot better by this time, and I was more efficient in my texture space usage.
I still like this bunker to this day!
= = = = = = = = = = = = = = = =
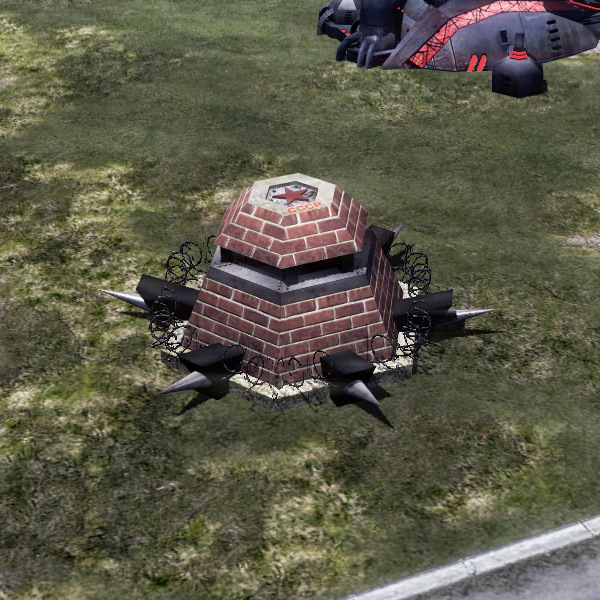
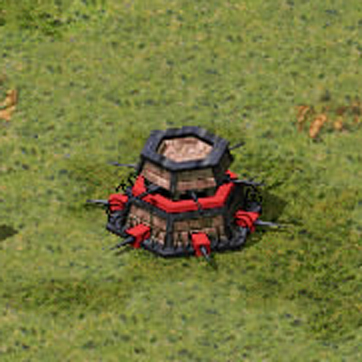
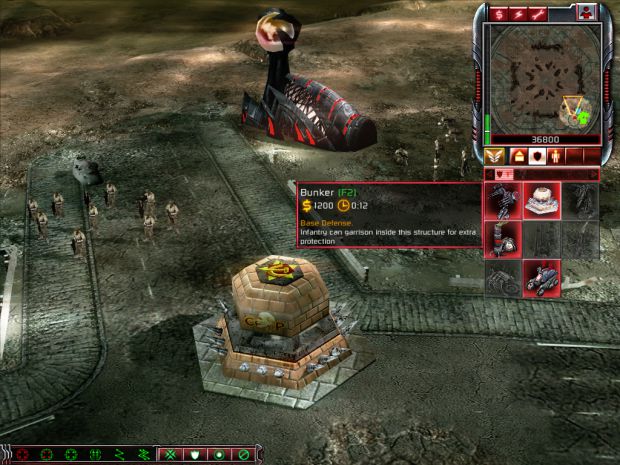
As I stated in the past, the final bunker in the series will be the actual YR bunker.
With the 2nd bunker in the series, I opted for a sensible alpha mapped based barbed wire. This obviously saved a lot of polygons, however, I never really liked how it looked.
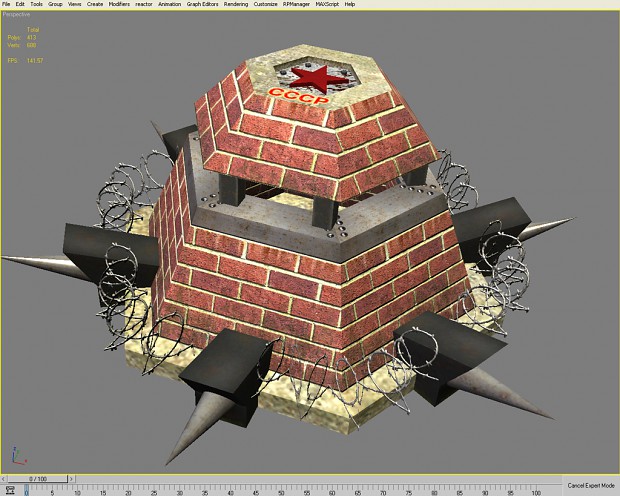
So, stupidly, I plan on modelling the barbed wire this time! Trying to control the poly count will be next to impossible, but I do not intend on using this bunker, so I will press on.
The only major thing that I do now that I never did during the making of the 2nd bunker in the series, is the use of ambient occlusion. This certainly saves a lot of manual shading work, and adds a lot to a texture for very little effort.
= = = = = = = = = = = = = = = =
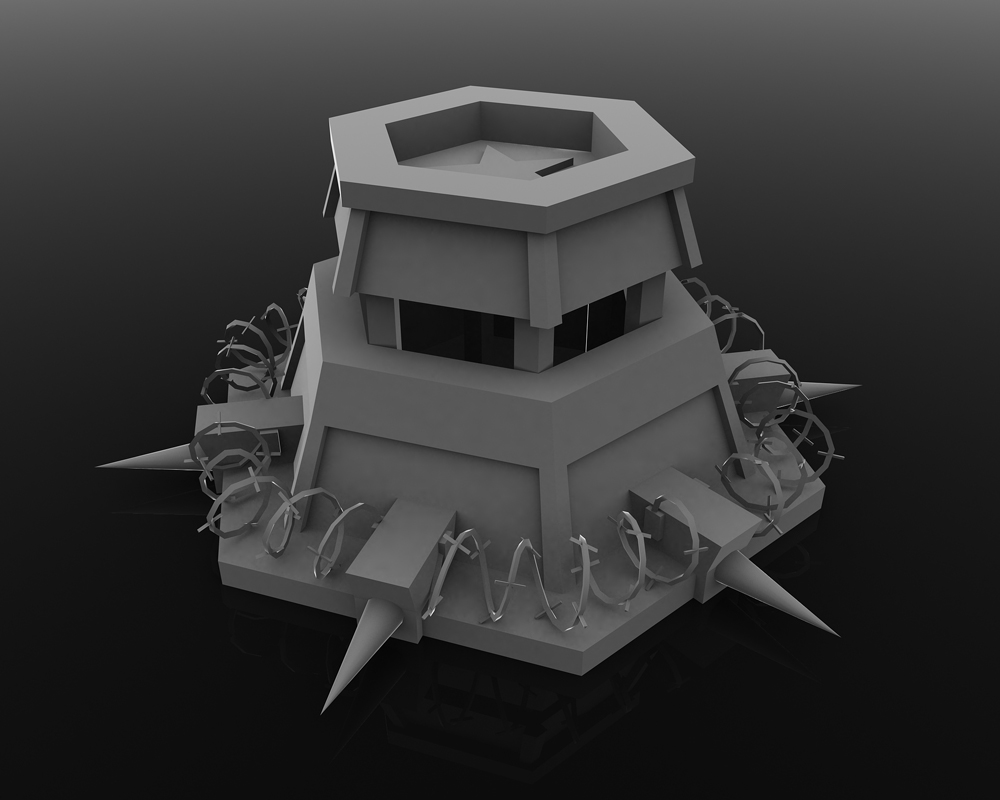
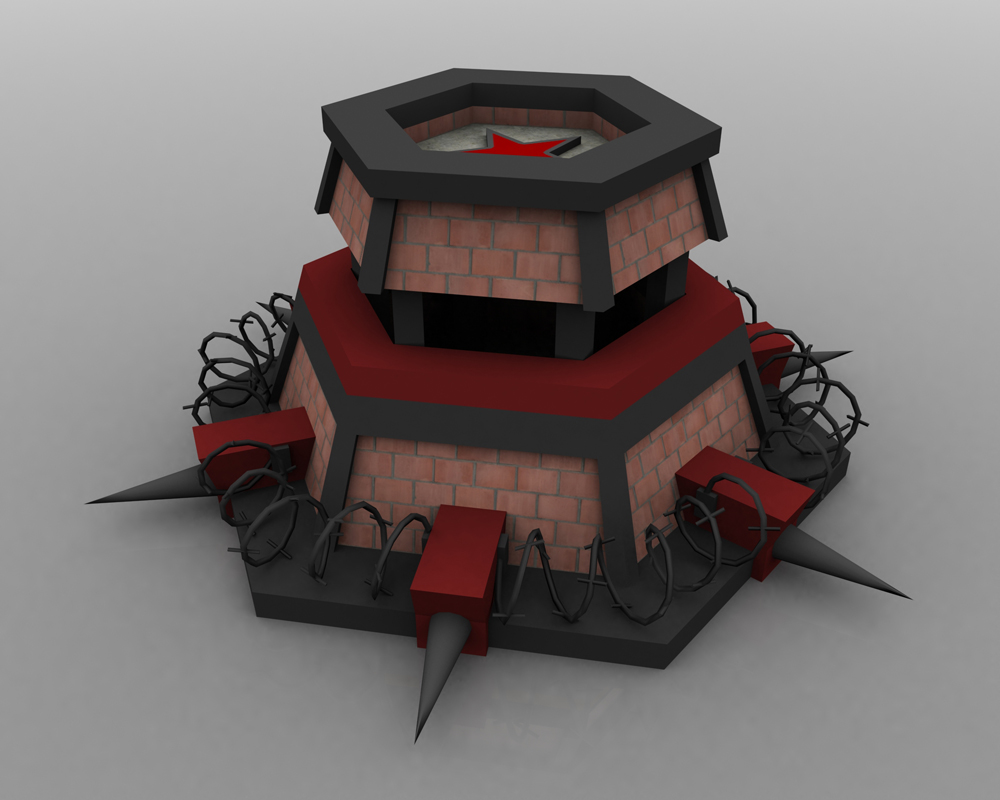
So before I get to the barbed wire, you can see that as usual I have added a star (on the roof of the bunker). I did the same thing with the second bunker I modelled, it breaks up the roof area, uses a small amount of polygons, and is easy to remove if it bothers anybody down the line.
The barbed wire is obviously taking up most of the polygon count (the helix twirl is 2,244 triangles, the 'spikes' 720!). I will probably smooth the helix later on.
Unwrapping will be easy, I will explain once I get the process done and the screen up!
= = = = = = = = = = = = = = = =
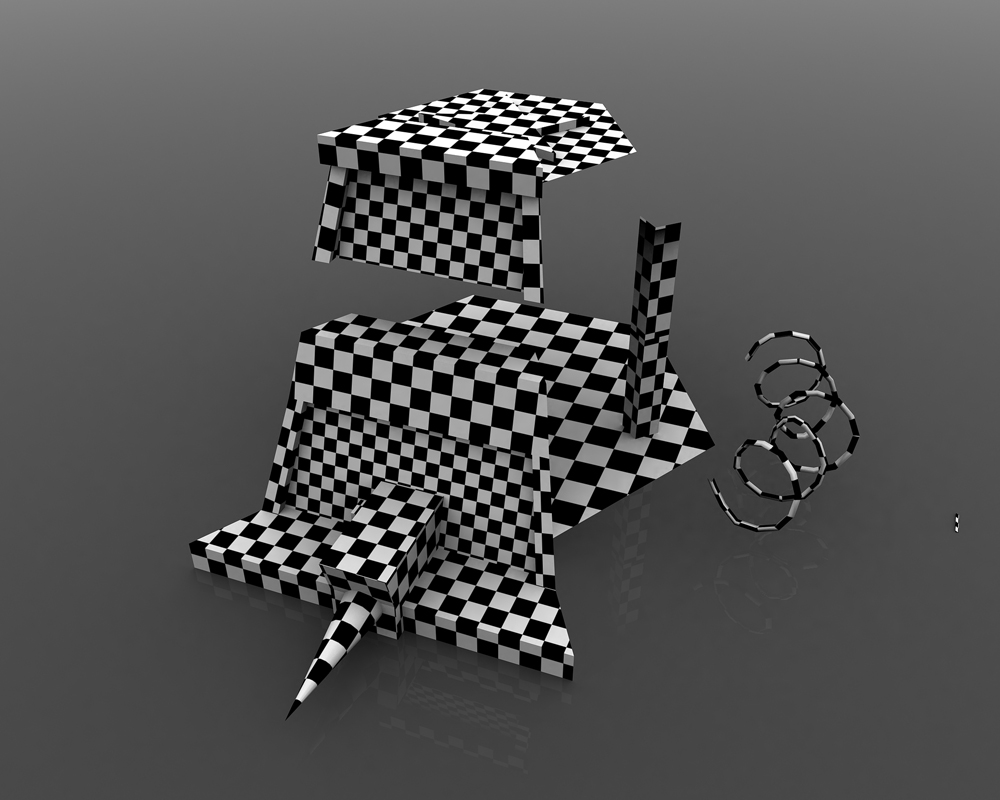
Of course the Hexagon shape meant that dividing the model up to be unwrapped was very simple. The key thing to notice is that the 'spikes' was simplified to only one spike. Nobody would want to go through the chore of unwrapping and stacking 90(!) individual spikes, and that is were using the 3D Max spacing tool comes in handy. It was the spacing tool that I used to place the spikes along the barbed wire helix shape in the first place.
By saving a copy of the helix 'shape', I can use it to replace the spikes in the same position they were in before (you can see the single spike in the right of the image).
In the unwrapped image above, a smaller scale checker pattern means that the unwrapped area is getting a higher ratio of texture space, and the inverse is true of any larger scale checker pattern.
So from this information you will see that brick area is getting more texture space relative to the metal areas.
Because it is a completely different material type, I am OK with this (generally speaking you are encouraged to keep as many things at the same scale, I.e. the same checker pattern size, as possible).
The inner floor area that is quite large, and seems to be getting a lower ratio of texture space, is due to the fact that it has been stacked on top of the roof UV island (which means that when I texture this, the floor area will have the same texture as the roof!).
The reason that I consider this OK is because it will be nearly impossible to see the inner floor area, so giving it its own space on the texture would have been a waste in my opinion (this is part of the whole, using the texture space more efficiently that I mentioned earlier).
I will next either do some greyscale work in preparation for building a normal map. Or I will do a colour and material block-out.
Before I do that though I will have to rebuild the model (which is simple enough).
= = = = = = = = = = = = = = = =
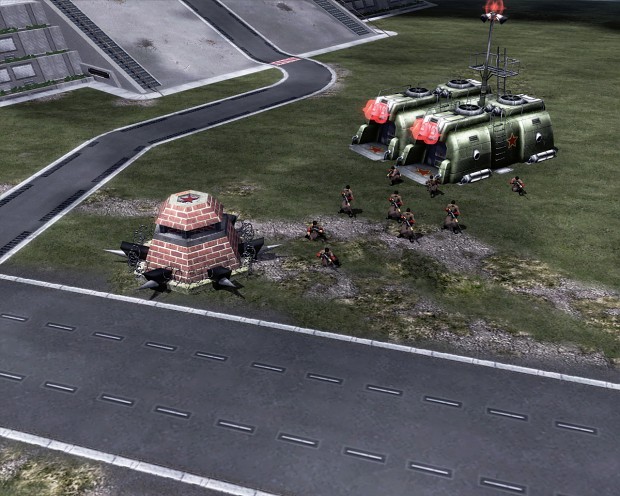
So as you can see the model has been rebuilt, and the basic colours and materials are down.
You can see that I have smoothed the barbed wire.
As always the brick texture is taken from CG-textures website. I never hand 'paint' bricks or concrete textures, I always get them from the mentioned website. Conversely I almost always hand 'paint' metal, and metal edge rust.
This already looks promising, but there is still plenty to do!
= = = = = = = = = = = = = = = =
I have say that I do not like the dark barbed wire, it is too difficult to see. Making it more of a dark grey would work better I think.
Of course this is one of those (many) times when I go against the source material!
Other than that I quite like this. I still prefer the 2nd in the bunker series though.
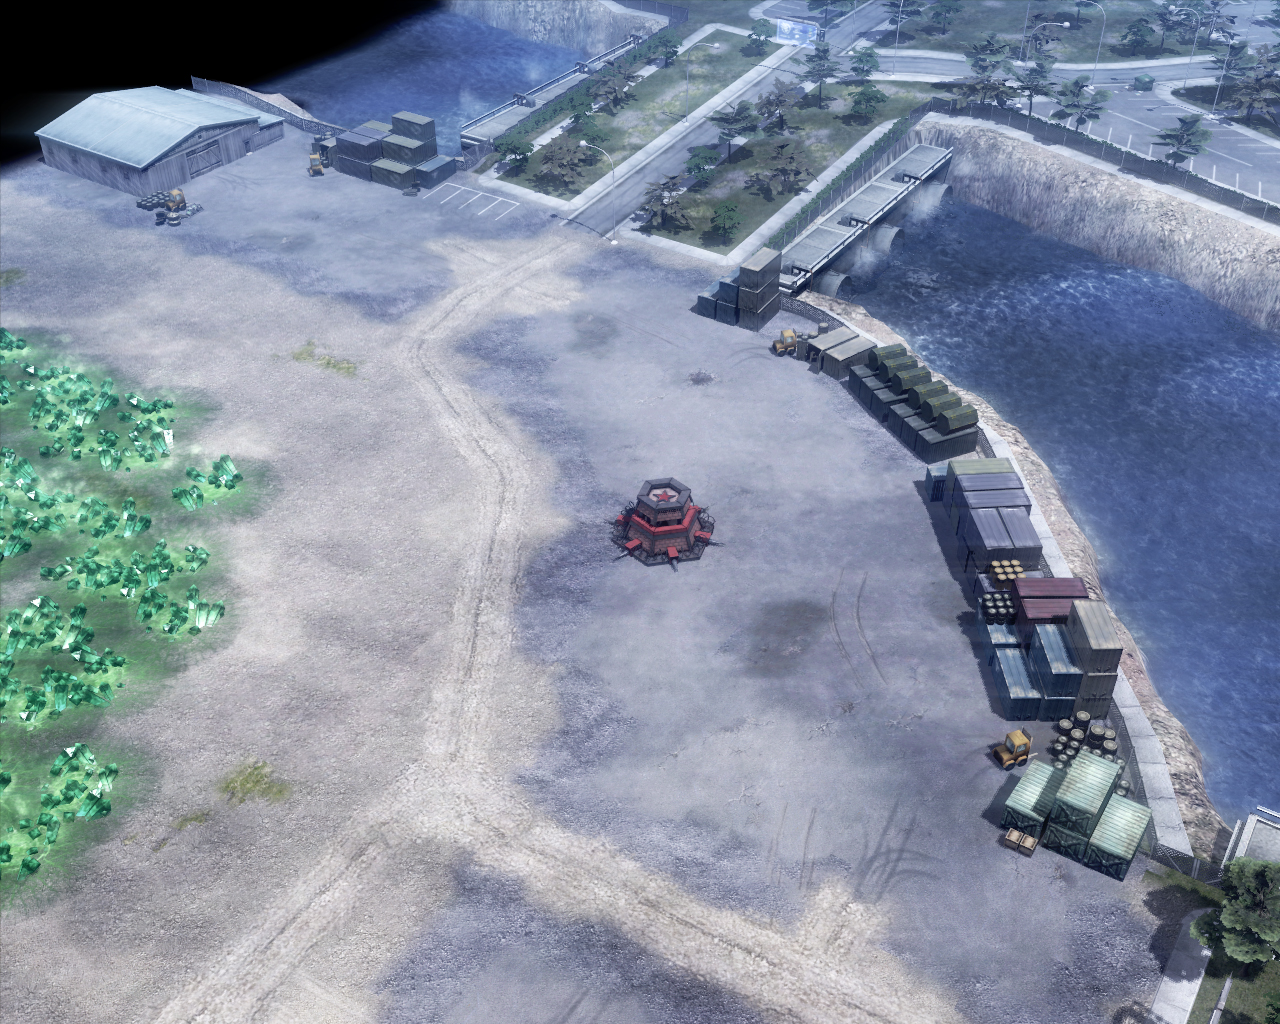
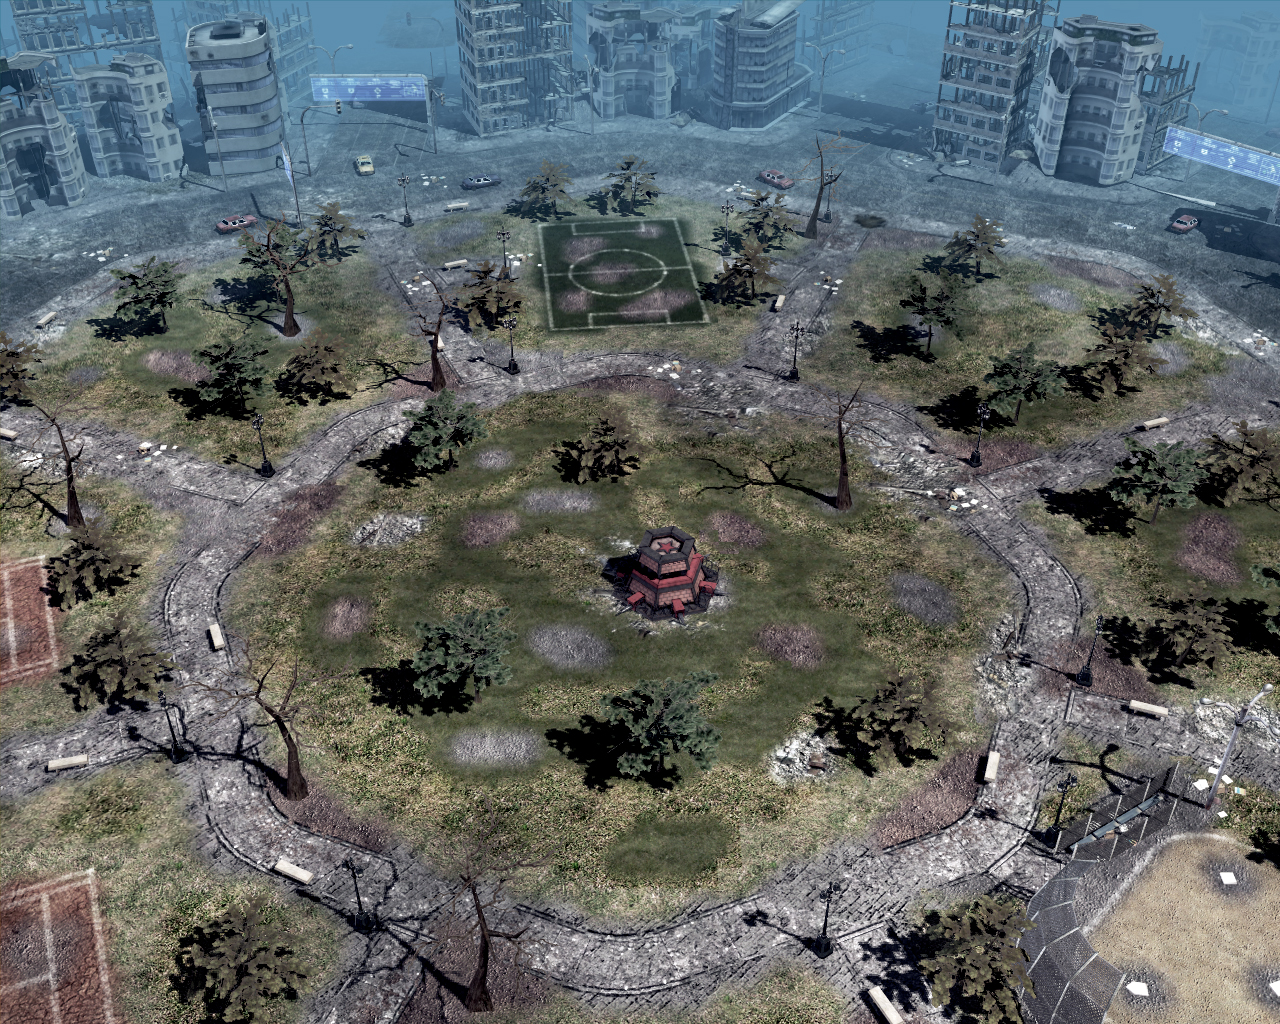
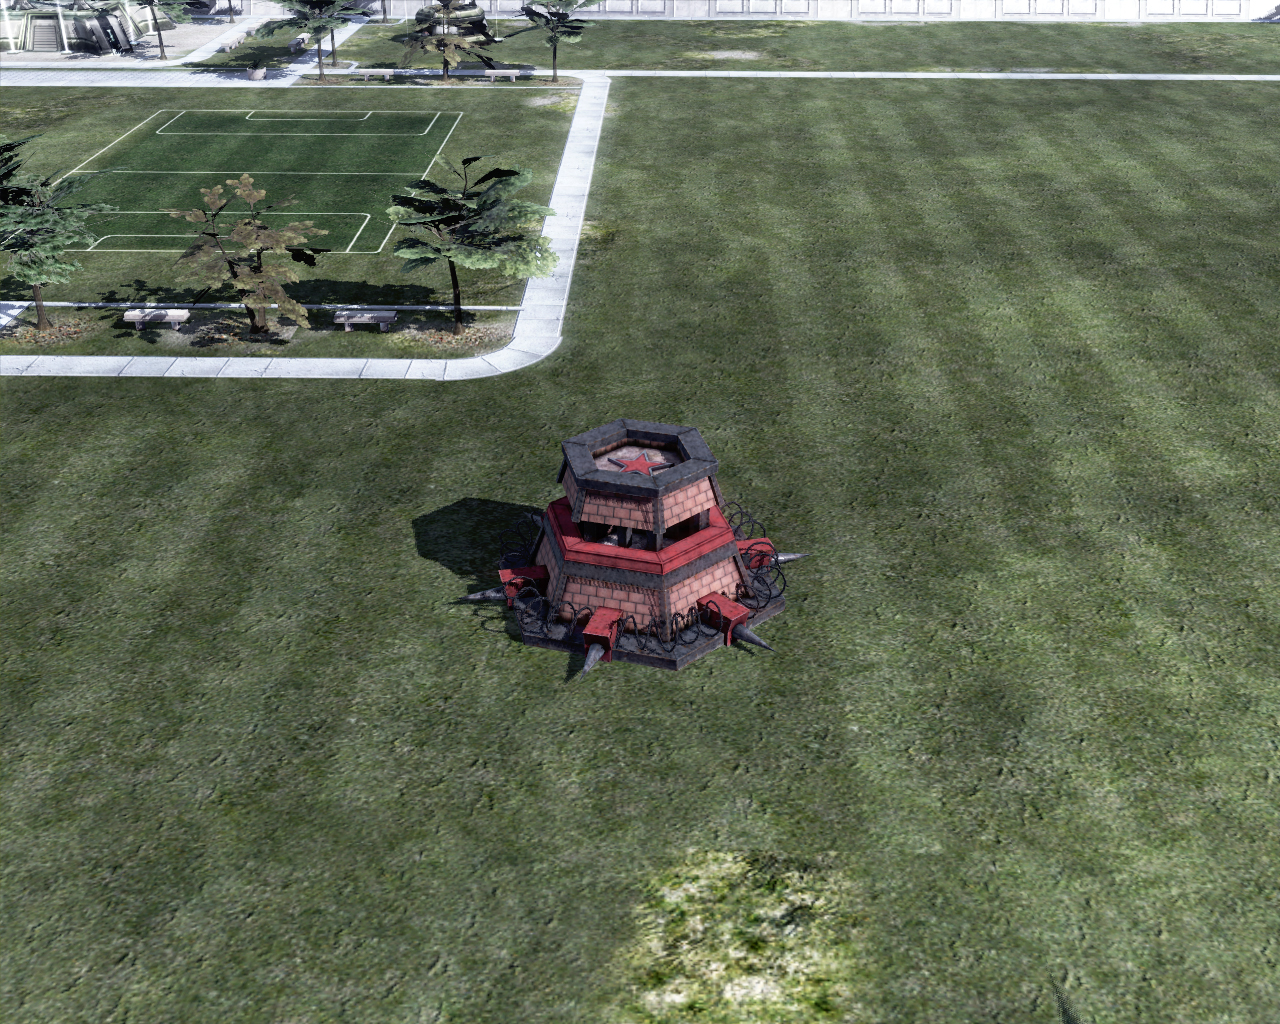
As you can see it is very difficult to make out the barbed wire at default height, not good at all.
Well here is the usual GIF to round off the bunker series, thanks for your participation!

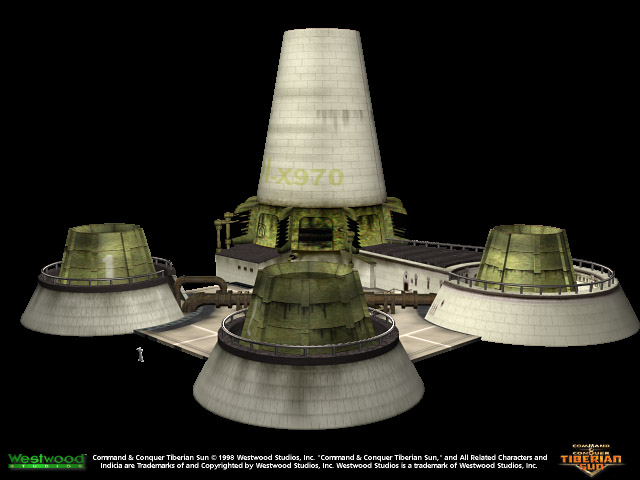
Structure Fest - Item 3 of 5.
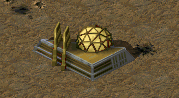
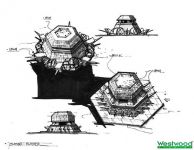
One of the structures that I decided to model in my spurt of modelling was the Red Alert 1 Radar.

As is always the case I chose the item to model due to the perceived simplicity in actually making the model.
And the Radar is one of the simplest models I've ever chosen to do.
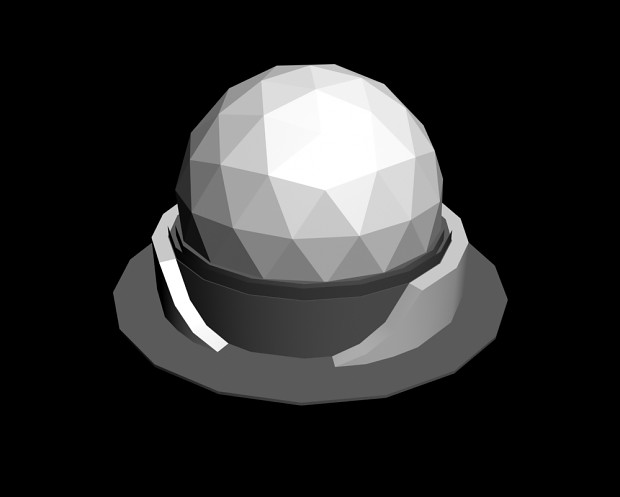
The above model weighs in at 229 polygons\377 Triangles.
My next step was to decide how I was going to simplify the unwrapping process. The only note here is that I decided to unwrap the entire dome into a single triangle, which should make avoiding obvious repetition during texturing interesting.
After completing the unwrap, it was time to open up photoshop and start doing a basic colour block.
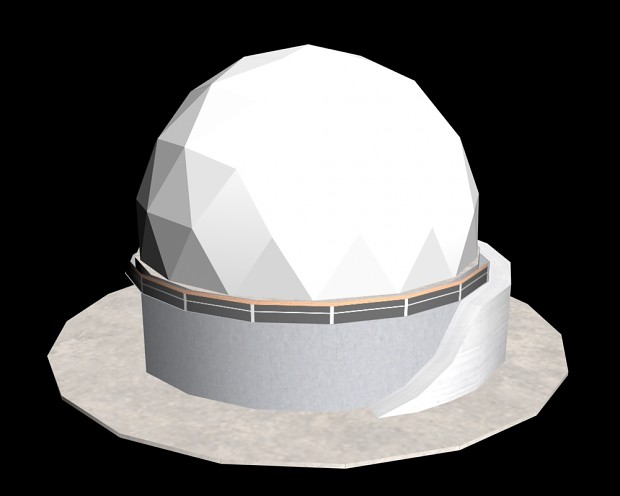
This helps to divide the materials and colours of texture space and allows me to visualise what colours and materials work at a basic level before committing to adding detail, better to find out something doesn't work here then after doing a ton of detail texturing.
You might be able to make out the beginning of a railing that I decided to add to create a little extra interest.
The next step involves adding detail. Chipping the paint on metal, adding colour contrast, adding dirt & grime. Building height maps and normal maps are done at the same time as well, plus basic specular work (the fact that the Max shader view ignores the specular map, in addition to the default light being nothing like a C&C3 light means that I find doing detailed work on the specular pointless until I get the model into C&C3).
Here's the 'finished' diffuse, inverted comma's because a texture that has not been checked in C&C3 is not finished. I'd go has far has saying it does not really matter what it looks like in Max.
The first thing I notice about the above diffuse, is the very obvious repetitive pattern on the dome... oops!
The blue 'lights' is a detail that you can sort of pick out of an in game (RA1) image of the radar. The Red Alert mod used this and it is a very 'RTS' kind of detail so I decided to go with it.
The diffuse is of course 1/3 of the maps in terms of C&C3 texturing. And in my discipline the diffuse, normal and specular maps are equally important.
So here finally is a screen grab of a more 'complete' set of texture maps.
If you believe Max's nonsense then you could fool yourself into thinking that you were ready to go, you're not!
The way Max (even with it's version of the C&C3 shaders) handles large sections of very light or very dark shades of colour is completely different to how the C&C3 sage engine handles it.
Along with specular issues Max is literally no help at all.
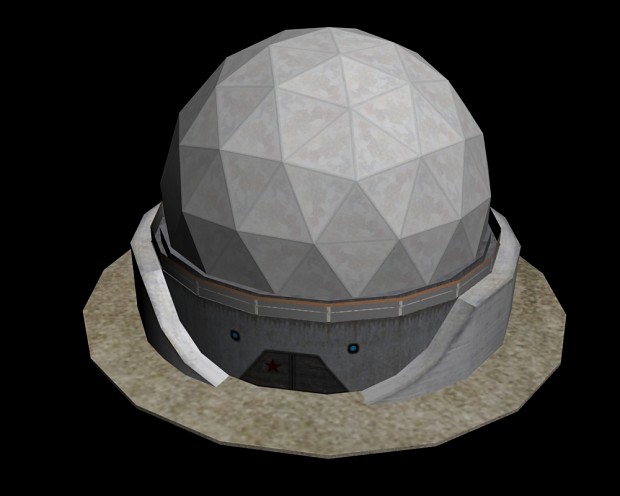
Once I got the model in game (I always start on Barstow badlands, why not, eh?), imediately I could see that both the dome and outer walls were far too bright. I had not made the 'white' dome and outer walls actual full white (that would be stupid) but even the 200 even shade of grey that I had chosen along with all the dirt & grime on top of it was too much.
I lowered the grey by a further 10 down to 190 on both the dome and walls.
I also added a more even dirt layer on the dome so that there would not be such an obvious repeating pattern on it.
My 'go-to' stages for checking a texture in a 'neutral' light is Tournament arena & Tournament Tower.
I find that these stages are best, but it is also important to check the texture in other stages.
I find the dusk lighting stages useless for reading how good the texture is though, way too much orange. And the full-on Red Zone stages with their 'atmospheric' lighting aren't so good for me either.
I also added some non destructive adjustment layers so I could mess around with contrast, brightness, hue, saturation and colour balance.
I often (always) find that I end up bumping the contrast and brightness up, one because contrast works well in C&C3 (be it colour, material types, reflective and non-reflective metal) and helps to bring details out in the texture in C&C3.
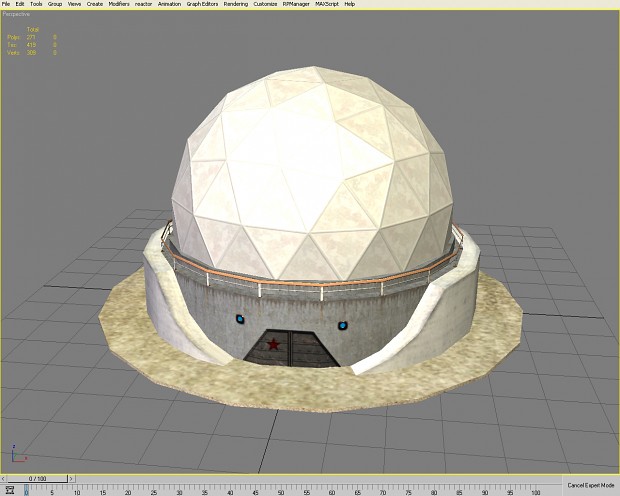
Lets end with some in game screens of the revised texture.
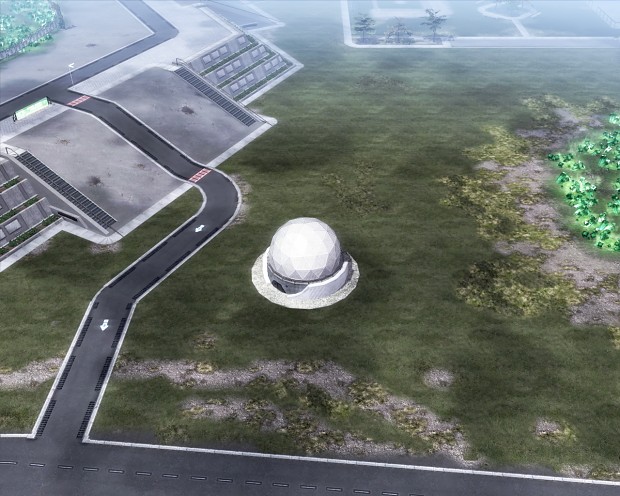
Interestingly enough, the dome might still be too bright. The question is whether I want a kind-of white dome like the in game RA1 radar, or the much more grey dome of the render at the start.
After all a near white dome would be reflecting huge amounts of light on a sunny day so the above screen is hardly inaccurate.
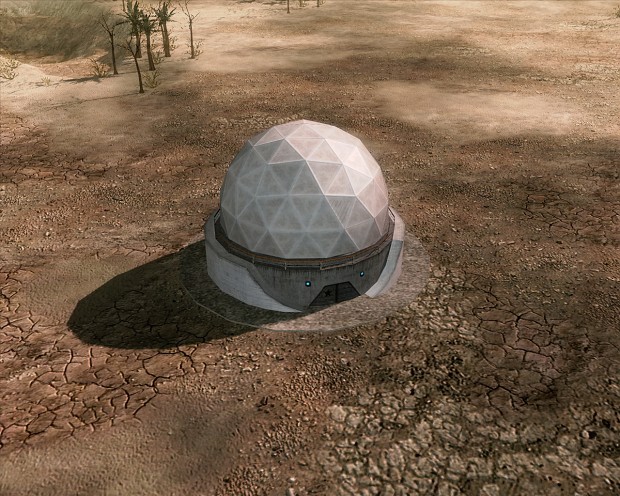
Overall I am pleased with this model and texture, the Radar dome is something that is difficult even for an average amateur texture artist like me to mess up.
It is real world recognisable, it has the prominent dome to sell what it is to the player and it require no complicated texture details, I mean the door is probably the most difficult thing on the texture.
This is the only 'proper' structure that I will have modelled and textured for this structure fest.
Soviet Bunker series 2 of 3
Brickwork series 1 of 4
This is the second of the Westwood concept Soviet Bunkers.
A slightly different style was used for the final YR Soviet bunker.
The first in my Bunker series was done a long time ago.
I had some strange ideas back then, but experimentation was the name of the game. In truth, I prefer the design of this bunker in comparison to the others and I was reasonably happy with the end result.
On to the present bunker.
This time I decided to try increasing the resolution on the brickwork by maximising my UV space.
In the first bunker each brick face had its own space on the UV! (don't ask). This time they were all condensed into the same space.
I wanted a slightly less worn feel in comparison to the first bunker, so the lighter metal work is less obviously rusted. In an attempt to lessen the impact of the obvious seeming I added some rivets to draw the attention.
The holdings for the spikes are supposed to be wrought iron style, but this is lost in translation.
The barbed wire is mediocre. First time I ever attempted anything like this, I drew a spline in the area where I intended the wire to go, then I extruded the spline. Finally I added a shell modifier with a very low setting ( just high enough to prevent crossed vertices!).
I then converted it into a polygon, selected the polygons I wanted and deleted the rest ( I'm not sure this was a good idea).
The barbed-wire is a single 'ring' which is repeated. The idea was that by moving vertices in various directions (along with Max's 'soft selection') I could add a random element to prevent the look from being to uniform ( Needless to say I forgot about this!).
I have struggled to add visual interest to this bunker ( I feel I done a far better job with the previous bunker ), I have big ideas for the final bunker in the series though.
I am mildly pleased with the in game look, although I fell in to the noob trap of detailing the texture for the Max view, instead of thinking of how it would look in-game. Once again I cut back on the grunge because I thought I was over doing it in Max, in-game it would've passed for clean!
The normal and texture detail to portray a 'wrought iron' effect, looked good in Max, invisible in-game.
Bunker with various lighting
This is an adjustment I'll learn to make.
Please use the comment area for any advice, criticisms or plaudits!
Profile
