Originally posted here: Making grouped lights
Mirrored for archival purposes
This tutorial discusses how to subclass lights to make "groupable" and
"prefab" lights. I recommend that you try this with a test level before putting it into any maps, just to get the hang of the procedure. Also, I suggest writing down the steps (jotting down the titles of the steps as a brief reminder of what to do) so that it's easier to implement into other levels. 
Step 1: -- Make a room --
Right click on the "Build Cube" icon and select "Cube Properties". Set the size as follows. Height: 1024 Width: 2048 Breadth: 2048. Then click on the "Subtract brush from World" icon. (2nd from the top, right side). Put a texture on it if you like, but don't Rebuild Geometry yet.
Step 2: -- Picking the Light Class --
Click on the drop down menu next to "Browse" in the Texture / Thingy browser, and select "Classes". Go down to "Light" and click on the - to expand it. Select the main light class by Left clicking on "Light".
Step 3: -- Making the subclass --
Right click on the highlighted "Light" and select "Create new class below Light".
Step 4: -- "Create a new actor class" dialogue --
Set the "New actor class name" field to whatever you like. I picked "BigRedLight" because that's what I want to make. Do not use any spaces or other characters, just letters and numbers. For the "Package Name" field, put in "MyLevel". That way the light's code will get included with your level.
*** IMPORTANT WARNING ***
Make absolutely sure the "Package Name" field is set to "MyLevel". If you add the class to your RuneI, it will change your RuneI making it incompatible with everything else, and the new class will not be part of your level. (You might want to make backup copies of the RuneI.U and Engine.U files in your Rune\System folder, if you're unsure about this)
Step 5: -- Set the Default Properties -- 
Under the "Light" class there should now be your new class. Left click to select it, then right click to get the context menu. Select "Default BigLightRed Properties" (the "BigLightRed" is just the name I put in). Go through the "Light Color" and "Lighting" menus to change whatever you want to. If you are going to be making lights to go in a large area also recommend that you set the Display - Drawscale value to 5. This has no effect on the lighting, but makes the Torch icon in RuneED easier to find, and work with.
Step 6: -- Compile Changed Scripts --

After you have all your default properties set, go to the "Script" menu at the top of the screen. (along side File and Edit) Select "Compile Changed Scripts" to make the new code part of your MyLevel package, and part of your level.
Step 7: -- Put in some BigRedLights --
Make sure the "BigRedLight" is selected, then Right click somewhere and
put the light on a wall.
Step 8: -- Duplicate the BigRedLight --
If you want to, select one of the BigRedLight torches and right click on it. Select "Duplicate" to make clone the light. Make 4 lights total, and position them around the room. Now hit "Rebuild Geometry" to apply all the changes you have done, and then save your level as something.
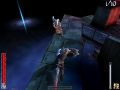
Step 9: -- Have a look -- (in editor)
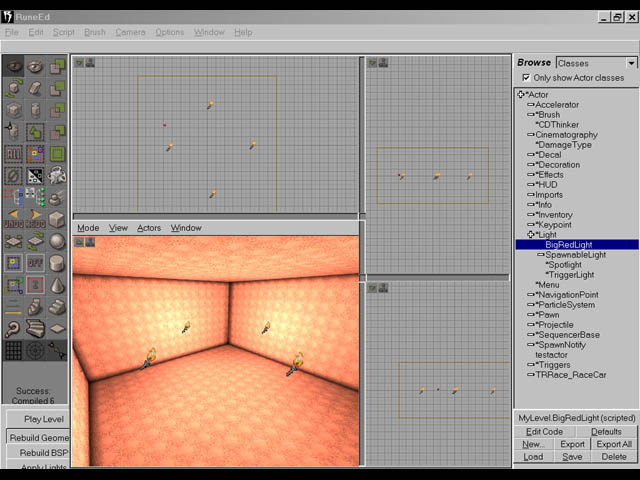
Now if you have used all the same settings I did, your level should look something like this... [screenshot] and pretty horrible. But that's the whole beauty of the grouped lights, you can change all of their properties at once. (once you find a setting you like, change the Default Properties of the BigRedLight subclass)
Step 10: -- Selecting and changing a group --
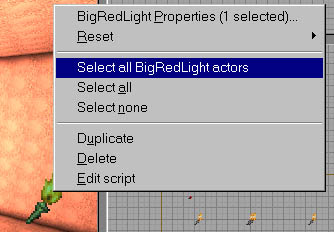
Select one of the BigRedLights right click on it. Click on "Select all BigRedLight actors". Once you have them all selected right click on one of them and select "BigRedLight properties". Make any adjustments you like, then rebuild the level.
-- Making additional lights --
To make another subclass of light, just repeat steps 3 - 6. Remember that the subclasses will only stick in your level if they are used somewhere. So if you make one, that you want to use later, put an instance of it (a BigRedLight) somewhere. Like a subtraction out side the play area.
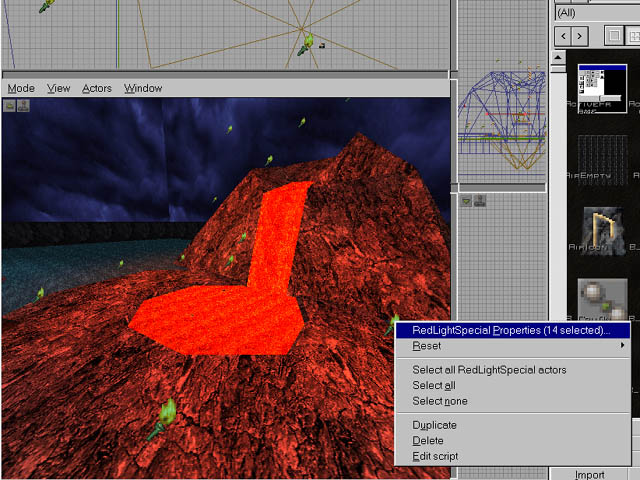
-- Examples --
On my TR Racing level, Fire and Ice, I used 2 sets of these lights. One for each of the mountains. 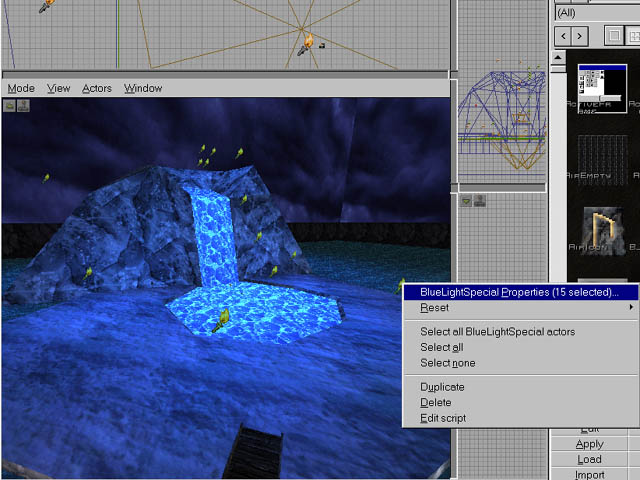
-- Lost item problem --
Sometimes if you have the "Classes" menu up in the browser, and you minimize Rune ED, it will come back and say "Lost new item". This is usually just a GUI error with Rune ED. If you already have your level saved, with the new light, the class is still intact and just fine. Close the Rune ED log window, minimize Rune ED, right click on the "Rune ED" in your taskbar, and close it. Then start it back up, and load the level. To avoid this, select another class and pull up the Textures panel in the browser. 
I know it's pretty wordy, but I think that's everything. Good luck with it, it's very handy.
-Twofer