
Introduction
When developing F.E.A.R, Monolith upgraded their proprietary engine Lithtech to allow for a wide variety of effects. One of the most impressive are reflective surfaces.
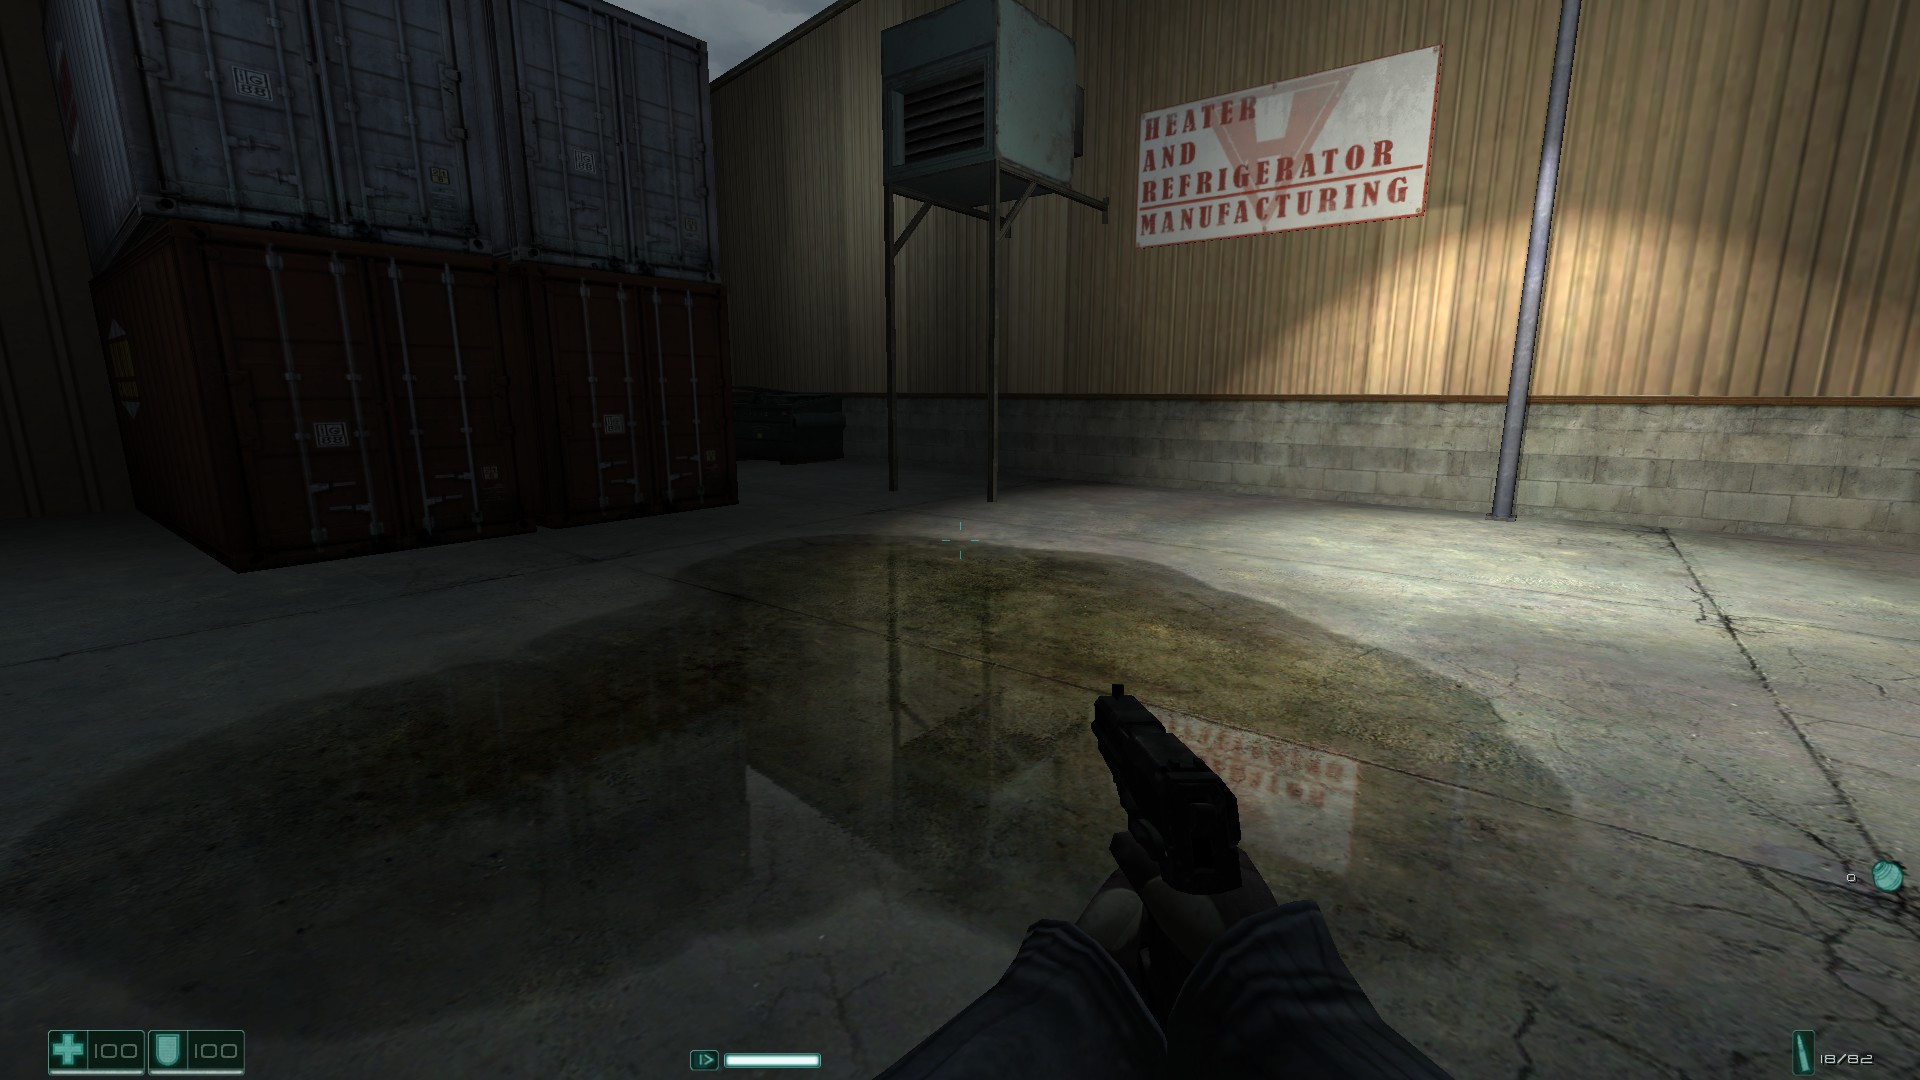
Monolith released an SDK for F.E.A.R allowing you to build your own levels. Unfortunately their official documentation was very sparse and didn't tell you how to do effects like these yourself. So I've taken the liberty of write a tutorial explaining how to do it.
What you will need
-
The F.E.A.R SDK (It's recommended to download a fanmade version of the sdk referred to as “FEAR Public Tools v2". As it removes the copy protection from Monolith's sdk. )
- (Optional) an image editor such as photoshop
Creating a room with a puddle
Note: This tutorial expects you to have gone through the official Monolith tutorials found in the SDK. Which will go over how to make a basic level and spawn entities.
To start this tutorial off I'll use a practical example of a reflective surface. A puddle. Mostly because the SDK already has premade textures for one.
Build a level with lights textures then assign the floor to the Concrete_Floor2 texture under the Industrial folder
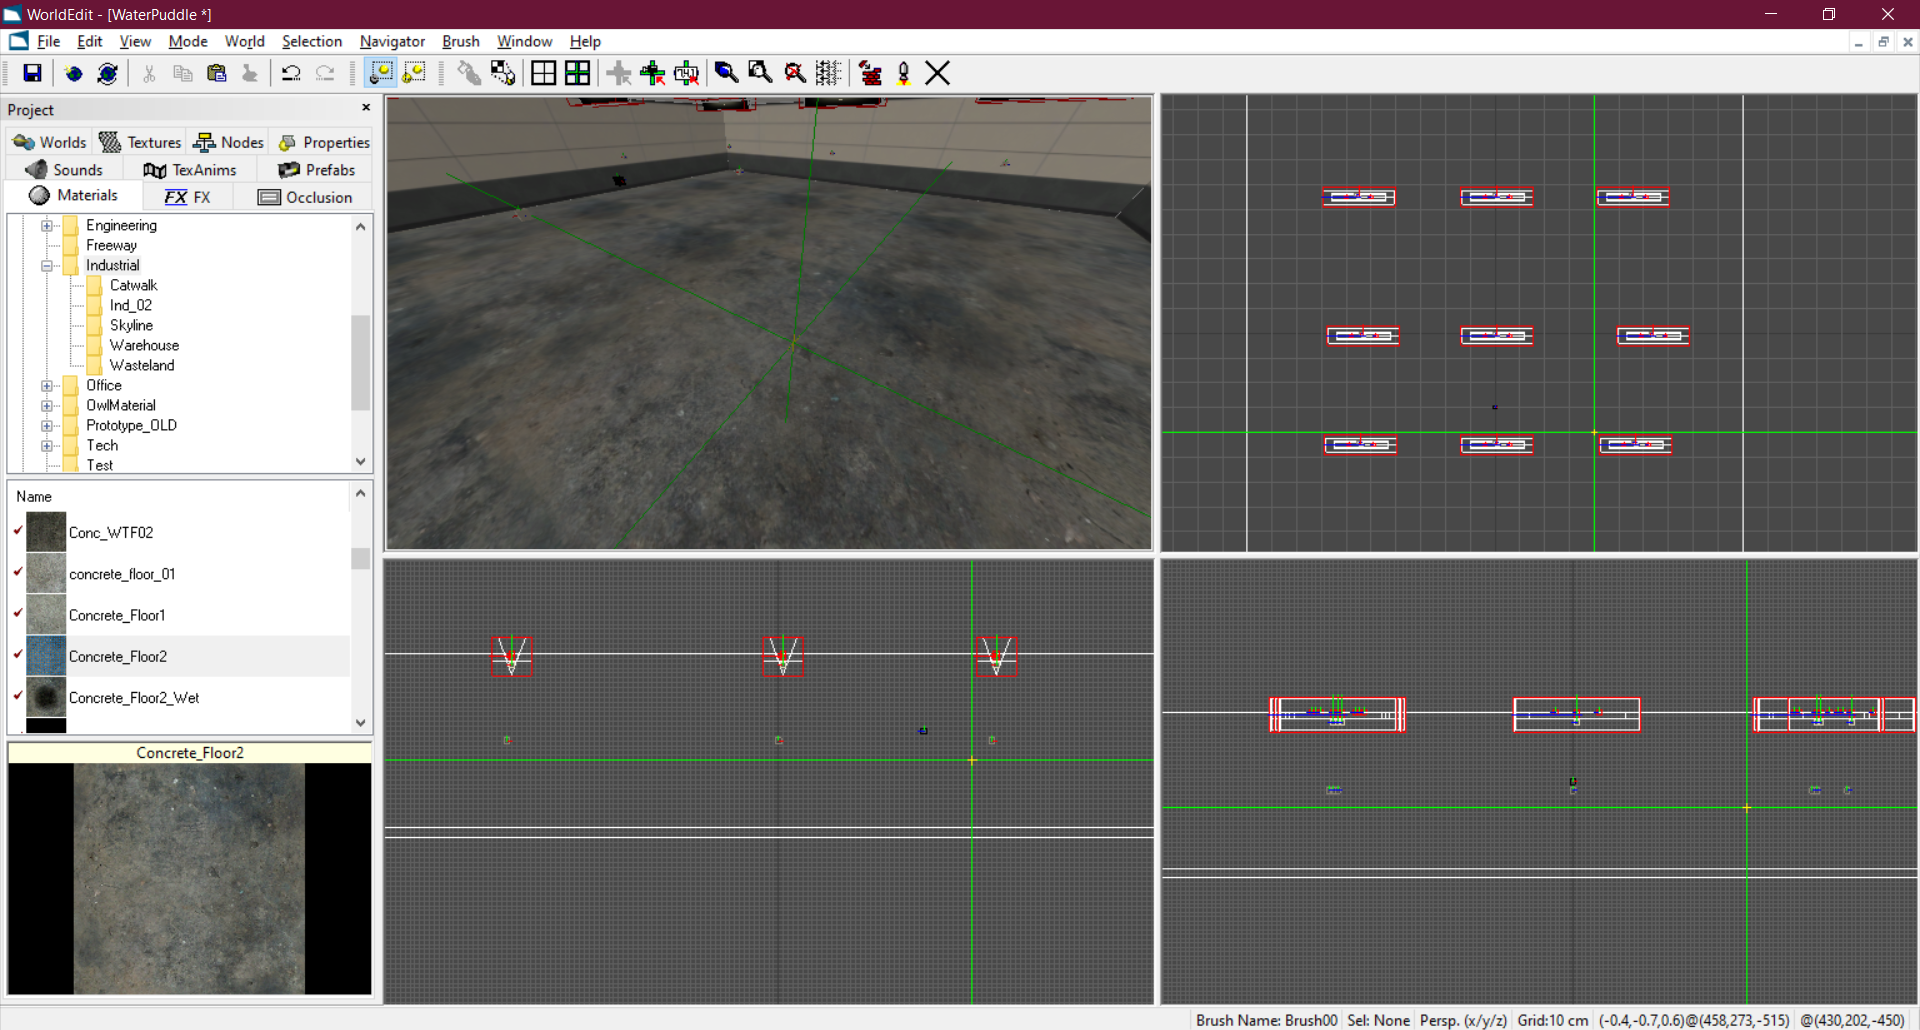
Now split the floor into segments by hovering your mouse over the 2D view. and pressing the space bar. Press it twice and you'll create a line.
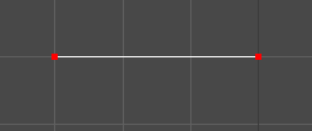
Now press S. You have split the brush into two segments along that line. Now split them so there are 5 parts
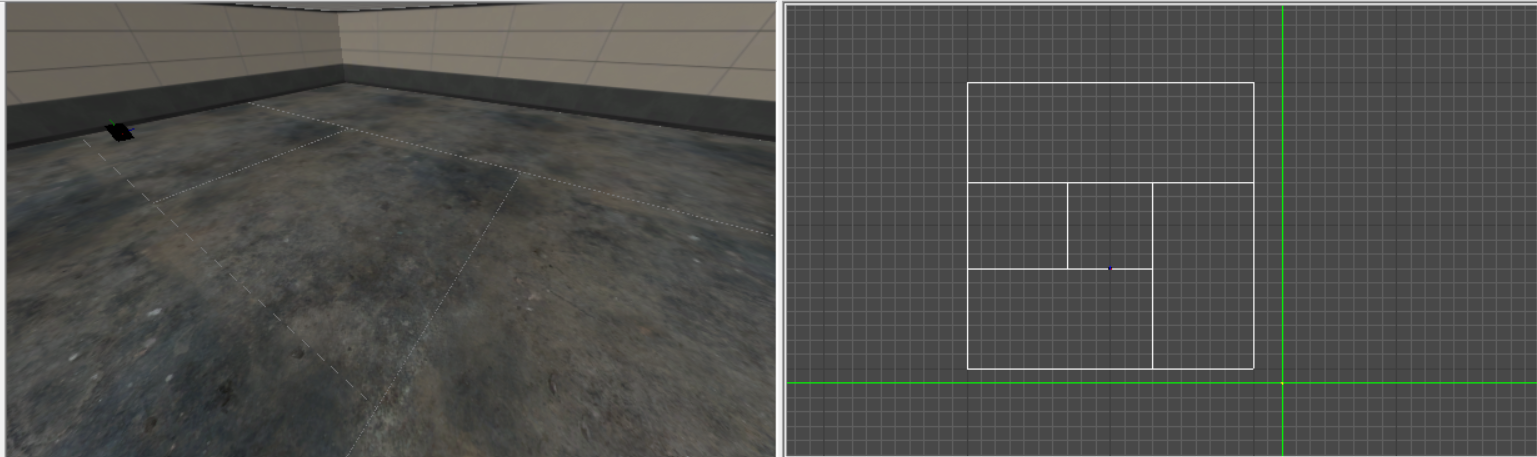
Now texture the middle piece with the Concrete_Floor2_Wet texture
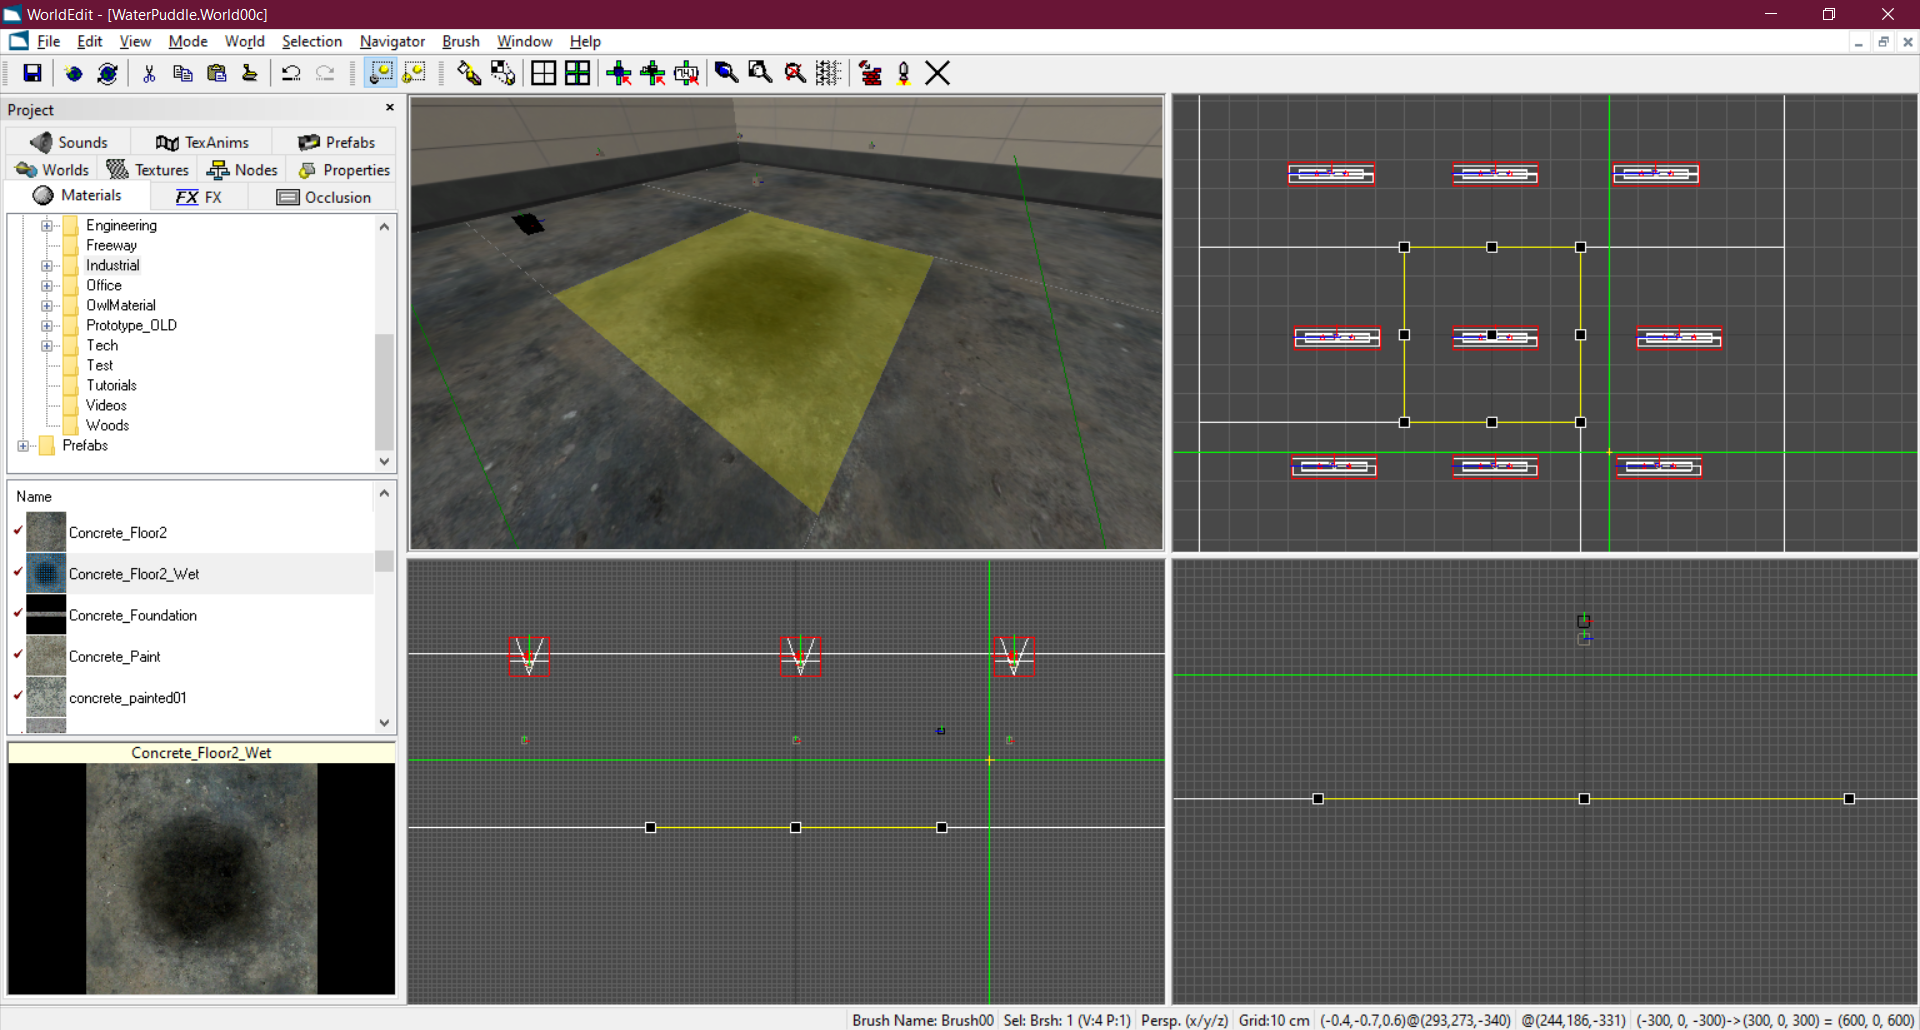
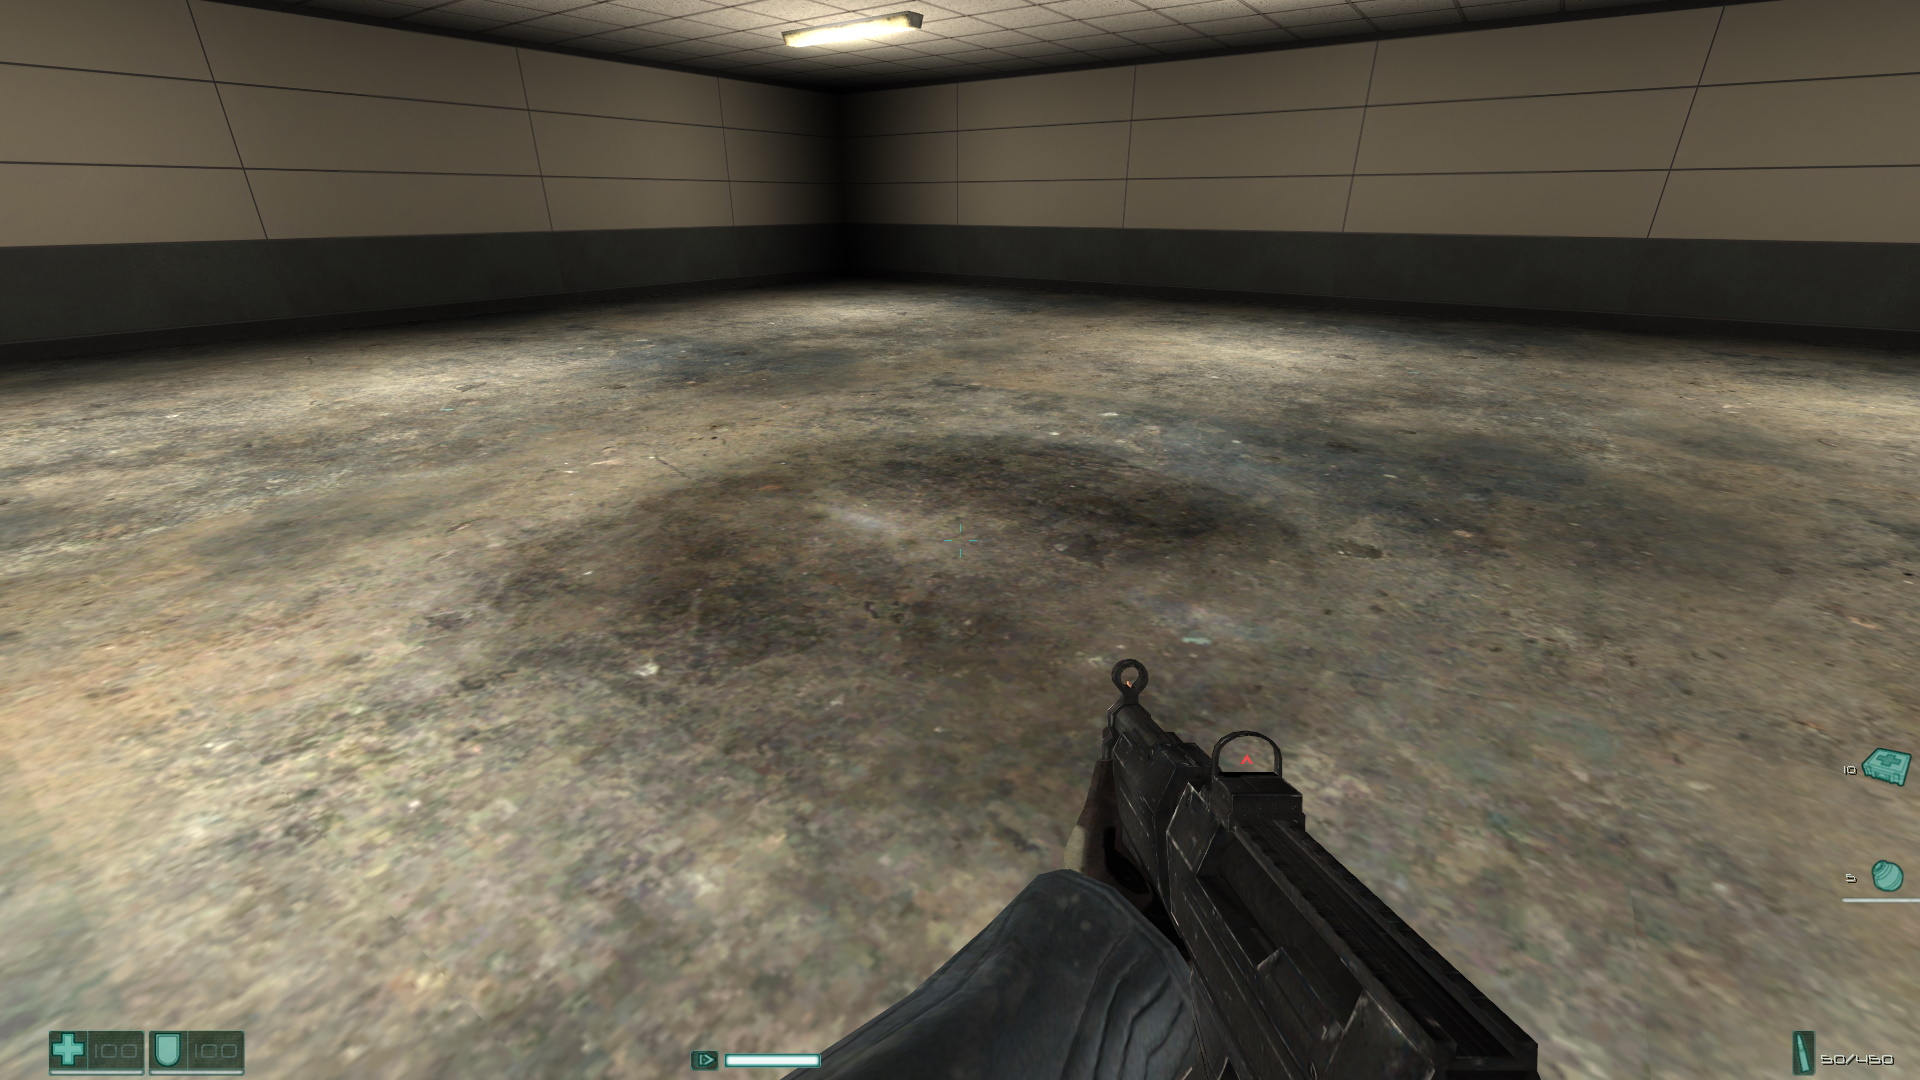
You now have a puddle in the middle of the room. If you process and run the level now it'll look something like this.
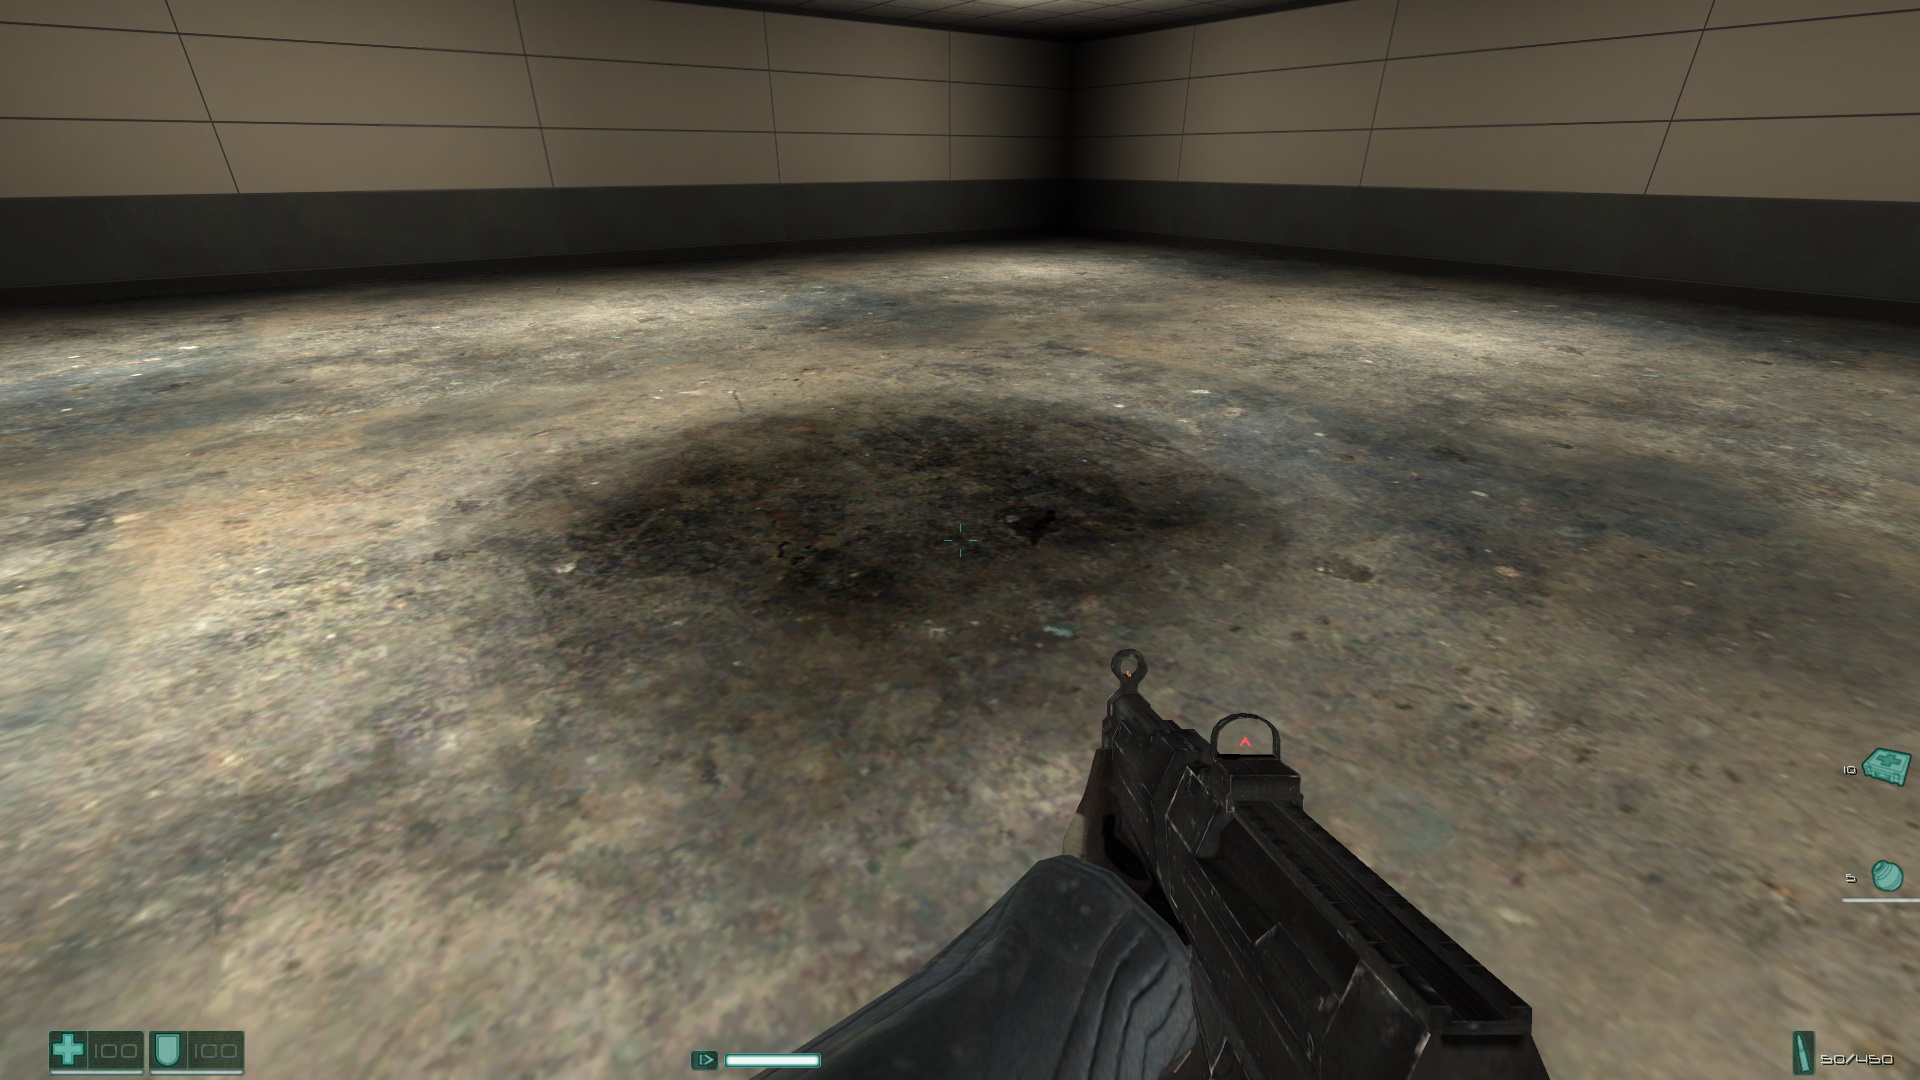
It's not very reflective yet. To do that we'll need to do some more stuff.
Make it reflective
To make the puddle reflective we'll need to add two entities. A Render Target and Render Target Group.
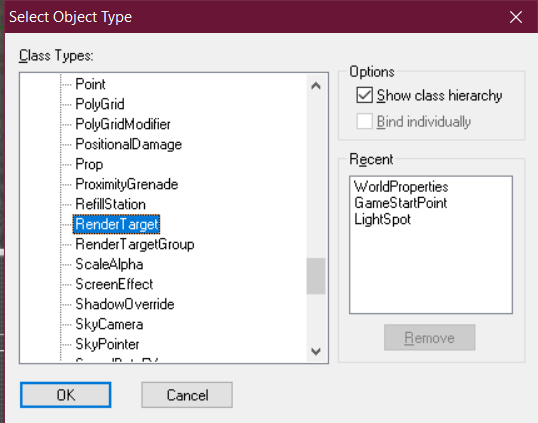
Spawn both of those in the level. Now go to RenderTargetGroup and change its name to FloorPuddleGroup

Now go to the RenderTarget entity and adjust the following values
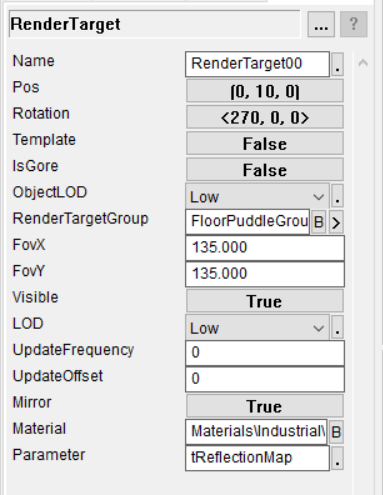
I'll go over the ones to adjust
- Rotation - Change this to 270 and position the entity above the puddle like so. The idea behind this is it's pointed towards what it's going to reflect.
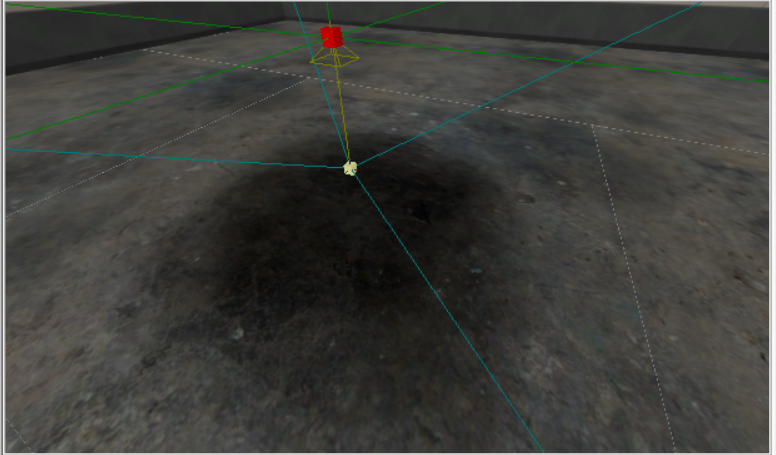
- RenderTargetGroup - Change this to FloorPuddleGroup. It's going to be pointed at the RenderTargetGroup entity we also made
- FovX and FovY - Change these to 135. Through testing that seems to be the best value for this sort of effect
- Mirror - Set this to true. This makes it so the reflection stays angled in one direction
- Material - Set this to the puddle's material. In this case Materials\Industrial\Concrete_Floor2_Wet.Mat00 Note this will apply universally to all instances of this material in the level. Ideally make a copy of the material you're using if you wanna use this material unreflective elsewhere in the level.
- Parameter - This tells the engine what effect to go with. Set this to tReflectionMap
Now process & run the level and it should look like this.
There we go it now reflects the level. And if you walk over it, it'll reflect the player model as well.
However there is one thing I don't like about this. The effect is very low res. We can fix this very easily by going into the RenderTargetGroup entity and adjusting some of its values
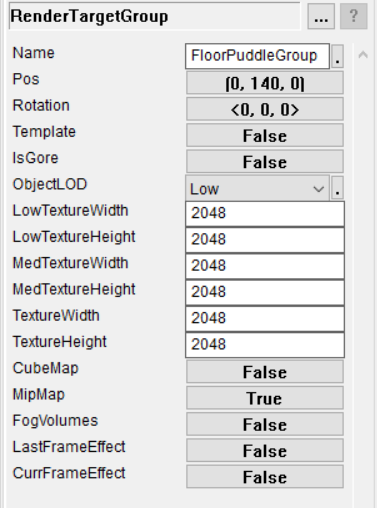
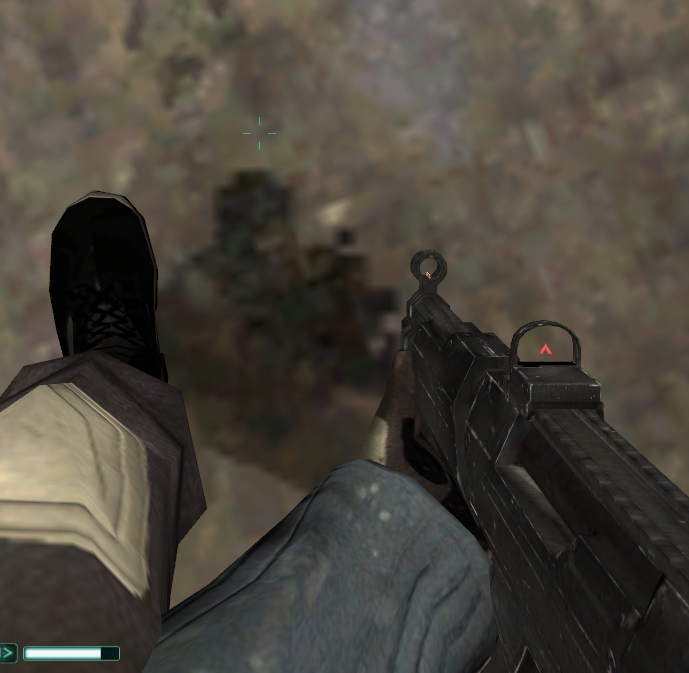
Set the texture settings to 2048. This will increase the detail dramatically. Note that this value needs to be a power of 2 number. Save/process the level and test it. It should look like this.

There we go. Now we can make out details in the reflection like the player model.
Using these principles you can create very effective reflections. Now I will show you how to make your own custom reflective textures.
Making your own reflective textures
While the puddle looks good this is only scratching the surface of what is possible using render targets. Starting with making your own custom textures.
I'm using Paint.net here to make a custom texture as a test
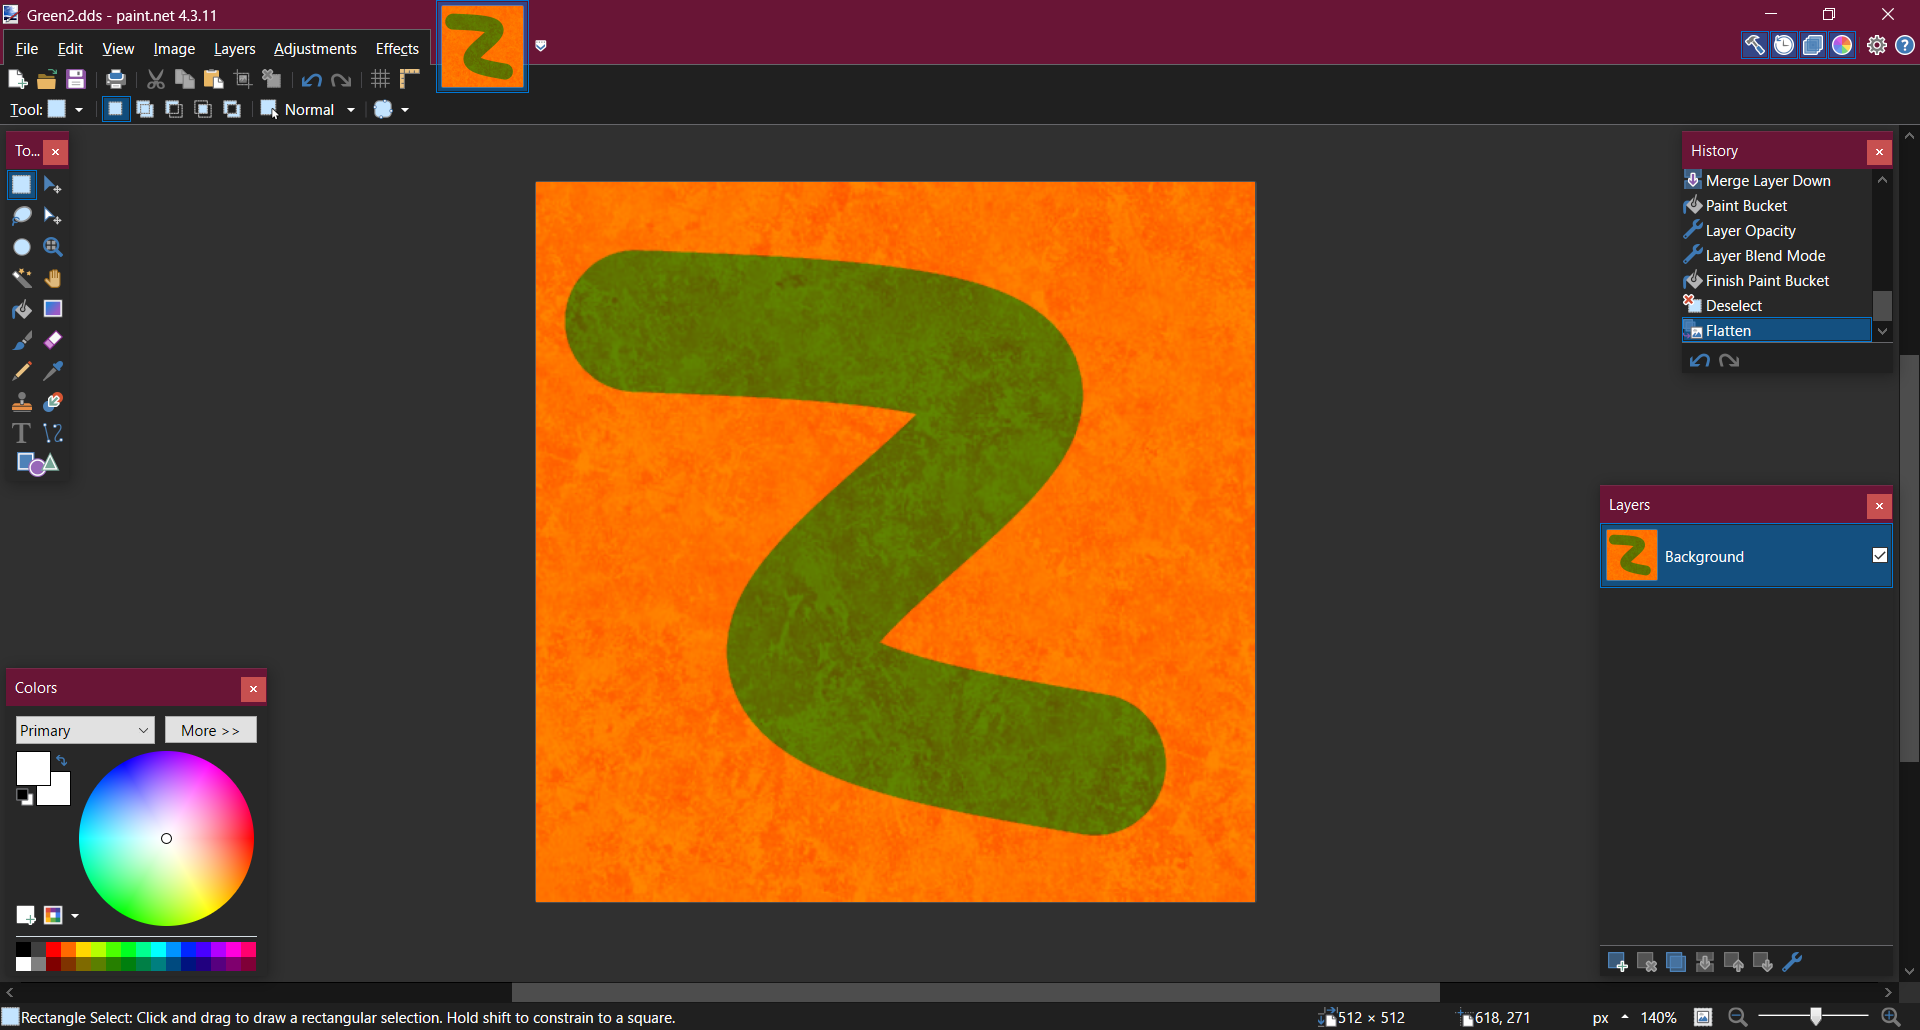
Save it as a DDS. Then make a custom material in the editor.
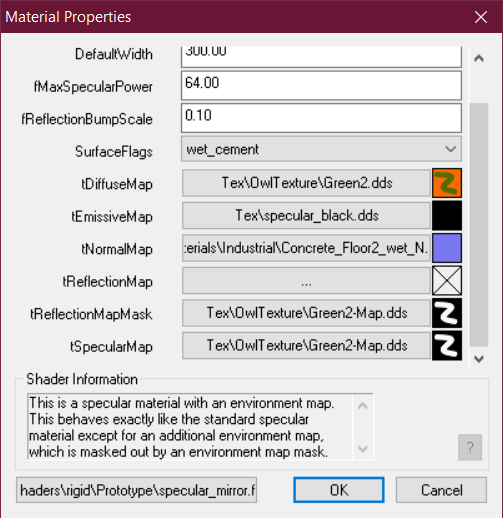
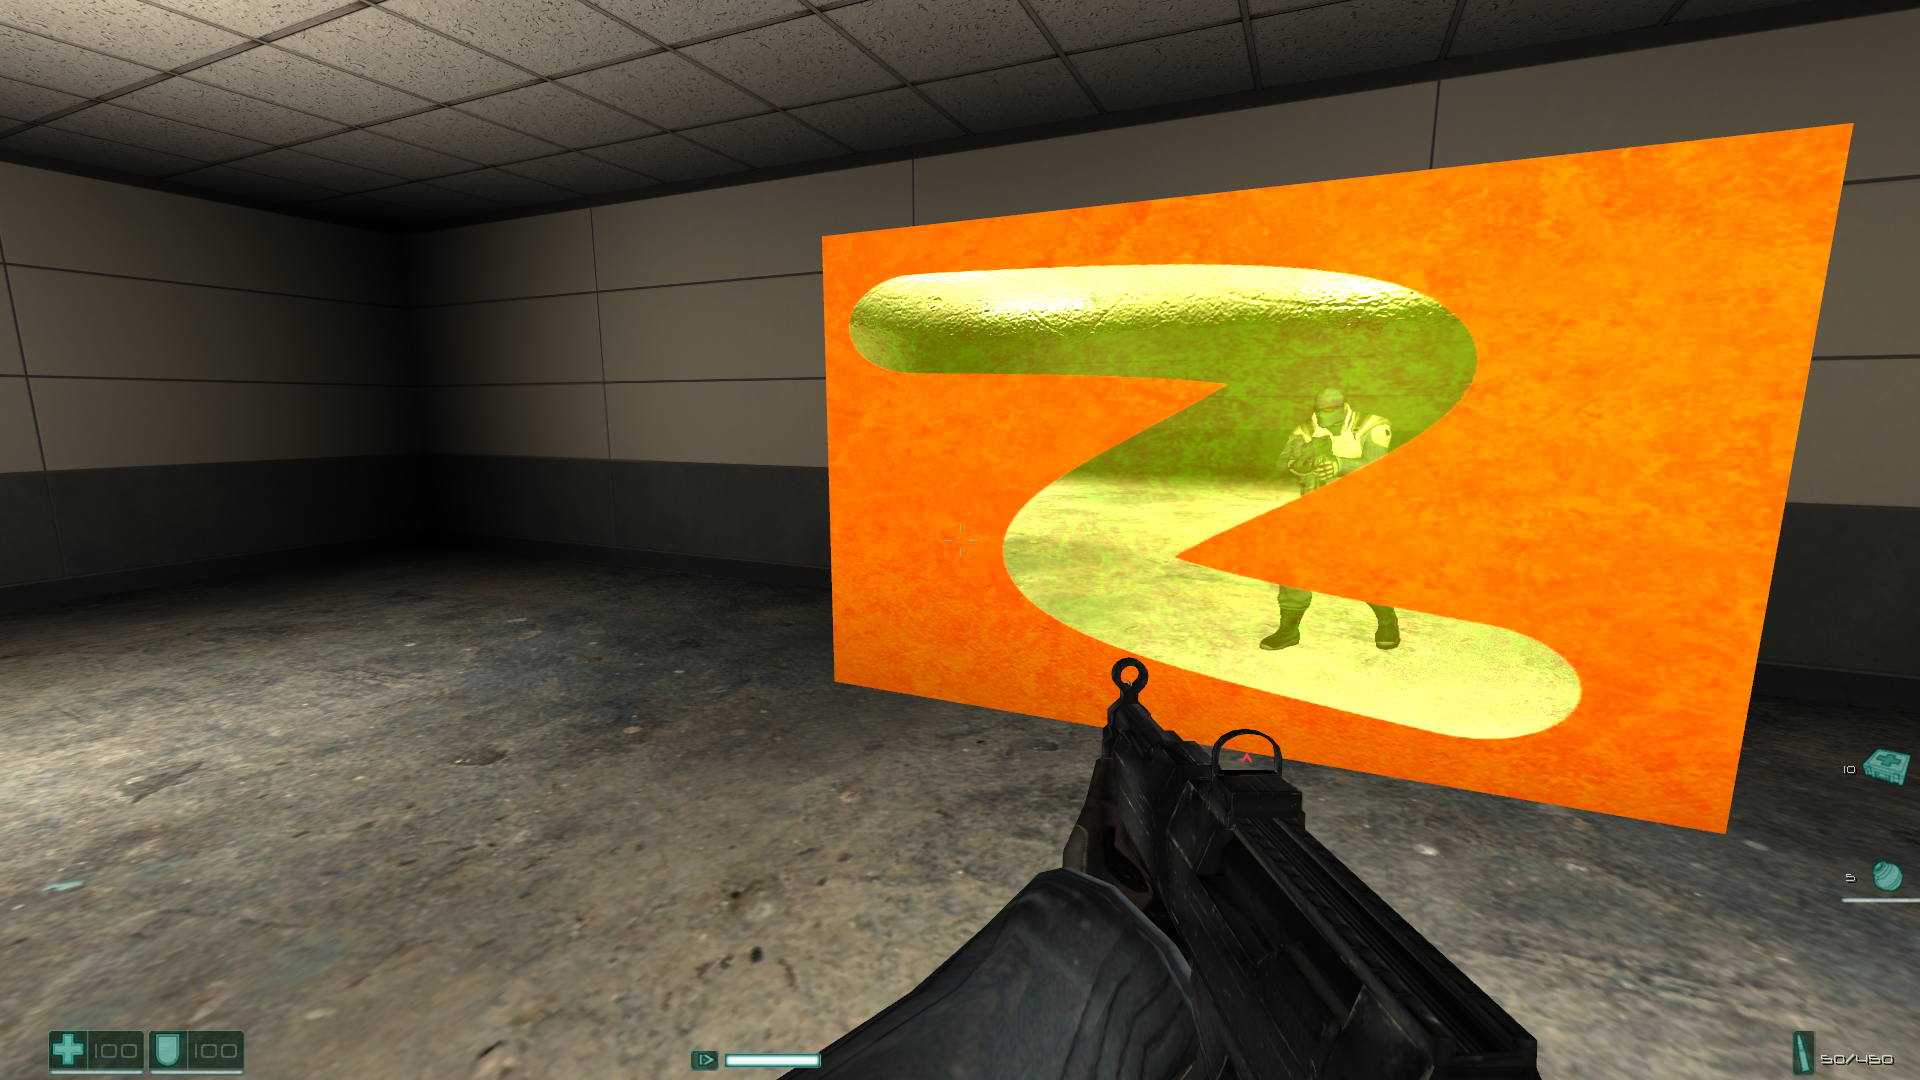
The most important thing to edit is the "tReflectionMapMask". For this you'll need to make a mask texture that encompasses the part that you want to be reflective. Then the engine will only reflect those parts.
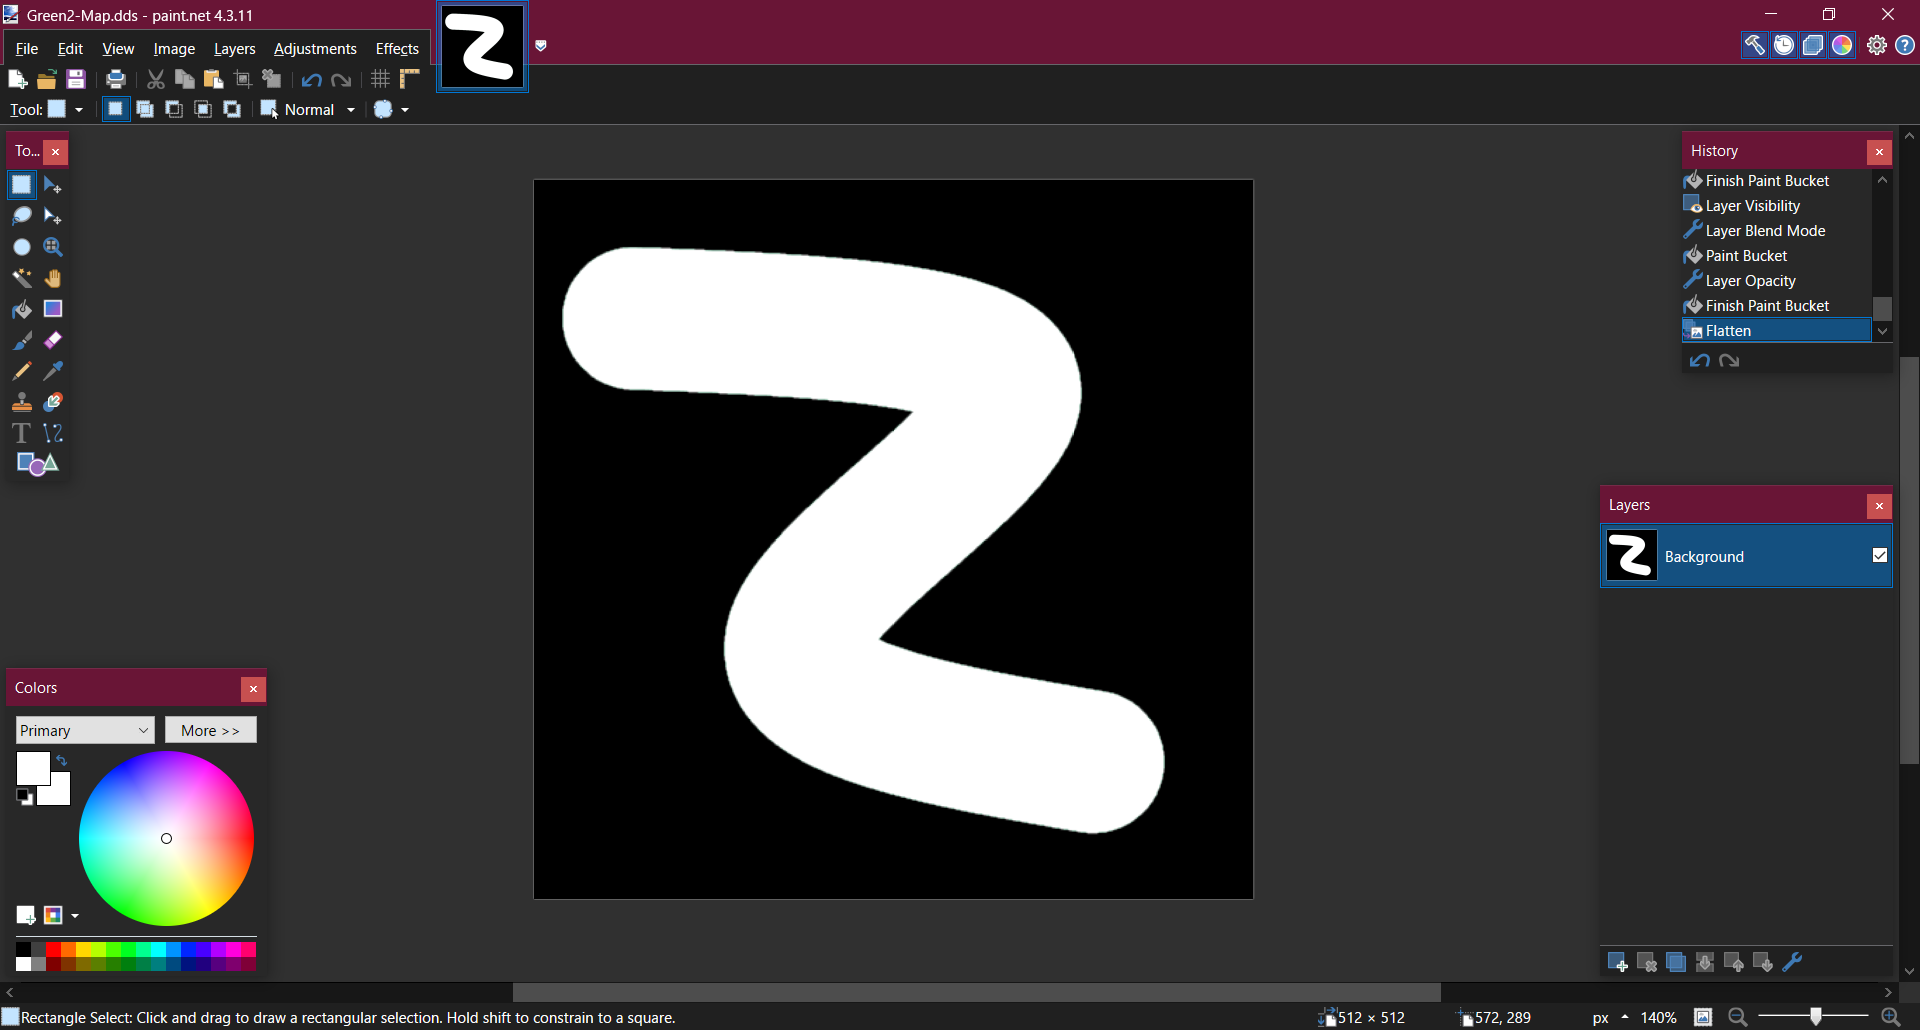
Now assign that as the reflection map mask. Then create a brush similar to before and assign the texture to it.
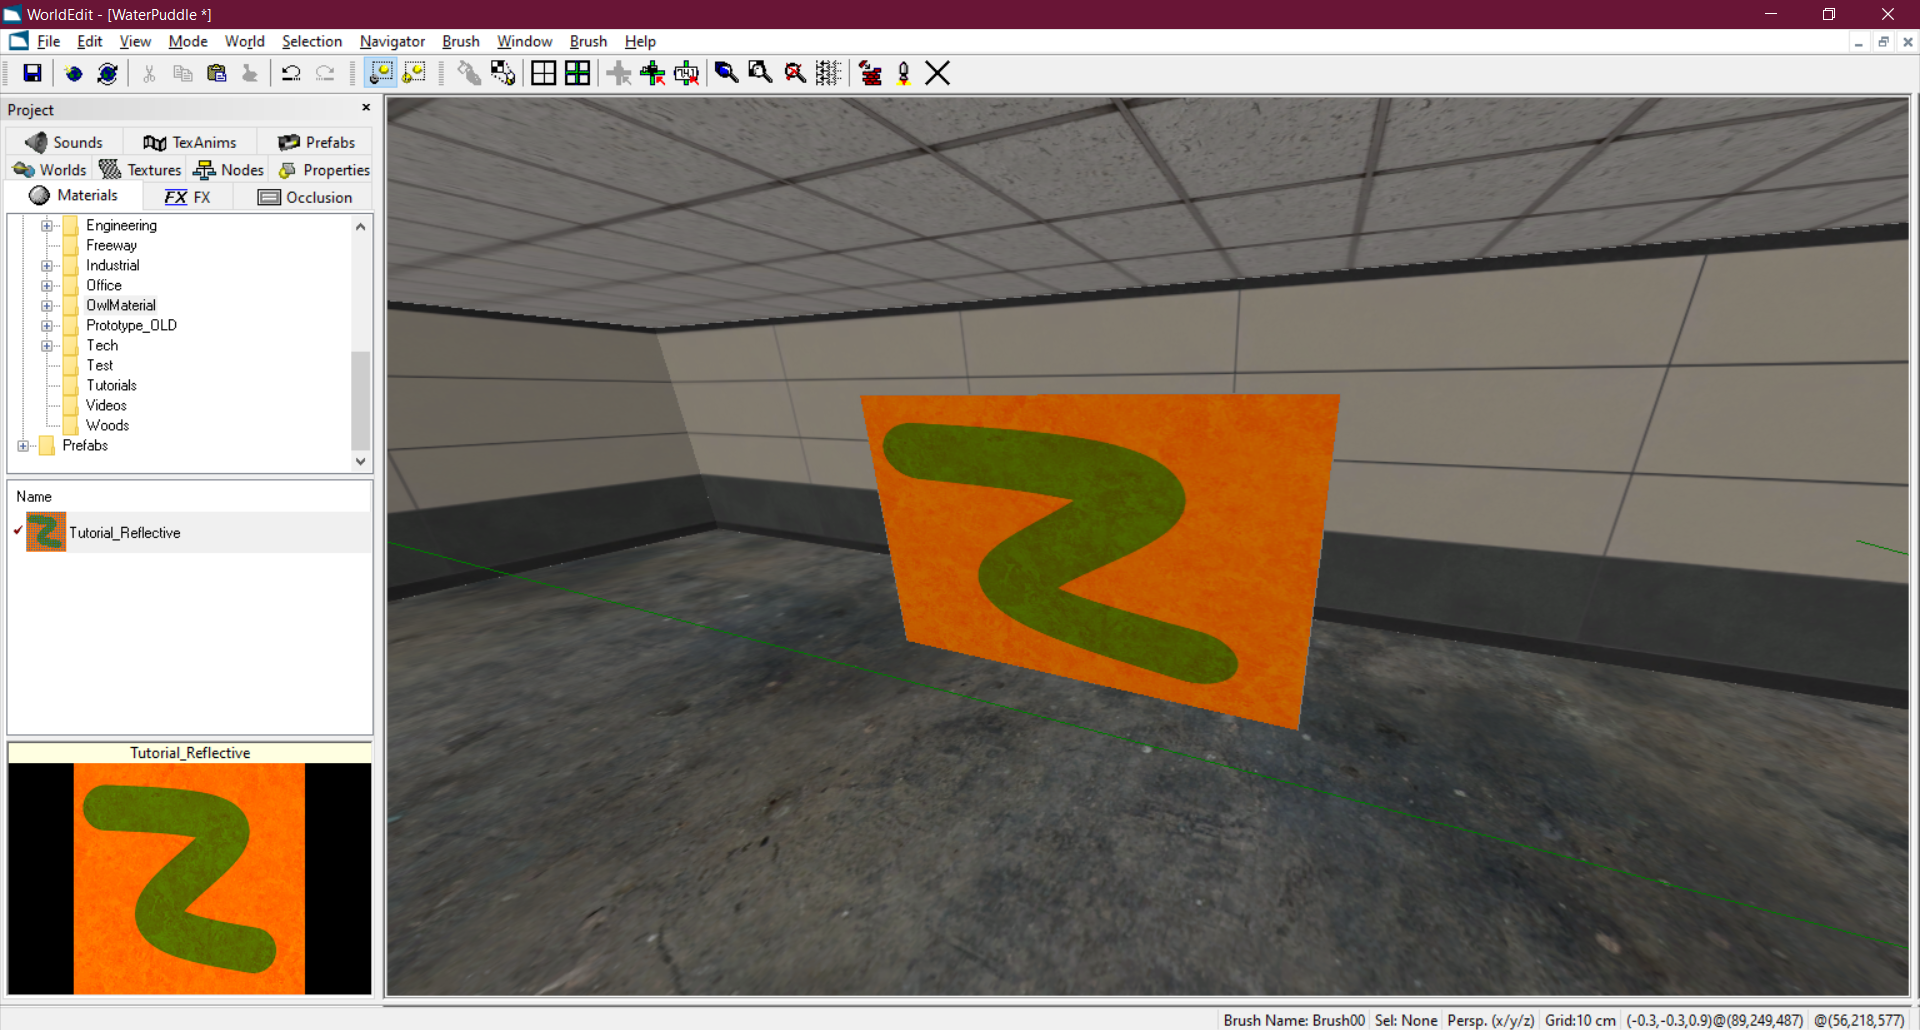
Process the level and run it and you'll see the results.
Conclusion
Render targets are incredibly powerful and I hope this has taught you how to make your own reflective surfaces in F.E.A.R's engine.


Wonderful work!! Thank you so much for sharing!!