Well, here i am again, this time i will teach you how to build a crate box model, (a prop: immobile object) for Half-Life 1, you will need:
*Milk shape 3D
Okay, here we go :
First create a new folder in your computer, because we need to place in somewhere the files of what we are going to make, ready? well, Open Milkshape:

Now, let's do a Box of the size that you want using the button "Box"

After that, let's add to the box a "joint" in the middle of the lower face using the "joint" button like this:

The Joints are the benchmarks that the model need to establish the space that it occupies in the game scenario. If there is no Joint the model can not be compiled. The set of joints and connections are called "Bones" and what they are needed to create the animations that you see in models with movement, as scientists or aliens in Half Life.
Now we are going to place a texture to the box model. The textures in Half Life models are BMP, with dimensions of multiples of 8, 8-bits depth and 256 colors. Here is a little help to make them:
There are many image editing programs, you can use Paint or some other always more advanced for a better result. I use Photoshop, but there's anothers options
First you must resize your image so that the sides are multiples of 8: it can be 64x64 or can be; 128x64; 128x128; 256x128; 256x256, etc. (do not do something bigger than 512x512 value, because that's not supported by the compiler)
If you use Paint (not recomended!): Export the image as BMP 256 colors and if paint shows a windows that warns you about that maybe the colors of the image will change, don't listen to it and press "yes", but the colors of your image (texture) will change and it's not gonna be something great, so do not use paint
If you use Photoshop (recomended): before you export the image, go to: Image> Format> Indexed mode. then export it as BMP and then press click on "OK" in the window that opens, without changing anything.
Now that we have a texture (image) for our crate box model, let's move that image to the folder that we created before, when we started the tutorial
Now let's go back to what we were doing in Milkshape, go to the Materials tab, look below and you will see a series of buttons, you must click on "New", and below the sphere that appears, let's click on the first button, the one's that says "None", Now you can search your texture (the image that we've created before) it should be in the folder that we created first in this tutorial.

Now let's select the cube that we made before by pressing on the select button and then pressing the group button, now you can select the cube in the 2d windows of milk shape or using "Edit> sellect all"
Then, let's go back to > materials, down that there's a button that say's "assing" click it and you should see now the cube with the texture in it
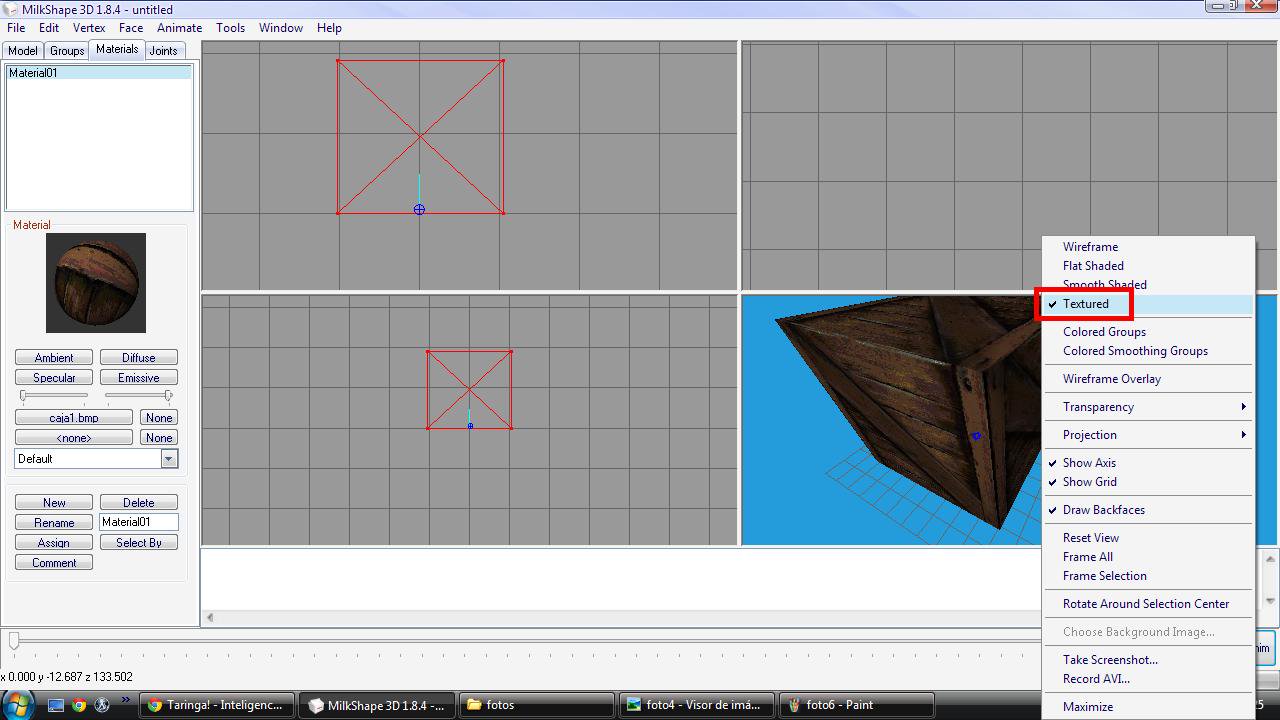
if you don't see it with the textures on it, press right click on the 3d window of milk shape and press click on "textured" like here:
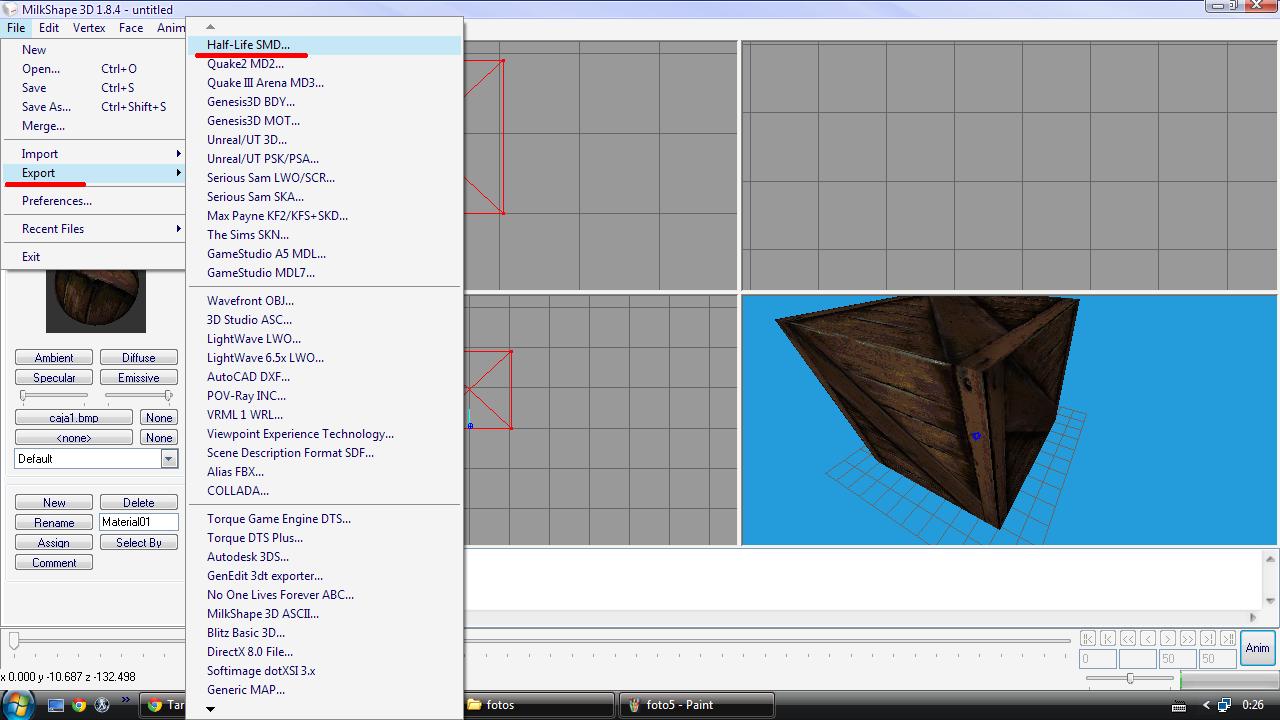
Now we must go to : File> Export> Half Life SMD, now save it with the name of "reference" (save it on the folder that we created before, when the texture and everything should be placed) after select this, you will see a window... you must select the "reference" option.
After that, we go (again) to File> Export> Half Life SMD and save it with the name of sequence, save it on the same folder that we save everyting in this tutorial, but this time, when you see a window... chose the "secuence" option.
in this image is the option of : File> Export> Half Life SMD.
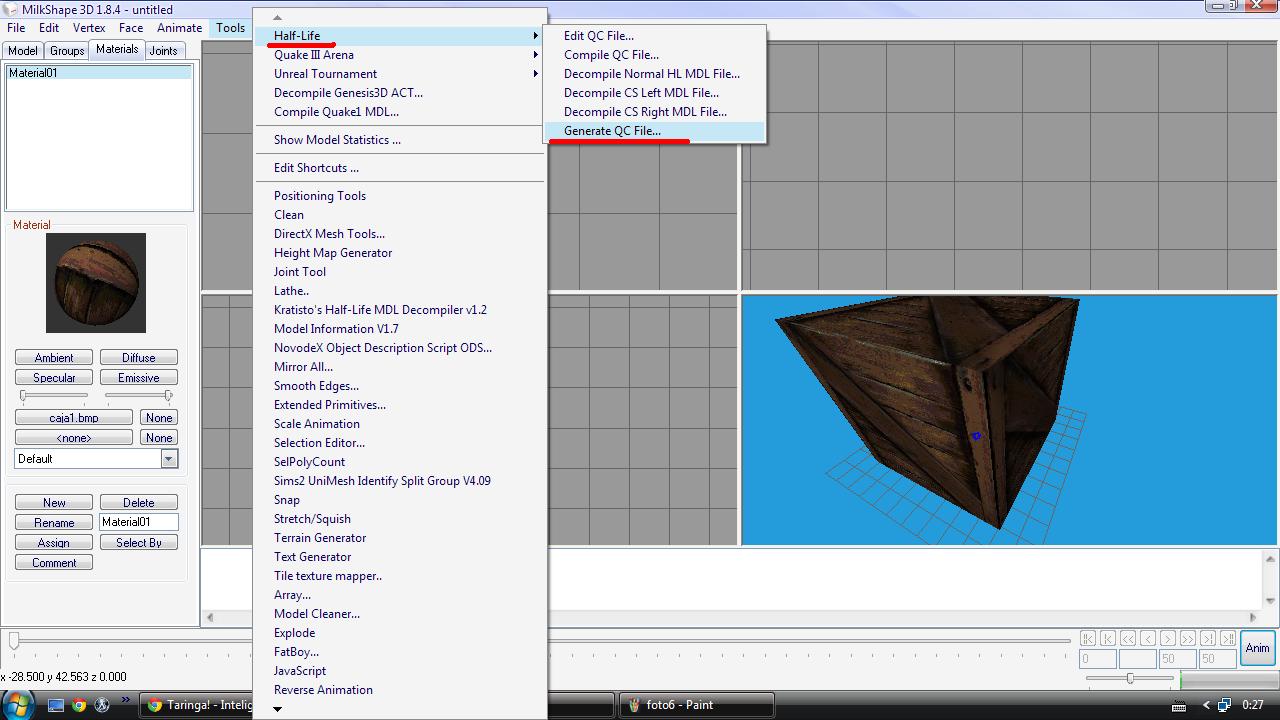
Now we need to create the QC file, lets go to Tools> Half Life> Generate QC file save it with the name of the model that we are going to create, on the folder where is everyting in this tutorial.
Now let's compile it, let's go to "Tools> Half Life> Compile QC file" and let's select the QC file that we created before.

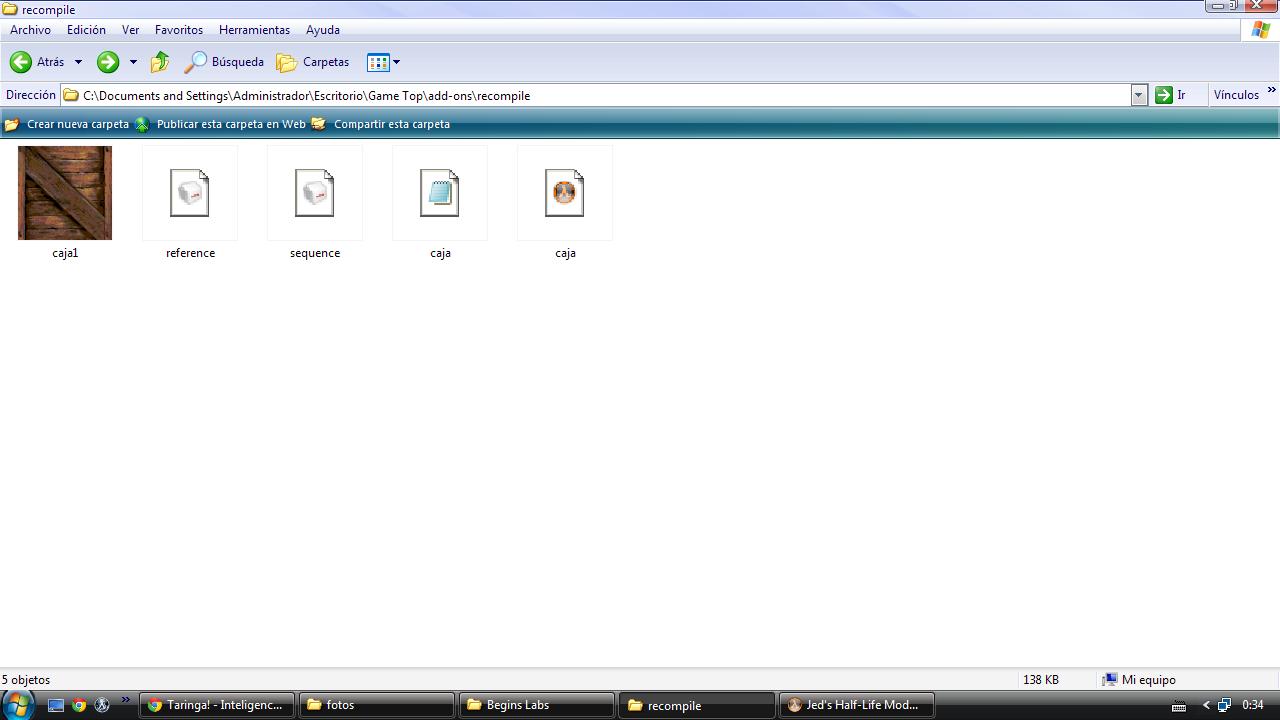
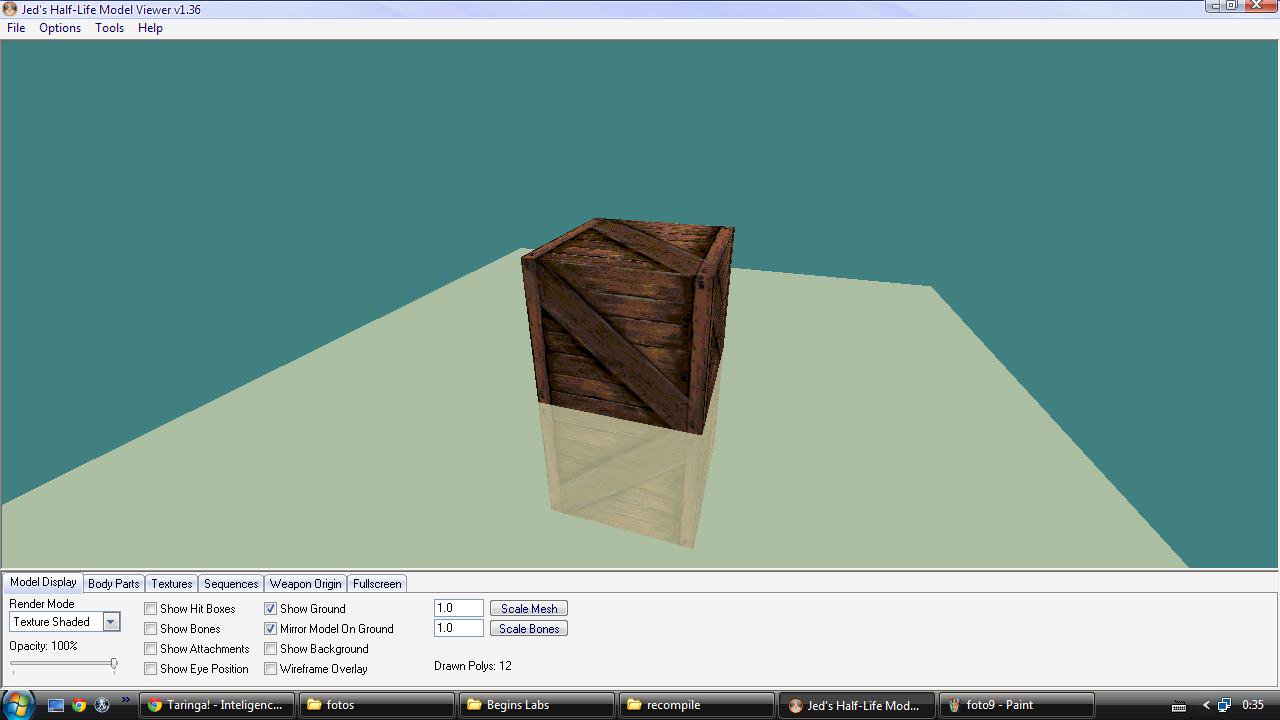
And now if you go to the folder that we created before, you should se a model, and it can be opened with the jed's model viewer.
and that's all :D
hope you like it


ta loco es un monton xD pero esta bueno
I'm having a problem when I compile the QC file, MilkShape 3D crashes
XD sorry I forgot the joint