UV Tutorial Part 8 image - Yuuzhan Vong at War mod for Star Wars: Empire at War: Forces of Corruption
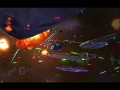
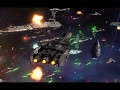
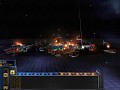
Behold the Yuuzhan Vong Army! This mod adds the Yuuzhan Vong Race as a playable faction and all units of this era. We are a community of modders working for the greater goal, so anyone who wants to help or support us is welcome!

Photoshop
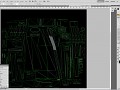
Continuing on with the UV/Texture Tutorial, the next phase is photoshop. This is where all the painstaking labor of UVing every surface of the model really pays off. By doing so, you know have complete control over every little part of your model. Also, all sections of the model are uniformly scaled, so as you zoom in and out of your model in the game, there will be no distortions where some sections of the texture appear crystal clear while others are blurry, for everything is now the same resolution. This appears to be a common problem with other techniques where the scaling and resizing of the textures is done within Max - sure, it may be faster, but it just does not look nearly as good.
Within Photoshop, create a new workspace (2048x2048 or 1024x1024 depending on size of your model; RGB; transparent background) and Place (import) your UV Render into the document (you can also just "Open With" and choose photoshop with your JPG that you rendered from Max, and it will automatically open the JPG to the predetermined resolution size). With your Render Template set as "Background" or the bottom most layer in your layer palette, the method that I use is to create a new layer for each individual element of the UV template that I will be texturing. My textures tend to have many layers, usually around 50, but towards the end of texture process, these start to be combined and eventually all flattened. The reason for individual layers is for complete control and the ability to change the texture later on without disturbing other sections/elements of the rest of the texture. Once a new layer is designated, I select the Polygon Lasso tool (L) and trace an outline around the section of the background UV that I wish to texture, while being on the selected new layer. I then colorize and start building my texture for that section, and then move on to another. When all sections are filled, I will flatten the document and export to .DDS.
I will continue with the tutorial all the way through to completion of the model and exporting to .alo. It is taking some time, only because I work all day, have a family, and am creating 6 textures at the same time.
Sweet Jesus...I finally get it! This is something that not only will i NEVER be able to do, but I should also never try and be enternally thankful for modders and the time and effort that they spend on AWESOME stuff that is totally FREE!! Thank you so much for all your hard work!
agreed.
though i have to admit i was curious in the first parts of the tutorial, i gave up after i saw that was actualy the simplest part.