If you want to talk about SoF1 I recommend joining the SoF1 discord here.
Introduction
When Soldier of Fortune 1 released in 1999 it's sdk shipped with a single level editor. SoFRadiant. This was a fork of Qeradiant; the editor Id used to make Quake 2's levels.
SoFRadiant is really sub par as a level editor and lacks a lot of qol features. Fun fact Raven used this same editor largely unchanged to make Star Trek Voyager Elite Force, Jedi Outcast and Jedi Academy.
Fans over the years have either suffered with SoFRadiant, or used a custom fanmade editor like Worldcraft or QuARK. In 2020 eGax on Github created a custom Trenchbroom plugin for the game.
This custom plugin is pretty easy to install however it comes with 1 downside.
Trenchbroom as of the writing of this tutorial does not support Soldier of Fortune 1's texture format .m32. So to install the plugin you will need to convert SoF1's textures to .tga. This tutorial will go over the process.
What you will need
Installing the SoF1 sdk
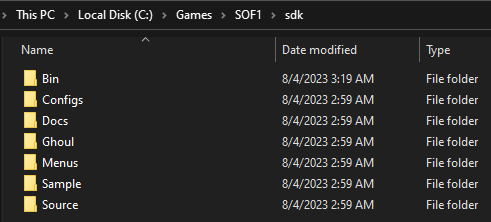
Extract the SoF1 sdk's zip and install it. I recommend installing it into the game's directory under a folder like \sdk\. In my case I installed the sdk to C:\Games\SOF1\sdk.
Installing Trenchbroom and the plugin
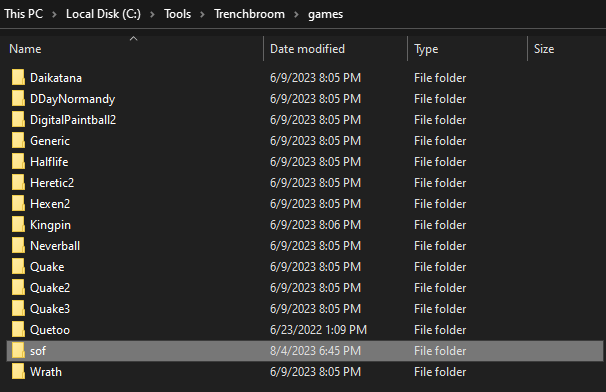
Next install Trenchbroom and copy eGax's plugin into the \Trenchbroom\games\ folder.
You have now successfully installed the plugin.
Extracting SoF1's textures
Now we'll need to extract SoF1's textures. This'll let us convert them into .tga for use with mapping. Unfortunately extracting SoF1's pak0.pak isn't straight forward as very few tools can open it. However I did find one that works extremely well which is PAK Explorer 1.2.
Install PAK Explorer 1.2 and open pak0.pak inside the \base\ folder in the Soldier of Fortune directory. Now right click the textures folder and extract it.
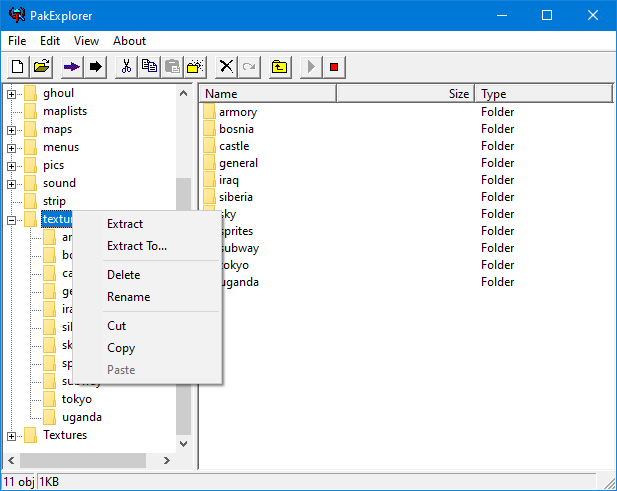
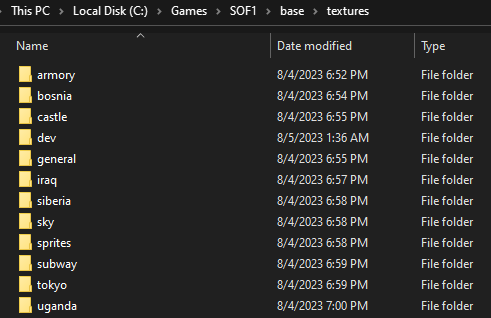
Congratulations you have now extracted SoF1's textures. You should now see them in the base folder under \textures\
Converting SoF1's textures
Due to Trenchbroom not supporting .m32 textures we'll need to convert them to .tga. There's a few ways to do this but the easiest way I've observed is to use .m32 to .tga. When you extract .m32 to .tga you'll see this.
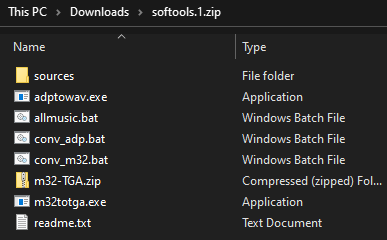
The two files to pay attention to are conv_m32.bat and m32totga.exe.
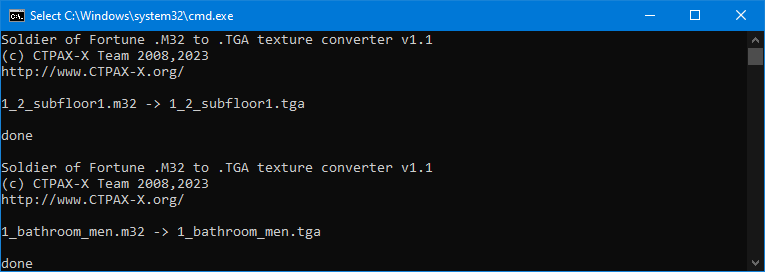
Now copy both of these files into every individual texture folder. Starting with armory and ending with uganda. And run conv_m32.bat individually in each folder. It will now convert all of the textures in each folder.
Once you've run it in each folder you can then delete both files from the folders.
Setting up Trenchbroom for SoF1
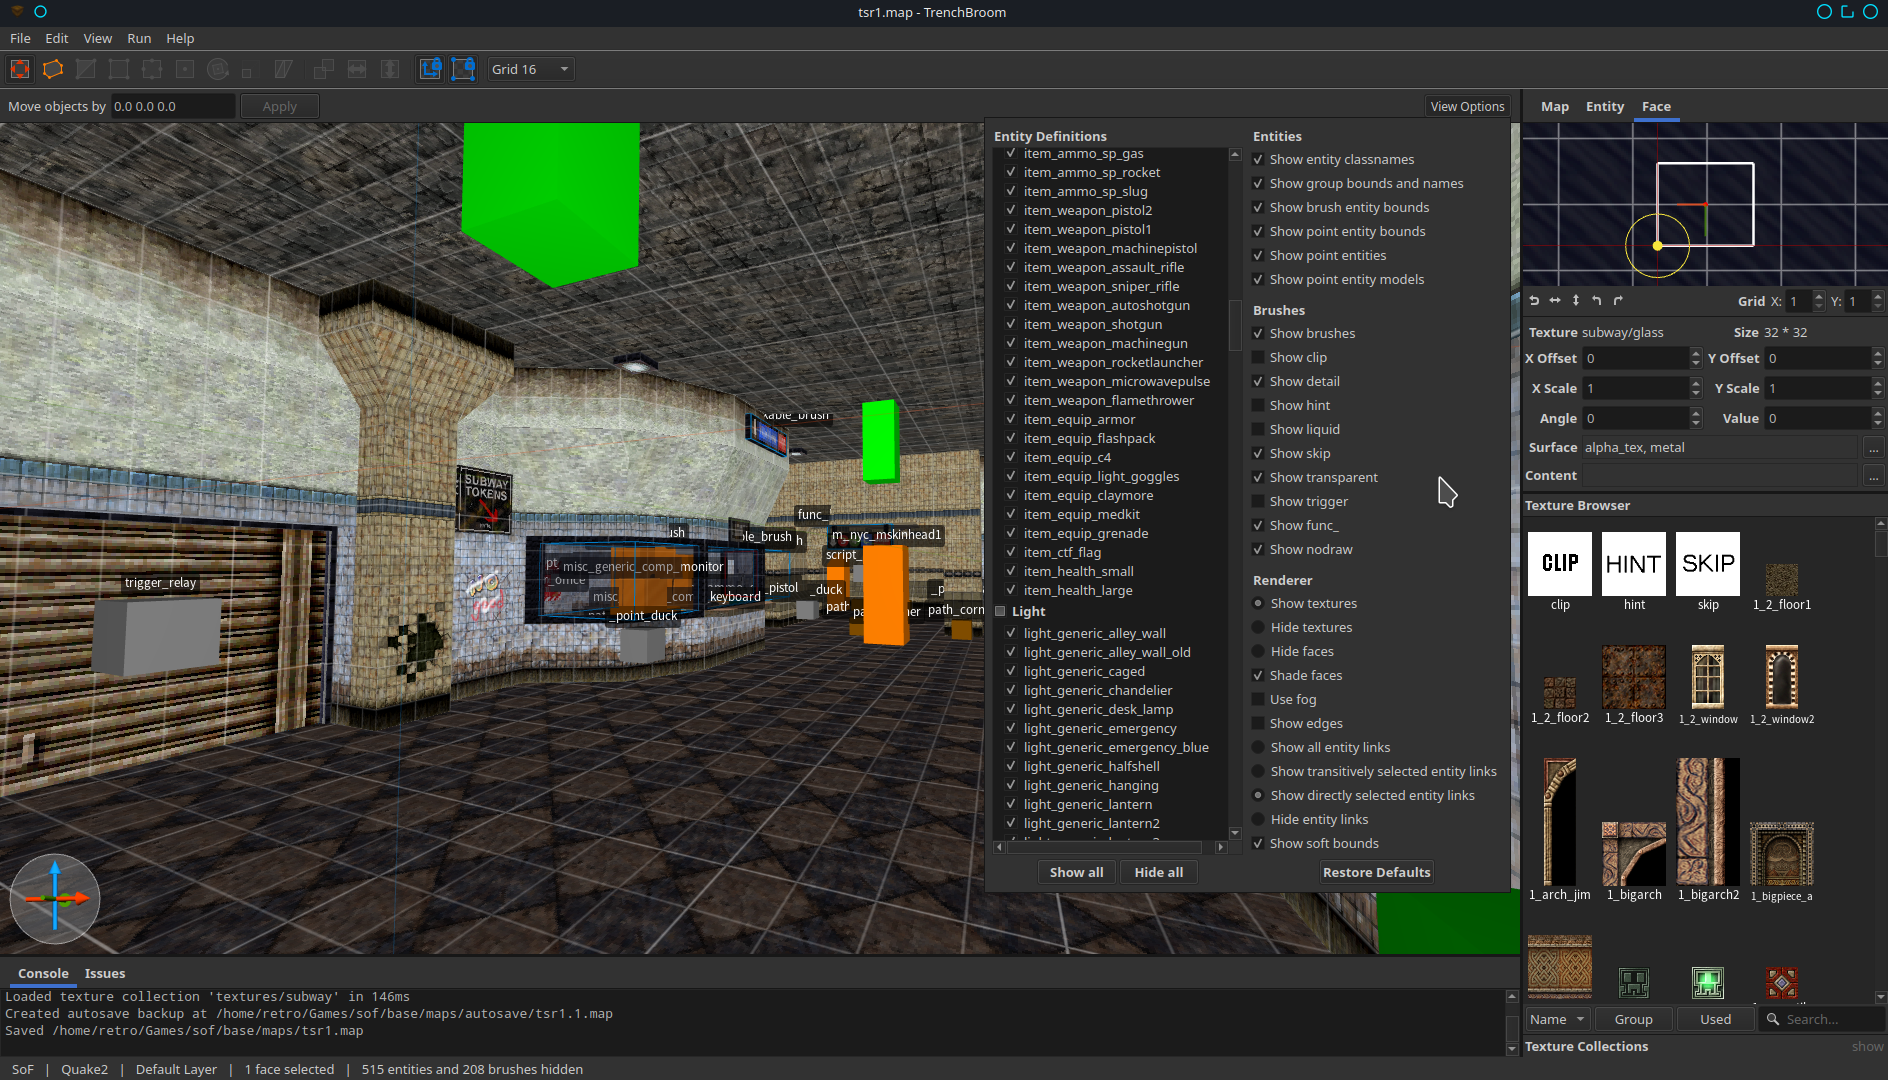
Now that we have the textures we can start mapping for SoF1. Open up Trenchbroom and select new map. Then scroll down to the bottom and select SoF (experimental).
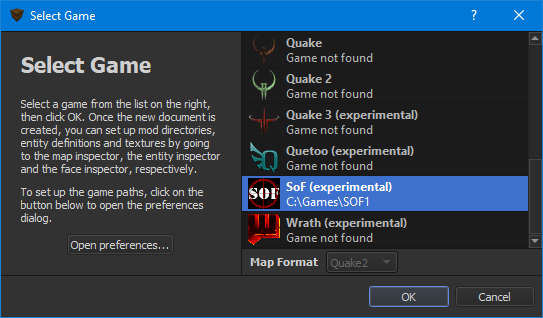
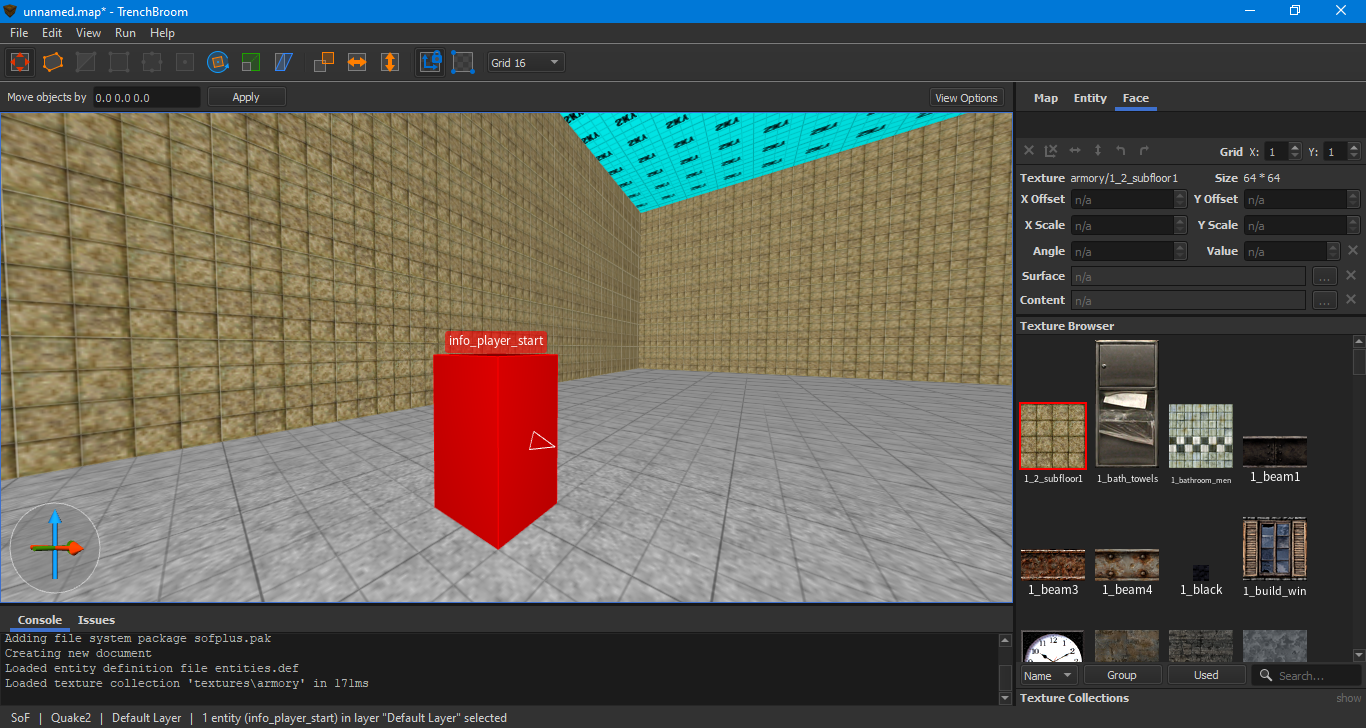
Now you can select SoF1's textures and spawn SoF1 entities.
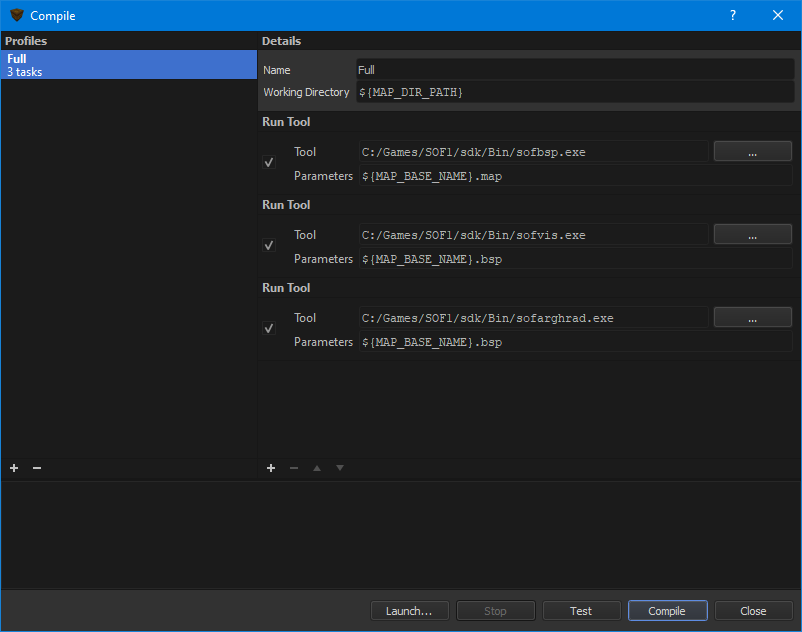
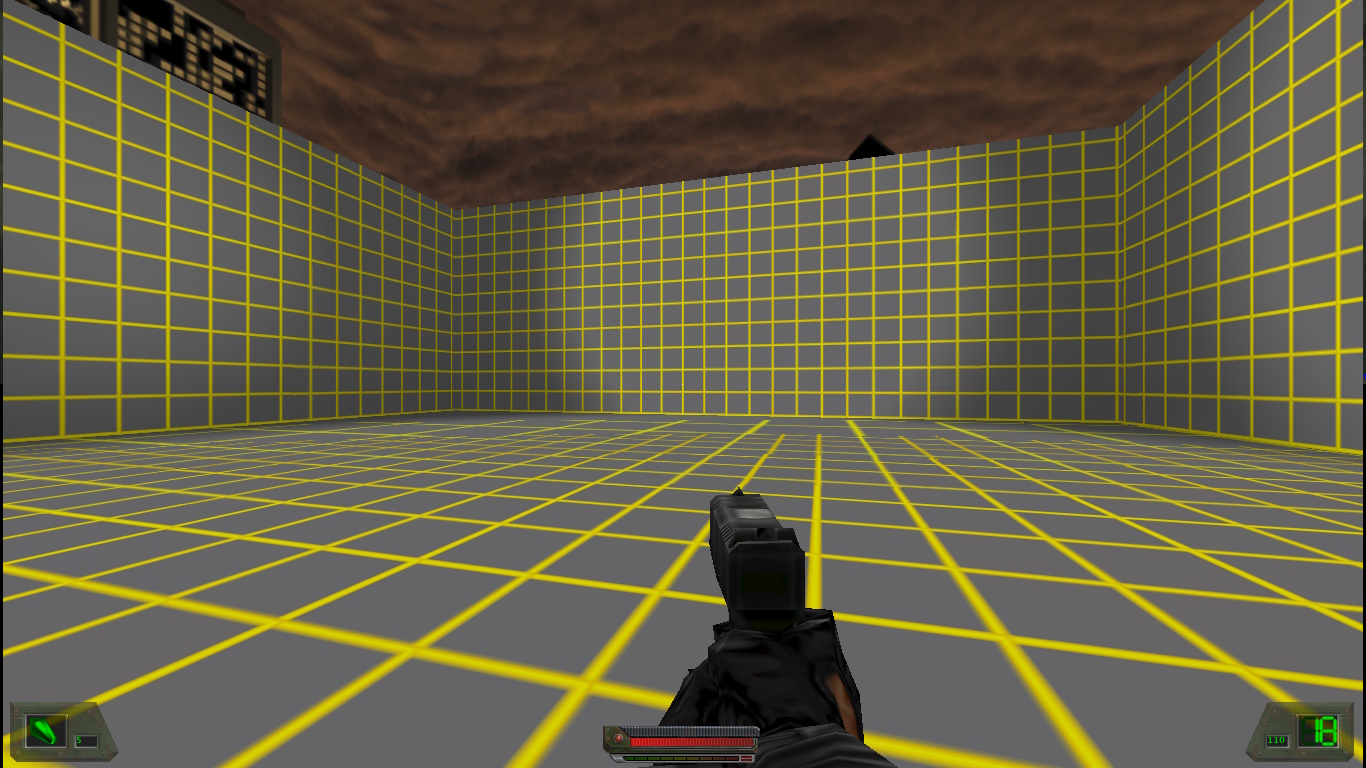
There's not much else that's special with SoF1. It's compiling programs are provided with the sdk in the \bin\ folder. As a bonus I'll provide a screenshot of my build process.
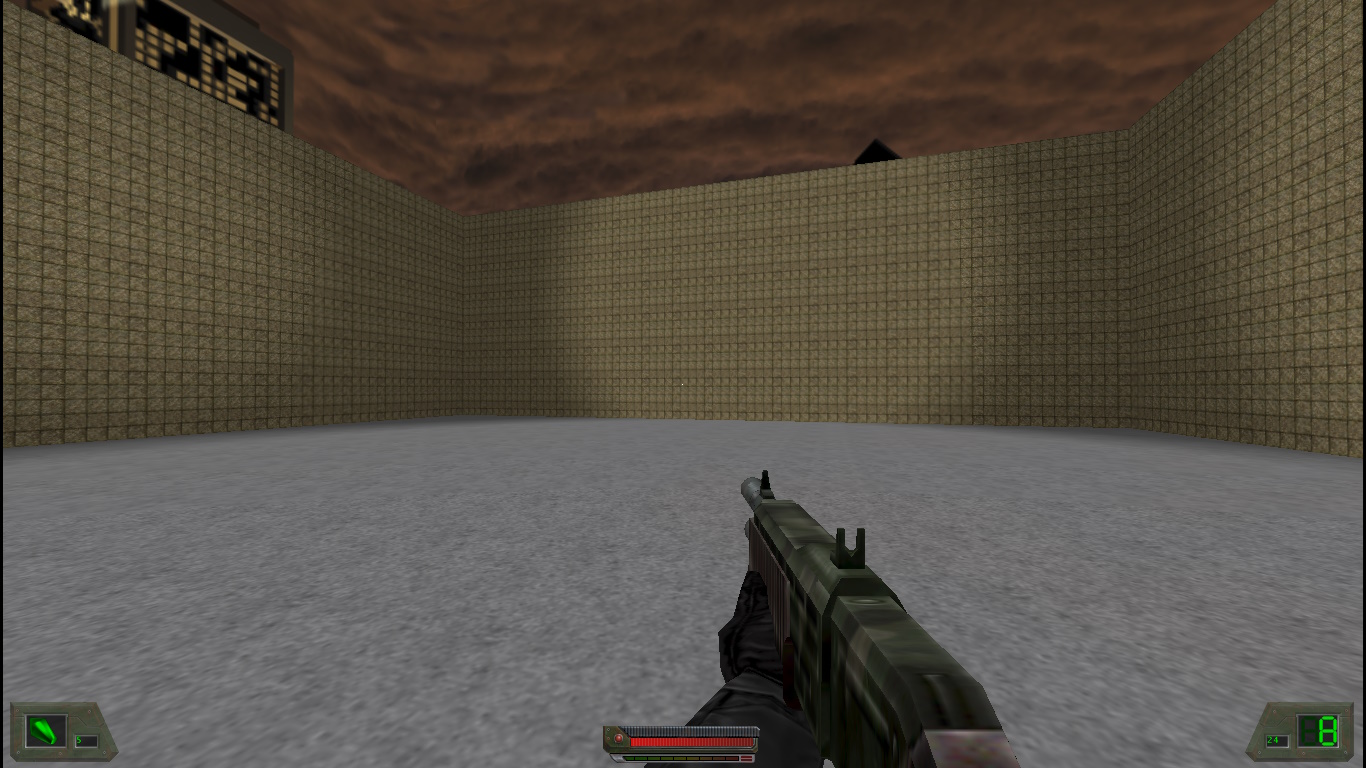
Now compile and run the game and level. You should now be all done.
Custom textures
As a bonus I'll throw this one in here. To import custom textures into SoF1 we'll need two files. A .tga and a .m32. In-order to convert the .tga to .m32 we'll need another tool. .m32 tool.
Once we've opened .m32. Go up to file->import and import your .tga. In this case I'll import Star Wars Dark Forces 2: Jedi Knight's default developer texture dflt. When it asks if you want to import mipmaps click yes.
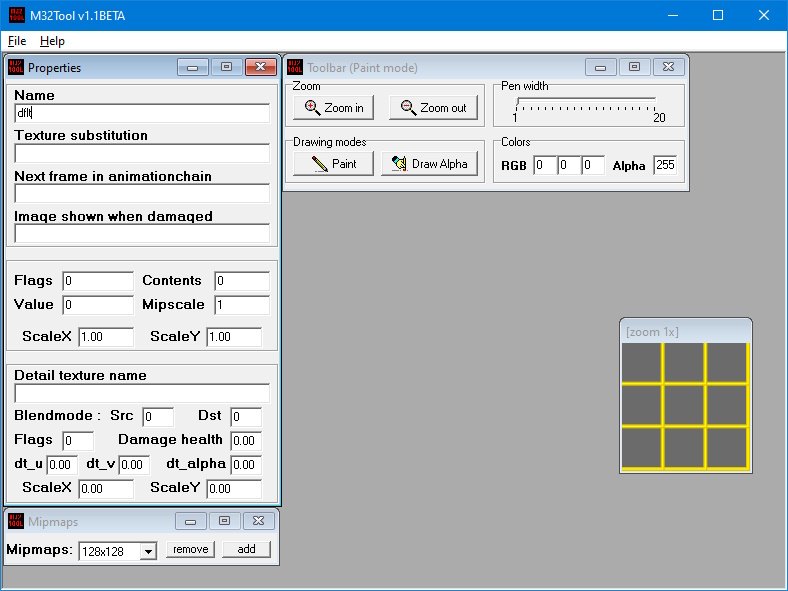
Now copy both the .m32 and the .tga into a folder within the \textures\ folder. Now you can view it in Trenchbroom and assign it.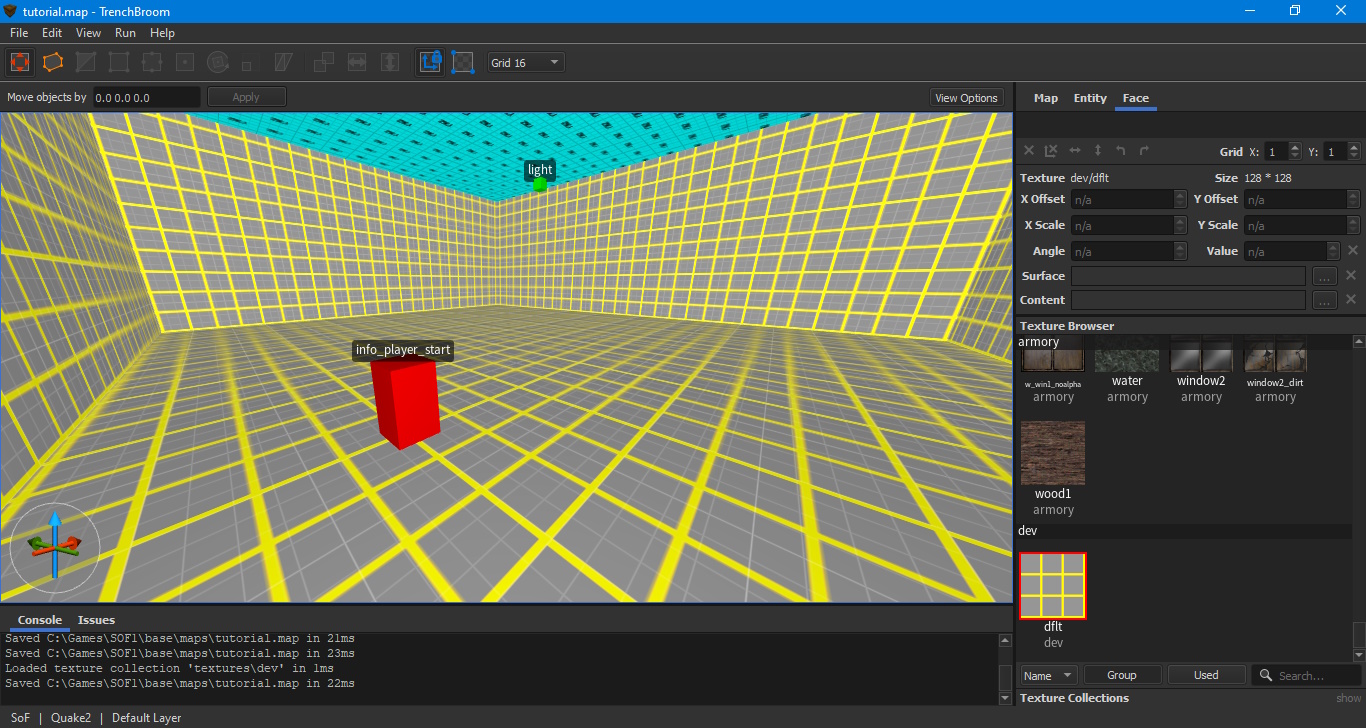
That's it. Now you can make maps with less of a headache. I recommend downloading some of the other samples I've reuploaded to moddb.
Note there is a sequel to this tutorial located here.

Looks good, hopefully it will help some people.