If you wish to discuss modding Quake 4 or any other Id Tech 4 based game I recommend joining the Id Tech 4 discord here.
Introduction
Quake 4 was developed by Raven software and runs on Id Software's Id Tech 4 engine. It was made concurrently with Doom 3 and runs on virtually the same tech under the hood. As a result most of this tutorial will apply to other Id Tech 4 based games such as Doom 3 and Prey 2006.
This tutorial will go over how to import a custom static mesh. Which you can use to make props for the environment. Both static and physics based. This tutorial was created in cooperation with Valkyries733 who provided the screenshots and tools needed to get this to work. Many thanks go out to him.
What you will need
Installing the plugins
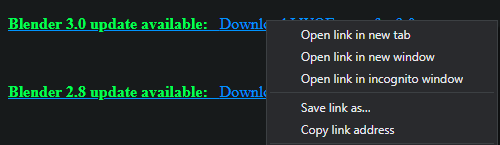
First, install the import script by installing from the zip. The exporter script may be a bit complicated to extract. Just right click the link and press "save link as" then save it as a .py script somewhere.
Then install it like you would have the zip just point it at the .py script. You should now see both Lightwave scripts installed in Blender.
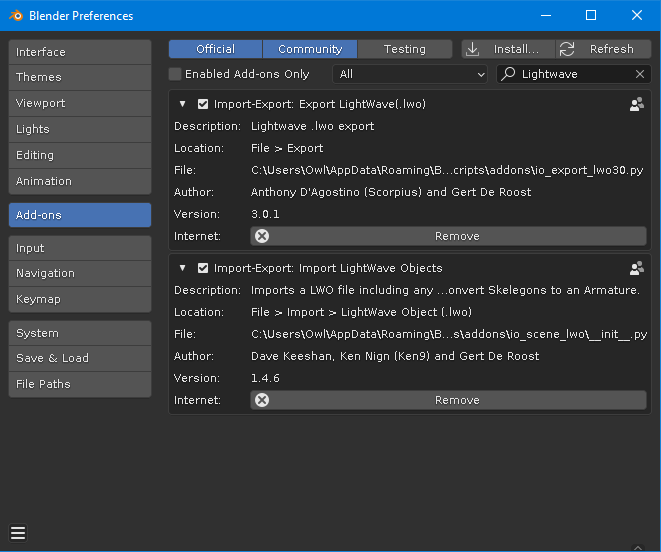
You now have both Lightwave plugins successfully installed.
Importing a Quake 4 static model
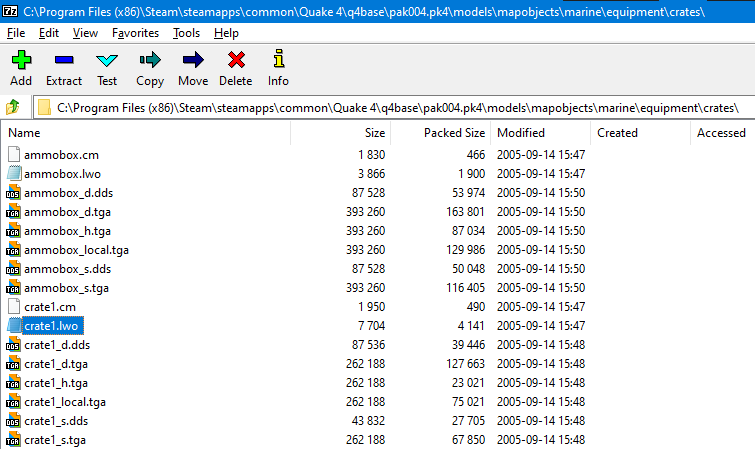
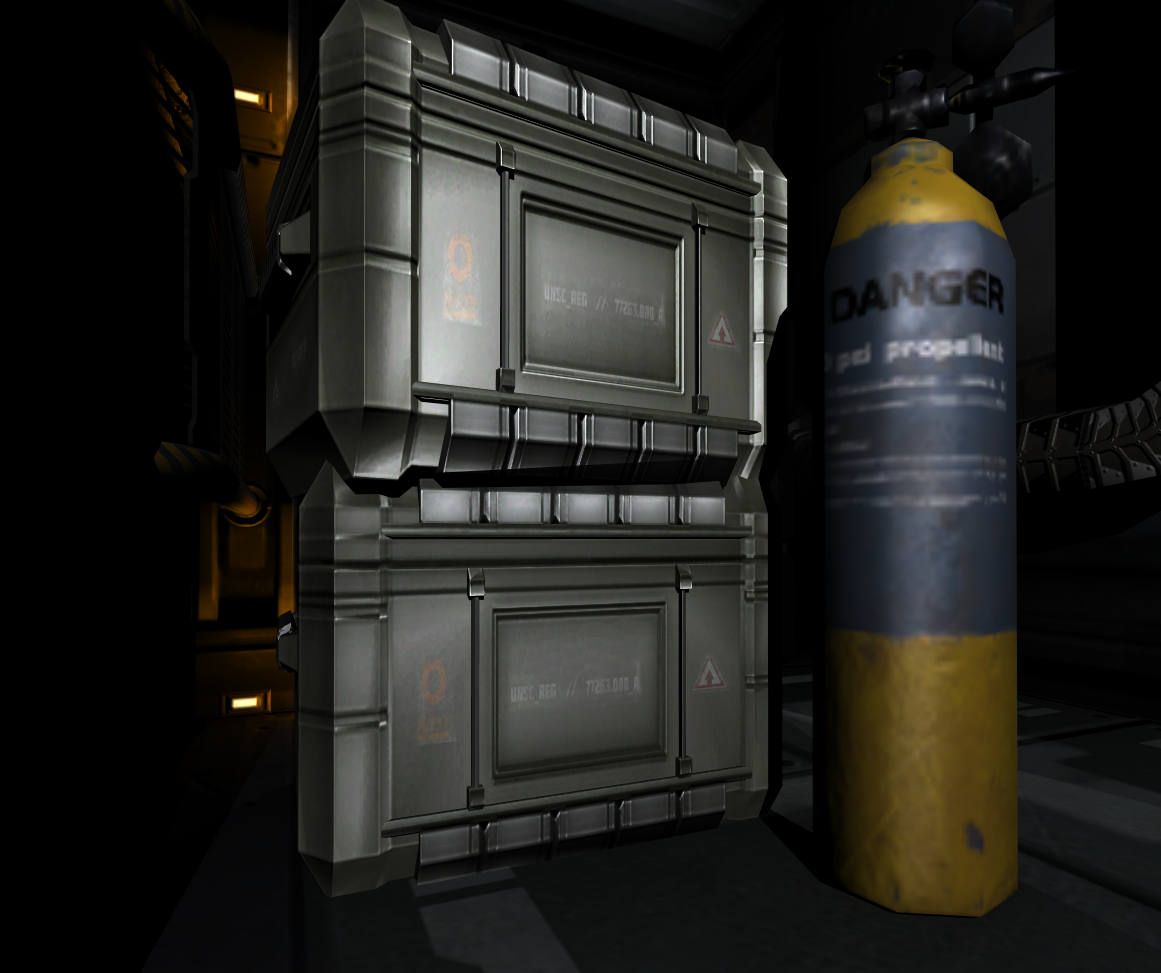
First we're going to import a Quake 4 static mesh. This will make the job much easier all around. But first we'll need to extract some files from the game's pk4 files. These can thankfully be opened/extracted using 7zip. For the purposes of this tutorial we're going to use crate1.lwo. Which is located in pak004.pk4\models\mapobjects\marine\equipment\crates\
Next import it using the importer plugin.
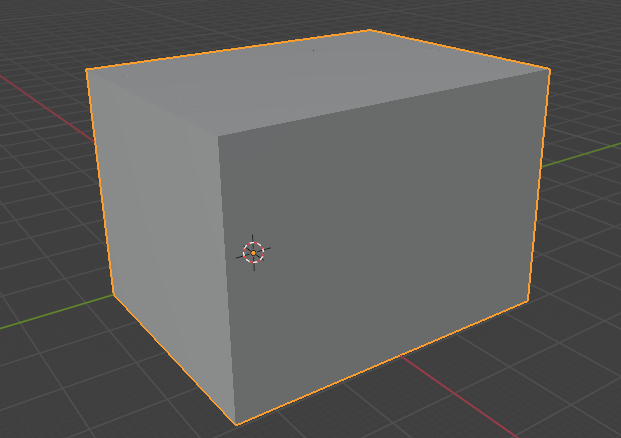
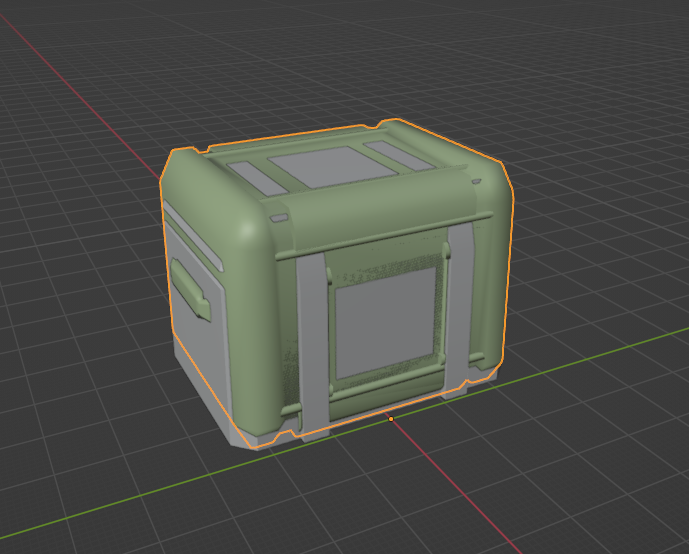
Once the model is imported, you may notice that it has a basic model overlaid onto it. This is the collision model, do not delete it.
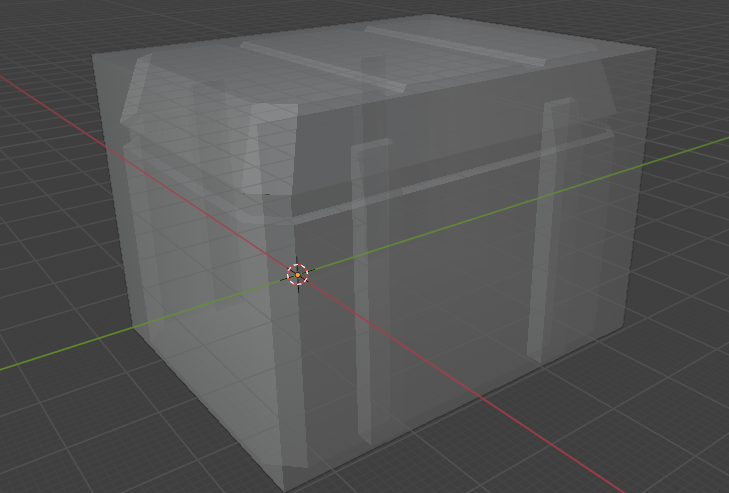
Instead use the "P" key while in edit mode to separate the model by materials.

The collision model will always use a separate material The collision model does exactly what it sounds like it does, it's the collision mesh used for the lwo.
Once they're separated, before you get started you're going to want to make sure both of the UV names are consistent. By default blender uses the uv name of "UVMap". So we're going to go with that. The reason why we rename this is not only for consistency, but also because if a LWO has multiple UV Names the UV will break. If your model in-game looks like camouflage from hell, it's likely because you have multiple UV names.

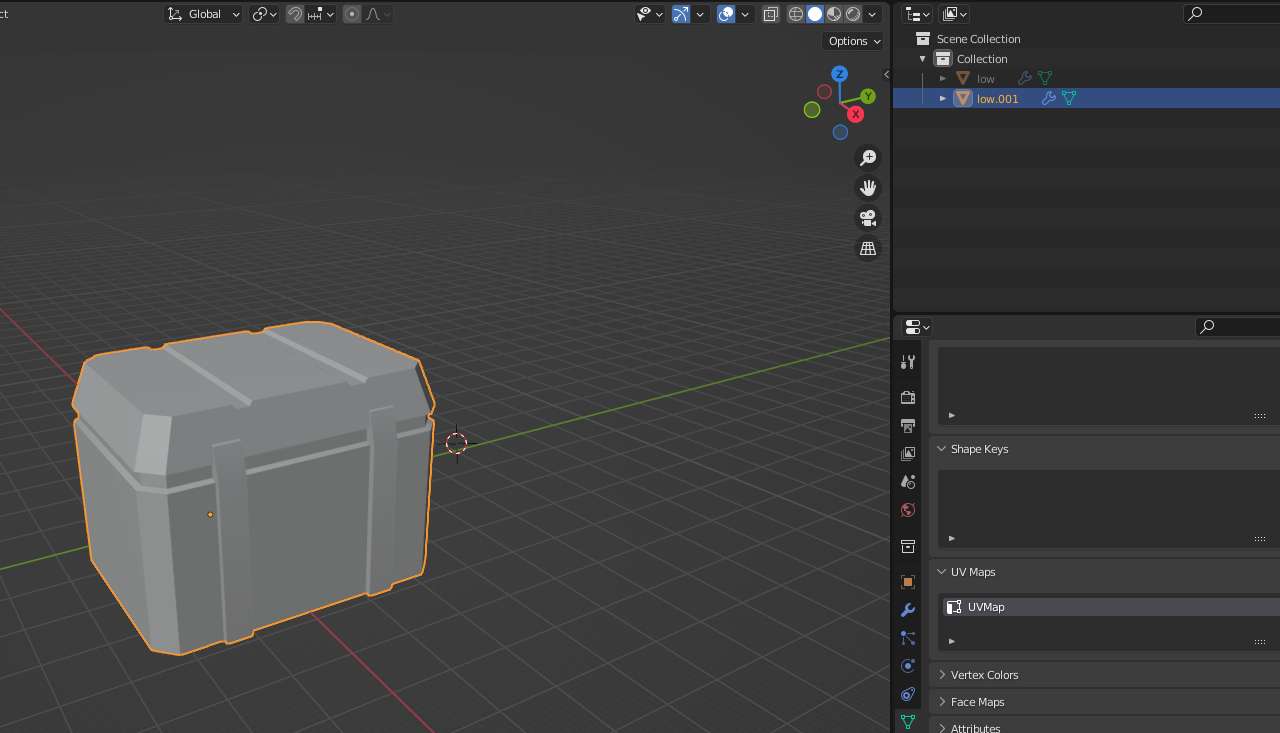
Here you can see both the model and collision mesh have the same UVMap name.
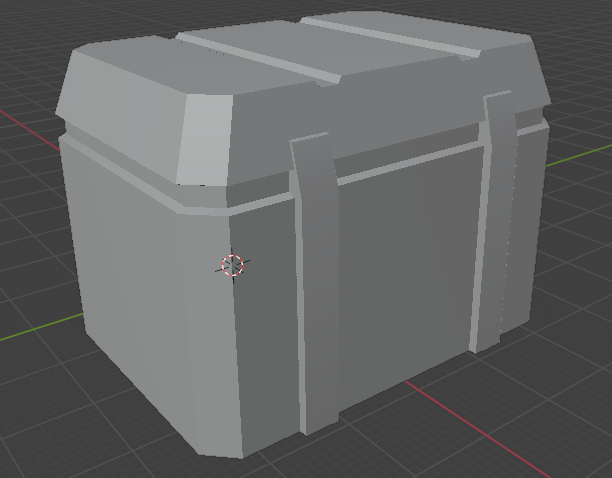
From here, let's hide the collision mesh so we can properly see what our model looks like. You can quickly do this by pressing "h" while in object mode. Everything can be unhidden by using "ALT H" (edited)
Importing the new model
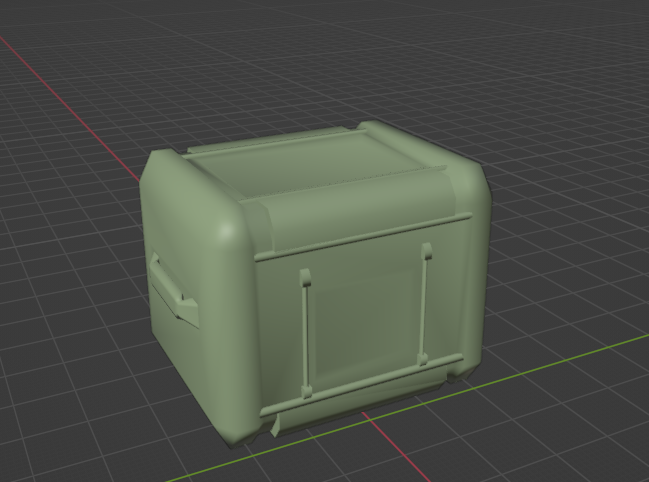
Now you can import the model you're going to be replacing it with, you're going to want the replacement model to be about the same size. If the replacement model is too big or small, it might look off when the model is placed in certain levels.
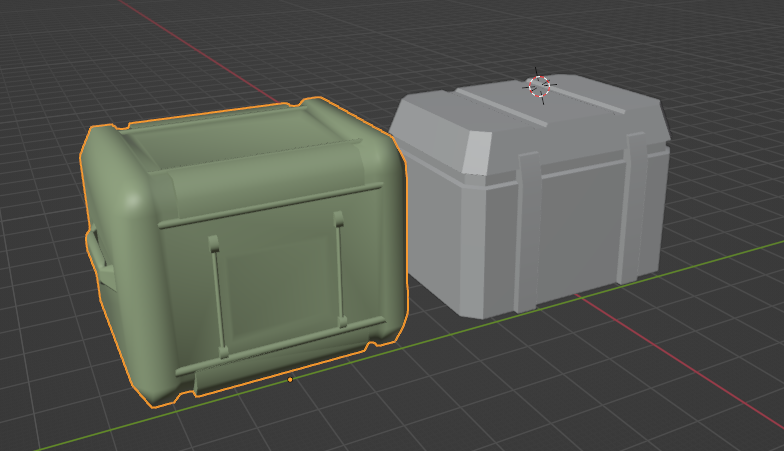
Get the models lined up nicely
Next we'll need to change the material name for the new object. It must point to a material located in the game's folder. Either the pk4 files or within the game directory.
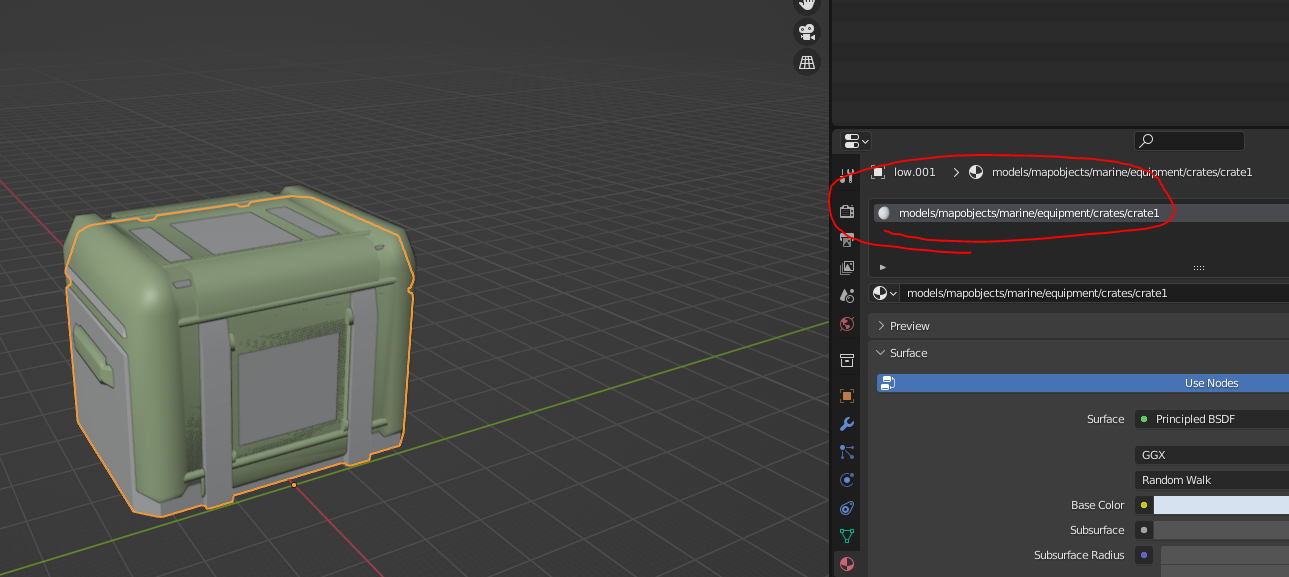
The replacement model material name will likely be something like this, or could be something completely different. Regardless we're going to want to rename it to be consistent with the way Doom 3/Quake 4 handles it's material names Here is what the material name for the default quake 4 crate is, you can use this material name if you really want to and just replace the textures related to it or just make a new material. For the sake of this tutorial and organization I'm going to make a new material name.
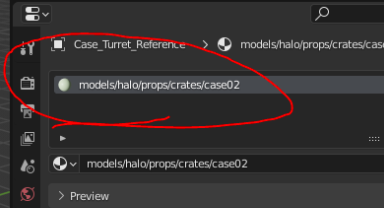
So here's my material name, it's distinct, easy to remember, etc. Now we can delete the original Quake 4 crate as it's no longer needed.
We can also unhide the original collision mesh.
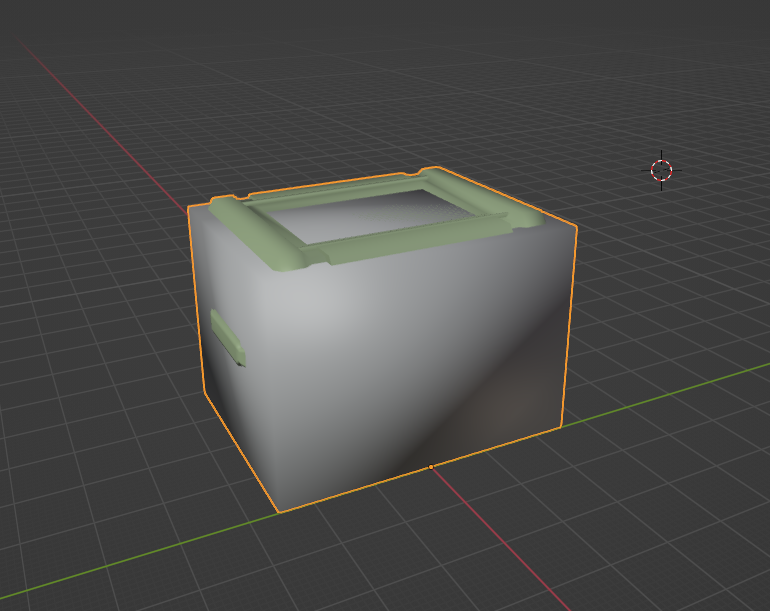
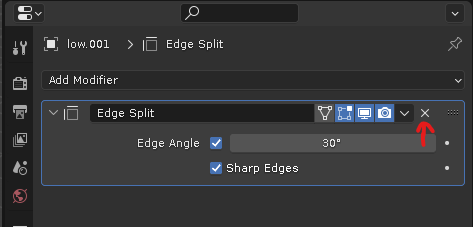
Combine the collision mesh with the new mesh. You have to do this so that upon export it exports both properly. You may notice that the smoothing groups/normals on the new model may become flat when combined. This is because by default the collision mesh has an "edge split" modifier. Go ahead and remove that to get proper smoothing groups.
Exporting the model
Now we're ready to export. Go ahead and export it as a LWO. If you're doing this as a new model entirely then you can put it anywhere under the models folder. If it's a replacement model you're going to want it to have the same exact model path as the original model since it's literally replacing the original file.
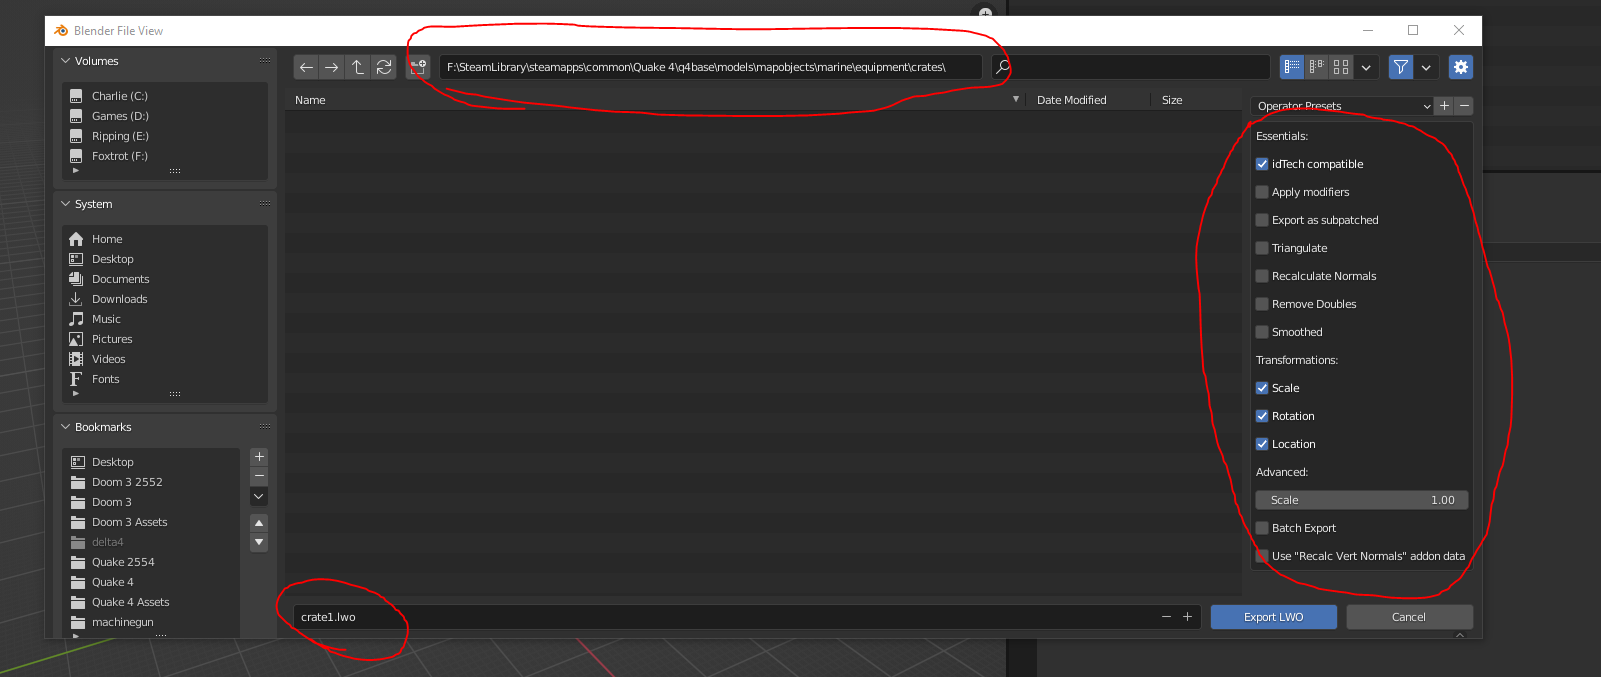
It needs to be the same model path, and the same model name to properly replace the model. Note the circle on the right side. This is a list of options you can toggle on when exporting. I wouldn't be too concerned with fiddling with most of the options. You Need to have "ID Tech Compatible" toggled on for it to work. If you're in doubt, just use the settings I'm using in this screenshot.
Now it's time to set up the material, materials are located within .mtr files. .MTR files are just renamed .txt files. You can open them by renaming them to txt or by using notepad ++. Either/or
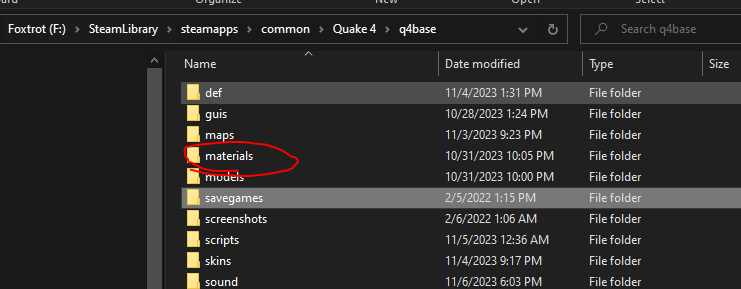
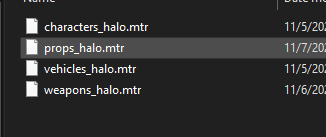
I made a new .mtr file specifically for props.
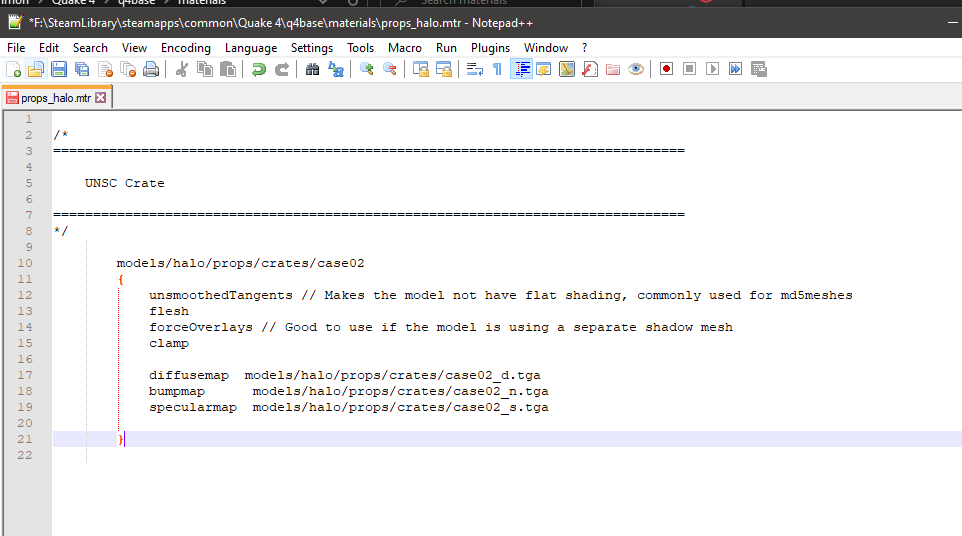
Here's the inside of my MTR file, this is where the material is defined. This .mtr file defines what textures each material uses, and other flags the material might have. The original quake 4 or doom 3 mtr files are a great reference point when seeing what you can do with materials.
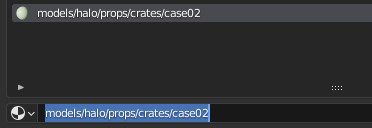
Note the material name, you're going to want this to be the same as the material name you defined earlier while in blender

Now the material is defined, from here you want to define the file paths for your diffuse, specular, and normal map

It's worth noting that you don't need all of these. You generally want a diffuse texture for obvious reasons. But you don't always need a normal map or specular map (although without them, you're texture might not look as good)
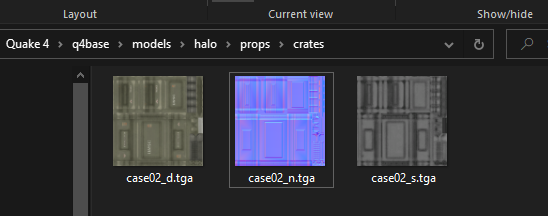
Here's the textures I assigned in the material, same file path and texture names. You can name these whatever you want, they just need to be the same as the names defined in the material
Now let's go in-game and see how it looks
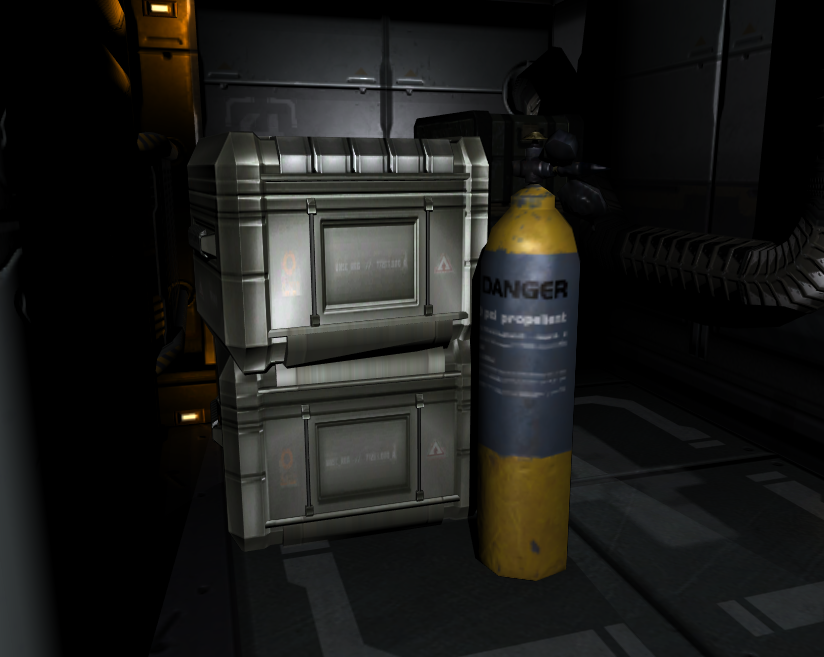
There it is! The new models are replacing the quake 4 models. Basically a model version of a reskin.
Troubleshooting
If you look closely you may note 2 things:
1. It's a bit shiny
If it's a bit too shiny for your tastes, you can easily use a program like GIMP or Photoshop to lower the brightness of your specular mask. The Specular mask controls how bright the phong on the texture will appear.
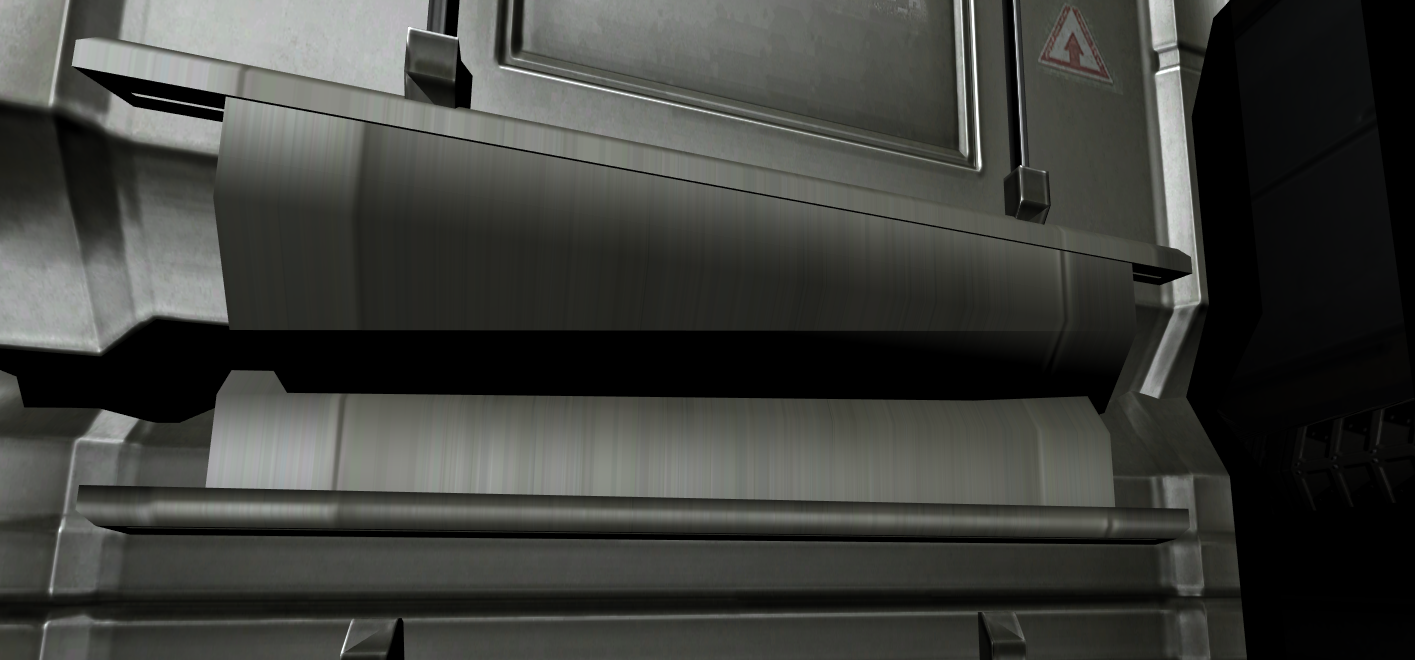
2. Some parts of the texture on the model are stretching
EDIT: 12/12/2023 - There is a simpler fix to this issue. Just remove "clamp" from the Material file. That appears to fix the UV issue. The previously mentioned fix is bellow.
This is commonly caused by a UV island on the new model being outside of the UV square. Back to blender, if you open the UV editor you can see a layout of the models UVs
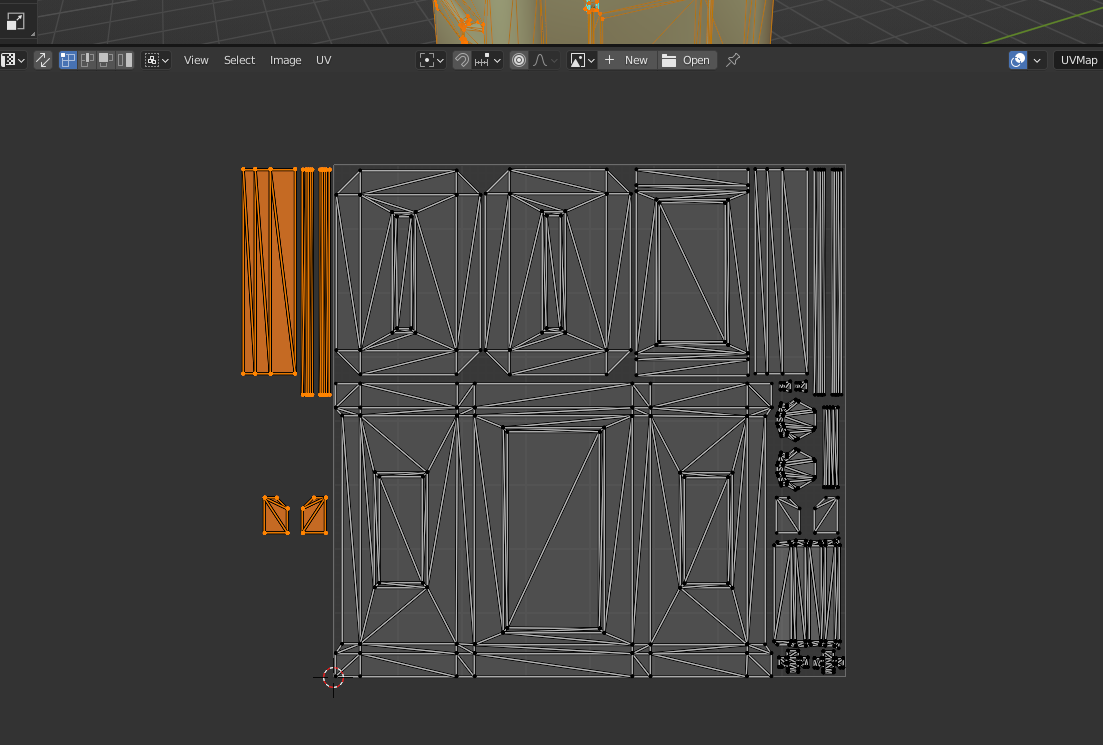
The highlighted area is outside of the UV square, LWOs don't like this. So you're going to want to line it back up within the UV square.
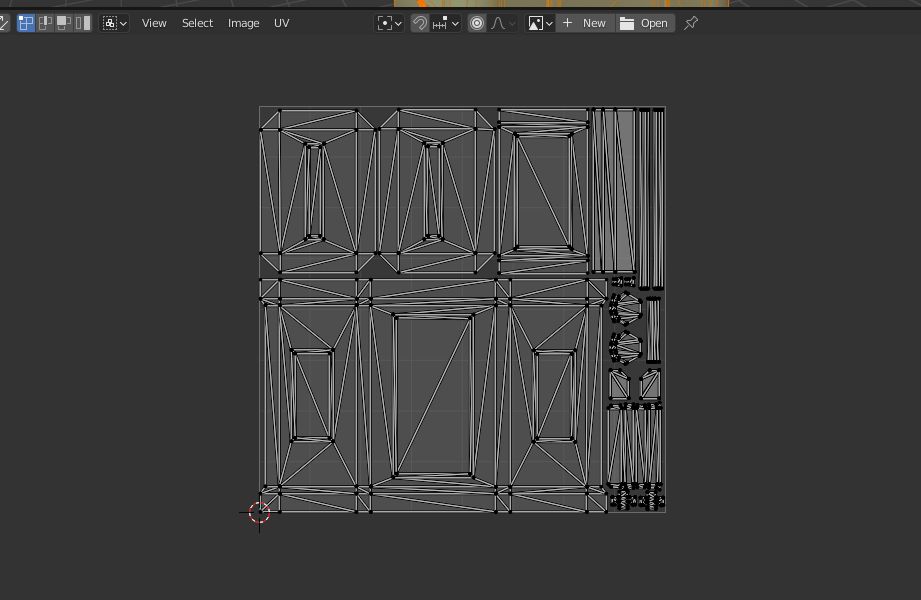
Lined back up, sometimes this is a 2 second fix. Other times it may require a bit more searching to find where the island should go within the square. Once it's fixed. Export the model again. If you want to see how the model looks without restarting your game you can use the console command "reloadmodels" to reload all of the models currently rendered.
And there you go, it's not as bright and the stretched texture portions on the model are fixed. And that's basically it. If you want to import a completely custom model and not just replace a model it's the same exact steps, just without importing the original quake 4 model as reference
Conclusion
Now you know how to import a custom static mesh. There is now a sequel to this tutorial going over how to make custom rigged meshes using .md5. It is located here.
If you wish to discuss modding Quake 4 or any other Id Tech 4 based game I recommend joining the Id Tech 4 discord here.


Update March 2024. The LWO Exporter links are now dead. However I had the foresight to archive them via archive.org. So the link has now been amended.