[page=Introduction]
I'll show you all how to use the current build editor using the Existence Standalone Game Engine.
Note. This editor is still W.I.P and a big editor update is almost done, which will make the entire mapping process a lot easier
Credits:
Tutorial 1-5: Dean
Tutorial 6: Andrew
[page=Tutorial 1: Launching and using the console/editor]
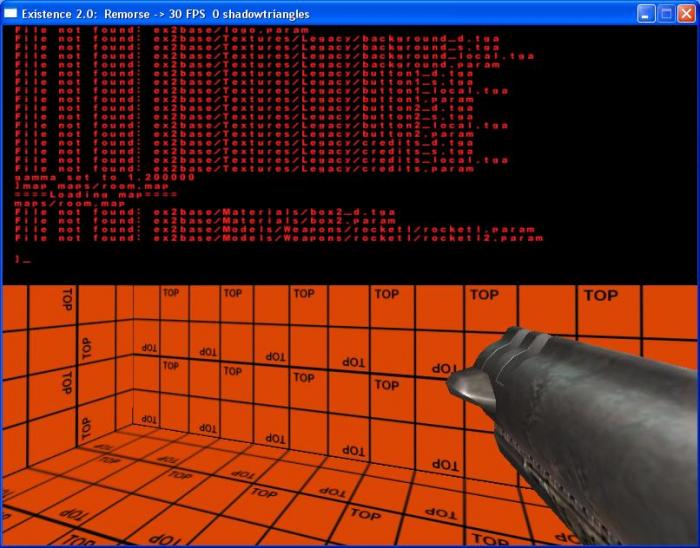
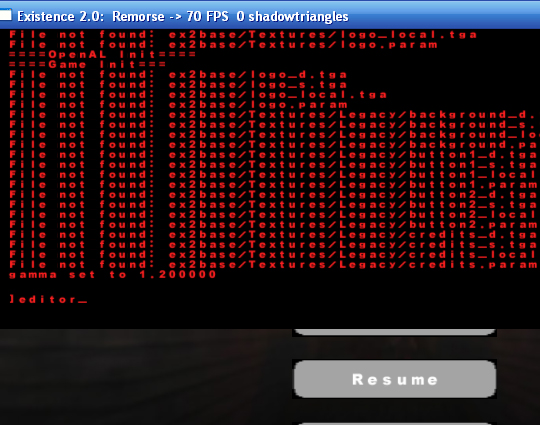
Once you have the engine open press: ~ on your keyboard
This can be found next to the 1(or !) on the left of your keyboard.
You will now be prompted with the console:

Next you will have to type:
"map maps/[insert filename of the map]"
Explained:
The "map" command tells the engine it is going to load a map
Next comes: maps/[insert filename of the map] this is the path to the .map file, for instance:
maps/room.map
For instance, a valid command would be:
"map maps/room.map"

The console will now load the desired map.
To access the editor, type:
"editor" in the console.
NOTE:: All lowercase letters.
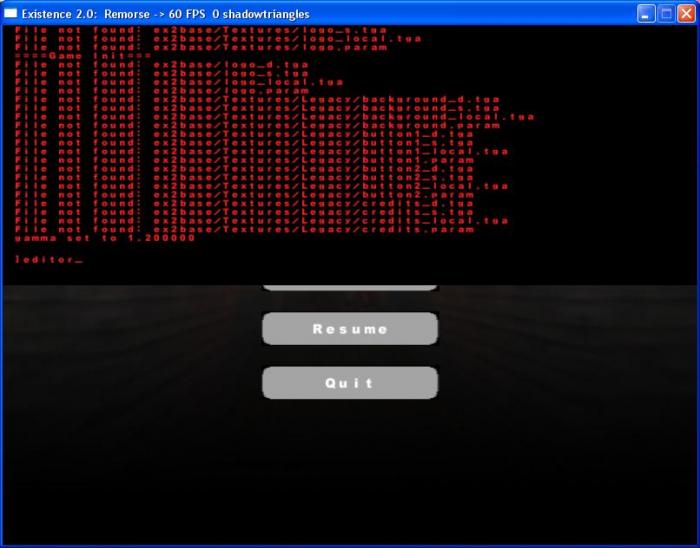
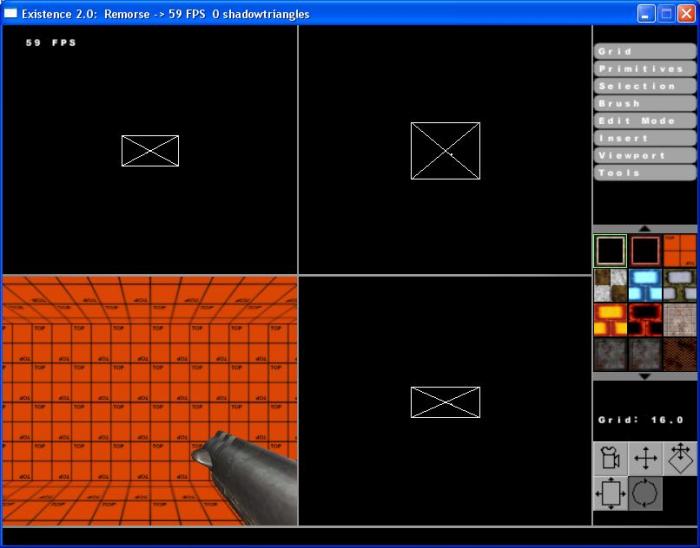
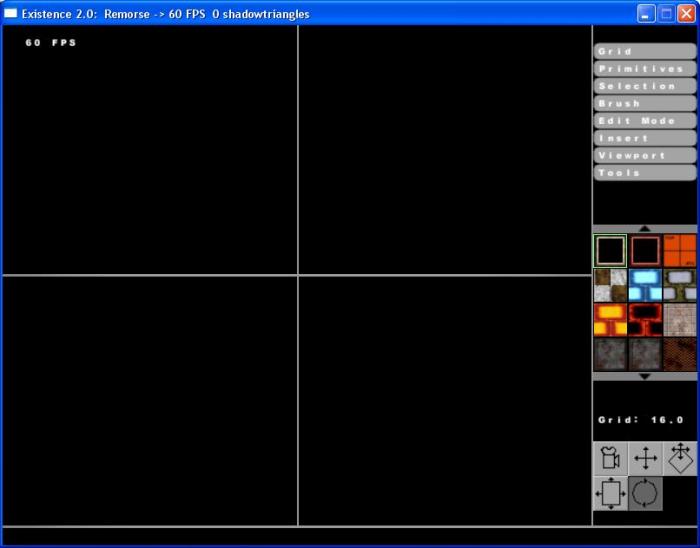
The editor will now be opened.
To get back into the map press Esc (Escape).
To move around the editor (via the viewports) use:
WSAD,
-Move forward
-Move backwards
-Move left
-Move right
Respectively.
Use the right mouse (click) to rotate around in the bottom left viewport.
Commonly used keys:
-Left click [Used to select/deselect objects in the editor]
-Delete [Used delete selected objects in the editor]
-Escape [Used to switch back from editor to map]
-WSAD [Used to move around]
-Right click [Used to rotate around in the bottom left viewport]
Errors:
If the engine crashes, you probably got the command wrong,
For instance: maps maps/room.map
Explained: The correct command is map and not maps.
or
map C:\Documents and Settings\Dean\Bureaublad\Existence\Engine\2.1\ex2base\Maps\room.map
Explained: You don't need to fill in the C:\ path.
or
map maps/room.MAP
Explained: the .MAP should be a lowercase .map
Note: New maps should always be placed in the Maps sub folder of the engine.
Saving a map:
Simply open the console and type:
savemap maps/[filename.map]
[page=Tutorial 2: Making a simple room]
Open the console:
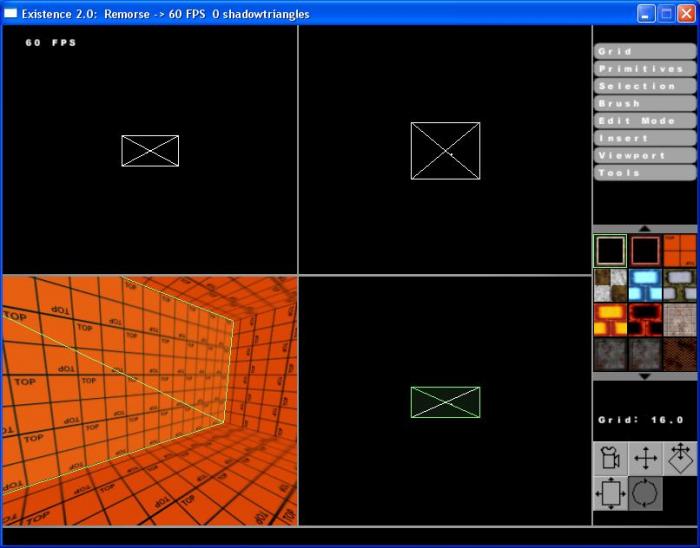
In the selection menu go to:
Primitives -> Room
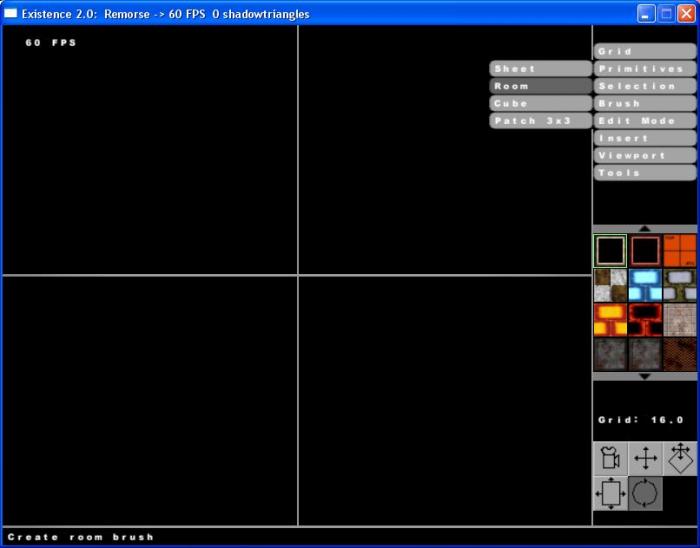
This will create the basic room:
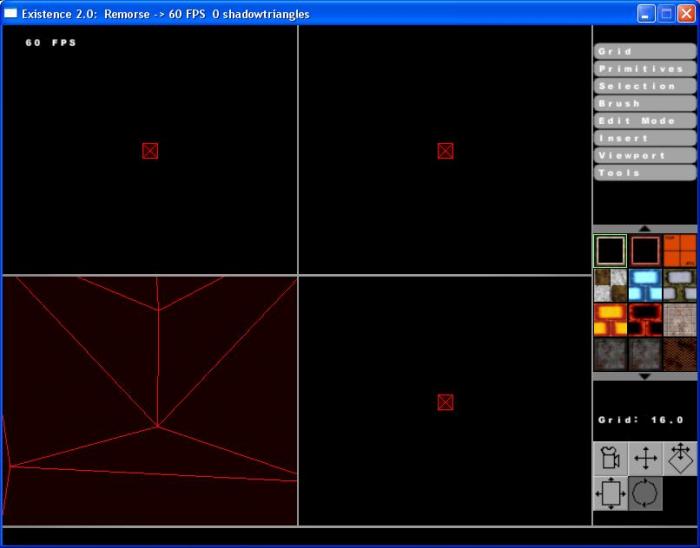
Next you can move your cursor onto a selection point (one of the corners) and while holding shift you can resize it if needed.
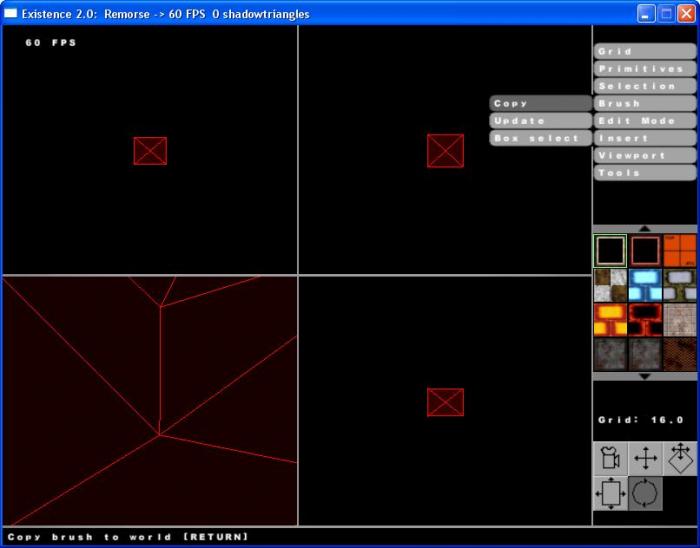
In the selection menu go to:
Brush -> Copy:
[What this does is create the walls of your room and give it the default texture]
The room will now have the default texture:
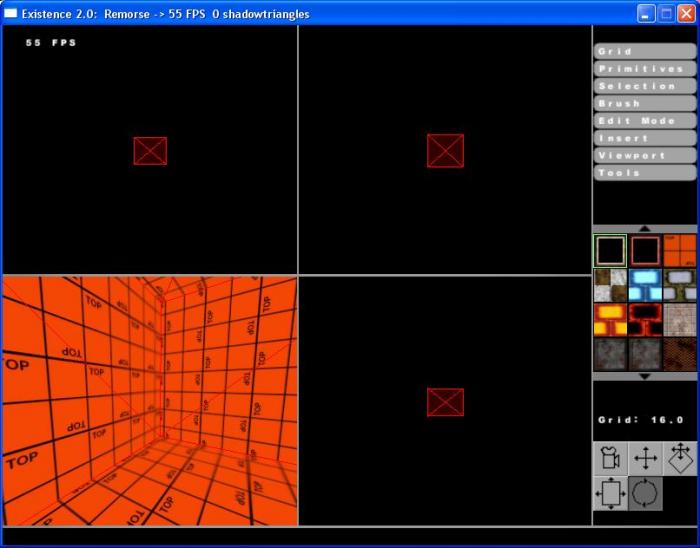
See the next tutorial on how to texture the walls!
[page=Tutorial 3: Applying a texture]
Once you are in the editor click a an object, you will notice it turns green,
This means it's selected (You can deselect it by clicking it again).
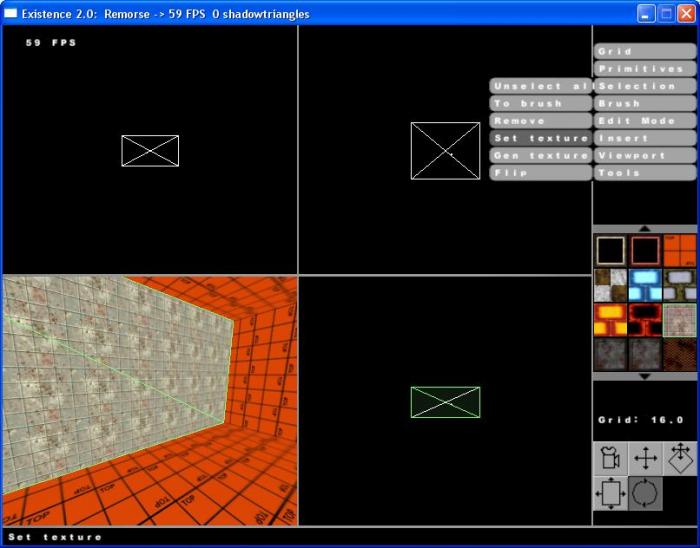
Next what we will do is select a texture,
The textures can be found on the middle right.

Now we'll apply it to the selected wall/object:
In the menu selection press: Selection -> Set Texture,
The will now apply previously selected texture to the the select object:
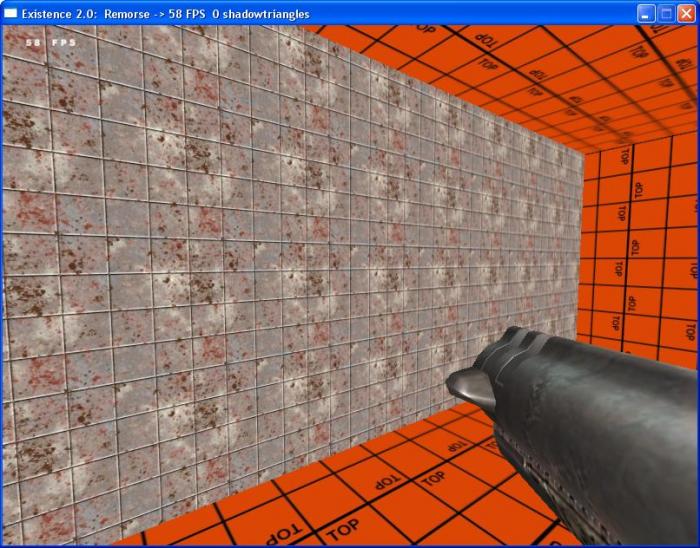
Press escape to go out of the editor and view your first textured object!
[page=Tutorial 4: Importing sound/models]
Sound:
In the menu selection go to:
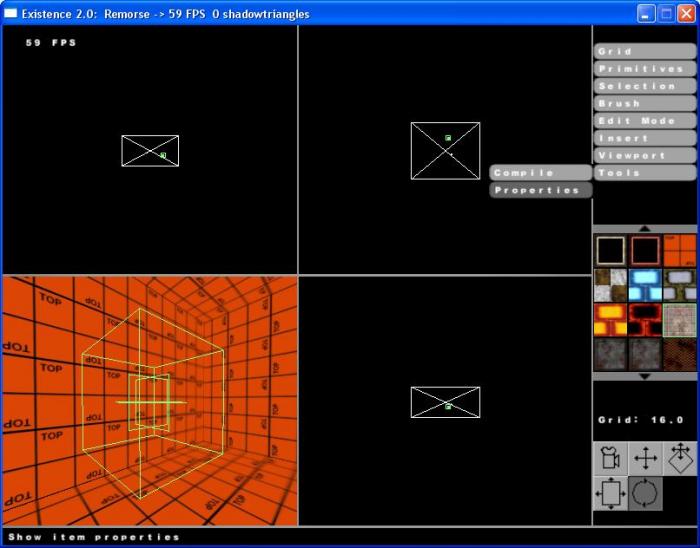
Insert->Entity->soundambient:

You will now see a white box in your editor's viewports, click to select it:
Now that it's selected click tools->properties in the menu:
You will now be presented with a Properties tab:
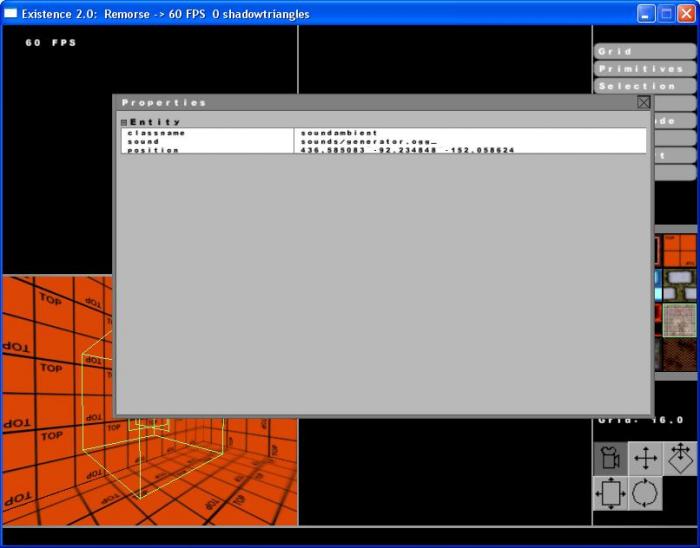
When you have placed your sound file in the "models" engine subfolder, change the path accordingly.
Close the tab when done and your model will be loaded!
NOTE::
1): The filetype should always be either .obj or .lwo
2): The texture should be a tga exported in 24bit with either a 512x512 res or a 256x256.
Models:
In the menu selection go to:
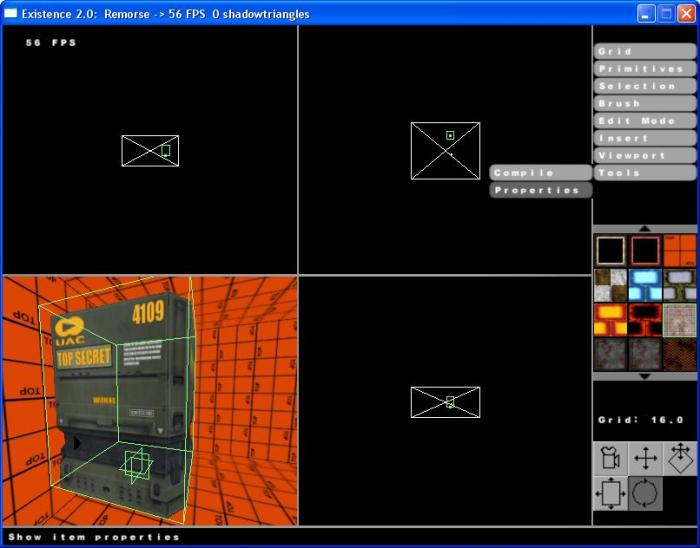
Insert->Entity->model:

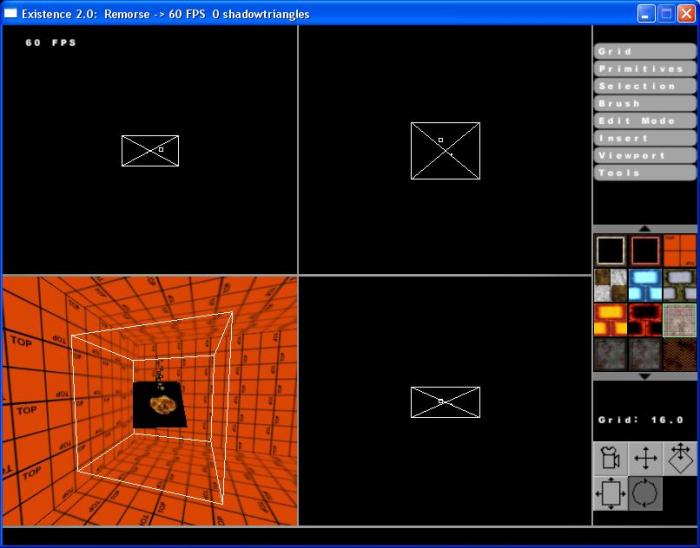
You will now see a crate imported, select it:

Now that it's selected click tools->properties in the menu:
You will now be presented with a Properties tab:
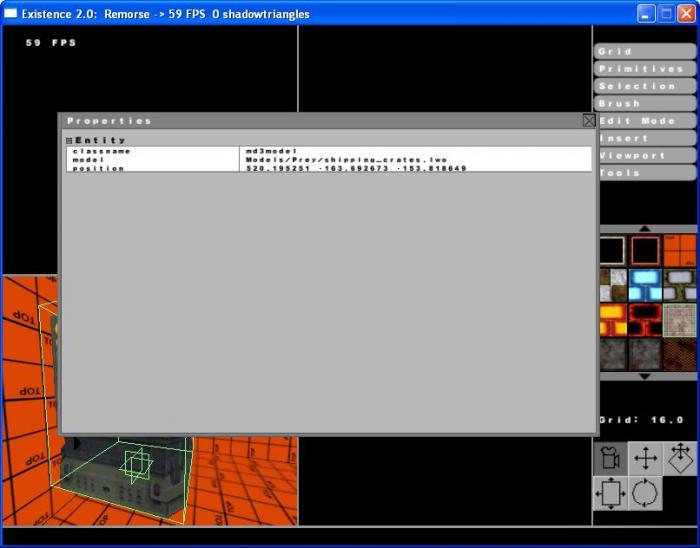
When you have placed your sound file in the "sounds" engine subfolder, change the path accordingly.
Close the tab when done and your sound will be loaded!
[page=Tutorial 5: Inserting a particle effect]
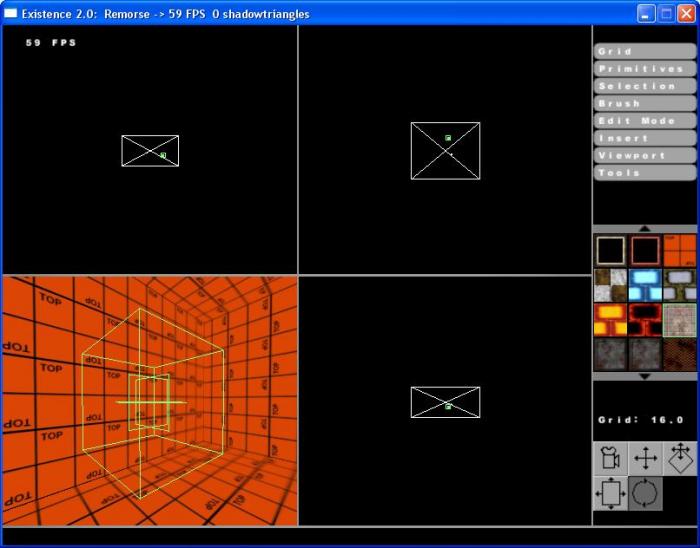
In the menu selection go to:
Insert->Entity->particle:
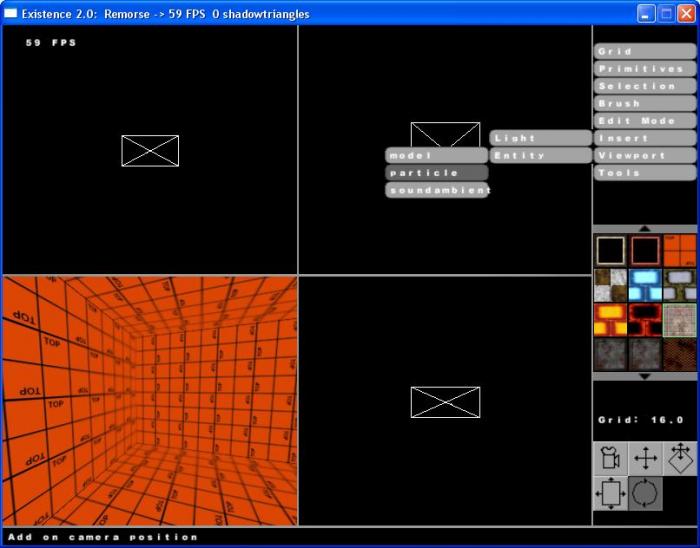
You will now see a white box in your editor's viewports, this is the particle effect:
Press escape to go out of the editor and view it.
[page=Tutorial 6 Exporting Models Into The Editor]
Our first step is to create a 3d model using a 3d application such as 3d Studio Max or Maya (Max and Maya are not free). However there are many other free 3d applications that you can download below. (For Free)
Additional free software can be downloaded here.
Gmax A great editor that is extremely similar to 3dsmax
Turbosquid.com
Blender Another free editor that contains a full ray tracer and many other robust features.
Blender.org
XSI Softimage XSI has released a mod tools version of there software that is totally free.
Softimage.com
Gimp a free 2d image editor for linux users
Gimp.org
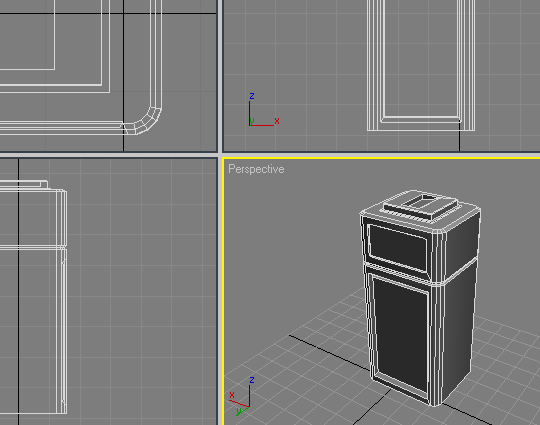
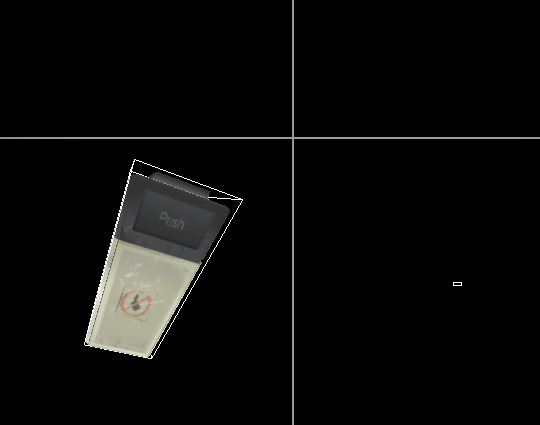
Step 1: Our first step is to create our 3d model inside of 3d studio max, NOTE: in this tutorial I will not go over how to actually build the model. In this example we will be using a trashcan.
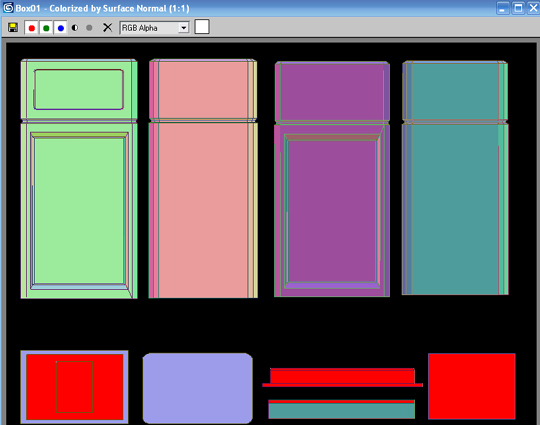
Step 2: Now we need to create a uv map for our trashcan, (I would suggest using the texporter plug in for 3dsmax so you can easily render your uvs at higher resolutions. (textporter also allows you to see uv depths using color modes.)
Step 3: The next step is to create a skin for our uv map; we can do this by creating textures in a program such as Adobe Photoshop.
Step 4: Now we need to export our texture, but before we do that, it's a good idea to create a folder for your model and skin, in this case we are going to create a folder called "Trashcan" and we are going to put both our model and skin inside.
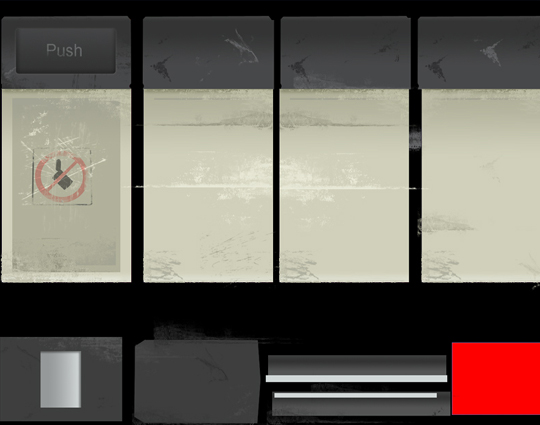
Step 5: Now we can finally export our skin, simply go to File > Save as > TGA NOTE: Before you save your tga make sure you resize the image to either 512 x 512 or 256 x 256
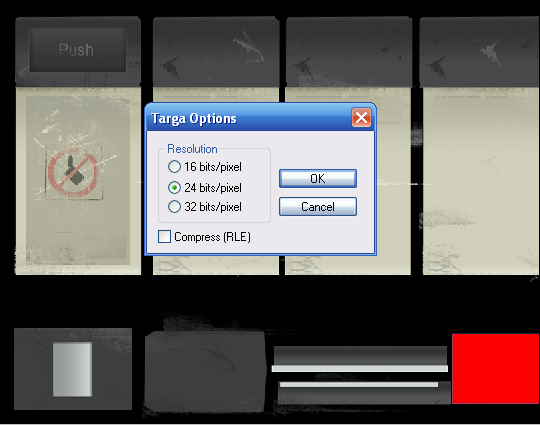
Step 6: Lastly we need to use the appropriate export settings, in this case we need to use a 24 bit pixel resolution with NO compression (the engine does not support compression) additionally we need to save the file with the same name as our 3d model and finally remember to save it in your "trashcan" folder.
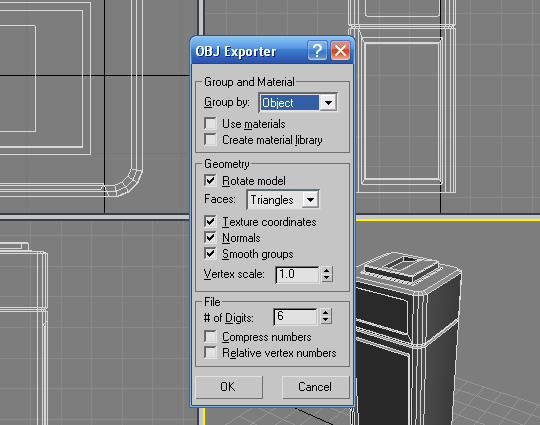
Step 7: Now we need to export our model into the obj format (the editor also supports LWO and MD3) With your model selected go up to File > Export > OBJ
Step 8: At this time a dialog box should appear, use the following export settings
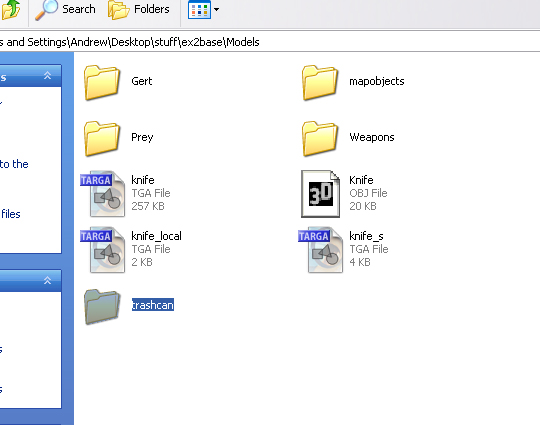
Step 9: Check to make sure both files are saved in your model folder (in this case trashcan folder) Additionally you should also see 2 files (one obj file and one tga file.)
Step 10: Move your folder into the models folder in the engine directory
Step 11: Lastly we can now insert our model into the editor. Open up existence and use the ~ key to open up the editors console, type the word "editor" to open up the games sdk
Step 12: Now go to "Insert" > Entity > Model
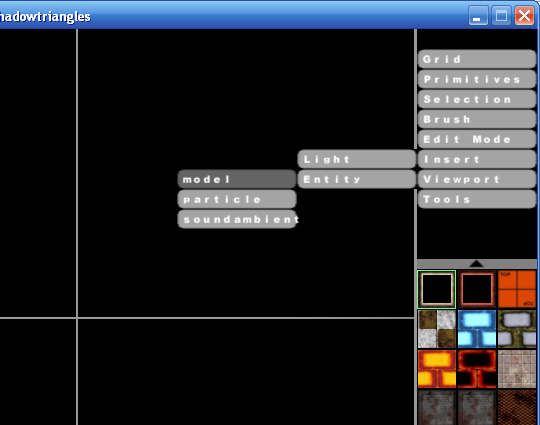
Step 13: A crate model should appear, select the crate and go to tools properties and change the path to your model, now you should see your model in the engine.
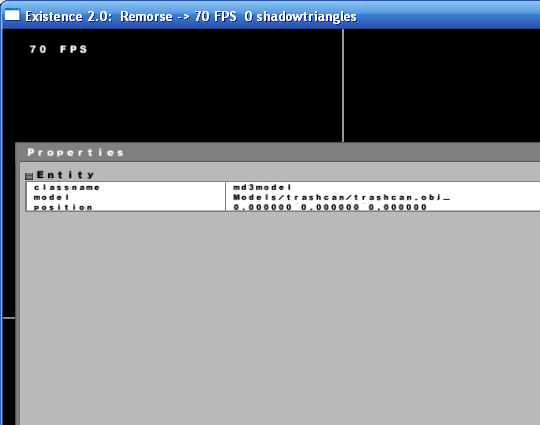
Now you should see your model in the editor!
I hope you now understand the basics of our engine's editor!