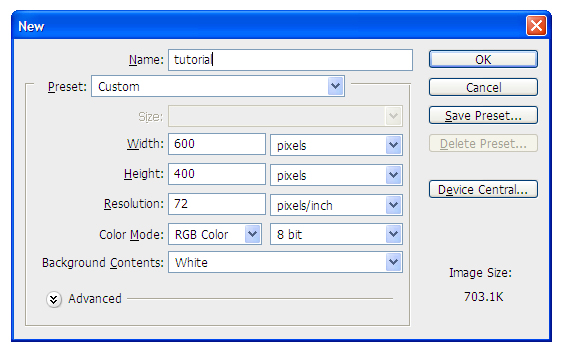
First Step:Creating a New Document
Open Photoshop and create a New Document of 600×400px.
Step 2:Background Gradient
Now add a sleek black to black gradient for the background,with the next settings:

Step 3:Creating the Metal Piece
Grab the Rounded Rectangle Tool(U),set the radius to 15px and draw a rectangle of 370×240px.

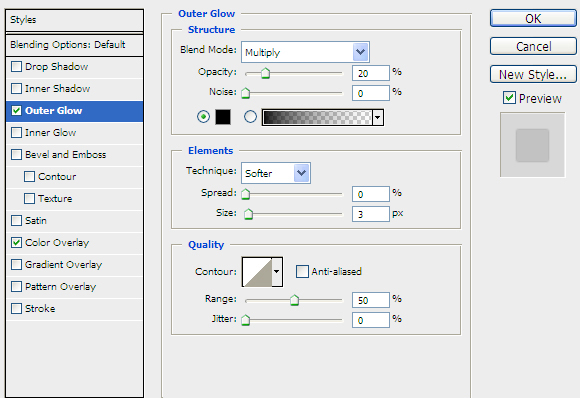
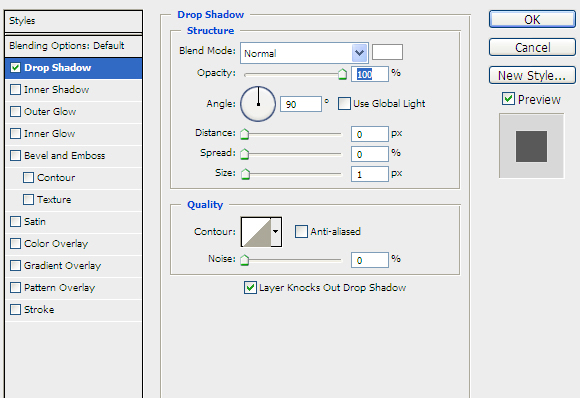
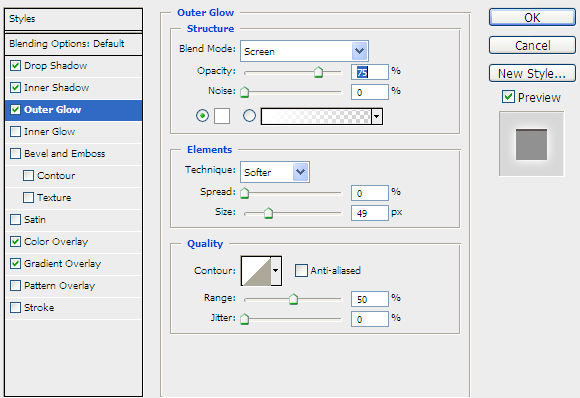
Now add the next blending options:
A black Outer Glow with the size of 3px and the opacity of 20%.Be sure to have the blend mode to Multiply,like in the image.
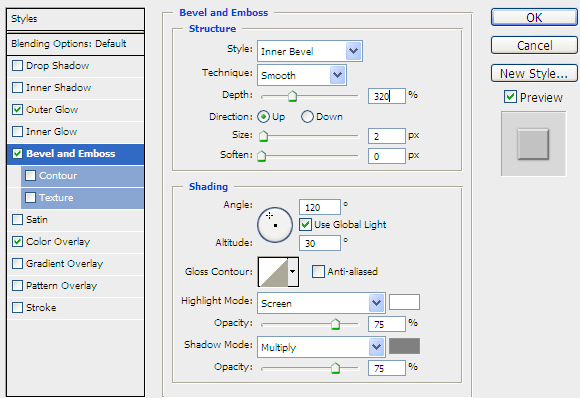
Bevel and Emboss with the next settings:Depth:320%,Size:2px,Soften:0px.
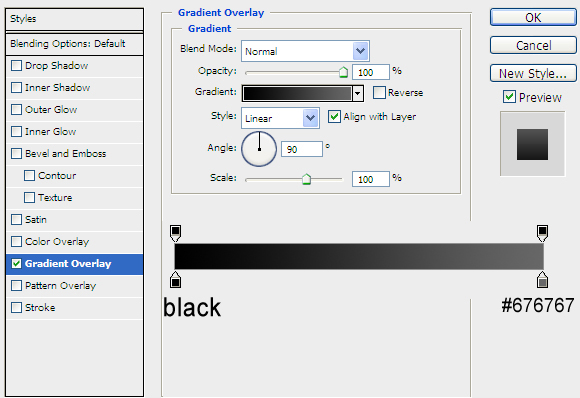
And the hard part,the Gradient Overlay.Apply the settings from the next image to obtain the same result.
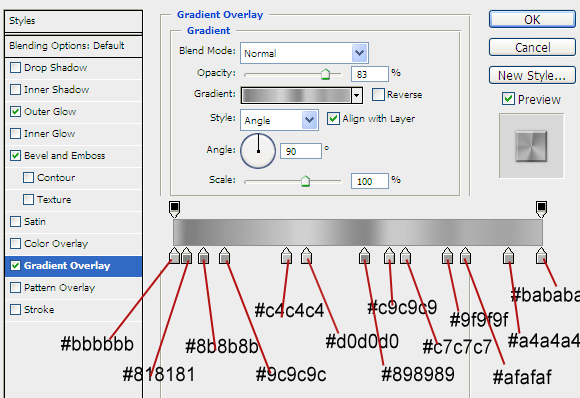
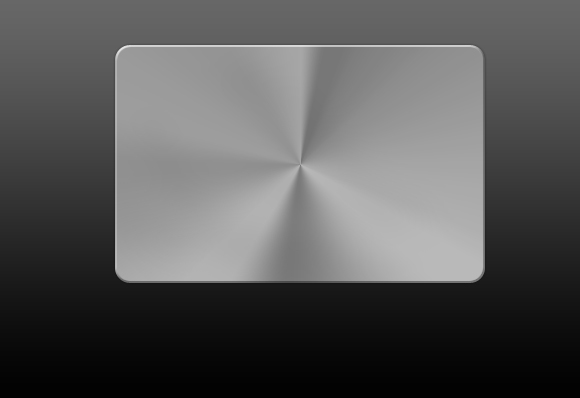
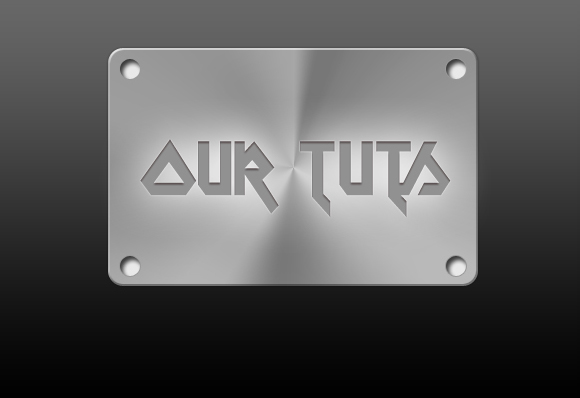
This is how the image looks after applying the set of blending options.
Step 4:Creating the Text
Now I want to show you how to create a beautiful inner text effect.For this,download the Metal Lord Font by Larabie Fonts from the top list and type in some words with the font-size of 68px.I wrote “OurTuts”.

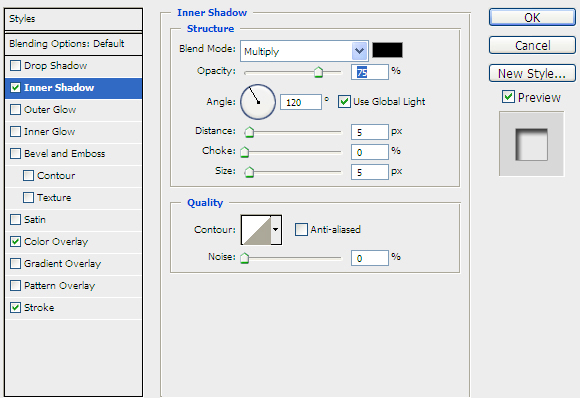
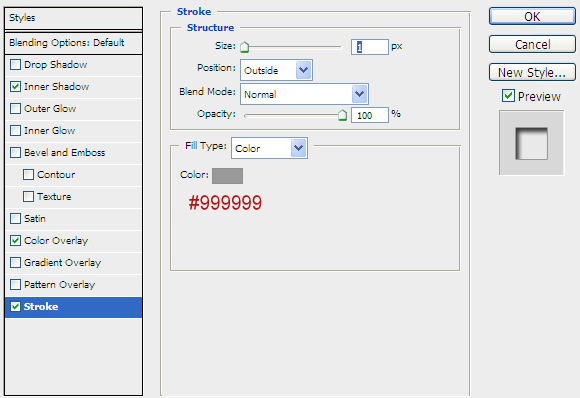
Step 5:Blending Options for the Typography
After typing in some words,add the next blending options:

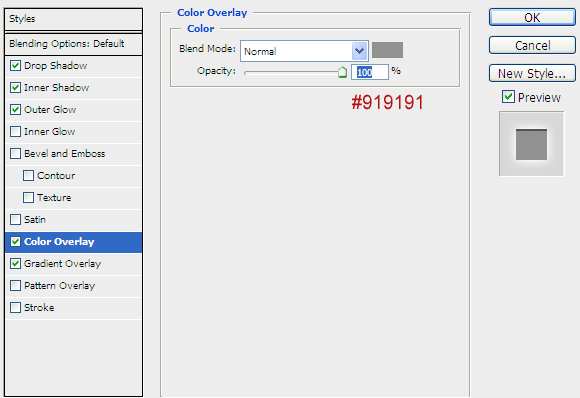
We`ve just obtained a nice metal graved text effect:

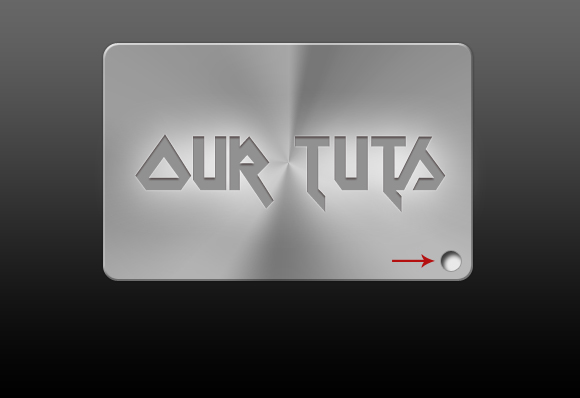
Step 6:Adding 4 holes in the corners:
Grab the Ellipse Tool and draw a small circle in one of the corners.

Now add the next blending options to create an inner effect too.

Now,the small circle truly looks like a hole.
Duplicate the Hole Layer and put one in the rest of the corners.
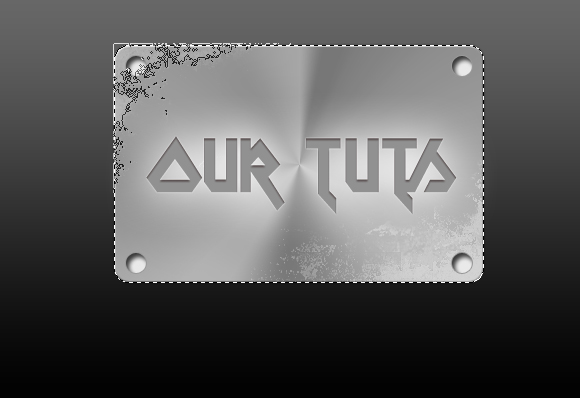
Step 7:Making the Metal Piece a lil bit Grunge:
Firstly,download the Grunge Brush Set from the top-list.Secondly,create a new layer just above the metal piece layer.Then,Ctrl+Click on the Metal Screen Layer to reveal its selection.Now click on the new layer that you`ve just create and paint inside the selection with some grunge brushes from the set.Are you wondering why we must paint inside the selection?The answer is simple:because we want to paint only inside and not outside.

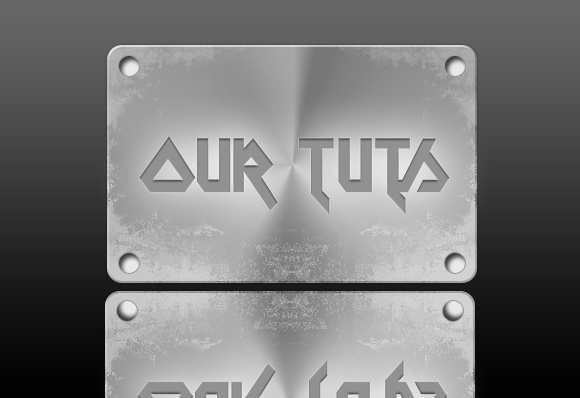
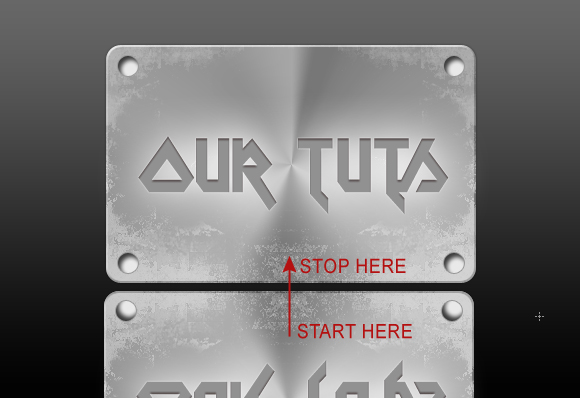
Last Step:Adding a mirror reflection of the Metal Piece:
A last effect that I want to show you is the mirror reflection effect in Photoshop.For this,you have to select all the layers created till now,without the background,and duplicate them.After,merge them in one layer(Ctrl+E).Then flip the layer Vertical by going to Edit->Transform->Flip Vertical and put it under the initial metal piece.
Now,add a Layer Mask for this new layer by going to Layer->Layer Mask->Reveal All.
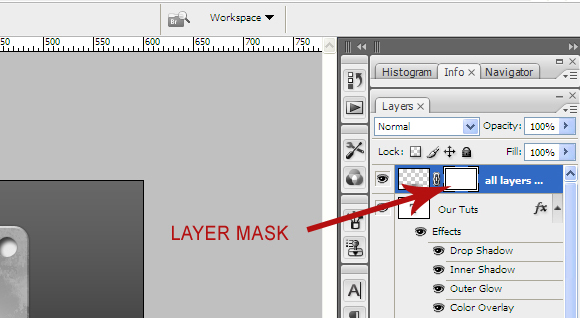
Now grab the Gradient Tool(G) set a gradient from black to white and paint inside the layer mask like in the image:
You may low a little bit the opacity of the layer for a better mirror reflection effect.
After applying this step you`re done.This is how the final result should looks:

That was all, my friends! See you next time for another tutorial!
Great tutorial.