Bridge Over Ravaged Waters - Part 2 (The Bridges)
Post a comment
Description
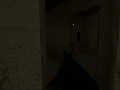
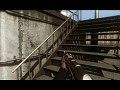
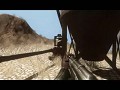
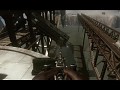
This video is the second part of the "Bridge Over Ravaged Waters" series, giving an overview of the map. It shows the major battlezone of the map. This is where there will be a constant push and pull of forces to gain control of the bridges. With many emplaced guns and a lot of cover, it will be no easy task for either team to take control of this vital point.