Introduction
Vampire the Masquerade Redemption runs on a proprietary engine called "NOD". Created by the developer Nihilistic studios. They released an SDK for the game shortly after its release, allowing players to create their own adventures. Unfortunately for the past 20 years the most convenient way to import new meshes into the game has required using Milkshape. Which is really awkward and inconvenient to use.
That is until now. Recently I have worked with a programmer to create a Noesis plugin for Vampire the Masquerade Redemption. This allows you to import models from your preferred 3D editor (Blender, 3dsmax, Maya etc) into Vampire the Masquerade Redemption using Noesis as a middleman.
Why is this preferable to using Milkshape? Before you'd need to rig the model using Milkshape. However now this can be entirely done using Blender. You can use Noesis as a simple middleman to import the model into the game.
This tutorial goes over how to import .Nod models into Blender 3.4, and subsequently import custom meshes of your own creation back into the game. For the purposes of this tutorial I'll use a Motocross rider from the game Motocross Madness as an example.
What you will need
- The Nod SDK
- Blender (You can substitute this with your own 3D editor but you'll have to rig/export it yourself into Noesis)
- Noesis
- The Nod Noesis plugin
- Blender's Unreal PSK/PSA import/export plugin.
- (optional) Blender's Source tools
Installing the plugins
First step. Download Noesis from Rich Whitehouse's website. Now extract the Nod Noesis plugin's .zip directly into its folder.
Next step. Download the Unreal PSK/PSA import/export plugin and install it via Blender.
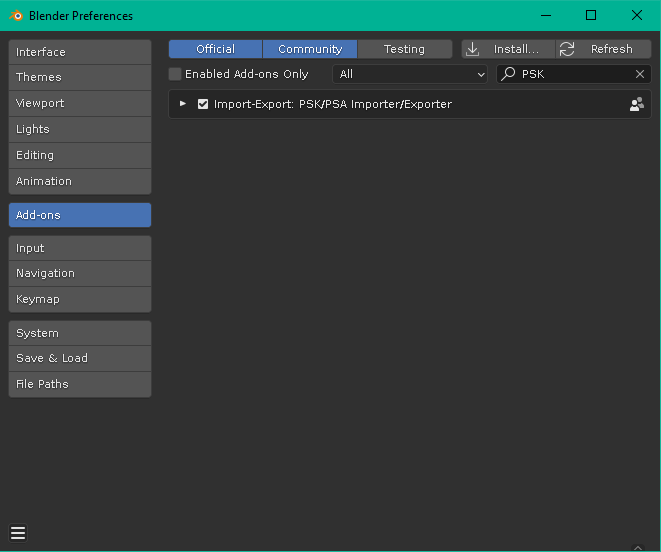
It's also recommended to install Blender's Source Tools. Do that as well the same way as the Unreal PSK/PSA import/export plugin.
Importing models from Vampire the Masquerade Redemption into Blender
This is a somewhat optional task as I'll upload .blend files containing all the main skeletons of the game. However it's worth documenting this step as you'll likely want to do this at some point.
Vampire the Masquerade Redemption's model files are located in the Resource.nob file in the game's folder. .nob files are essentially renamed .zip files. So you can open it with 7zip very easily.
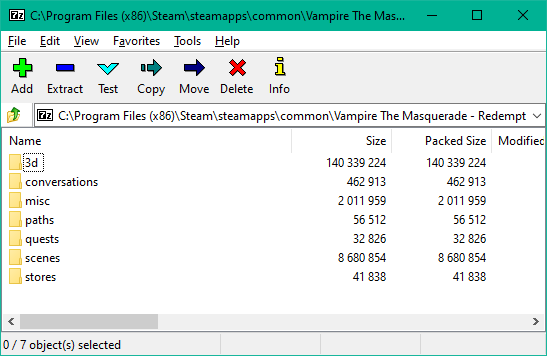
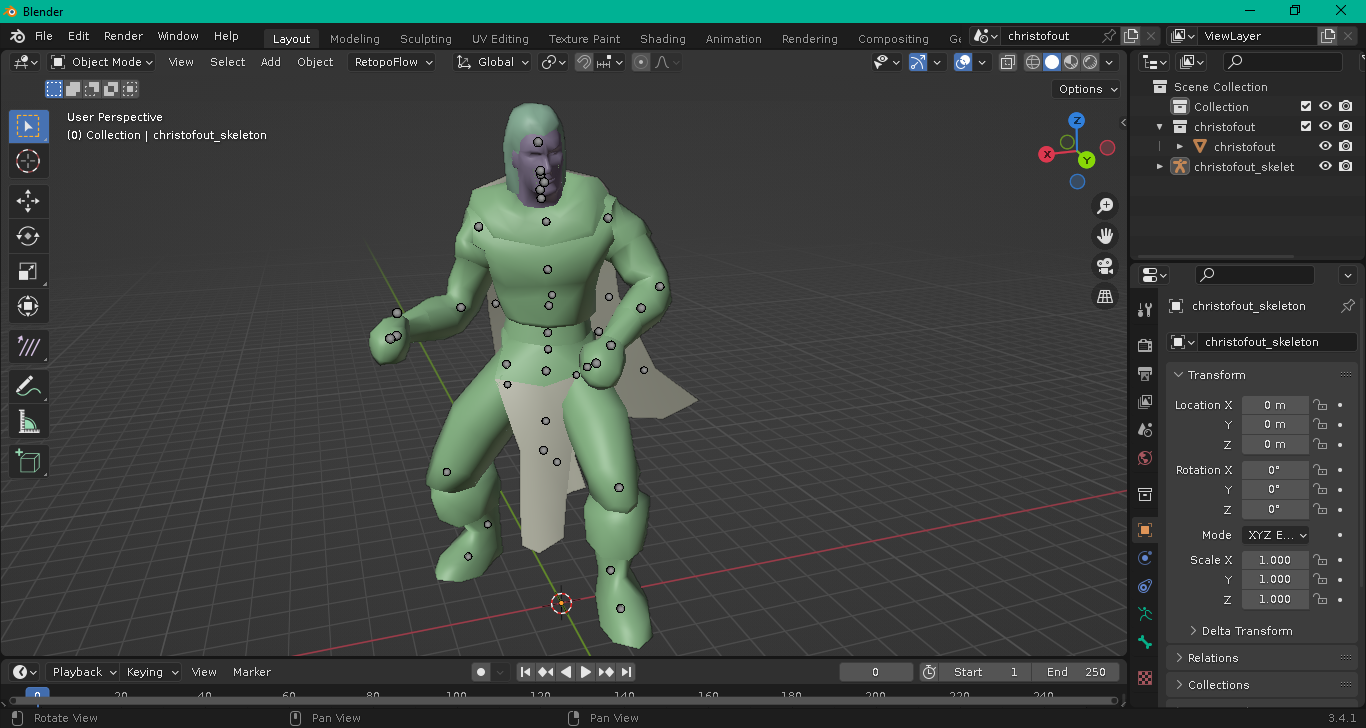
The game's models are located in 3d\Models. There you will find all of the game's .nod models. Let's take Christof's and extract it to our desktop. Now open it via Noesis. If you installed the plugin correctly it may not appear immediately. If that happens switch from "All Known Formats" at the bottom to "All files" and navigate to it. You may also need to restart Noesis if it was open while you were installing the plugin.
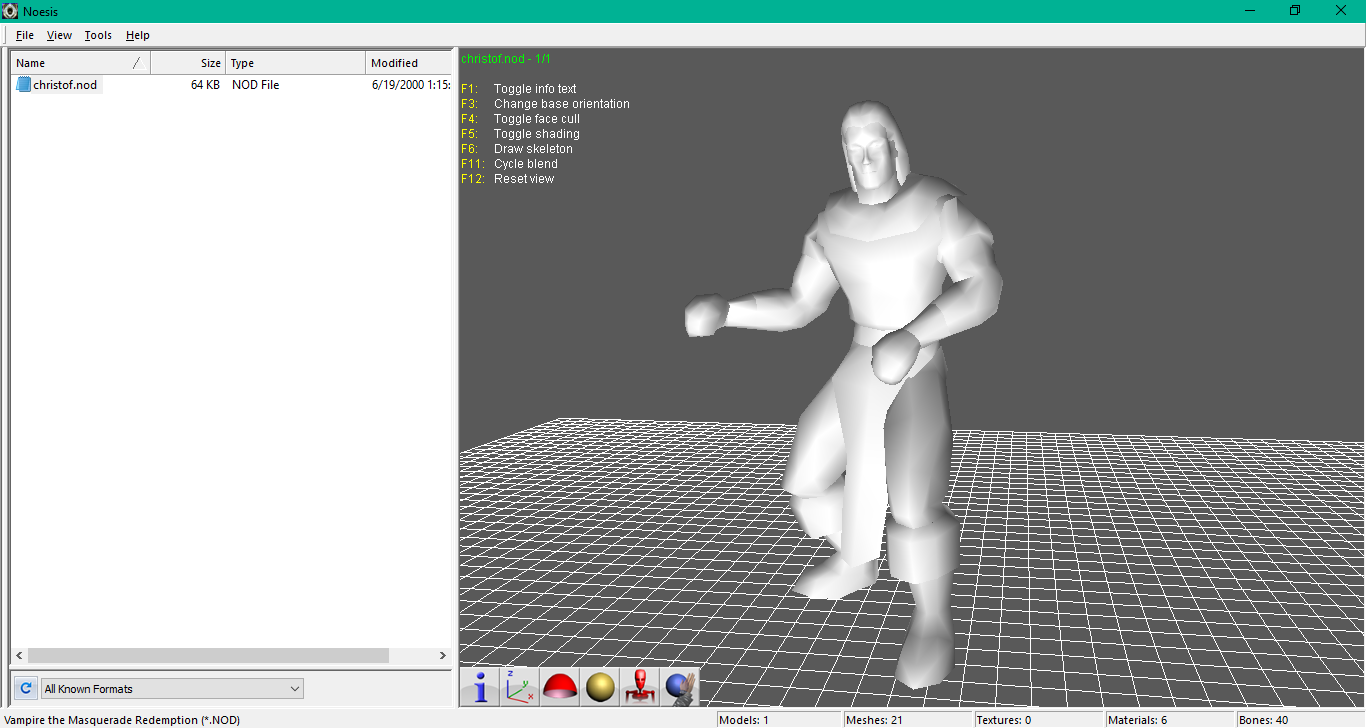
There he is. Now go up to file at the top and hit Export
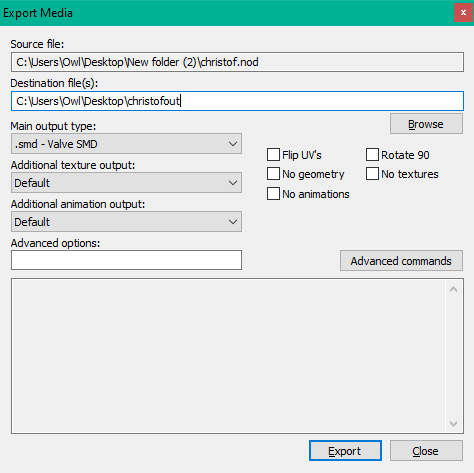
The main thing to pay attention to here is to set the output type to .smd. Now hit export.
Start up Blender and go to file->Import. Select Source Engine .smd
![]()
There he is. We now have Christof's model and his animation skeleton preserved.
Rigging a new model
Now we've arrived at the main attraction, exporting from Blender into Noesis! While we can do this with Christof it's a little awkward because his body is perpetually stuck in an awkward pose.
However some characters were rigged to his skeleton but aren't in this awkward pose. Like Mendel's. I recommend exporting his and using his skeleton instead. (Or just using the .Blend file I've supplied).
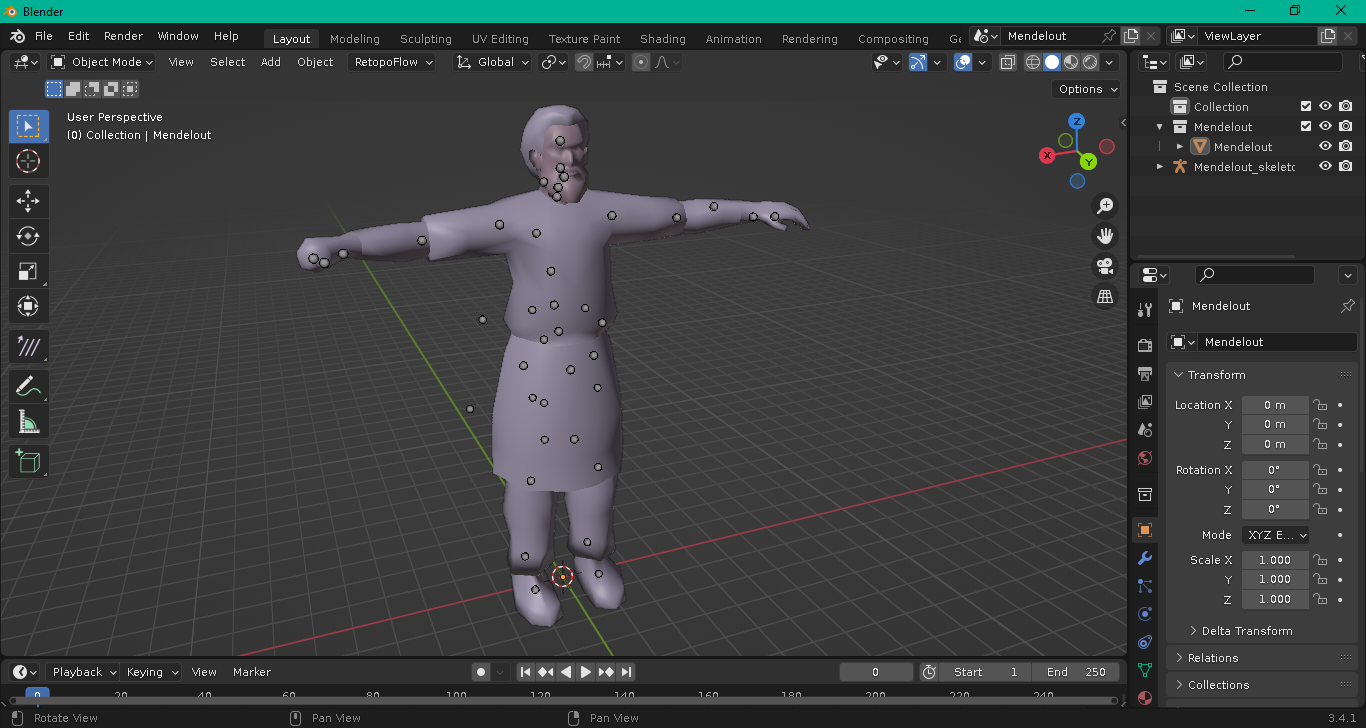
There he is. Now delete his model.
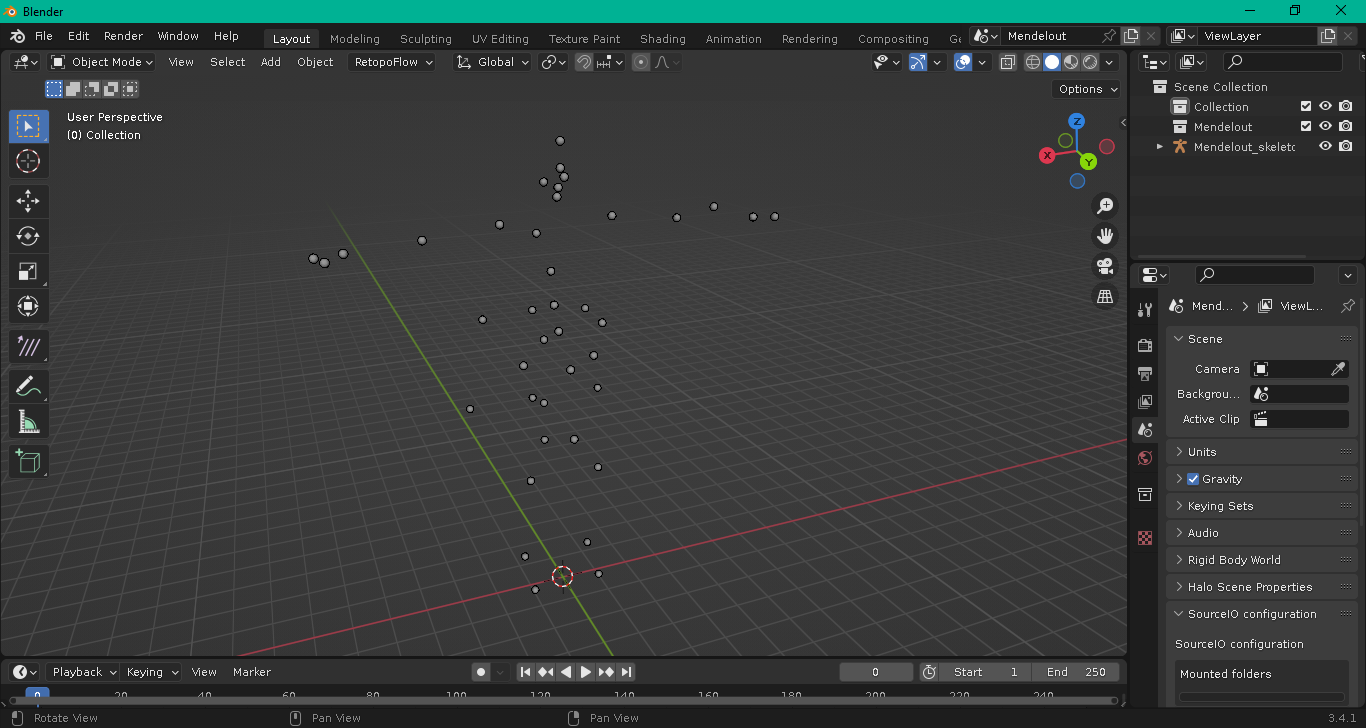
Now let's import a model and rig it. For the purposes of this tutorial I'll import a Motocross rider from Motocross Madness 1. Import your model and parent it to the rig. Make sure they're both part of the same collection.
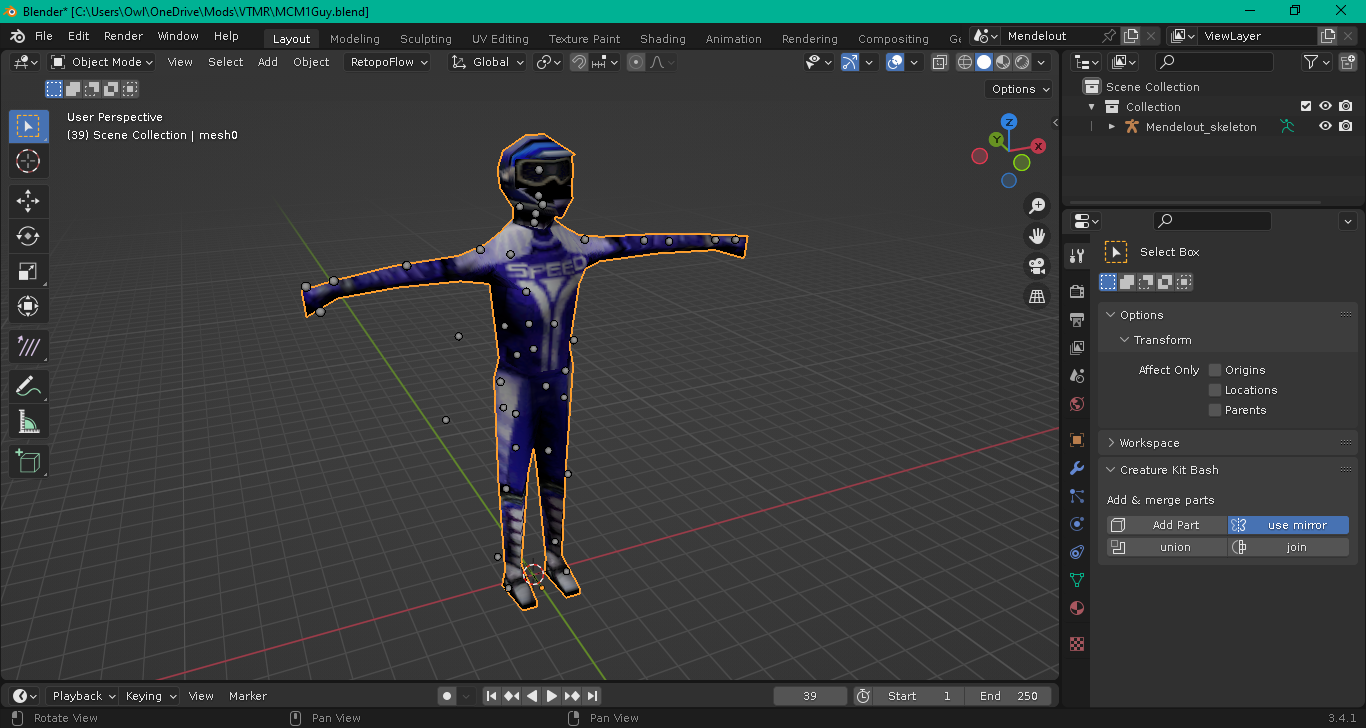
Next we'll need to pay attention to weight painting. For the .nod format every vertex needs to be assigned a weight somewhere. You can typically be very liberal with how you assign weights. I recommend not using Blender's weight painting system but rather assigning vertices directly due to how low poly you'll likely be working.
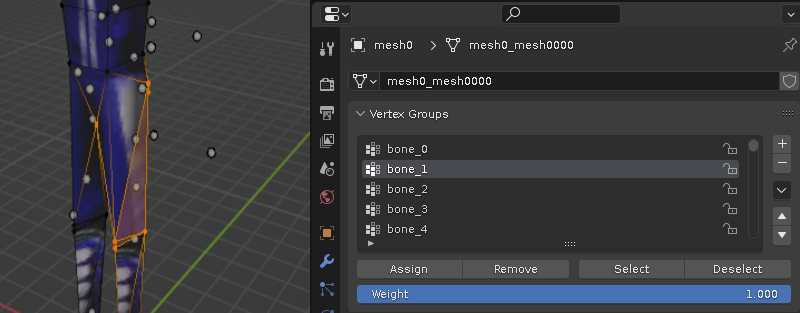
Note you should avoid adding additional bones or removing bones. The reason why is because the skeleton must be kept the same to avoid messing up the game's animations.
To know what bones do what I recommend opening up Christof's model and checking what vertices are assigned where and matching accordingly.
Assigning a texture
Another thing to pay attention to is the name of the material. You can have as many textures as you want but you should name the material the same as the texture's name. Once you have exported the file as a .nod the game looks for the name of the material in Blender and uses any texture files bearing that name.
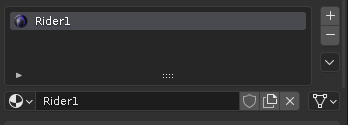
In this case I'll name the material "Rider1". And name the model's .tga texture file as "Rider1.tga".
Exporting into Noesis
Once you've assigned all of your vertices to one of the bones you'll now be ready to export into Noesis. This took the longest to figure out as Noesis for some reason freaks out when you try and export using FBX or DAE and messes up the order of the bones. However I have located the ideal format that Noesis seems to like best. Which is Unreal's .PSK.
Select your model (not the skeleton just the model), and go to file->export. Then hit Unreal PSK.

Now open the .psk using Noesis.
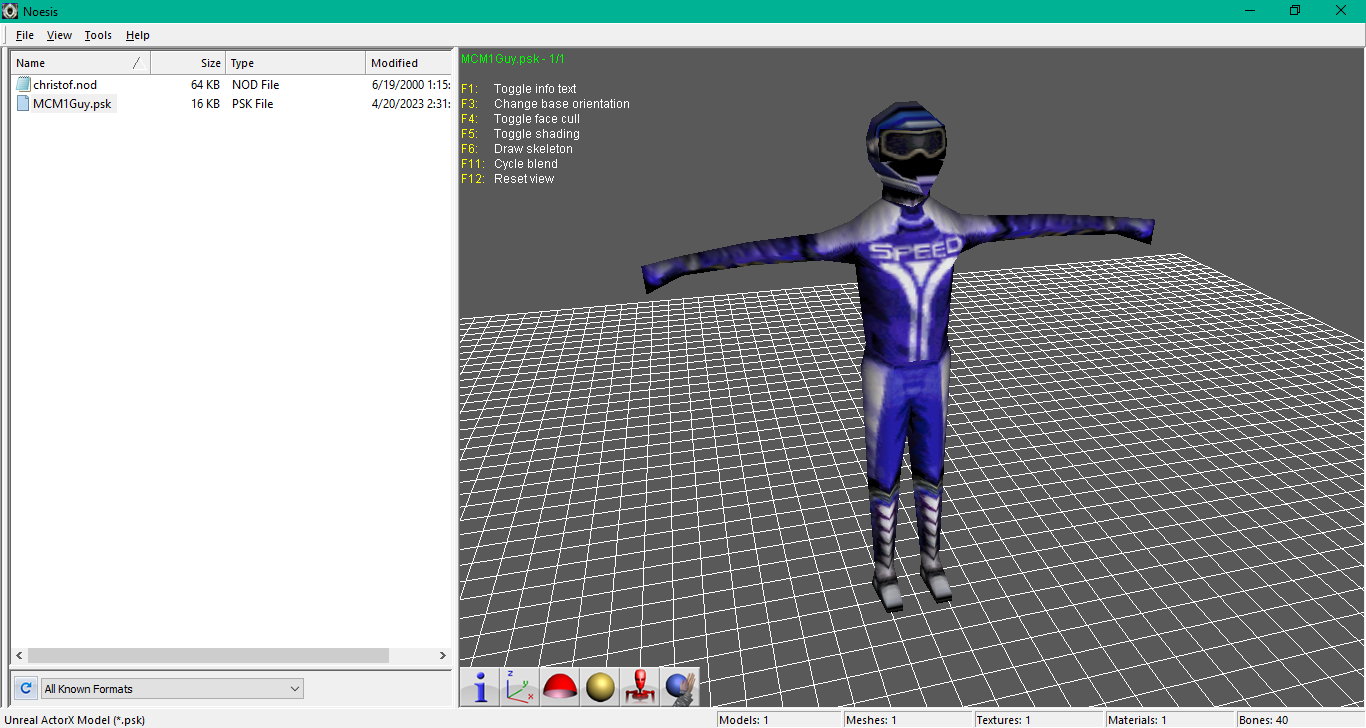
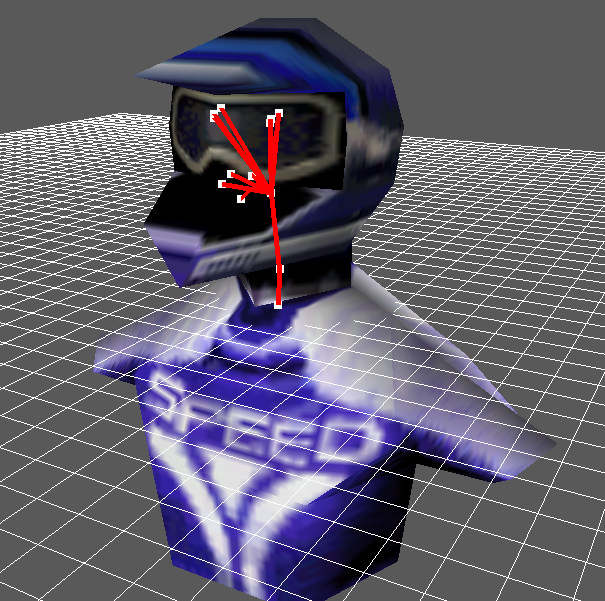
There he is. You can also turn on the skeleton to visually see Christofs bones on the character.
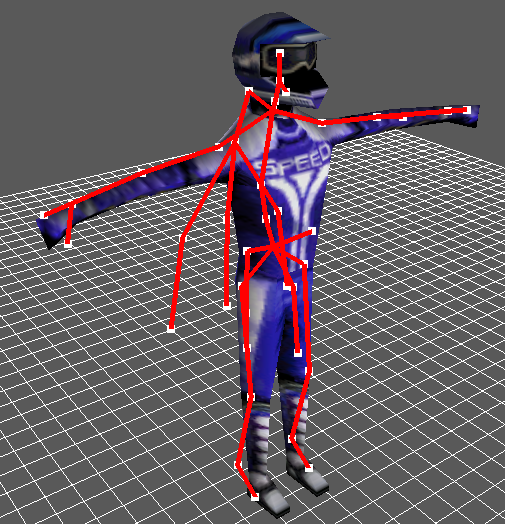
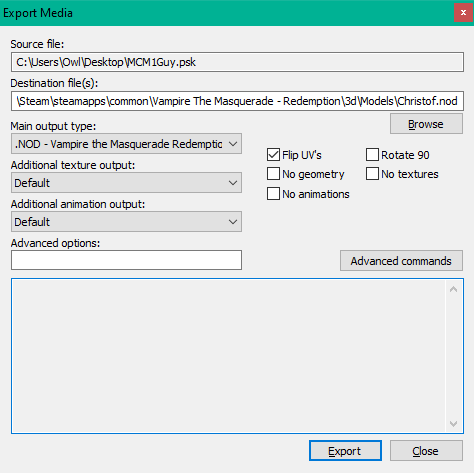
Now go up to file->Export.
What I'd recommend doing to test the model is to replace one of the existing ones. Just to inspect how good the weights look. In this case because I'm using Christof's skeleton I'll replace Christof.nod. You can place models/textures directly into the game's directory similar to Quake. I would recommend packaging your model in a .nob file when you're ready to distribute. But because we're just testing I'd recommend exporting into the game's folder.
Place your model file in Vampire The Masquerade - Redemption\3d\Models
And your textures should go in Vampire The Masquerade - Redemption\3d\Materials
Another detail to pay attention to is the checkmark "flip UVs". Make sure this is checked. For some reason Noesis flips the UVs so you'll need to flip them when exporting.
Testing in-game
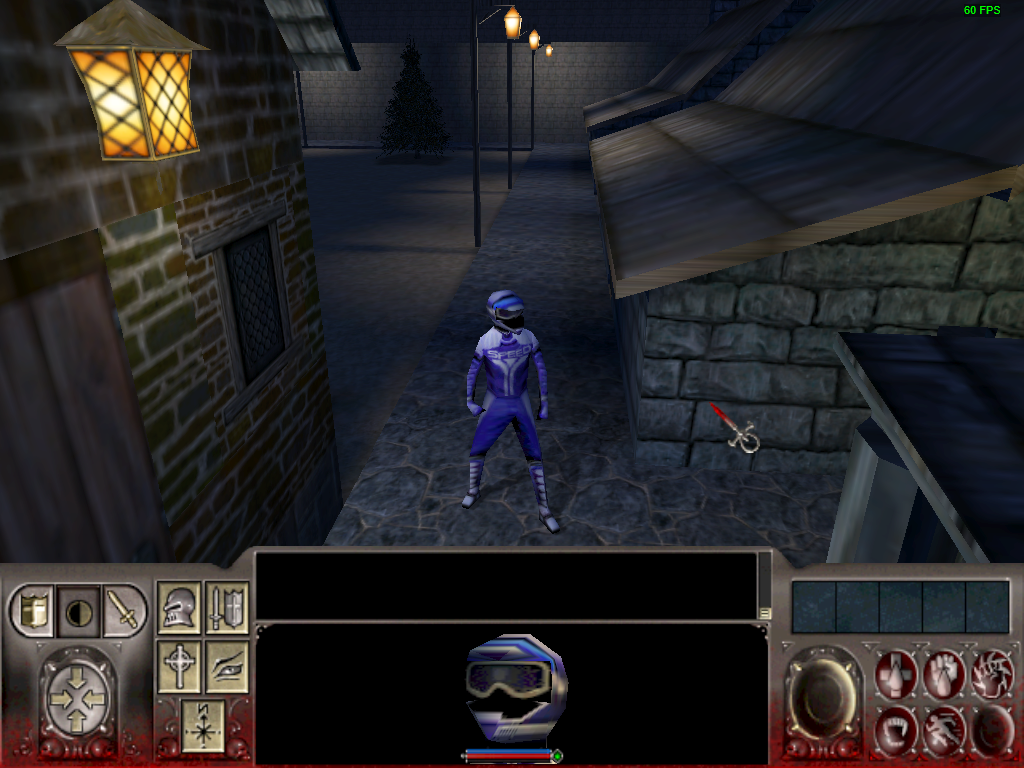
Now start the game. Since we've replaced Christof's model file if we go to Multiplayer and go to the character creation screen we should see Christof's Dark Age appearance replaced with our model.
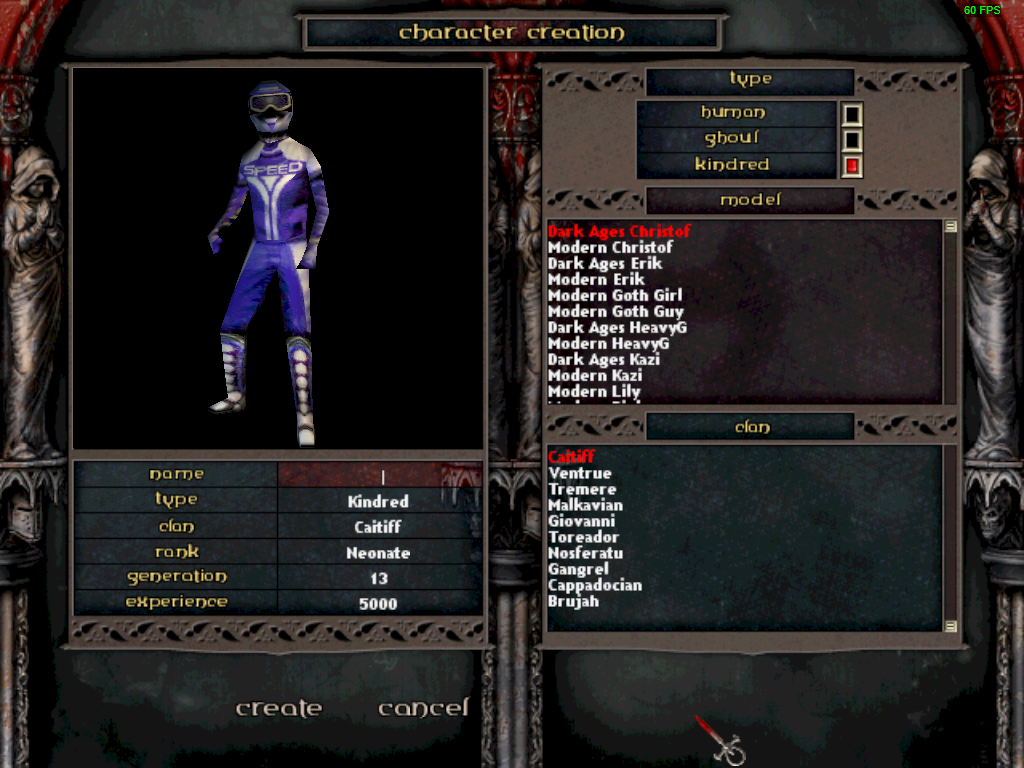
There he is. And once you start the game you should see him.
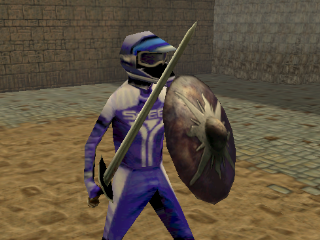
Note you may see some vertices stretched or going off in a random direction. In that case one or more of the vertices either needs to be assigned or reassigned to a different animation set. You may need to experiment with it until it looks good.
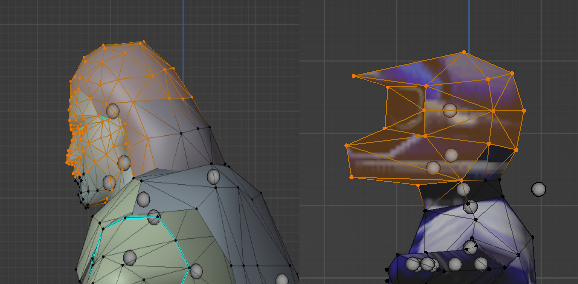
Importing a custom head model
As a bonus I'll throw in this one as well. Importing a character model is all well and good. But what if you also want to also see his 3D head?
This is virtually the same process however unlike character models the portrait head model needs to be a very specific size and oriented in a specific way. I recommend matching it as closely to one of the existing head models as possible. I'll post a .blend file of the one I used here to simplify this process. Character heads are typically named with the model followed by "h". So Christof's is Christofh.nod.
Once you've exported it correctly and placed it in the same folder it should now also appear either in singleplayer or multiplayer.
Creating a new NPC or player model using our model
This tutorial won't go over this as Javokis already wrote a very detailed and extensive tutorial on how to do this using the .NOT editor. Which I've previously reuploaded here. This is also essentially how you make an entirely exclusive multiplayer model as well that doesn't rely on replacement.
Conclusion
That's essentially all there is to it. I'll release a .blend file containing all of the major player skeletons as well to simplify this process. I recommend trying this out and importing some characters into the game as it's pretty easy to do as long as you follow the steps exactly.
There is now a sequel to this tutorial going over how to import/export animations.


yes, it's very cool)
Nice! Can model be replaced by using the descipline?
Theoretically yes. A few mods like E-Mod did this with existing models so it's just a matter of doing it in Java.
Well, i guess it can. Since hands can be turned into claws, or entire character may shapeshift into wolf...
There's actually a tutorial that goes over this right here Moddb.com