Tutorial originally written by [DANISH]TheDane. Mirrored here for archival purposes. I've mirrored his example file here.
UT Weapon Tutorial
By [DANISH]TheDane
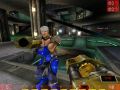
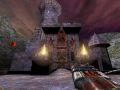
I will show you here how to make a new rifle mod for UT. In this case I will make a new sniper rifle and import new textures to it. I will also show how you can modify you own bulletbox to go with it.
I will make “MyRifle.u”. When you choose a filename for your weapon use a simular filename, because UT don’t understand filenames with space such as “My Rifle.u”
I will use my own textures for the rifle, if you do the same please have in mind that the color depth must always be 8bit (256 colors) and in sizes like 64x64, 128x128 or 256x256 pixels. NOT!! 167x213 or such sizes!!
Start with creating a folder for the *.uc files (scripts) and textures (grafix).
use : *:\UnrealTournament\MyRifle\
copy the *.uc files and textures into that directory.
The *.uc files should be placed in “classes” subdirectory
In the file write only:
Ucc make
Pause
Then save it into *:\UnrealTournament\System folder and create a shortcut to the desktop.
Now open UnrealTournament.ini file in notepad or similar program, and find this section:
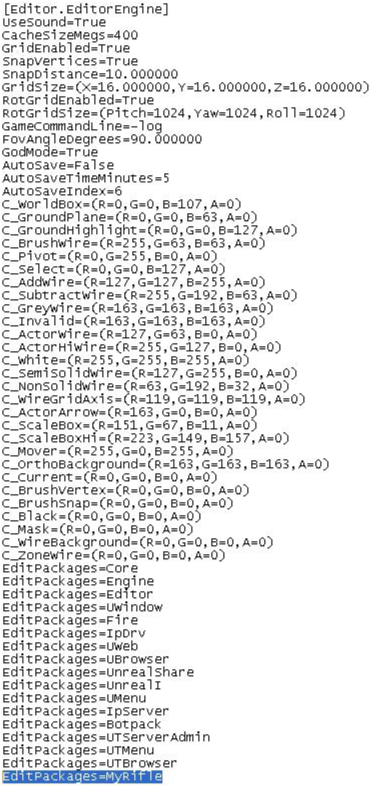
And add the line : EditPackages=MyRifle
Now it’s important that the name you write is the same name as the name of the folder where you have the *.uc files in. Otherwise ucc can’t compile your rifle.
Now once you have made all the changes you want to do in the scripts your are ready to compile it and test it.
Run the compile.bat file (from the link you made on the desktop or in system folder)
And if it looks like this you are almost done :
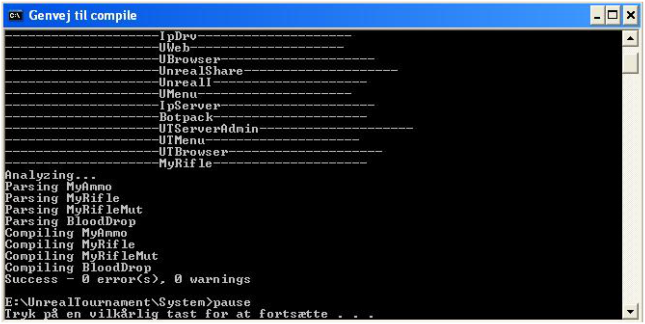
If you have errors in the compilation you must check your script again (ucc tells you what the problem is).
It’s important that you change all the filenames in my scripts to the filenames you use. You must go through the entire script of all files and replace the “MyRifle” with the names you have used. (script+sound+textures)
After compiling you will have “MyRifle.u” in the system folder, and all that needs to be done is to make a “MyRifle.int” file in the system folder, then your rifle is done!
Make “MyRifle.int” in notepad or similar program with this text:
[Public]
Object=(Name=MyRifle.MyRifleMut,Class=Class,MetaClass=Engine.Mutator,Description="MyRifle")
Object=(Name=MyRifle.MyRifle,Class=Class,MetaClass=Botpack.TournamentWeapon,Description="MyRifle")
Now save the file into the system folder and you are ready to test your rifle in the game.
You will see your rifle appear in the mutator selection box.
The textures I enclosed are the [DANISH] textures , you can change them using Photoshop or similar program, just remember to use the 8bit color depth and the same file format.