In general, skins must be made from real people, at least in part.
For example, we want to make a skin texture like this:
.jpg/1200px-Outdoors-man-portrait_(cropped).jpg)
Step 1: Find an existing skin texture and mark its main features
The most standard skin production process should be to use ZBrush for facial sculpting, then UV unwrapping and then texture drawing. But obviously, as Modders, we don't necessarily use "advanced" tools such as ZBrush, because it requires you to have certain art skills.
So we had to think of a roundabout way to make
The basic idea is to use the existing textures of Mount&Blade to modify, which is the simplest and most direct way.
First, open Photoshop and select an existing skin face texture

Then we need to mark all the feature information of the face texture, such as eyes, mouth, nose, and ears.Use some obvious color, such as dark blue, red or pretty to mark all the facial features.
Here I am using red.

After the marking is complete, we need to import the pictures we need for adjustment.
Open the picture we need, and then use the selection tool to select the face area we need, here I use the "polygon selection tool"
![]()
Step 2: Crop the face image from original and adjust it
After selecting the required constituency, a dotted frame in the shape of the constituency will be formed in the Photoshop software.

Then use the Ctrl+J shortcut to copy the image in the selection.

After copying the image, we need to drag the image into our skin texture

From now on, we need to adjust this image to fit our skin texture
First of all, we need to adjust the copied image to a semi-transparent state, so that we can clearly see the facial features we just marked
In the Layers panel, adjust the opacity to say 50%

After adjustment, we will find that the points we just marked can be displayed

Use Ctrl+T to bring up the tweak tool

Drag those blue control points to adjust the size and position of the image

After the size and position are adjusted, we use the "Eraser Tool" in PS to remove unnecessary images.
![]()
Step 3: Erase the unused pixels
Choose the size and brush of the eraser, here I use a soft brush to erase


The effect after completion is shown in the figure

This is just a preliminary completion, you can also see that there are some obvious differences in the color of the face and the skin, so we need to modify the overall skin color.
Select menu: Image->Adjustments->Hue/Saturation
We can reduce the lightness or saturation to make the base image consistent with the face image
Final Result:

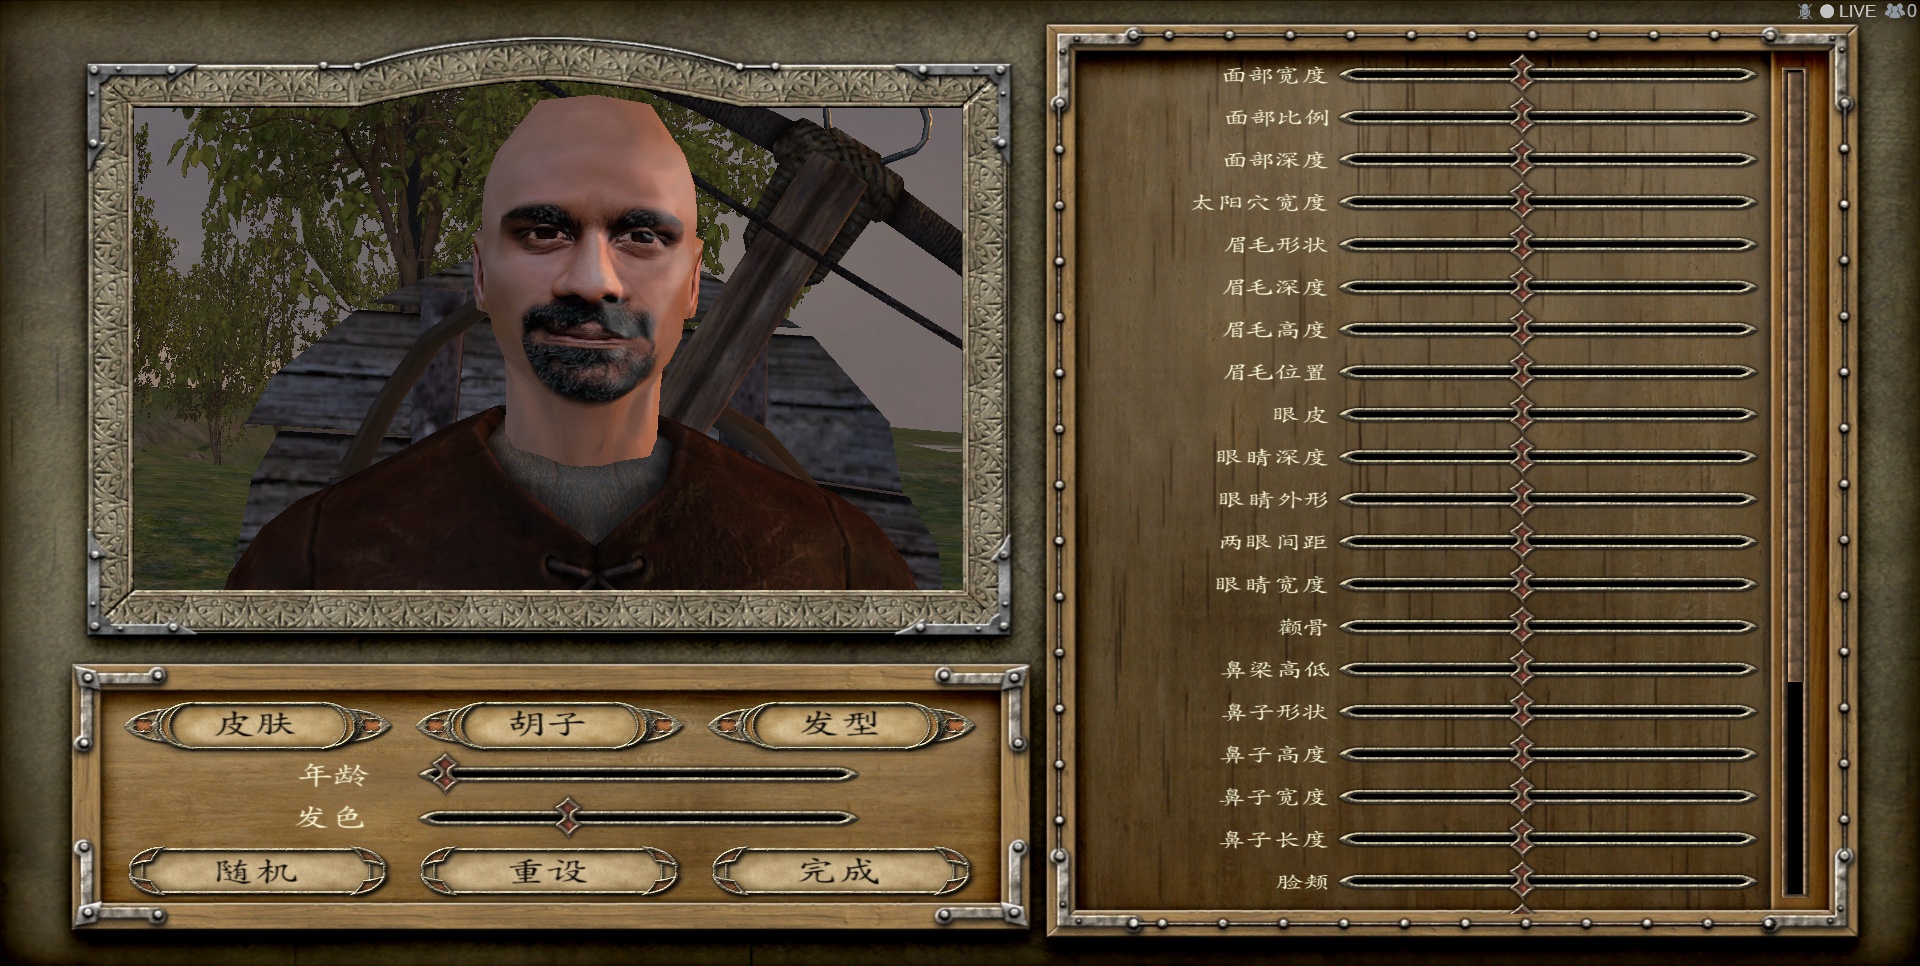
We need to save it as .dds file, and check it in the warband


Nice tutorial! Could you also post a reference for what it looks like on the character model, please?
OK
This comment is currently awaiting admin approval, join now to view.
Hii can you share the tutorial picture ? Because in my phone and PC i cant found the tutorial picture. Just your writing.