MechCommander Gold - Darkest Hours
Original campaign merge
Operation 3
"Love the map design. Very nice flow to them, with interesting placement of the different mountains, forests, etc. The industrial cities are also very well done and feel natural. RP rewards are also very nice in most missions. Most of the missions felt balanced and fair, and I really enjoyed this Operation."
by stud84 on reddit
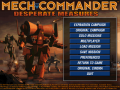
Operation 3 - Mission 1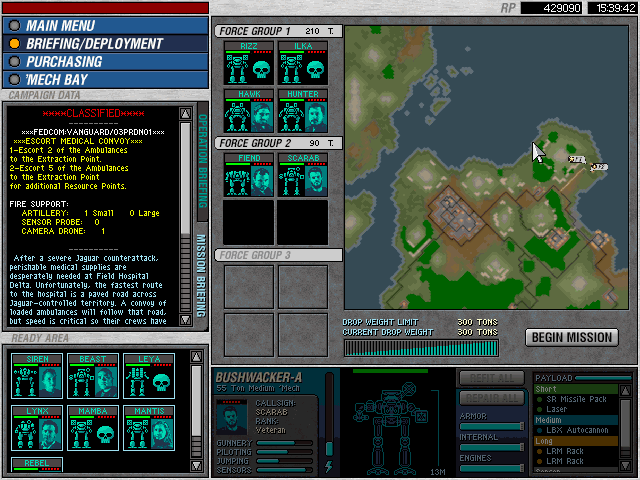
Original 03/01 - Op3 Start
Mission Objectives:
+ Escort two ambulances to extraction marker (10000 RP)
* Escort five ambulances to the extraction marker (25000 RP)
Maximum Tonnage: 150 tons
Maximum Units: 4
Artillery: 4 small
Recon: 1
Logistic Phase: Mhm...with such a limited weight you have to deploy light and medium 'Mechs only. Three mediums will work fine, though this will limit your movement capabilities. You are going to hate thids mission, though.
There is a paved road where the ambulances (5) will move on, and will follow it until they reach the friendly base, located in the upper-left corner of the map. The road runs through a city and a small lake, though there's no bridge:
the road is built on a small portion of land running through the lake. Intelligence reports that a Vulture is in the area.
Combat Phase: To ambulances will begin to move 10 or 15 seconds after the start of the mission, and won't stop to move even under fire. Begin immediately by moving your 'Mechs along the road. Some meters after your start position three jump-capable 'Mechs (J variant), a Commando and two Firestarters will attack you. Try to destroy this 'Mechs ASAP, you'll need to rush: two Aerospace Spotters wait for the convoy near the first bend. After these two vehicles, two Rommels will try to stop the convoy: near them there is a small hill: climb it to reveal a mobile HQ: if you have fast 'Mechs, try to capture it: this will reveal a container with two Ullers (one A and one W variant) in the lower-left corner of the map: place to artillery strikes on them, and place the recon camera near the friendly base, slightly to the south: the Vulture W position will be revealed, and place an artillery strike directly on it.
You should be now near the first two bends: detroy the three pop-up AC turrets and then move into the city and destroy the 10 Elementals in it. There is an other container on the north of the city (2 Large Pulse Lasers); be sure to capture it.
Move out of the city, and position your 'mechs on the ridge on the north of the road, and move: this will allow you to destroy a LRM Carrier with direct fire weapons; now head to the ridge on the other side and destroy a second LRM Carrier trying to ambush the convoy.
There is an other threat to destroy: a Cougar W is rushing from behind: move one or two 'Mechs to engage it, and try to place an artillery strike on his path; the Cougar slows down when enetering the path protected by the pop up turrets, and do not follow the road when inside the city.
Now you should be at the bend leading to the base: move to engage the two Ullers, and capture the container if you have a fast 'Mech or the convoy os relatively behind you.
Return on your main path, and destroy the two Armored Cars blocking the way.
After these cars, group your 'Mechs and begin to move toward the base: it'snow time to face the Vulture. The best tactic to use against this 'Mech is to quickly close distances, and duke it out at short ranges. After this 'Mech has been destroyed, wait until the remaining ambulances (at least two) reach the base.
Operation 3 - Mission 2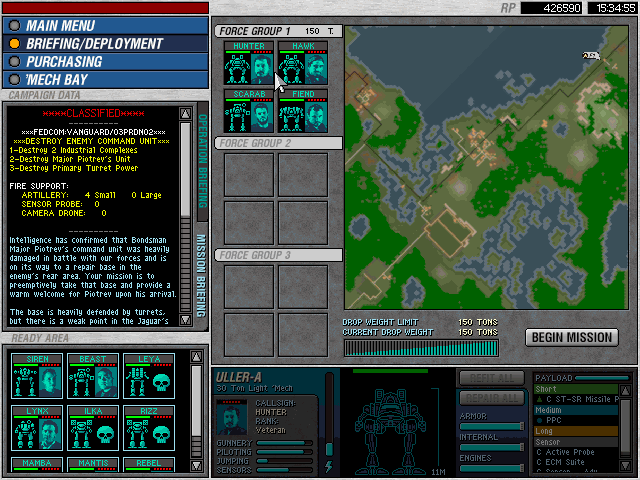
Original 03/02
Mission Objectives:
+ Destroy two Industrial complexes (4000 RP)
+ Destroy Major Piotrev's unit (20000 RP)
+ Destroy primary power generator
Maximum Tonnage: 300 tons
Maximum Units: 8 (4/4)
Artillery: 1 small
Recon: 1
Logistic Phase: Deploy medium and heavy 'Mechs only. The map has the industrial complexes in its center, and on the south the power generator. There are three sensor towers in the lower part of the map, linked to the sensor control building in the main enemy base. Near the cost there are two paved areas. The enemy main base is sorrounded by hills, while the power generator by woods.
Combat Phase: Begin to move south near the coast: you'll find a mobile HQ protected by 2 Strikers and one AeroSpace Spotter. Quickly disable the mobile hQ's escort and then capture it: this will reveal the enemy base. Continue to head south to reveal a second paved area with one warehouse (2 Large Lasers). You should also be able to see the forest sections on the south side of the base contaning the power generator. Burn some sections and destroy the wall, enter the base but DO NOT destroy the generator. Take care of the 5 (three on the east and two on the north sides) AC pop-up turrets and move out of the perimeter.
Move in a straight line from the generator's main gates toward one of the hills sorrounding the main base: there you'll find two Ullers (one W and one A variant). As they powerup when you're near them, you'll probably be able to destroy one of them before it can fire back. After the Ullers, go after the two Cougars W coming from your rear.
It is time to begin to pick out main base defenses: there are 5 Condors, 1 SRM, 1 Saracen and three Ullers (two A and one W) in total, plusa pletora of LRM and Laser turrets. The base has hardened walls circling it. Three Condors are patrolling the base outside the walls, while the Ullers inside. Begin to pick out the Condors patrolling the base, but stay outside from LRM turrets' range and try to attract the Ullers outside the base.
Now send one of your 'Mechs to destroy the power generator, and move the remaining ones inside the base, and destroy all remaining enemies inside.
Capture all structures in the base, but do not destroy the industrial complexes. The base contains 2 'Mech Repair Hangars (capture them immediately and reapir your 'Mechs), 4 turret control towers (capture them, and do not destroy any turret, especially on the west side), one warehouse with 1 Ultra AC and 3 Clan Streak SRM Racks inside and one sensor control building. After you captured the first building, Major Piotrev's unit will begin to move in: this unit is composed by 5 'Mechs, four JagerMechs (two J, one A and one W) at full strenght and one Awesome A at yellow armor conditions; they enter the map from the lower-left corner, and will walk toward the gates on the west sside of the base. Use you recon camera to spot them, and place the only artillery strike on them; try to target the Awesome, the JagerMechs aren't good in close-range fighting and their thin armor will collapse if you didn't destroy the turrets outside the base.
To engage this assault Star, place you 'Mechs on the upper-left corner of the base, and order to fire holding the position until the first Jagermech will fire back. Then the battle will become a free-for-all; eventually you'll made it.
After you destroyed Piotrev's Star, repair your 'Mechs and then destroy the two industrial complexes to end the mission.
Operation 3 - Mission 3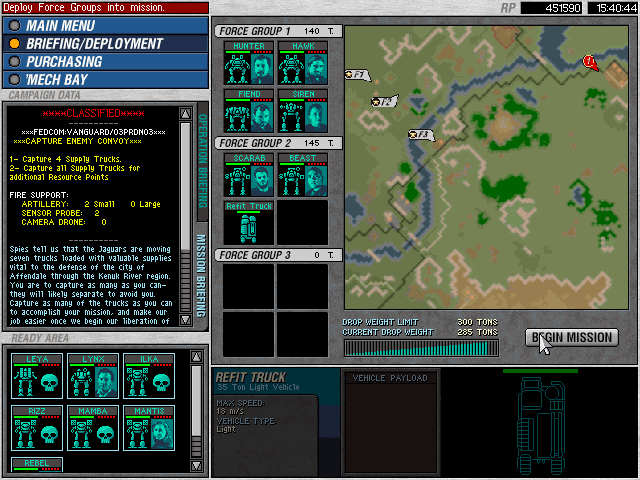
Original 03/03
Mission Objectives:
+ Capture 4 trucks (10000 RP)
+ Capture 7 trucks (20000 RP)
Maximum Tonnage: 300 tons
Maximum Units: 8 (4/4)
Artillery: 2 small
Probes: 2
Logistic Phase: You'll need fast 'Mechs for this mission, though an heavy one won't hurt. Assign four 'Mechs to the first group. and be sure that all of them have at least a top speed of 20 m/s. Assign all other 'Mechs to the second group. This time deploy medium 'Mechs, you'll need more firepower than speed for this group.
The map has a river running from west to east, and has two bridges: one on the upper-right corver of the screen, and the second opposite of the first. Near the second brdige there is a paved area.
Combat Phase: Your 'Mechs start in norther area of the map. Use your two probes and place one on the right and one on the upper side of the map: now you can see where the vehicles and their escorts start.
Here's a little description of the three convoys (7 vehicles in total): the first starts from east-south-east and will travel to west to reach the second bridge: it this convoy there are 2 trucks, escorted by a Hunchback A, an SRM Carrier and a Rommel. The second convoy starts from the same position but will take the first bridge and then proceed west to cross the paved area; this convoy provides 2 trucks, one Cougar W, one Striker and one Rommel. The third convoy (3 vehicles) starts in the uppe-right corner of the map and willmove toward the upper-left corner. It is escorted by two Cougars W and one Rommel. Move your first group toward the second bridge: you'll find some turrets plus the appropriate control tower: capture it and destroy the turrets protecting the warehouse (3 Pulse Lasers, 2 Standard Sensors). Now cross the bridge and at the bend of the paved road turn east: you'll encounter the convoy: destroy the escort first, then capture the two trucks.
Head back to the paved area, and wait for the second convoy. Move your second lance (F2) toward the third convoy (simply move on an ideal horizontal line toward east), but not too much: it is beeter to explore the area a bit and then return to your original position: you'll may want the support of your first lance for the last part of the mission. The secod convoy will arrive in about half a minute: destroy the escort and capture the two trucks.
Now the primary objective is completed; you can complete the secondary one by moving your first lance near the second one a wait for the third convoy:
quickly destroy the escort as soon they enter visible area, then capture the last third trucks. If a truck exits from the map area, and you captured at least four trucks, the mission will automatically ends.
Operation 3 - Mission 4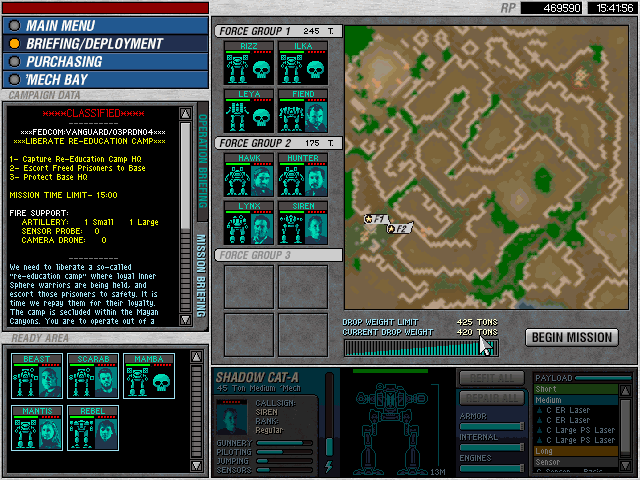
Original 03/04
Mission Objectives:
+ Capture enemy HQ (10000 RP)
TIME LIMIT: 15 minutes
+ Escort prisoners to friendly base (10000 RP)
+ Protect friendly base (10000 RP)
Maximum Tonnage: 425 tons
Maximum Units: 8 (4/4)
Artillery: 1 small, 1 big
Probes: 1
Logistic Phase: Deploy heavy and medium 'Mechs only. Though the resistance in this mission is composed of light 'Mechs and vehicles, you'll need some serious firepower to destroy them quickly. Deploy at least six 'Mechs.
The map is set on a hilly country wich will limit movement capabilities of both sides, though there are several "roads" running through the hills. Your base is the east, while the enemy prisoner champ is in the west.
Combat Phase: Both lances begin in he base's perimeter; your base is protected by 4 AC and 2 LRM turrets. Move the first lance and leave three 'Mechs to protect the base. Move your assault force toward the enemy base by placing them in the "road" in the lower edge of the map. By doing so, you will already know what kind of terrain the APC containing the prisoners will use to reach your base: this "road" passes through the small forest in the south of the map, so be sure to cross it with your 'Mechs.
The road will be free of enemies if you took the right one, except a recon group composed of two Cougars A and one Uller W just outside the forest.
Outside the woods there is a small hill with its top outside the map, but explore it: you'll need this later.
By now, 2 Ullers J and one Cougar J will attack your base: destroy them with the 'Mechs you keep near your base.
Continue to move toward the enemy base: two Rommels will try to stop you, like 2 other Cougars J. Once you're near the enemy base, you'll notice 2 Lase turrets with a Rommel backing up them. Destroy the Rommel first, then go for the turrets.
Move past the turrets, and engage the remaining enemy forces before capturing the HQ that will free the prisoners. There are 3 Bulldogs and three 'Mechs (one Uller W, one Uller J and a Cougar A) protecting it. Try to keep a these 'Mechs relatively stationary and place one big artillery strike on them. Now move into the champ, destroy all turrets and capture the warehouse (2 Clan ER Lasers, 1 Extended Sensor); before capturing the HQ, move the slowest 'Mechs in your assault lance outside the base, nad have the fastest capture the HQ. Move your second lance in the forest your 'Mechs visited before, and destroy the strike group attempting to destroy the base (2 Rommels, one LRM Carrier and 4 Savannah Masters).
Once the HQ is captured, an APC containing the prisoners will depart from it and will try to reach the friendly base. New groups of enemies will appear from outside the map, trying to stop the convoy. The first group is composed of four vehicles, one AeroSpace Spotter and 3 Saracens, coming from the small hill I told you to explore. They will station for half a minute or so awaiting the APC: place the small artillery strike on the Spotter, and use your 'Mechs to take care of the remaining Saracens.
Now it is time to repel the attack of three Ravens J coming from a ridge near the forest: use your second lance to destroy them, and have your first lance destroy one other AeroSpce Spotter coming from the east. As the APC reaches the base, the mission is over.
Operation 3 - Mission 5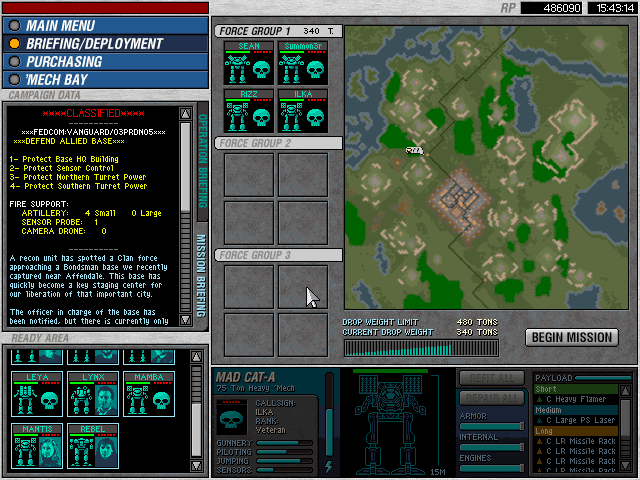
Original 03/05
Mission Objectives:
+ Protect firendly HQ (20000 RP)
* Protect Sensor array (2000 RP)
* Protect northern power generator (1500 RP)
* Protect southern powert generator (1500 RP)
Maximum Tonnage: 400 tons
Maximum Units: 8 (4/4)
Artillery: 4 small
Probes: 1
Logistic Phase: Heavy and assault 'Mechs only. Be sure to use at least one Heavy AC on assault 'Mechs and a good number of LRM-equipped 'Mechs. As you begin the mission, one minelayer and 2 Pegasus hovertanks will help you.
Nothing much to say about the map: the base you have to protect is in the center, sorrounded by sensor towers; there is a small hill on the right.
Combat Phase: Immediately move your 'Mechs IN the base, near the two repair bases and have one of the Pegasus to scout the sorrounding terrain, especially the west area and the hill on the right. Mine the entire north area of the base and the terrain outside it. After the first Pegasus finished its recon, move both vehicles near the sensor array and let the minelayer mine the west area.
The first attack will come from east, by 4 jump-capable Firestarters. They'll jump directly into the base, where your 'Mechs are waiting.
The second wave will composed of 3 Cougars W and 2 Ullers W, plus one Centurion W and 3 Hunchbacks W, coming from the hill on the bases's right. The light 'Mechs will try to destroy as many turrets as possible and some wall sections, to enter the perimeter. Combined fire from the turrets and your 'Mechs should be able to stop them before doing serious damage, but the Centurion and the Hunchbacks will pose a great threat: they'll destroy the walls first, then will begin to enter the perimeter.
While you're dealing with these forces, 6 Rommels will approach the base from the north, bu if you mined the area, their life will be short. Remember that you have tow Pegasus hovertanks to use if the Rommels pass the minefield.
After this wave, you'll have a short period of peace where you can repair all of your 'Mechs; after you did that, move on the west side and be prepared to fend off the last attack.
3 Hunchbacks W, 2 Catapults W and 5 LRM Carriers will try to destroy the turret control towers and the nearby fuel deposit, so go out from the base and engage them before they can deal serious damage. If you mined the area, the vehicles won't be a problem, and the 'Mechs will be damage. Engage the Hunchbacks first, and then the Catapults.
Operation 3 - Mission 6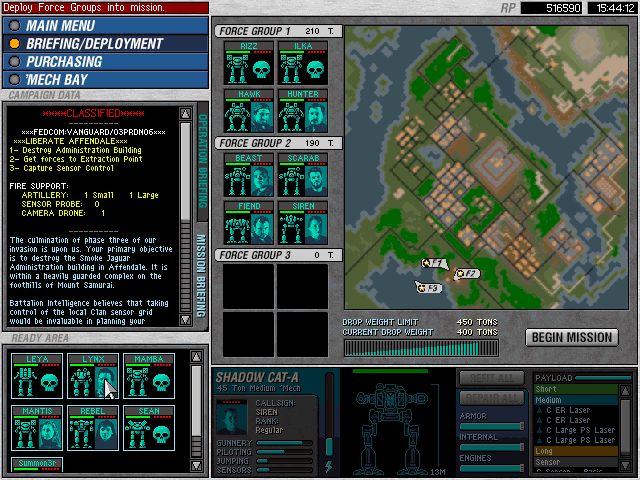
Original 03/06
Mission Objectives:
+ Destroy Clan Administartion Building (25000 RP)
+ Retreat to extraction marker (5000 RP)
+ Capture Sensor array (10000 RP)
Maximum Tonnage: 450 tons
Maximum Units: 8 (4/4/4)
Artillery: 1 small, 1 big
Recon: 1
Logistic Phase: Deploy heavy and assault 'Mechs as main force, but one fast 'Mech with one ECM suite will help. Be sure to keep this 'Mech away from combat, however.
The map has a city in its center, and your objective is on the west, protected by an hardened wall and a lot of vehicles and 'Mechs. The Sensor array is between the city and the objective. There are two islands on the south, and the Clan citadel is on a isle. There are two bridge, one from the south and one from the west.
Combat Phase: You'll begin in the lower-left corner of the map, in the extreme west. Move toward the city until you see the first houses, then move right until you spot four 'Mech contacts. Use your recon camera on them: there are four Jagermechs (two W and two A) protecting a small depot. Use your large strike on them, and after the attack, the four 'Mechs will begin to attack you. Destroy them and the two Catapults W coming from the north to reinforce their friends.
Now move into the depot, capture the repair base and dock, then exit and return to the city, where two Strikers await their fate.
Do not move toward the sensor base for now, but take the paved road heading east: two Catapults will try to destroy the bridge connecting the isle to the mian land: destroy them ASAP and do not let them destroy the bridge. Move on the conquered island, destroy the three LRM Carriers and capture the warehouses containing 2 Light ACs and 2 Basic Sensors.
It is now time to destroy the power generator in the depot were the Jagermechs were, and head toward the sensor array: destroy the 2 Catapults W and capture everything in it, including the turret control towers; some Jagermechs protecting the admin buildings may decide to come after you. Wait one or two minutes before leaving the base, and go toward the two Catapults A; destroy them from long range, and then head toward the repair base, dock with it and approach the enemy stronghold from the south.
2 Strikers are guarding the entrance, and after you entered the perimeter, 5 Jagermechs W will attack you. On the right there is a power generator, but it is better to keep the active, capture the nearby control tower and use them against the Jagermechs.
Now move north to find the admin building (ignore it for now) and a warehouse (one Guardian ECM and 2 Flamers). Ignore the turrets and the control tower, they won't hurt you in any way.
Return to the admi building and begin to climb the hill: there are one Mad Cat W, 4 Bulldogs and 2 Hunchbacks A protecting the extraction marker. Place the remaining artillery strike on the Mad Cat and them move to engage all remaining forces, Bulldogs first.
Move to the repair base, dock, return to the admin building, destroy it and go to the extraction marker.
Operation 3 - Mission 7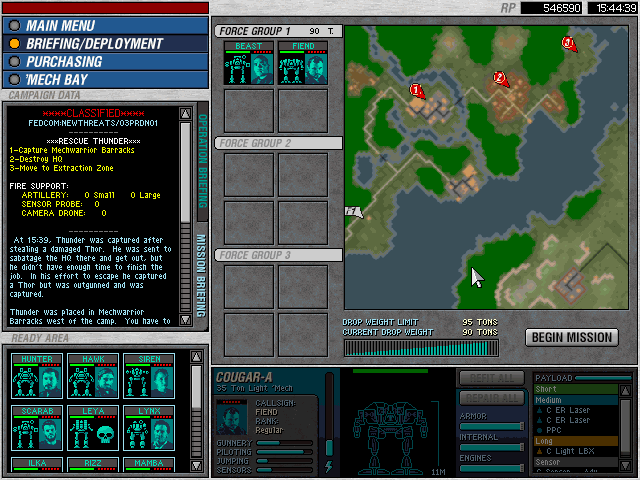
Xenocide 03/01
"Simple capture and extract. Prefer long range weapons to defeat the turrets from a safe distance. A comfortable mission, and one I wish there were more of."
by stud84
Operation 3 - Mission 8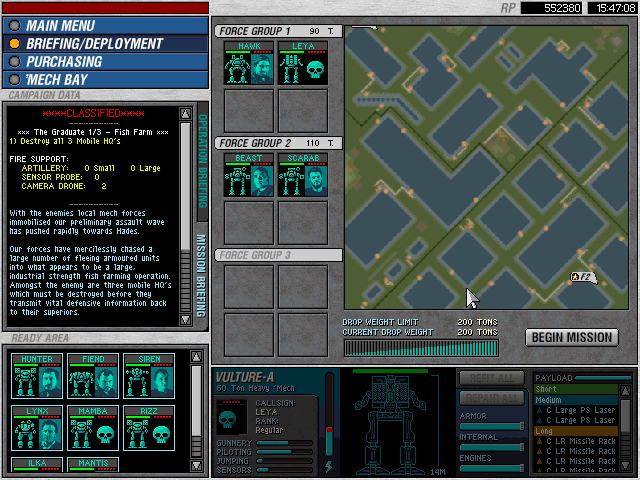
X-Ray 03/01
"Helter skelter window-switching craziness. Low tonnage adds to this. Setting your squads on Guard duty helps with this, but make sure they're constantly on the move, or they will be overwhelmed. Two Mobile HQs are on the north side, while one is on the south."
Operation 3 - Mission 9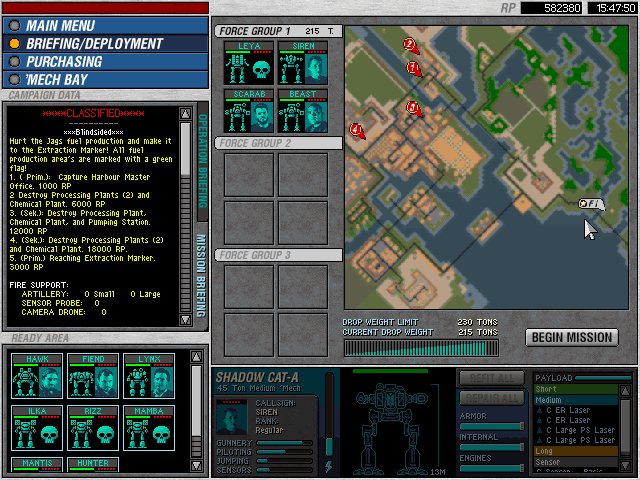
X-Ray 03/02
"Fairly difficult. Lots of annoying turrets with no way to disable them en masse, even after you've blown out the power generators. Roaming 'Mechs are present, and they will ambush you. There are many walled off areas full of detonating buildings, to boot. It's very easy to lose someone if you aren't careful. I recommend lots of LRMs to shoot over walls. Walk carefully and slowly, taking out the turrets as you go, and your MechWarriors' lives will be much easier. 'Mech repair bays are present, so feel free to load out Heavy Ultra ACs, Long Toms, and/or Rail Guns, but you have to go through a lot to get to them. Very nice RP reward."
Operation 3 - Mission 10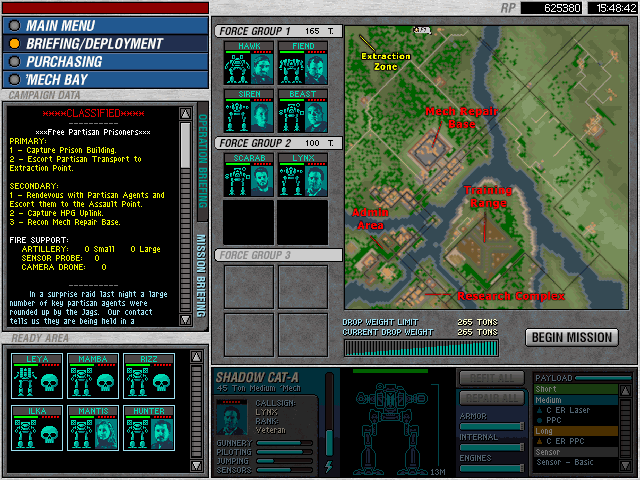
X-Ray 03/03
"The clear "Absolute Nightmare" level of this Operation. There are a lot of artillery turrets present, which is both a blessing and a curse, as well as several minefields. Katherine Furey survived her plight on Cermak, and is here with a vengeance, commanding a Star of two Catapults and a Cougar, in addition to her own beefed up Vulture that is armed with a Rail Gun. There is an additional Star of 'Mechs circling around the central 'Mech bay, which seems to be impossible to capture, given how well-defended it is. I've noticed the developer seems to love these low-tonnage missions, and this no exception. You can bait Furey's Star into being attacked by your turrets once you capture them, which greatly takes the pressure off of your team. Otherwise, I think it's highly unlikely you'll defeat her Star without great losses otherwise. I do want to give points to the AI route of the escort cars, since they purposefully avoided the minefields and drove to locations in an evasive (not driving straight through enemy lines, which is logical but uncommon in videogames) sort of way. Didn't lose a single one, despite my struggle. No RP for anything, even the secondary objective."
Operation 3 - Mission 11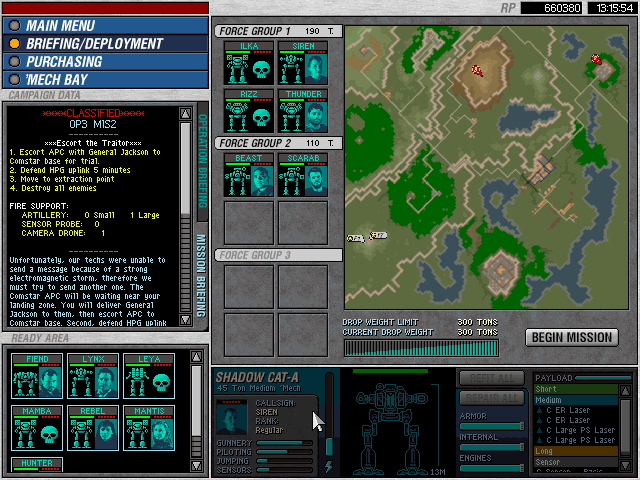
Exodus 03/01
"Simple escort mission. About halfway through, two Bushwhackers will try to ambush the APC from the south, so be ready for them. The APC can withstand a fair bit of punishment."
Operation 3 - Mission 12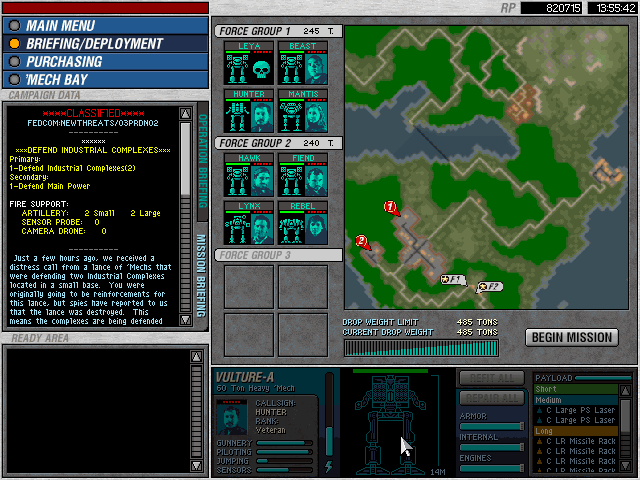
Xenocide 03/02
"Expect quite a few heavy 'Mechs, from Maulers to Awesomes, as well as the hard-hitting vehicles, like Pilums and Manticores. An Uller will try to rush past you during one of the earlier fights, in an attempt to destroy your power generator, so be mindful."
Operation 3 - Mission 13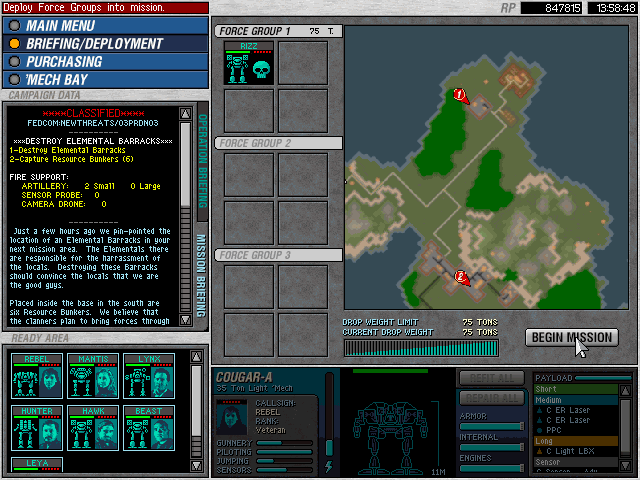
Xenocide 03/03
"Short but sweet mission. Approach the southern base from the northeast side and you should be fine. Approach the southern base from the northeast side, with a jump-capable 'Mech, and you should be golden."
Operation 3 - Mission 14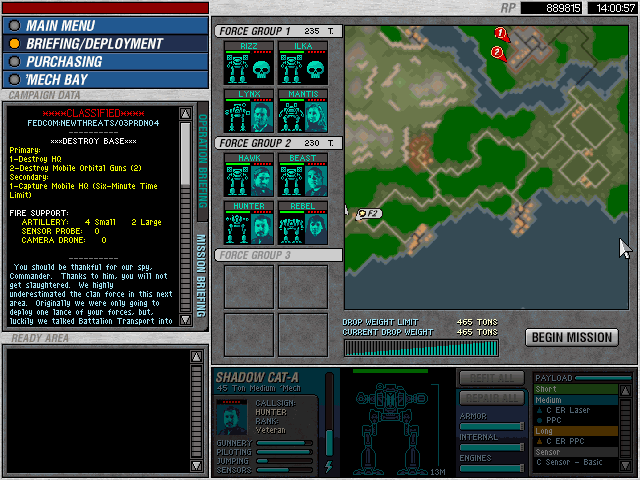
Xenocide 03/04
"Simple, fun mission. Airstrikes make your life a lot easier."
Operation 3 - Mission 15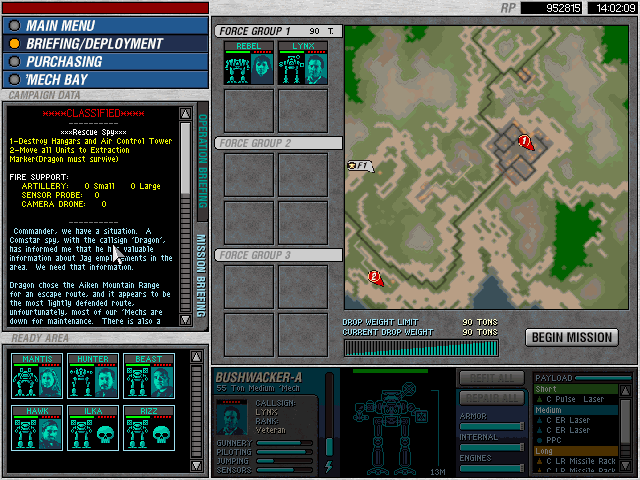
X-Ray 03/04
"Jump jets can be helpful here. Be absolutely prepared once you complete the objectives, since a Star of light 'Mechs will immediately spawn and rapidly rush towards you. If you are badly injured, this could prove dangerous if you don't get to the extraction point before they intecept you. Second favourite mission of this Operation."
Operation 3 - Mission 16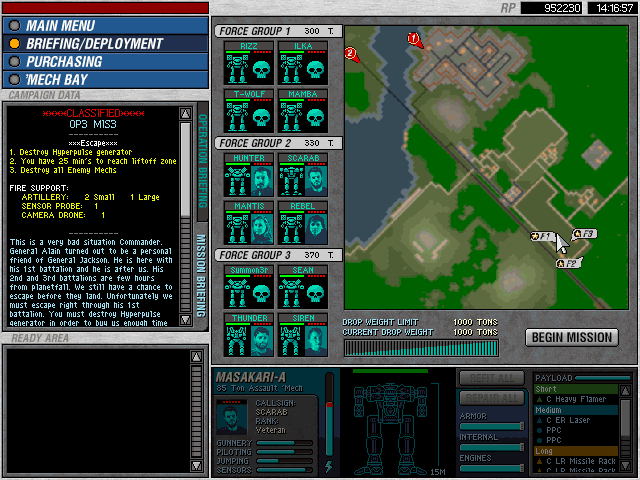
Exodus 03/02
"An epic battle, pitting a Company of your 'Mechs against an entire Battalion of enemy forces. This mission is a grand finale for this Operation. Be very careful about unit placement and positioning. You'll definitely want your heavily armoured 'Mechs to tank for you, and even they will be torn apart quickly when focused on. Be aware that there is indeed a repair bay on the northeast side of the map. Hands down my favourite mission of OP3."
"Enjoyed OP3 a lot. Once the brutal Mission 10 was through, the pace became much more enjoyable, especially due to the relaxed tonnage allotment. I hope I get to recruit Outlaw, Blaze, and Vixen in the next Operations, since they're the last people I'm missing from my favourite pilots. Onwards to OP4!"
(c) by RizZen & stud84 (2017) - overhauling (2020)