Tutorial written by Lunar Blue
Mirrored here for archival purposes. Note this is an unofficial tutorial the official Remedy tutorials are located here.
Maxin Maxed Tutorial #3 - First Steps
By Lunar Blue
In this tutorial we will create a simple room, texture it, connect it to another room using exits and finally light it. Sounds complicated? Bollocks :)
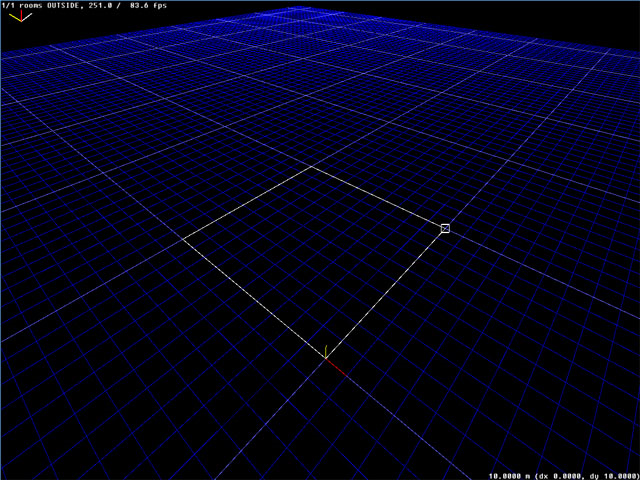
1. The Grid
Before we start to draw the interior, let's talk about grid. What's grid? Grid is a huge plane in front of you in viewport and your best friend. Everything you create in MaxEd, you create using grid. That's pretty much it. Originaly the grid 'resolution', as MaxEd it states, is scaled to 0,5 meters. This means, the smallest shape you can make is 0,5m high and 0,5m wide. We want it to be 1m per gridpoint. Goto Mode in toolbar and choose Wireframe (i suggest using F2 for shortcut). If wireframe cannot be pressed, move in the viewport first and then try again. After doing this you should see framerate and grid spacing in viewport. Change the spacing from aides to 1 meters or press + from your keyboard.
2. Creating The Interior
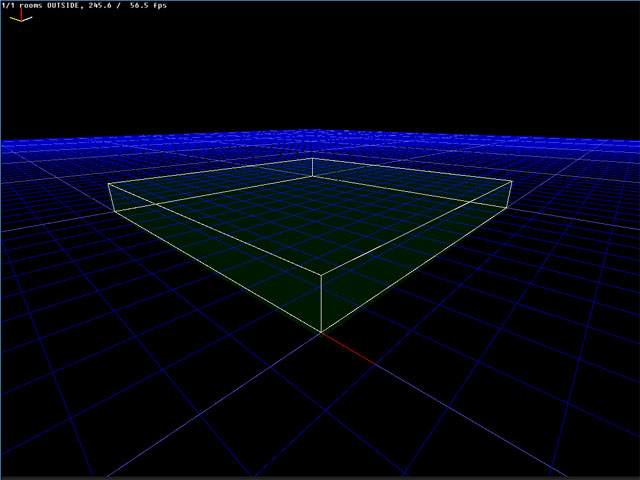
Ok, if you already haven't, change into model mode now (F3). Now start drawing a 10x10 meters big box on the grid. Pick a nice spot and press LMB, move cursor 10m and click again to start a new line. When the box is ready, press RMB to stop drawing.
Hmmm, there is seriously something wrong with our little room, unless it's for a Midget Payne (TM) mod.
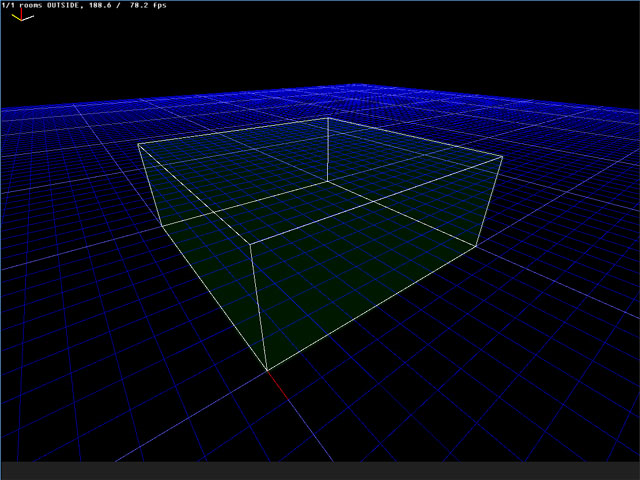
Since max is something like 180 centimeters high, and we are making a level for 3rd person game, let's set the ceiling heigth to 4 meters. Choose Extrude from Mode, OR you could just press F4 (still highly suggested, use the shortcuts). Now, move the cursor on your ceiling, which is still invisible. Press and hold LMB and move the ceiling to 4 meters (Look at the bottom of viewport while moving the ceiling to see how high it is).
3. Texturing
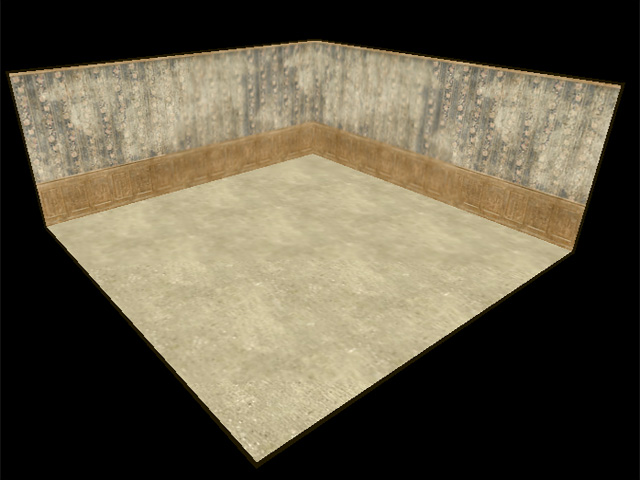
Okay, now we are going to feed gud gud texture fat to our wireframe so it will look like something. Open Material from toolbar and choose "Insert materials from file...". Go into examples folder and pick BasicRoom.lvl. Now every texture in BasicRoom.lvl will be in your level as well. Pick a texture you please from the material palette and go into Texture mode (F6). Click on the walls and ceilings of the box to texture the room, or if you want to add the texture on all the walls at once, point the room and press T.
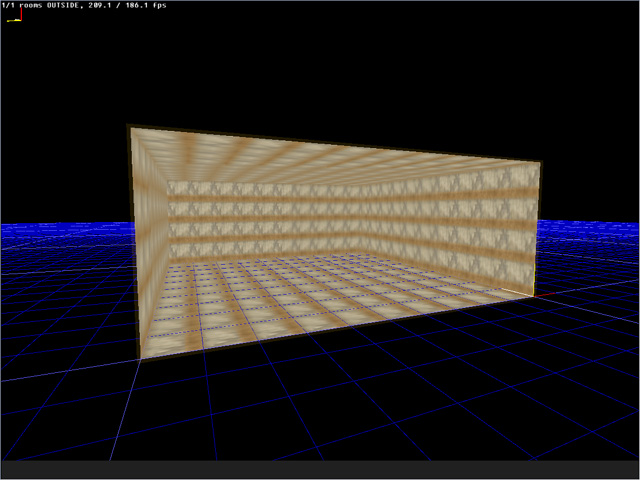
Very stylish... not. Looks shitty doesn't it, hey, let's just quit this thing and go play CS. Or let's not, since we are going to fix our room and make it somewhat fancy to look at. Our wall texture repeats itself way too much, so viewed from afar it looks horrible. This is also known as 'tiling'. Ok, let's fix the wall. In Texture mode, point the wall and press V or U to open Scale Texture window (to see what it looks like, look below). In here you define how many times a texture repeats (or tiles) itself inside a meter. U is for width, V is for height. They stand for... no idea what they stand for, but as far as we know what they do, it's ok ;) Insert values 4 and 4, or if it looks too slim, try 8 and 4. So, one wall fixed, 3 left. Damn its hard and slow ain't it ;< Nope, just point your fixed wall, press C and click on the wall next to it. Ooh, all fixed. After fixing all the walls, pick a nice texture for ceiling and floor and we are finished with materials for now.

4. Copying & Connecting
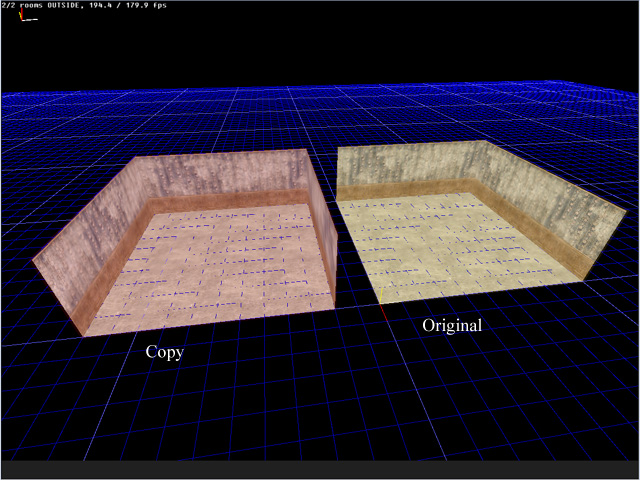
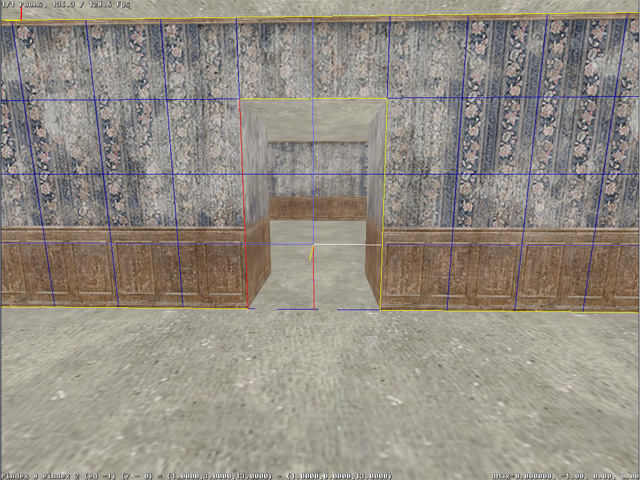
Why is our room a little reddish when we are outside it, and normal when inside it? That's because we haven't defined it as a room yet. Let's do that. Select the room in Transform mode (F5) and choose copy from Edit which is located in toolbar. Then paste and move the other room 2 meters away from the first one (look at the picture below). To connect these rooms, we have to make a little corridor. Aargh, more modelling, eval. Move the viewport so you are looking the gap between our rooms from up and goto Model mode. Draw a box with measures 2m x 2m (picture also located below) and end drawing with RMB. Extrude (F4) the top to 3 meters.
Umm, still not right, we have to connect the rooms and the corridor to one. Select the room you please in F5 mode and press U, S or I. They stand for Union, Subtract and Intersect. Now we are going to use Union, the others will be explained in Advanced geometry along with other fancy stuff. Now click at the corridor to open Boolean Operations window. Choose Union and press OK. Wow, room and corridor merged. Now connect the room/corridor hybrid to another room. Fix the textures of the corridor if you want to, otherwise, move to next step.
5. Exit creation
No one can be told what the exit is, you... not really, exits are pretty simple things, just like me. Exits divide the level into smaller sections, rooms. They help the engine to decide what to draw and what to leave out. One general rule: never let the player see an exit. This will cause low-end users like me to strangle you when the FPS (frames per second) is dropping down to ground zero. But, since im a hypocrite and our level is rather small and simple, we will let the player see an exit.
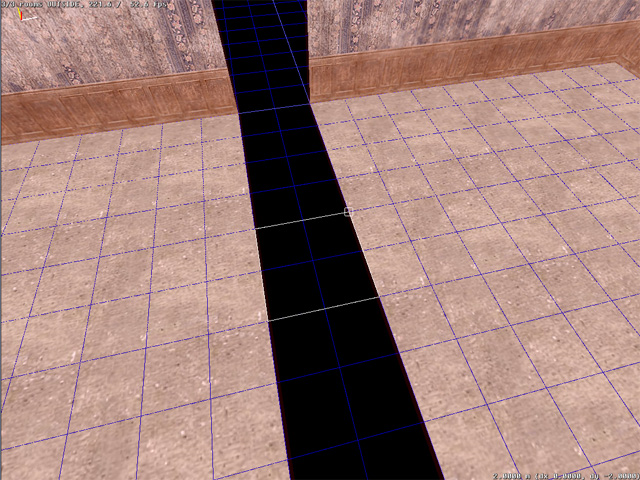
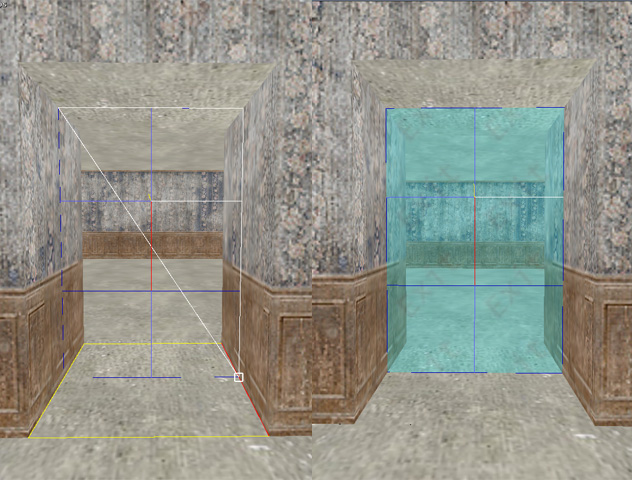
Move in front of the corridor, goto Extrude mode, point the wall (check the pic below) and press A. Now your buddy, Da Grid, is aligned to a wall. But we want to make the exit in center of the corridor. So, let's move grid. Press F12 to access Grid Mode. Still remember how to move the grid? If not, here's a reminder: To move it along its XY axis, just grab it with LMB and start throwing it around. To move it up/down, press Page Up/Page Down or hold RMB while moving the mouse. Move the grid so its located in the middle of corridor, then press F7. Now you are in Exit creation Mode, which allows you, everybody say with me, TO CREATE EXITS. Just draw it like a mesh. To get the idea, look at the pic under. Now that we have two seperate rooms, you can rename them from the Hierarchy window above texture palette. Just press RMB and choose properties. You should figure out the rest. Now to the last step, lighting.
6. Lights!
For now, we will only discuss about lighting shortly, more will follow in advanced lighting tutorial. First of all, we need a light source. Align the grid on the ceiling and draw a 1m x 1m box. Hey, the god damn polygons are inside out! No worries, just point the box in Extrude Mode and press CTRL+F. Hmm, doesn't still look like a lamp. Drop the grid spacing to 0.25m and extude it in as much as you can to make it flat.
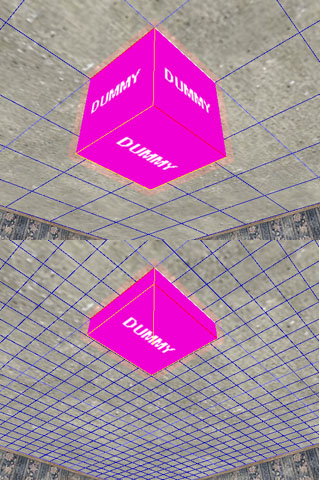
Ok, now put nice texture on it and it will do. There should be a good texture for the light in Lights category. Hmm, the lamp is all red like our rooms before seperating them with exit. Press CTRL+E in F5 Mode to bound all the meshes in all rooms to their parents, the room they are located in. Doing this Room #1 will accept the lamp as it's child. When the level gets bigger, this will take more and more time, so to join the meshes of just one room to it's parent, press E when pointing the parent in F5.
We have a light but there is no light coming from it :( To define it as a light source, goto Texture Mode (F6), point the polygon with the lamp texture and press L. Pick the colour you like and press OK. Select a room with the light and press R and answer YES to everything. After the viewport changes into wireframe (no idea why), press F2 to see the results. Hmm, what the hell, there is only a spot on the floor, otherwise it's all black! Like i mentioned earlier, this is just the basics of lighting. To find out more, head for the advanced tutorials!
7. Closure
Now that you have completed the basic tutorials, you are ready to learn advanced stuff about Geometry, Materials and Lighting. Also you can learn interesting stuff about scripting with the mysterious Serious Sam, our scripting/animating whore.