Ace Combat Zero: The Belkan War - Custom texture injection tutorial
///Description:
This tutorial covers how to add custom textures for the aircraft available in Ace Combat Zero: The Belkan War.
///Required files/programs:
-Python 3.8.5 o higher installed in your computer
-"GIM injector script" (available here)
-GIM file(s) to inject (check the "add-on" section of the ACZ to get them)
-The ISO file of Ace Combat Zero: The Belkan War:
- For NTSC-U users, the ISO file with the SLUS-21346 region code will be required.
- For NTSC-J users, the ISO file with the SLPS-25629 region code will be required.
- For PAL users, the ISO file with the SCES-54041 region code will be required.
More information about the required ISO file (taken from redump.org):
Ace Combat Zero: The Belkan War (NTSC-U):
- Region: USA
- Serial: SLUS-21346
- Version: 1.00
- CRC32: f7e98eeb
- MD5: 61c016fad9d992dee8dcb0aec2a6c31f
- SHA-1: e72c3d5fd27bcd6c71cdd1a5bee26956bc625e43
Ace Combat Zero: The Belkan War (NTSC-J):
- Region: Japan
- Serial: SLPS-25629
- Version: 1.01
- CRC32: 8b339136
- MD5: 6e6ecc556ed1092953a4caacbe08b0d3
- SHA1 : d0998f92123966adfe269af9d217ab420c5b7c49
Ace Combat: The Belkan War (PAL):
- Region: PAL
- Serial: SCES-54041
- Version: 1.00
- CRC32: 16790f3f
- MD5: d1d9cf1fc12813c694bfc33f7f2511d6
- SHA1 : 2eed2393f699ccd886428d98753a6af02b889a82
Notes:
- This tutorial (and by extension the Python script) are not compatible with with the european/japanese/other regions releases of Ace Combat Zero.
- Modified ISOs have been tested in a real Playstation 2 and some users have confirmed the game load just fine. Still, if you experience any issue I won't be able to help you.
- ISOs with aircraft added from AC5 will not work with this script.
- It goes without saying, but always make a backup of your files.
///STEP 1:
In a folder with the Ace Combat Zero ISO place the GIM INJECTOR script file, the GIM file(s) to inject and the "ACZ livery ID" text file:
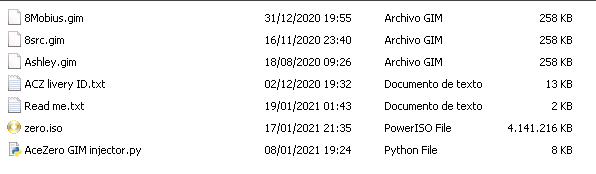
For this tutorial we will change the aircraft livery of the F-15 S/MTD, the YF-23A "Black Window" and the F/A-18C "Hornet". The livery files we'll be using are the F-15 S/MTD -GRABACR- (Ashley.gim), the F/A-18C -SORCERER- (8src.gim) and the YF-23A -MOBIUS- (8Mobius.gim), which you can get from the "addons" section of the ACZ page.
Note: There isn't a naming convention decided among ACZ livery creators yet so the GIM files can have weird filenames.
///STEP 2:
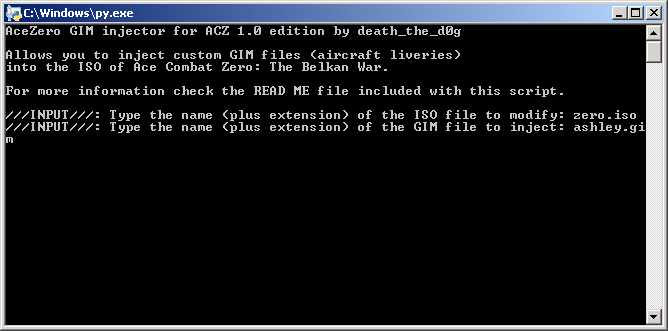
Run the "GIM injector" script and a CMD window will pop up. The script will ask you for the name of the ISO to modify:

For the sake of simplicity, for this tutorial I renamed my ISO file to "zero". Type the name of yours and hit "Enter".
Next you'll be asked for the name of the GIM file to inject. We will add the Grabacr skin to the F-15 S/MTD first. Type ashley.gim as the GIM file to inject and hit Enter again:
Now you'll be asked to type a number ID. Before typing it, open the ACZ livery ID text file and you'll see a list with the following entries:
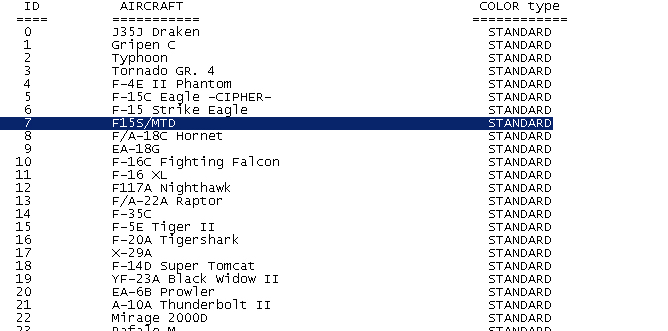
This text file contains the number ID of every aircraft and its respective COLOR. For example, if you want to inject a custom GIM file for the F-22 Raptor on the STANDARD color slot then you will need to type the number 13, or if you want to change the STANDARD livery of the F-14D with yours then you will type the number 18, and so on. Not only the STANDARD color IDs are included but also the MERCENARY, SOLDIER, KNIGHT, SPECIAL and PIXY/PJ ones too.
Since we are replacing the STANDARD livery of the F-15 S/MTD, we'll see that said livery is assigned to the number ID 7. Type that number and hit Enter again. Python will proceed to copy our GIM file and inject it into the ISO file:
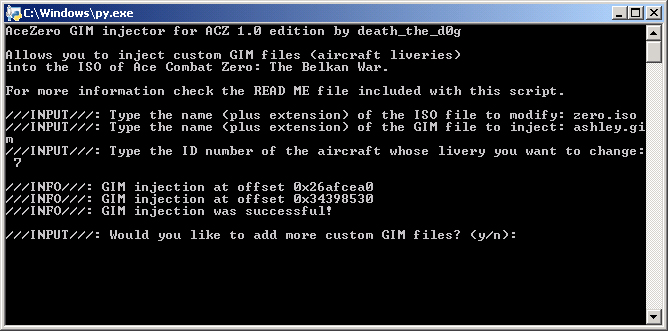
We now will check if our custom livery was properly added to the game. Type the n key then hit any key to exit the script.
Note: Do NOT exit the script by closing the CMD window because otherwise our livery won't be added to the ISO.
Run PCSX2, load your modified ISO, navigate to the Hangar and select the F-15 S/MTD. If everything went right, we should see the Grabacr skin applied to our aircraft:
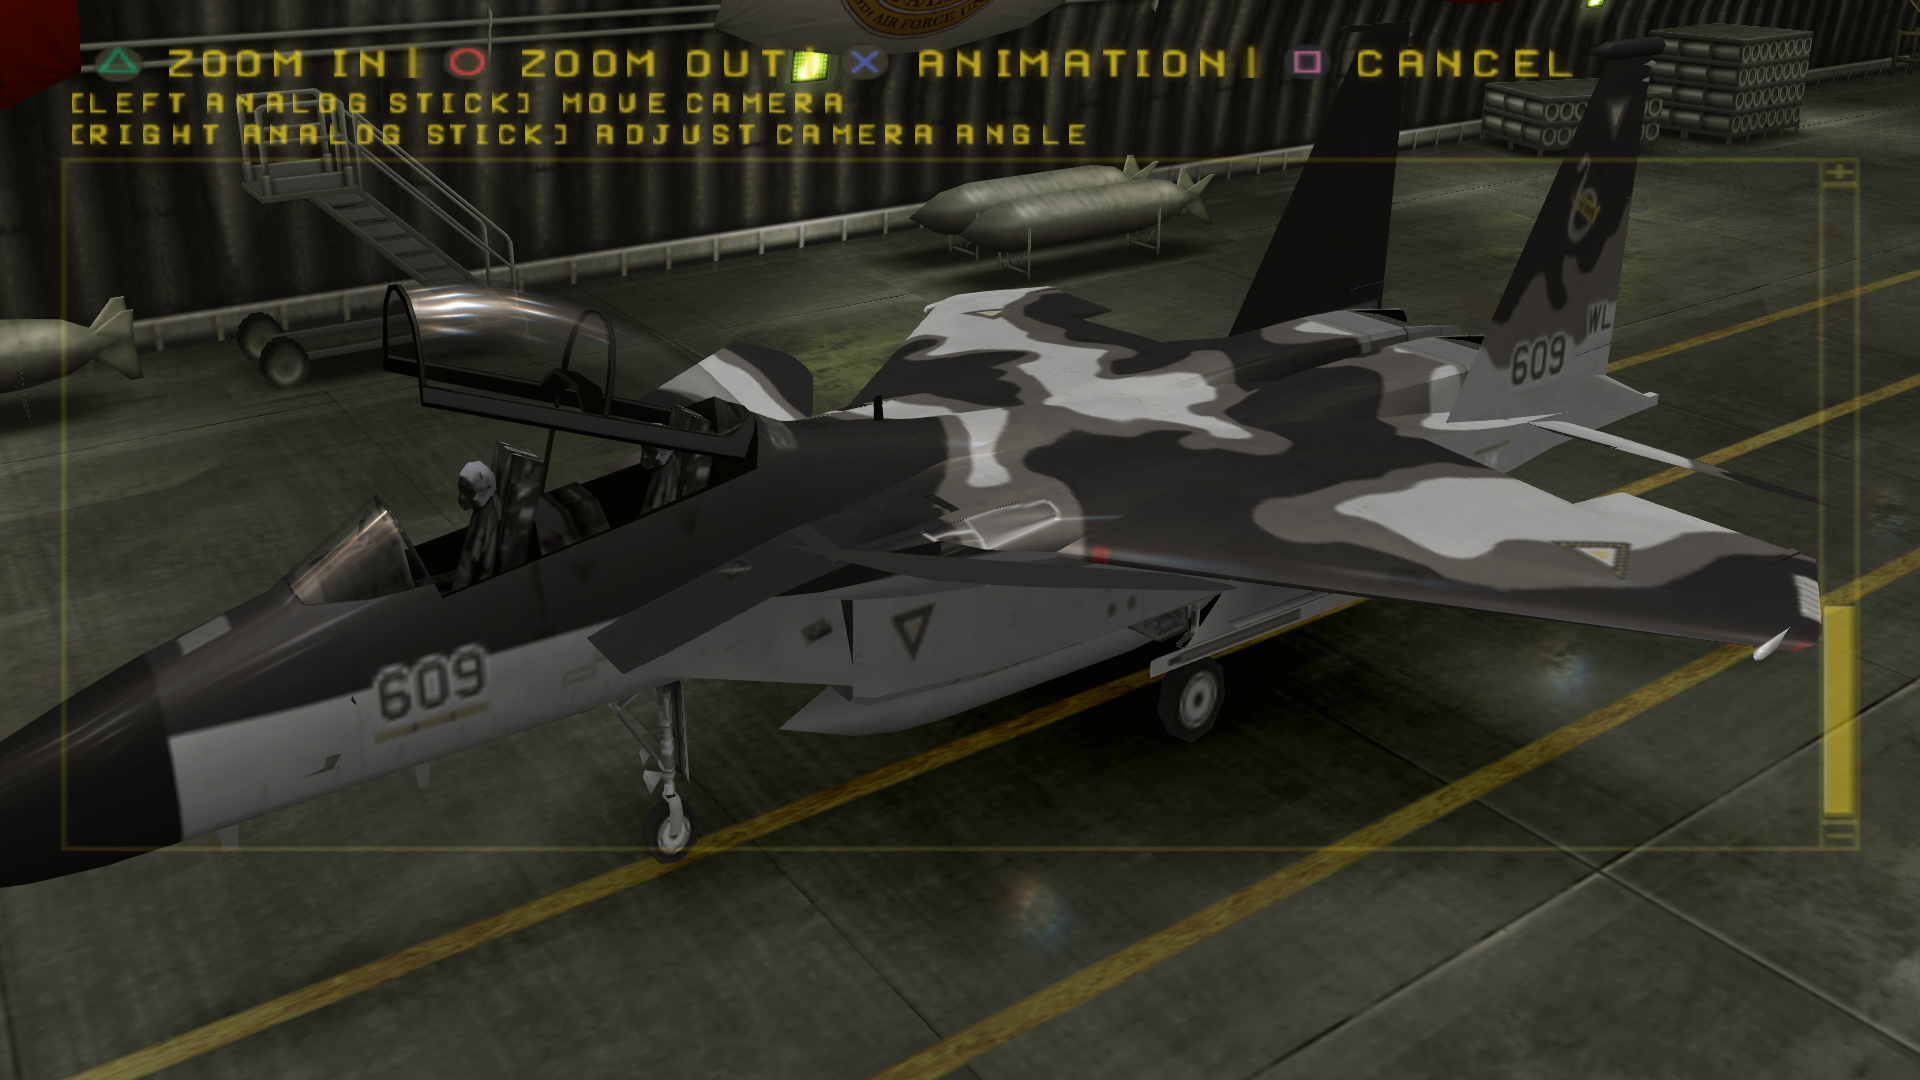
And that's it! Injecting custom textures is this easy.
///STEP 3 [optional]
It's not necessary to exit PCSX2 to add more skins to the game. Every time you cycle between liveries of an aircraft the game will reload texture file of the selected aircraft COLOR. We will take advantage of this to add more custom liveries to the game without exiting from it.
Pause PCSX2 by pressing the ESC key then run the script again. You'll be asked to type the name of your ISO and GIM file again. This time we will add our custom skins to the YF-23A and F-18C, in the MERCENARY color slot for the YF-23 and in the KNIGHT color slot for the F-18C.
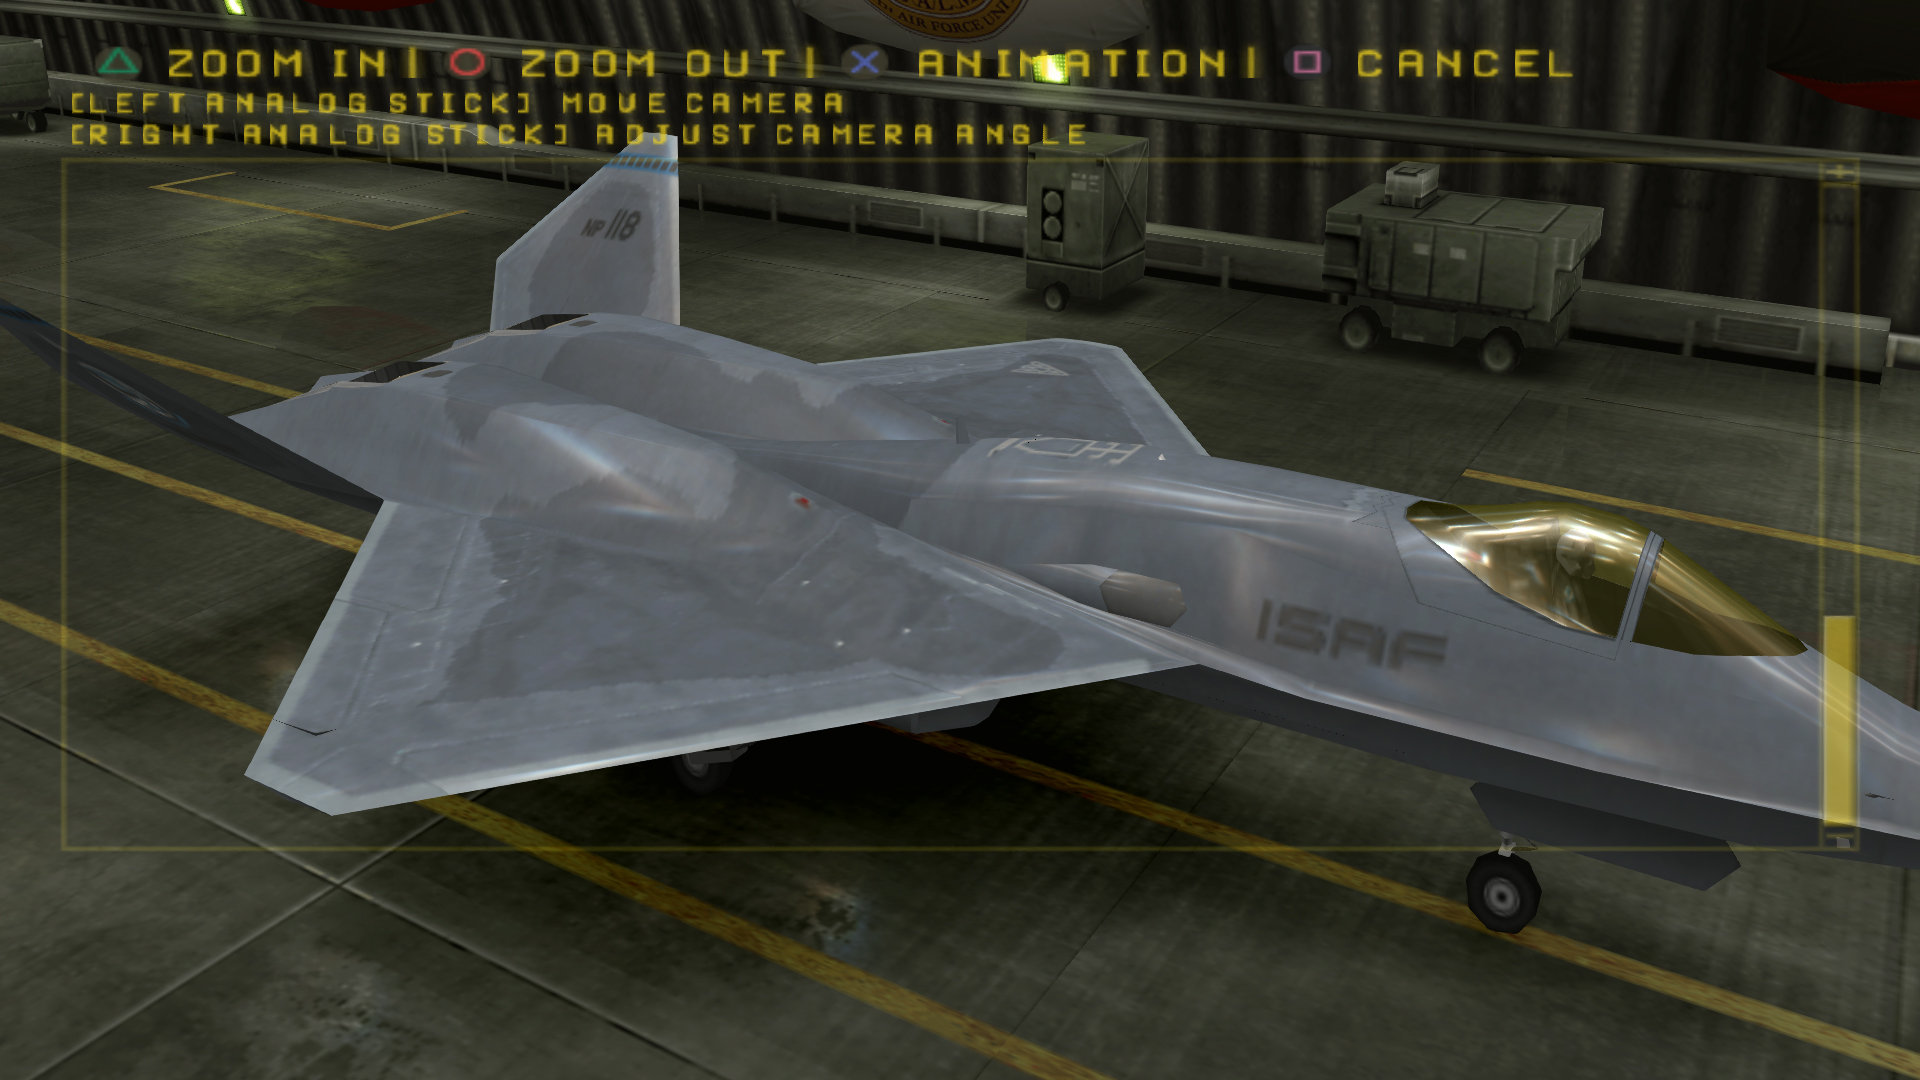
Since we'll change multiple liveries this time, when prompted to type the name of the GIM file to inject type 8Mobius.gim, which is the custom texture for the YF-23A. You'll be asked to type a number ID again so open the ACZ livery ID text file and scroll down to the MERCENARY section of the list. Look for the YF-23 entry and you will find its number ID:
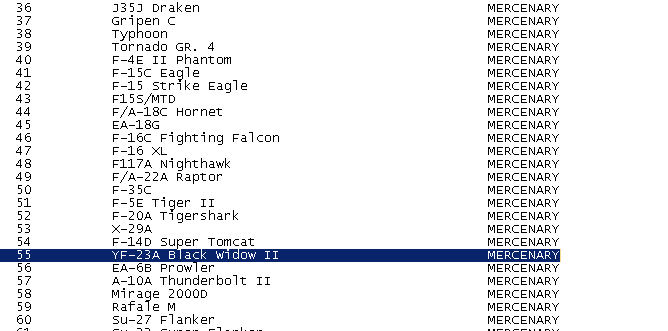
As you can see in the picture above, the YF-23A's MERCENARY livery ID is 55. Type this number and hit the Enter key. The script will again copy our custom GIM file and add it to the ISO.
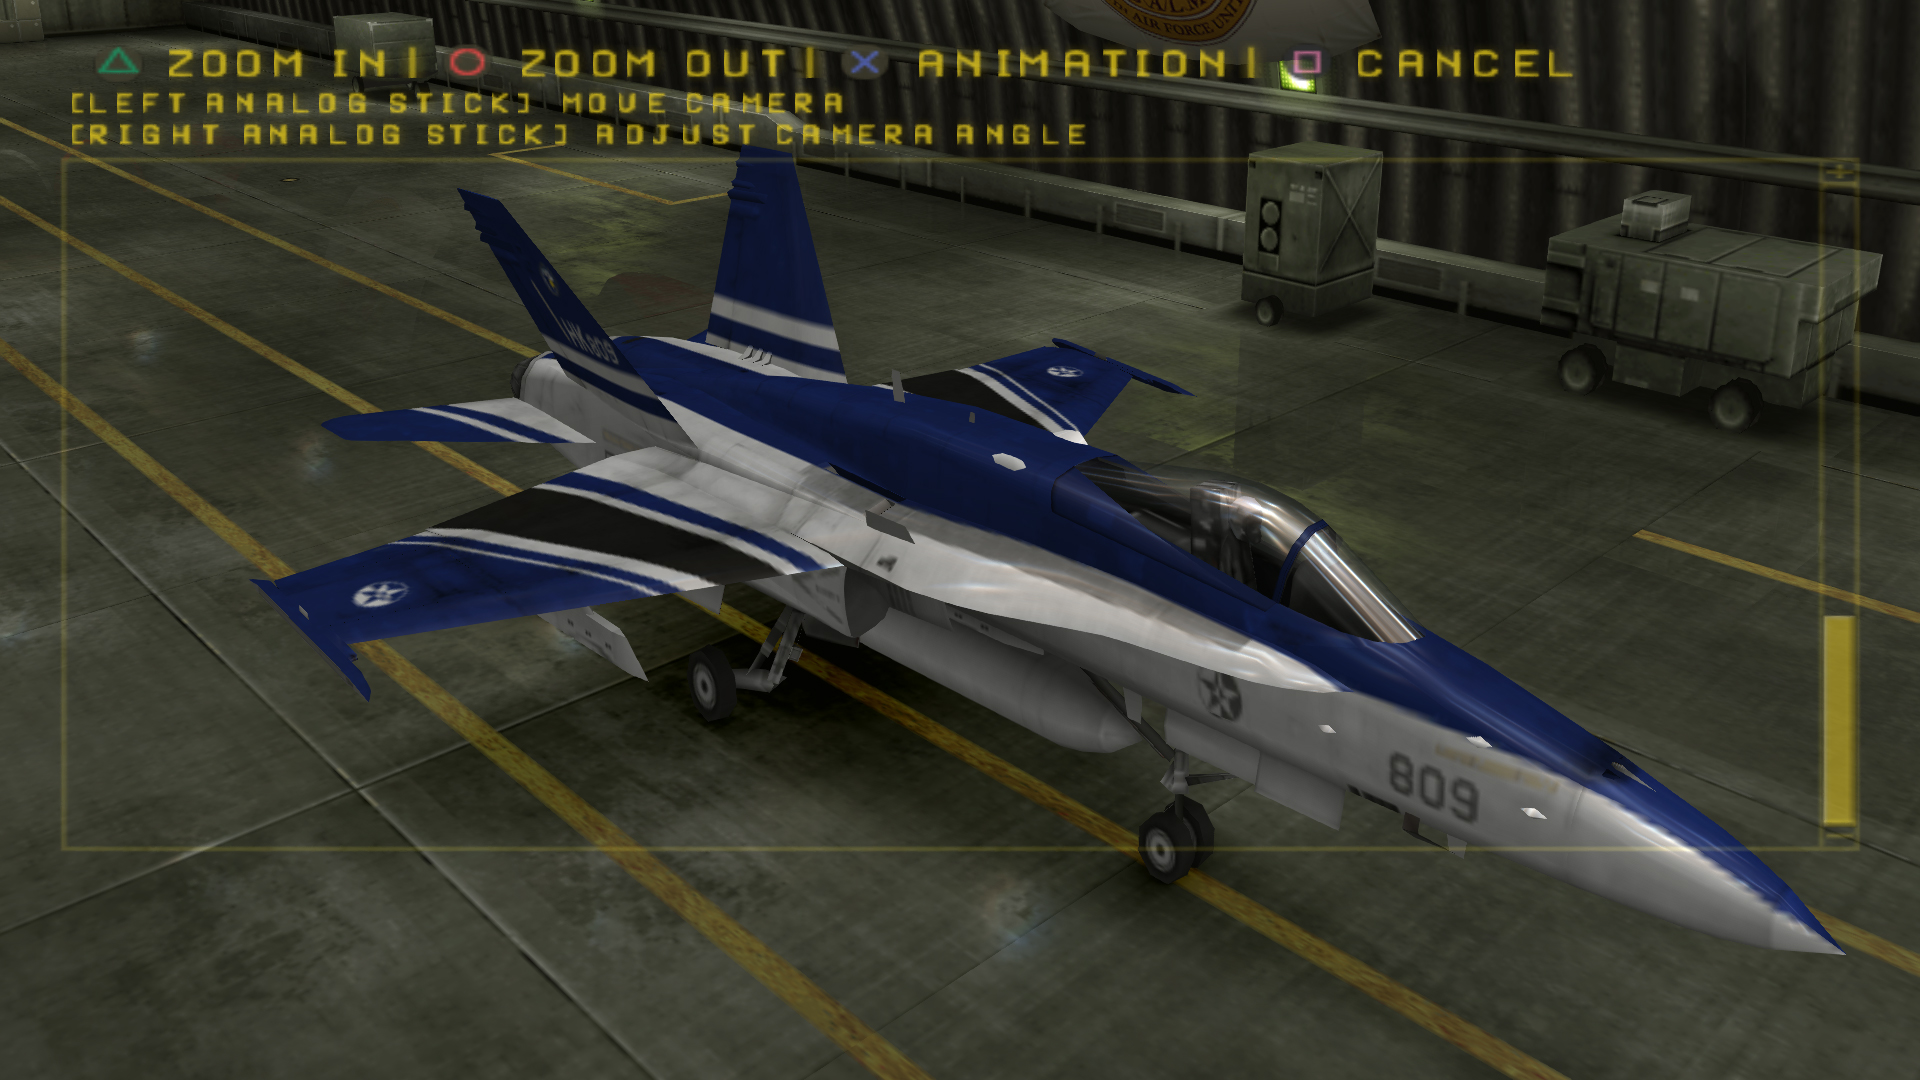
When asked to continue with the GIM injection process, type the y key. You'll be asked once again the name of the GIM file to inject so type 8src.gim, which is the name of the custom F-18C texture. Now you'll be asked the number ID of the aircraft to modify so check the ACZ livery ID file and look for the F-18C on the KNIGHT section:
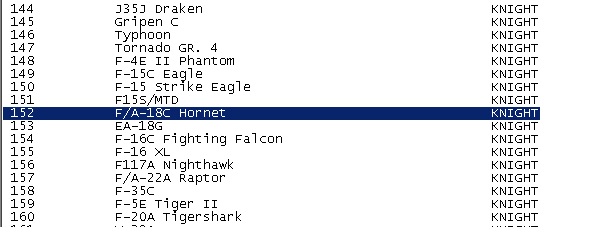
The picture above shows that the ID of F-18C's KNIGHT color is 152 so we will type that number. Hit Enter again and the script will proceed to inject the GIM file. Once done, exit the script by typing the n key and pressing any key, which will make the script exit.
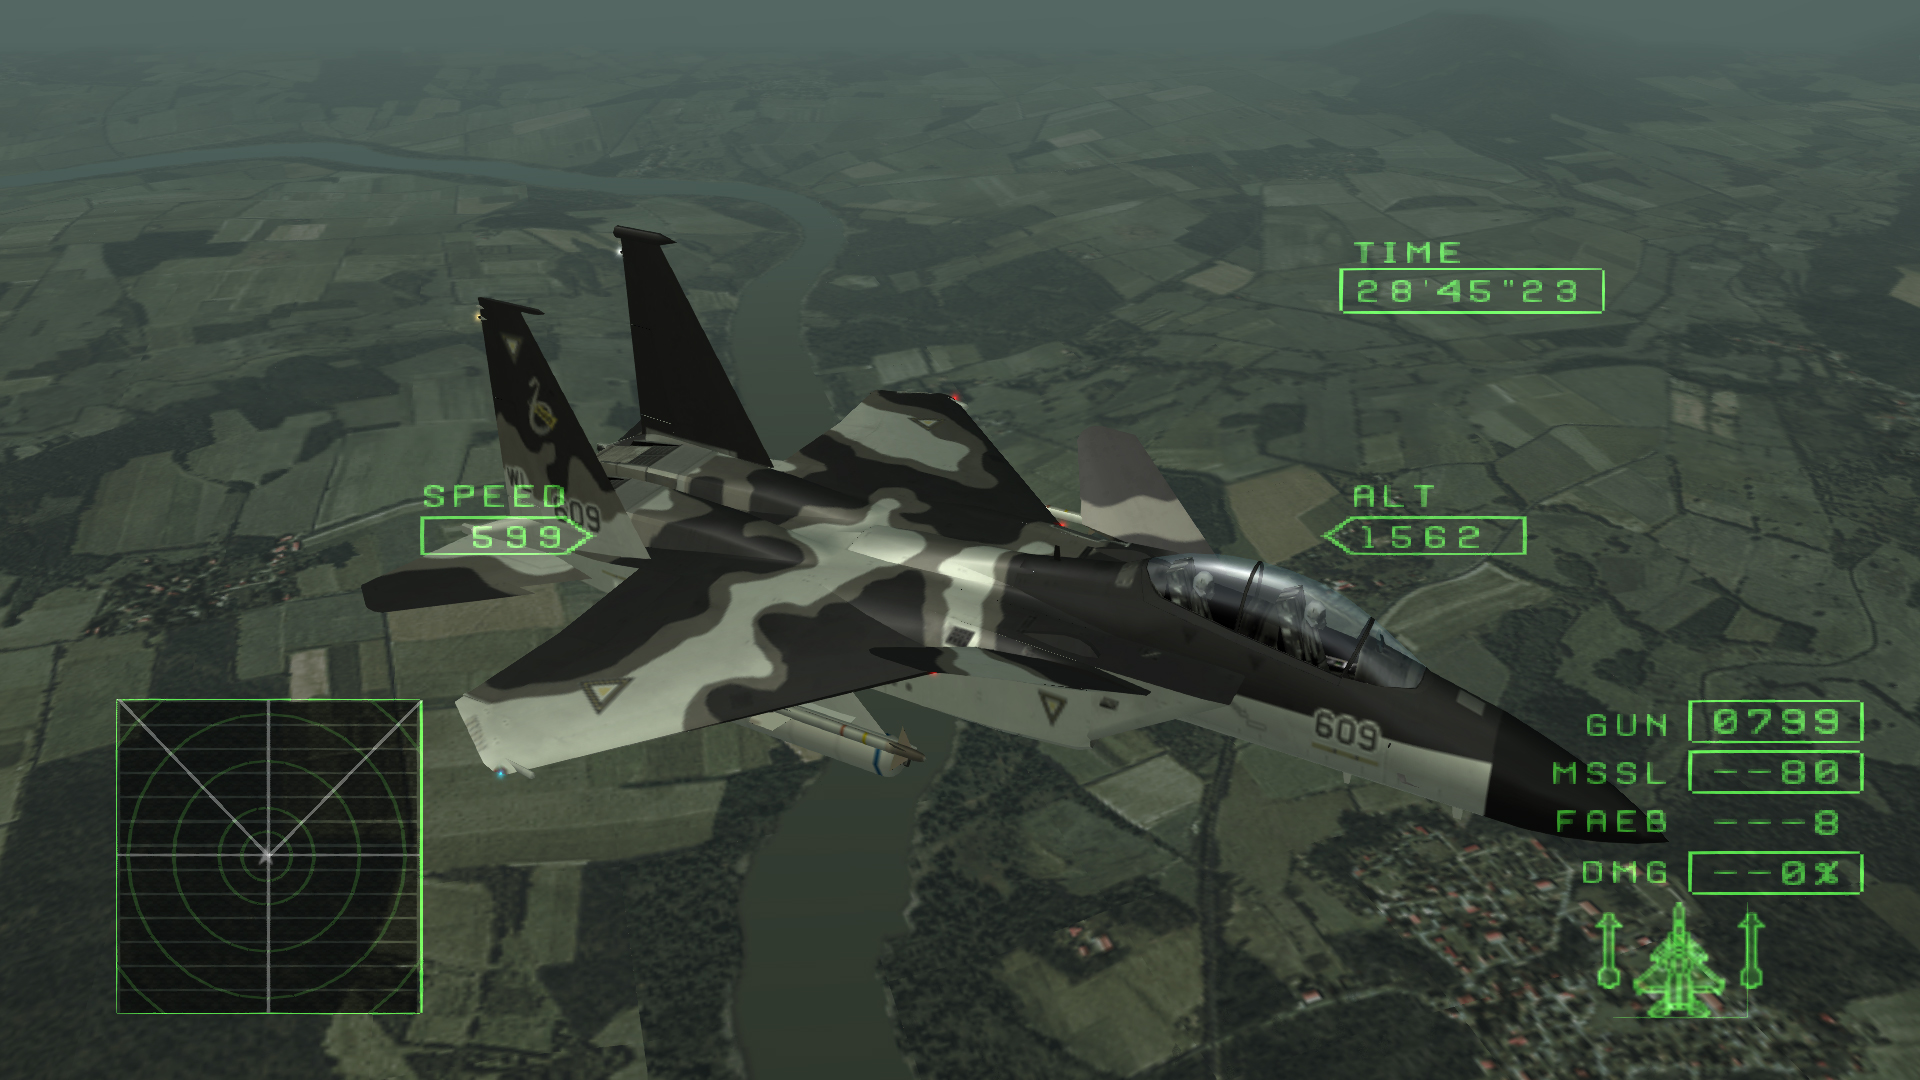
Switch to PCSX2 and resume the game. Go to the hangar, check the YF-23A and the F-18C and cycle the COLOR selection. If we everything right again then we will see our custom liveries applied to the YF-23 and F-18C applied in the COLORs we chose to change:
And that's it. With this optional step you can add as many skins you want without exiting the emulator.
///RESTORING A LIVERY
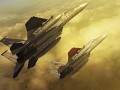
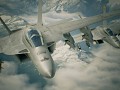
There is a chance that by accident you might type the wrong number ID or apply a custom livery on the wrong aircraft, leading to results like this one:

A custom texture for the YF-23A that was accidentally applied to a F-18C.
Luckily this is a pretty easy-to-fix problem. Just download the Ace Combat Zero: The Belkan War - Original texture pack and grab the GIM file of the aircraft you want to restore. In the case of the picture above, copy the FA-18C_Hornet_[squadron name]_[color].gim file, place it along with the script and ISO file to modify then run the script and when asked for a GIM file to inject, type the name of the file we copied. If the name seems to long to type, just rename it f18c.gim or any other short filename you might have in mind.
Well, I think this is all for this tutorial for now. The process is very simple (run script > load ISO file > load GIM file > enter number ID of livery to change > script copies the GIM file and injects it into the ISO file > inject more GIM files or exit script) but maybe the way this tutorial was writen could be difficult for newbies. I'm not a native english speaker so I apologize for any grammatical erros and any feedback on the tutorial is more than welcome.
The custom textures files shown in the example picture were made by BelkanLoyalist and ComeBackKid16 so special thanks to them for these.
Tutorial end.

It work on console I already test it F yeah
Sorry for the very late reply and thanks for the confirmation!
I have the scripts and Python installed but every time I type the name of the ISO file the script just crashes... What is going on ? Is there perhaps a chance to download ISO with all those skins installed. Also does injecting skins into game make the emulator run smoothly... Like PCSX2 has a way to replace textures while emulating, and I can do that for the HUD and one skin that I have but it is sacking the frame rate when I get the camera into third person... Without the skin it runs just fine in third person... Seems that my PC is hot too powerful...
Hey there, sorry for the late reply. Does your ISO filename contains special characters (parentheses, hyphens, commas, etc)? If this is the case remove them then try again (I suggest you a simple filename, such as "ACZ.iso", without the quote symbols obviously).
Also, what version of Python are you using?
ISO files with the custom skins added are not provided due to size stuff and the fact that are too many custom liveries available to fit into one single ISO file.
As for PCSX2's performance, sadly that goes beyond of the scope of this page and my help. Also that version of PCSX2 seems to be a WIP so performance problems will be also present.
This comment is currently awaiting admin approval, join now to view.
This comment is currently awaiting admin approval, join now to view.
This comment is currently awaiting admin approval, join now to view.