Thundering Hooves: A Guide to the Chiefdom of Khand
Playing Khand can be like one of those old Westerns, where the cowboy is stranded in the desert with no horse, no water, and vultures circling ominously overhead. In this case, the vultures are your neighbors: northward the Chiefdom of Rhun and the Kingdom of Adunabar, and southward the Empire of Harad and the Principality of Far Harad. Initially, your Chiefdom is allied with Rhun and Adunabar. But for several reasons, these alliances cannot last.
As Khand, you should think of alliances as simply temporary agreements - because your allies will. Alliances in the East are not the solid stuff of the pact between Rohan and the Reunited Kingdom, or the Dwarves and Dale. Your alliances are opportunistic, based on little more than threats and fear. And as soon as those opportunities shift, you and your neighbors will move to take advantage.
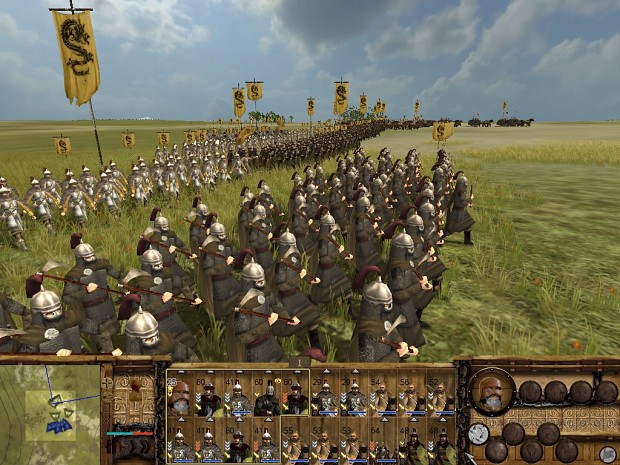
Above: Khand's heartlands. 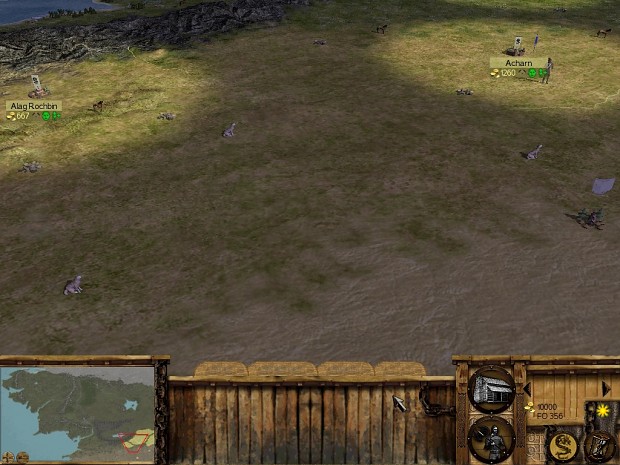
Above: Alag Rochbin, the most exposed Khandian settlement.
To the south, rebels hold sway. Westward lie the vast lands of Harad.
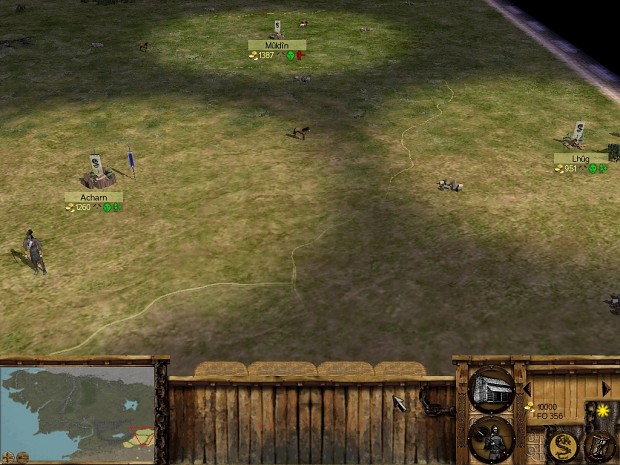
First, the independent settlement of Amrun Megor, near the mountains due west of Muldin, is an early target for both your allies. If you take this settlement for yourself (not a terrible idea, provided you are prepared for the consequences), your neighbors may attack you in turn.
Second, Lond-nurnen – the very capital of Adunabar, aside the shore of the Sea of Nurn – is required for you to achieve victory. In theory, you may wait for another faction to take Lond-nurnen, and then take it from them, in order to preserve the alliance with Adunabar, but in practice Adunabar is often able to hold on to its Nurn settlements fairly well.
Finally, your capital, Acharn, is on Rhun’s victory conditions list. If you maintain a deterring military force in the north of your realm, and are fortunate enough that Rhun involves itself with other wars, you may manage to keep them as allies for a few decades, but sooner or later they will come marching on Muldin.
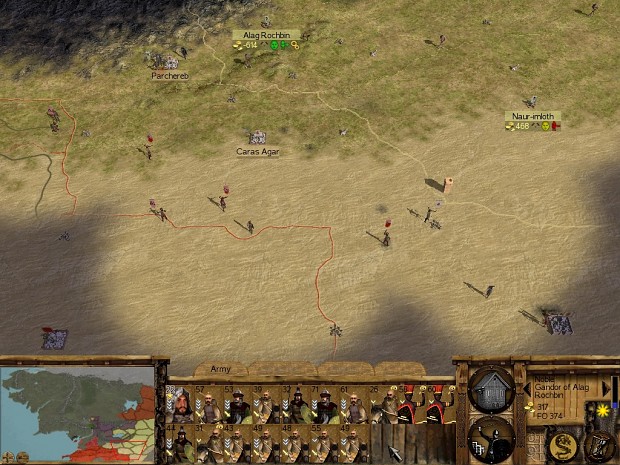
And lest you think your southern borders are any safer, the Haradrian factions you face are both aggressive and expansionistic. The several rebel settlements in the area – including Parchereb (west of Alag Rochbin), Naur-imloth (south of Acharn), and Alagos (south of Lhug) – isolate you somewhat from them initially, but you can expect both factions to attack you almost as soon as you share a border of any significant length.
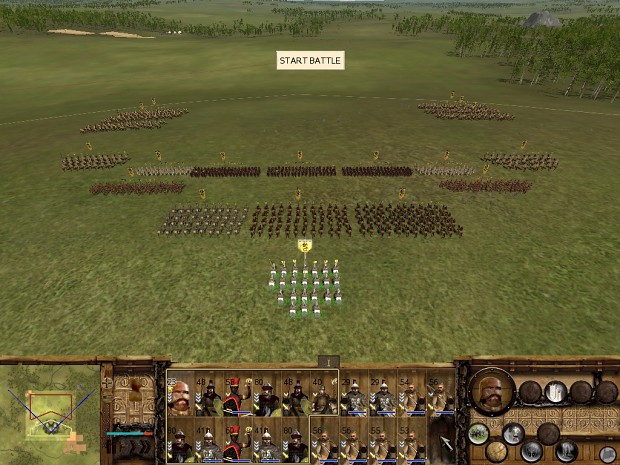
The existence of so many strong and expanding factions all around your lands means that you cannot safely leave any front unguarded. And yet, your dynasty’s survival requires that you expand – and to expand, you must commit to one theatre of war, leaving others weakened. Your first choice of target, and your fortunes during those first few battles, will have a great impact on your long-term plans. The most basic routes of expansion are presented below.
Unifier of Khand
Perhaps the most intuitive option is to head due south. Most of your victory goals lie in this direction,and the independent settlements south of Naur-imloth and Alagos are homelands for you. Bringing them into the fold will be relatively cheap and quick.
Of course, snatching up independent territory is a sure way to attract the attention of the Haradrian factions, who have much the same goal. And both of these settlements are unwalled and undeveloped. In the time it takes you to shore up their defenses and infrastructure, you will be attacked by the Empire, Far Harad, or both. And, lacking the Horses resource, both settlements cannot provide you with your higher-tier cavalry. You’ll need to keep your armies in the field and on the offense against the Haradrim in order to buy the time to make these provinces useful. If you can manage it, you can push on to take Far Harad’s capital – a notable prize, walled and wealthy – and make the war against them much easier.
Scourge of the Empire
As an alternative, you might attack Harad immediately, eschewing any pretense of peace. This may pay off in the long run, since the Empire will only grow stronger with time. The difficulty is in achieving lasting success before your other neighbors attack your homelands. While you can take Harad’s nearest town, Caras Agar, easily enough, and probably destroy the initial Mumakil army that often ends up nearby, Harad’s other settlements are several turns away, and conquering them only lengthens your borders with Far Harad while tying up your military in the west.
A scorched earth policy against the Empire can see some success – and is in keeping with Khand’s barbaric culture and playstyle. An all-cavalry force with plenty of horse archers can distract or destroy enemy field armies while you send infantry units to siege poorly garrisoned towns, then torch everything that will burn and withdraw. In this way, you can create a buffer of rebel-held territories, after which the Empire will be more amenable to a ceasefire. Your troops from such campaigns can then be turned south, to Far Harad, or north, to deal with whoever is troubling your doorstep there. Because make no mistake - by the time you drive into Harad's homelands, the northern factions will be waiting to pounce.
Bane of the Black Tree
Yet another option is to turn north. The idea here is to let the Haradrian factions alone long enough to (hopefully) go to war with each other, while you seize the initiative with an unexpected attack against either Adunabar or Rhun. Any military intervention in the north must be accompanied by good intelligence in the south, lest the Haradrians take you by surprise. But it has the advantage of yielding some productive land relatively close to your own homelands while simultaneously denying that land to two large, threatening factions.
Attacking Adunabar first will draw you into Mordor. The eastern regions of that land are not nearly so devastated and unproductive as one might think. Provinces adjoining the Sea of Nurn tend to be wealthy, and the mountains and rivers in the area offer strategic choke points.
Other prizes await in the Nurn region, in addition to the plunder to be had. Here Khand can train Vassal Macemen – strong infantry units based on Adunabar’s tradition of well-armed soldiers. These men can hold the line of battle, which is Khand's weak point. And once the dust of invasion has settled, your barbarians can dabble in the wine trade, to your profit.
But attacking these Dunedain brings with it the same risks as attacking Harad: you’ll extend your border with Rhun and leave your southern settlements potentially open to invasion. Further, Adunabar’s soldiers wear the finest armor to be found in the region. While you can field mostly horse-archer armies against the Haradrians to good effect, armor of Dunedanic make will foil many of your warriors’ arrows. A successful war against Adunabar requires different tactics and army composition. You’ll field more lancers (bodyguard units, Variag Riders, and Dragonshield Riders) and infantry (notably Variag Warriors) to set up more conventional flanking and hammer-and-anvil maneuvers.
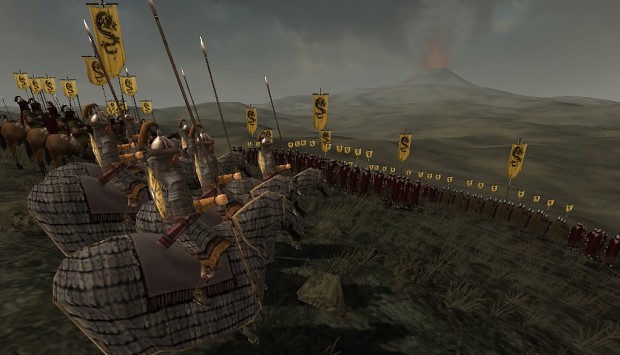
Easterling Warlord
Attacking Rhun first is the easier route, and my preferred option. Two of Rhun's towns are easily accessible: Adel, north-northwest of Muldin, and Amrundor to the northeast. Rhun's Homelands count as Fiefdoms for you (in contrast, Harad and Mordor's provinces are Outlands), and they share your barbarian culture. And capturing territory in Rhun gives you yet another assimilation unit: Retainer Wains, a version of the terrifying war-chariots ridden by the Easterlings.
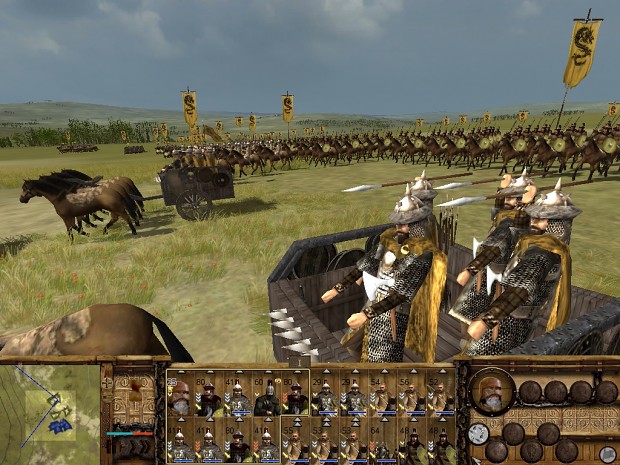
Above: Pure awesomeness.
Rhun sometimes attempts to subdue the independent settlements in eastern Mordor, but often its armies march toward Rhovanion and North Rhun, leaving its southern lands mostly undefended. The Chiefdom will be only slightly larger than you initially, but that will quickly change. Seizing the initiative while its strongest forces are on the other side of its realm may prove very successful if your invasion is well-timed.
I like to assemble a stack of around 8 Steppe Outriders (your own native troops mixed in with the mercenary version, as available), a few Variag Riders, some low-tier infantry (Nomadic Watchmen and Variag Axemen), and archers/slingers (the latter are available as mercenaries in Rhun). Train several Emissaries to act as spies before your invasion (actual Scouts are along way off), and ensure that your force will be larger than anything Rhun has in the area. Provided Rhun has sent their stronger units to other fronts, your horse archers should be able to devastate a good number of their troops, while your infantry and melee cavalry can deal with the general.
Taking both Adel and Amrundor will earn you some loot and, perhaps, a bit of respect for your High Chief. Rhun may come calling with an offer of ceasefire at this stage. See what concessions you can get from them, and keep an eye to the south and west. Adunabar and the Haradrians will be nosing around your borders if they have managed to consolidate the independent provinces in their areas; if so, you'll want to end the war with Rhun (at least temporarily) and bring your troops back to face your other neighbors.
The war with Rhun is very likely to flare up again, either because your horse-warriors are eager for more plunder to support your growing expenses or because the Easterlings want their land back. See if you can take Erebost early - it's an initially unwalled settlement south of the Sea of Rhun, and you maybe able to sack it with a lightning raid - then move your forces east to take the enemy capital, Tham. As a Chief City, Tham offers a good deal of protection, plunder, and other benefits to your faction. Its high timber walls make it a solid defensive position against further attack ... but you'll likely need to take at least one more settlement to the north (Raichost) before you feel the threat from Rhun is truly manageable. An alliance of convenience between North Rhun (if they haven't been destroyed or forced to horde), Rhovanion, Dorwinion, or even Dale could be to your advantage at this point.
Destroying Rhun entirely is usually not a realistic aim - your goal is to nullify them as a significant threat - but conquering a bit of land at Rhun's expense makes it easier for you to face off against Adunabar, by putting your military forces in roughly the same area. That's a good start. Still,lasting success against the Dunedain requires a serious investment. The Blackland Mercenaries who offer their swords around the Sea of Nurn fill a gap in your roster that you'll feel particularly strongly during your war with Adunabar: the lack of dependable, defensive heavy infantry. They charge top mirian for their services, soe mploying them almost requires aggressive assaults on Adunabar's towns. But you'll need them, since a substantial force of Dunedanic infantry is beyond the ability of your horse archers and native troops to tackle.
Lond-nurnen is the obvious goal in the region. As a Chief City, it allows retraining of the Blackland Mercenaries, and as a stone-walled Dunedanic settlement it will bee asier to hold than any other city nearby. But you won't feel secure against Adunabar's depredations until you put the rest of the Nurn region under your heel - and even then, the kingdom may be able to muster large forces against you.
The Adunabar war will drive home the main difficulty that Khand faces: you are surrounded by large factions that cannot realistically be destroyed. Instead, you'll need to constantly shift your attention to the most pressing fronts. You'll make hard decisions about when to hold on to the town your victorious troops have just bought with their blood, and when to burn and abandon the wreckage.
Perhaps nowhere is the unsettledness of the Khandian campaign more clear than on your southern front. Here, the main problem is the lack of natural choke-points with which to channel your almost inevitable war against Harad. And Harad's sprawling empire allows it to absorb your smash-and-grab raids. You'll find yourself drawn into a war with no forseeable end, in which your huge, wealthy opponent can out-train you and simply wear you down.
Since you don't have a natural border to exploit, you'll simply have to make one of your own. You want to insulate yourself from Harad; otherwise the Empire will drown your petty chiefdom in a scarlet tide. And who better to serve as your buffer than the hapless Principality of Far Harad.
If you've been lucky and left the Haradrians to their own devices, you are likely to see the Empire start trouble with Far Harad. You may be ambivalent about Far Harad yourself - after all, their capital is one of your victory goals, and there's no doubt that if they are allowed to expand they'll come for your own lands. But if the Empire has been winning the war against the desert-men, you need to step in and save Far Harad from destruction.
Train enough troops to take the two Haradrian settlements closest to your own lands: Parchereb (which Harad takes early) and Caras Agar. Take them both swiftly, and gift them to Far Harad. You may need to attach some money to the gift offer, but if they accept, you've just installed Far Harad as a flimsy bulwark against the rapacious Empire.
Above: Far Harad as a buffer state. This was the situation on the southern front for the next 80+ turns of my campaign - until I was ready to turn on Far Harad and seize their capital for the win.
Now that you no longer share a border with Harad, you'll be able to get a ceasefire from them (often for a large sum of money, to boot), and an alliance - which, if you're also allied to Far Harad, will cancel the war between the two factions (and any sieges that may be active). Harad's next move will probably be to attack Far Harad again, in which case you'll need to repeat the above diplomatic maneuver - and possibly aid Far Harad yourself, by attacking the besiegers. After a few battles during which you save these border towns from Harad's depredations, the Empire may decide that it's not worth fighting this proxy war and turn its forces against other foes. Whatever you need to do, the main thing is that you maintain a secure border against Harad.
Of course, the final move in your campaign needs to be the betrayal of your buffer and pawn. But with its lands undeveloped and troubled by siege and war, Far Harad will not be strong enough to repel your attack on its capital, the last settlement you should need for victory.
So much for grand strategy. Next, we examine the units and tactics you'll need to master as a successful warlord.
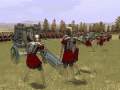
Khand's native troops are drawn from its 3 subcultures: the defensive-minded Wall-builders, skilled leaders of Khand's towns; the Men of the Steppes, swift archers on foot or horse; and aggressive Variags, axemen and lancers. Using these disparate warriors together effectively will be a key to success.
The first tier of Military Development in Khand's Homelands yields Nomadic Watchmen and Steppe Outriders. The spear-armed Watchmen are chiefly garrison troops, but don't hesitate to use them to fill out the ranks during the early years, or when you just need bodies. Most of your neighbors will be fielding similar units of low-tier arrow-fodder - the Footmen of Harad and the Easterling Warband, for example - and your Watchmen can earn their pay against those foes, or the light cavalry such factions also train. But beware when sending them against Adunabar; even the lowly, tier-1 Grim Spears are a match for many of your troops in melee.
The Steppe Outriders are the reason your chiefdom stands a chance. A horse archer unit available this early is simply a great advantage. Given the rapidly shifting nature of your wars,you'll rely on cavalry to move swiftly across the strategic map to reinforce contested borders or attack suddenly exposed settlements. And the Outriders are cheap to recruit and keep in the saddle. All of your armies should have at least 4 of these units, and perhaps as many as 10 or 12, depending on your foe.
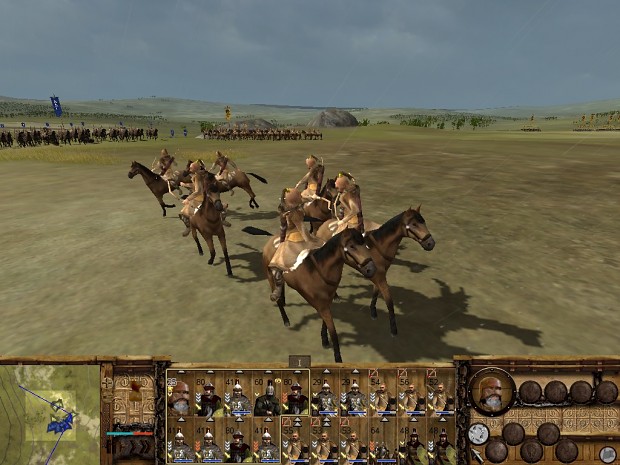
Above: Steppe Outriders doing what they do best: luring the enemy onward through a shower of arrows.
Steppe Outriders are not the solution to all of your problems, however. As you would expect, they are very weak in melee (though this shouldn't prevent you from using them en masse to swarm isolated and weakened units at need). More importantly, their short bows pack a relatively weak punch, rendering them ineffective against large armies of armored troops such as you might see fielded by Harad or especially Adunabar. So, while you will get great mileage out of all-Outrider stacks when fighting smaller field armies or the right type of foe (foot-bound and lightly armored), for the most significant battles of your campaign you will need to muster higher-tier mixed forces.
Tier 2 MD provides some of that variety. Here you will find Steppe Archers - essentially dismounted Outriders, with more men per unit, lower upkeep, and better attack. Every unit of Steppe Archers will send more arrows flying (with a better chance of hitting), and cost less, than a unit of Outriders. Of course, the mobility of the Outriders is a boon, but consider the Archers an essential front for your infantry and general.
Also at this tier you will be able to recruit your first Variag troops: Variag Axemen and Variag Riders. Axemen are a no-frills melee unit who will flounder against, say, the tier-2 axemen fielded by Rhun, but you'll still want to train them. While it's rare that your battles will be decided by a melee clash, sometimes you just need a line of shields - and these men will do well enough against enemy units that have already been torn to pieces by the arrows of your Outriders and Archers.
Variag Riders are lancers, which is a surprisingly rare unit type for a faction as cavalry-focused as Khand. They are, in fact, the fastest lancers you have access to. (The others, your bodyguard unit and the Dragonshield Riders, are weighed down by their heavy lamellar barding.) As spear-armed riders, their strength is in the charge rather than prolonged fighting. To that end - as always with Khand - you will want to weaken the enemy first with your archers before engaging with the Riders. An especially good target for their charge is the enemy bodyguard cavalry, if it is already in melee with your other troops.
At the 3rd tier of MD, you can train Archers of Khand and Horse-archers of Khand - infantry and cavalry, respectively. Don't think of these as simply "upgrades" to your Steppe Archers and Outriders, however. These Khandian units wear more effective (and expensive) armor and carry swords for close-quarters fighting. Whereas your other ranged troops prefer to skirmish away from conflict, these will hold their own as flankers and even in general melee, provided they are supported. You'll still want to train the lower-tier archers - due to the lower cost and greater numbers of men available - but when these Khandian soldiers become available, they can replace some of those units in your armies.
Tier 4 MD allows you to train your heaviest hitters, both infantry and cavalry: Variag Warriors, Dragonshield Riders, and, at your capital, Dragon Guard. The Dragon Guard (a bodyguard unit) are quite slow for cavalry, but their fear effect is of great use against the low-morale units of the Easterlings and Haradrim, and once they do slam into the foe, their lances have a powerful impact. Dragonshield Riders also cause fear (due to their appearance as unstoppable, armor-encased juggernauts), and wield bow and lance. You'll see the mercenary version of these units around your homelands well before you can train them yourself, so when you can afford it, take the opportunity to get used to their unique handling. As primarily an archer unit, they can be reluctant to switch to lances during a charge, so be sure to take them off fire at will in those instances or simply have them empty their quivers before charging.
Variag Warriors are the heaviest infantry you can train. Draped in mail from head to shin and wielding long, fearsome axes, they are hardy flankers and soldiers of the line. Be wary of sending them against javelin-armed troops like the ubiquitous Swords of Harad, as throwing spears (or missiles in general) can thin their ranks alarmingly. When you can get them in place for a flank or rear charge, they are effective at cutting down the heavily armored troops of your foes.
Above: The ominous Variag Warriors (mercenary variant) front the battle-line, backed by Archers of Khand.
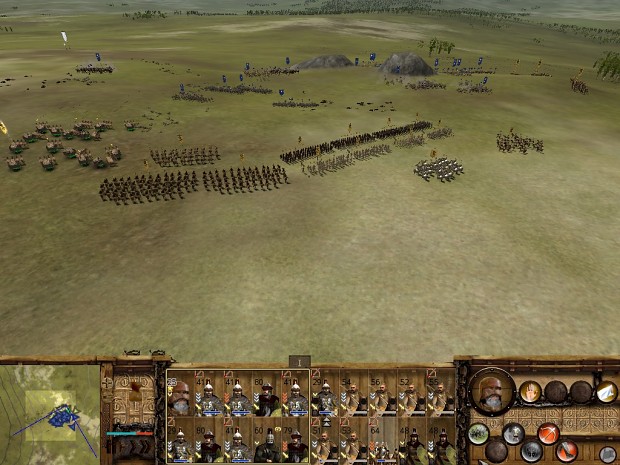
Khand's unit flexibility allows for several different army compositions. Early on, you'll field lots of Steppe Outriders, with infantry forming the minority of your armies. Later, once you can train Archers of Khand, you'll find yourself relying on fewer horse archers. Below is an army formation that saw great success against Rhun.
I opted for 6 Steppe Outriders and 2 Horse Archers of Khand, 3 units of strike cavalry (2 Variag Riders and 1 Mercenary Rhovanion Scouts) plus the general, and the rest infantry, with 2 Archers of Khand, 3 Variag Axemen, and 2 Mercenary Swerting Skirmishers, recruited in distant Far Harad.
The steppe Outriders are deployed in 2 columns ahead and on the flanks. At the beginning of battle, they'll rush forward and pepper the advancing enemy from both sides, if possible circling around to their rear.
The Horse Archers of Khand are also deployed on the flanks, but remain in a more defensive position, waiting to shoot any approaching enemy from either side.
The infantry line comprises a core of Variag Axemen, flanked by the Archers of Khand. The Archers are backed by the mercenary skirmishers - who, with their fear effect and spears, can rush forward and screen the Archers or aid them in melee.
Strike cavalry waits at the rear for charge opportunities. The general's fear effect is useful even if he's not involved in the fight.
A slightly different army composition below:
Here we have the same number of Steppe Outriders and Horse Archers of Khand, but I've included more infantry - notably 4 units of Archers of Khand and a single Mercenary Variag Warriors unit. A unit of Retainer Wains also accompanies the host.
The horse archers are divided between the flanks as usual, but this time around the Wains allow for a more aggressive use of strike cavalry. The Wains' fear effect, deadly javelins, and effectiveness against riders allows me to eliminate one wing of enemy cavalry and intimidate the enemy infantry who must approach under withering fire from the infantry Archers of Khand. (My Archers are deployed behind my axemen here as a precaution against enemy cavalry charges.) After a few minutes of such punishment, the foe withdraws from the field, pursued by my riders.
Situated at the crossroads of ancient kingdoms and rising empires, Khand is uniquely positioned to seize prominence in the region - or see its dynasty shattered by aggressive rivals. In the Third Age, Khand appears to have been a mere servant or lesser ally of a greater power, Sauron. But by striking swiftly, exploiting any weakness, and forging an effective army from its disparate tribes, this chiefdom can batter back its foes and lay the foundations for greatness of its own in the Fourth Age.