Basic ReShade (I Only Know the Basics):
The most basic thing you could do in ReShade to just turn on/off the dang shaders. Pressing the Home button will bring up the ReShade in-game editor. "Checked" on the left tiny box means the shader is on. No "Checked" means it's off.
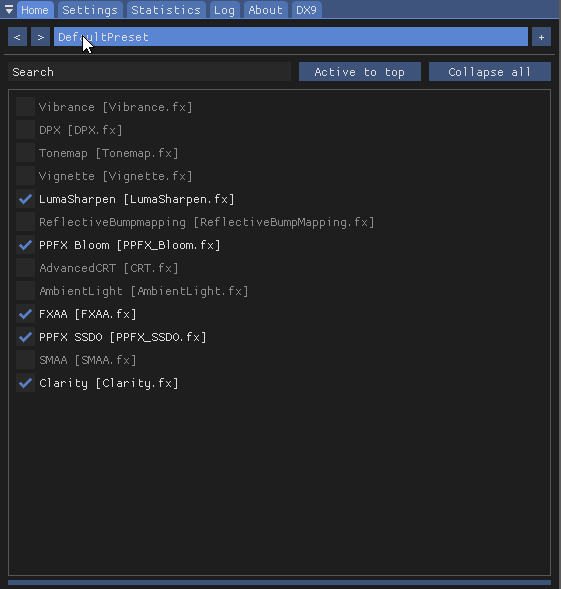
ReShade shaders could be found in the reshade-shaders\Shaders folder while the textures used in the shaders can be found in the reshade-shaders\Textures.
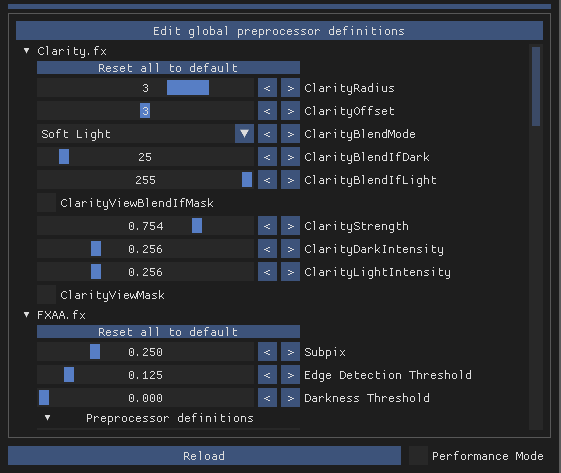
To edit the shaders, inspect the bottom section. Scrolling down through the bottom section will allow the you edit each single one of them. I'm not gonna lie to you, I don't know a lot of the values used in every single shader ever.
The notable ones that are easy and important to note is:
‣ LumaSharpen.fx: Sharpening strength. This will allow you to control how sharp the final image is.
‣ PPFX_Bloom.fx: Overall-Intensity will determine how intense the bloom effect is.
Enable HDR & Tonemap is the filter for produce the bright sharp colouring look. Disabling it will give you a more vanilla look.
pBloomDownsampling, if I understand this correctly, is the number used in division calculation when downsampling the bloom fx. The larger the number, the more performance you should have.
‣ PPFX_SSDO.fx: Intensity will determine the contrast of the indirect lighting and soft shadows.
‣ FXAA and SMAA both work as anti-aliasing option. Depending on what you prefer for Zero Hour, either one is interchangeable. I just prefer the FXAA in this case since it gives less rough edges.
There are many more ReShade shaders out there that may or may not work well with the game that I haven't checked out extensively so I encourage you to find them and share your works so other people may adapt it in the future. Or just write one yourself! Then share it with the world and me >:3
If you wish to learn more, I advise you to post on their Reddit or Discord or the maker helps you, the forums.
Adding Objects to Your Mod:
Easily done by copying and paste the Textures and W3D folder into your Art folder.
For coding, I advise you to create one a base object and use ObjectReskin to create "variants" on same object. This will help you control their values easily in the long run since all these objects don't really required custom Modules. They're only different in art assets and dimension.
You can use one object for water FX plane, environmental FX plane and the sunrays or multiple is up to you.
; ----------------------------------------------
Object BaseEnvironmentPlane

  Side = ALL
  EditorSorting = SYSTEM
  KindOf = IMMOBILE INERT

  Body = ImmortalBody ModuleTag_Body01
    MaxHealth = 1.0
    InitialHealth = 1.0
  End
End

; ----------------------------------------------
ObjectReskin Fog4096 BaseEnvironmentPlane

  Draw = W3DModelDraw ModuleTag_W3D01
    ReceivesDynamicLights = Yes
    ConditionState = NONE
      Model = VMFog4096
    End
  End

  Geometry = Box
  GeometryMajorRadius = 4096.0
  GeometryMinorRadius = 4096.0
  GeometryHeight = 1.0
  GeometryIsSmall = Yes
End
Placing Objects:
Once it's coded, they can be founded in ALL>System or other categories you've coded. You can place them in maps as you like.
For water planes, they should be placed just right above the game's water area as doing otherwise may results in weird looking water. It's also good to choose the appropriate plane size for the water area. Using a 8192x8192 for a small pond is obviously an overkill and a 256x256 for a big ocean obviously too small.
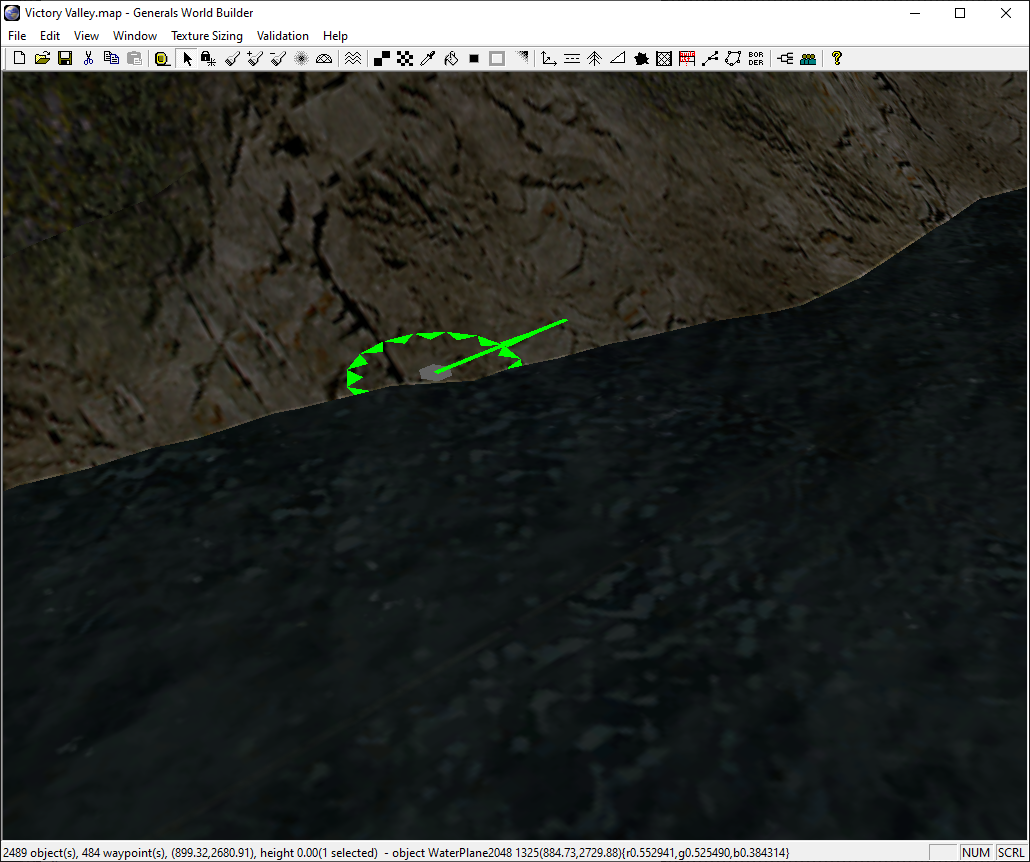
Water plane being placed just right above the water area.
Can be easily done by turning off soft edge water in World Builder
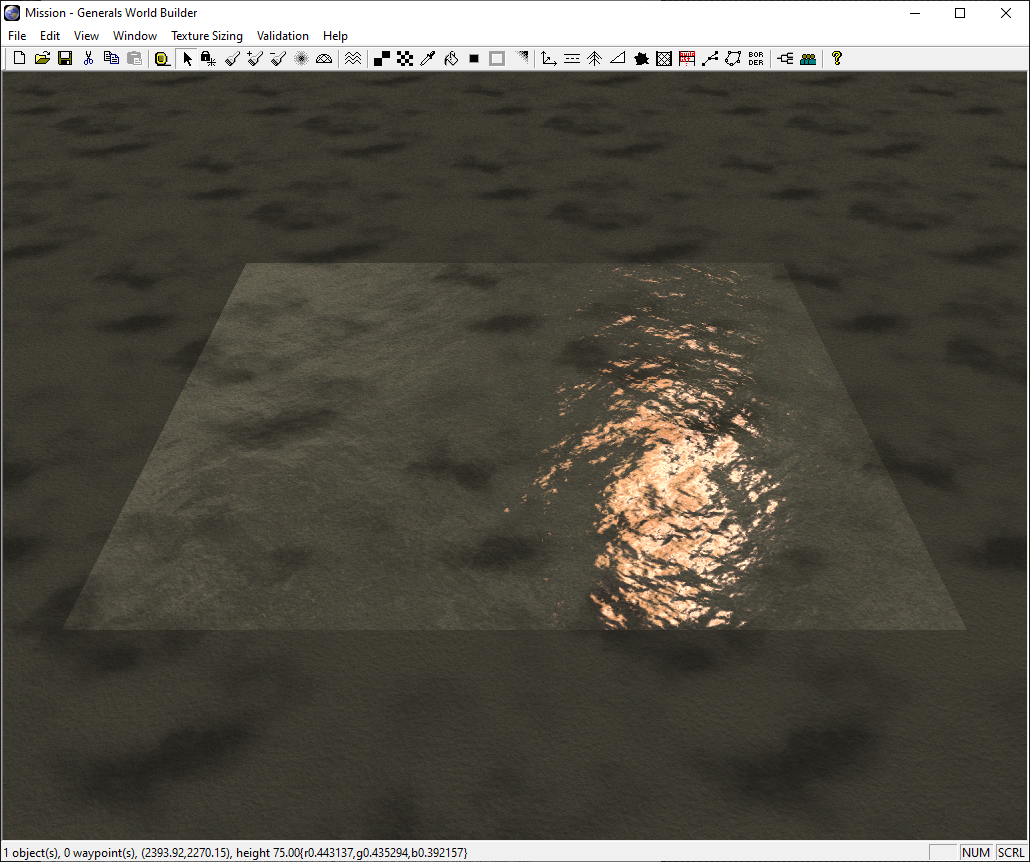
As for other objects that is environmental FX plane and the sunrays, they should be placed in the very center of the map then adjust their Z value (game height value) that works well for the map.

Environmental FX plane being placed in the center
Creating Water FX Plane:
Using the source files in the SDK, one can create new water FX planes of any size that is to 2 to the power of (256, 512, 1024, ...) but I recommend to start with 256x256.
These are the parameters for the BumpEnv Vertex Material Mapping for 256x256:
BumpRotation = 0.25
BumpScale = 0.2
UPerSec=-0.0
VPerSec=-0.0
UScale=0.5
VScale=0.5
To create a 512x512 water FX plane, you would need to create a 512x512 plane with 2 segments both in length and width. Then, to properly update the UV scales, simply just double the values:
BumpRotation = 0.25
BumpScale = 0.2
UPerSec=-0.0
VPerSec=-0.0
UScale=1.0
VScale=1.0
512x256 or 256x512 water FX plane will need different values in segments while UV scales above remain unchanged. Think of it like you're adding 256x256 planes to one another. This same concept is applied to other plane sizes.
Customising Water FX Plane:
Stage 0 Texture is the slot used for the bump texture while Stage 1 Texture is for the detail texture (Sky, Sun, Wave Noise.) The Stage 0 Texture will "distort" the Stage 1 Texture so to speak according to the texture information. Look up bump map for more details: En.wikipedia.org
And for this demonstration, I'll be borrowing Comrade Kim's beautiful face to be placed in place of the sun texture in Material #2:

His face looks almost like the sun, that's great!
Now you can apply this to the Stage 1 Textures to create any effect you want with any amount of layers. Although, it's a good thing to keep in mind that the more layers you added, the more performance it'll cost your system. I recommend using 2-3.
But keep in mind as you build many and many variants that if you adapt such techniques to let's say something like the fountains, you're going to need to do the same number of variants you do for the main water planes which can get out of hand pretty quickly. Not mention if you have multiple options for water like in ZHE. From just 7 variants, you suddenly now have to do it 126 times!
Creating Environmental FX Plane:
To make the environmental FX planes look convincing at all zoom levels, you'll need many layers going up from near ground level all the way up to space. Now, I don't know the optimal height and layer number just yet but the one I'm using right now is from 0.5 to 200.5 with 30 layers including the core one.
Now, for creating now sizes, things are much easier than creating water planes. I just use the UVW Mapping > Planar modifier and setting length and width to 256. I don't remember why I didn't use such modifier for the water so don't bother asking. Maybe it was broken somehow?
The Linear Offset Vertex Material Mapping for any planes more than 256x256 can be left as it is:
UPerSec=0.01
VPerSec=-0.01
UScale=1.0
VScale=1.0
Although, if you wanna change the direction it's moving, try changing the UPerSec or VPerSec value.
For the most important part, you'll have to randomise the UVW values of each plane (gizmo) by using a UVW randomiser otherwise, it'll look like diagonal lightrays.
Now what about something more exotic looking? I recommend you to check this website: W3dhub.com then choose the Material that looks the best for you in place of the Linear Offset, of course.
Customising Environmental FX Plane:
Well, just change the texture bruh, there's only one of them there.
If you want me to write a tutorial for something ZHE related, comment below! And feel free to support me if you want.


Nice writeup! We can almost retire this old tutorial I wrote years ago. lol Moddb.com