Original tutorial on my website: Export models from Wolfenstein: Enemy Territory
After a lot and lot of research I finally found a tool called ET-Model-Tool.
This a very useful tool for modelers and mappers for Wolfenstein: Enemy Territory and other Q3-based games.
It can also be used to export models from the very same Wolfenstein: Enemy Territory – which is my main intention.
Since Wolfenstein: ET is a dying patient finding information is very difficult, but after even more research I found, that there is a later release of the same tool, with even more options.
I present to you – Q3 Model Tool v1.60.2.
This is the very same tool, but with some bugfixes and improvements.
But now to the how-to:
- First of all you got to download the tool and extract it somewhere on your computer of course.
- The next step is the startup.
Since you are starting the tool for the first time, you will be asked for the directory of your Enemy Territory installation.
Just browse your computer and select the main directory of Wolfenstein. - Your probably already know which model you want to export and do whatsoever with. Some of the models are already in the md3-format that makes them very easy to extract and edit.
Some others are these interesting combinations of mdm and mdx files (As far as I understand those are all the animated models).
Let’s extract them!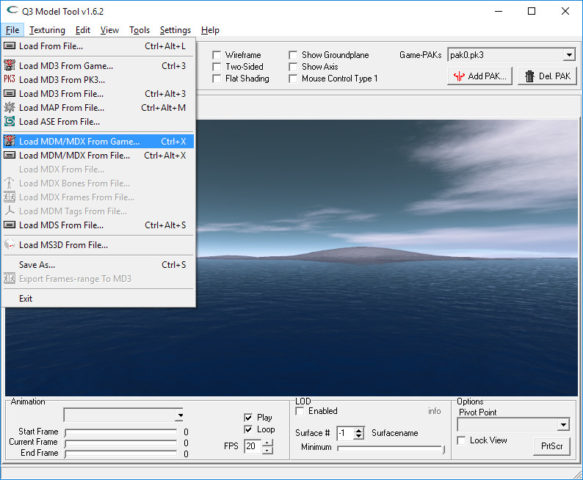
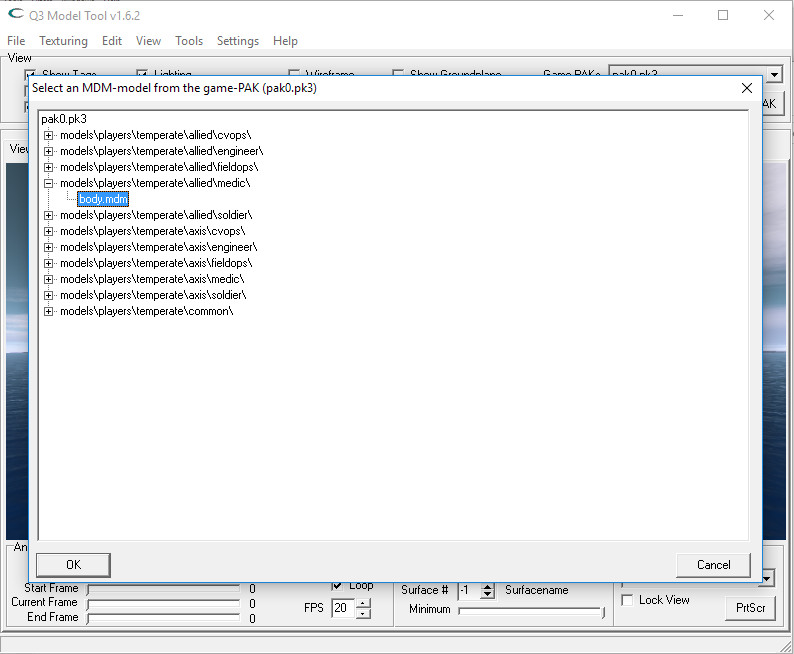
- After clicking on the “Load MDM/MDX from Game…” button you first have to navigate and select the model that you want to extract from the game.
In our case it is the body and its animations of an allied medic.
- We selected our model and now we have to select the corresponding animation-file. Those are the *.mdx files.
Since we were loading the body we also need to load the body.mdx files, because it is containing all the the animations regarding our model.
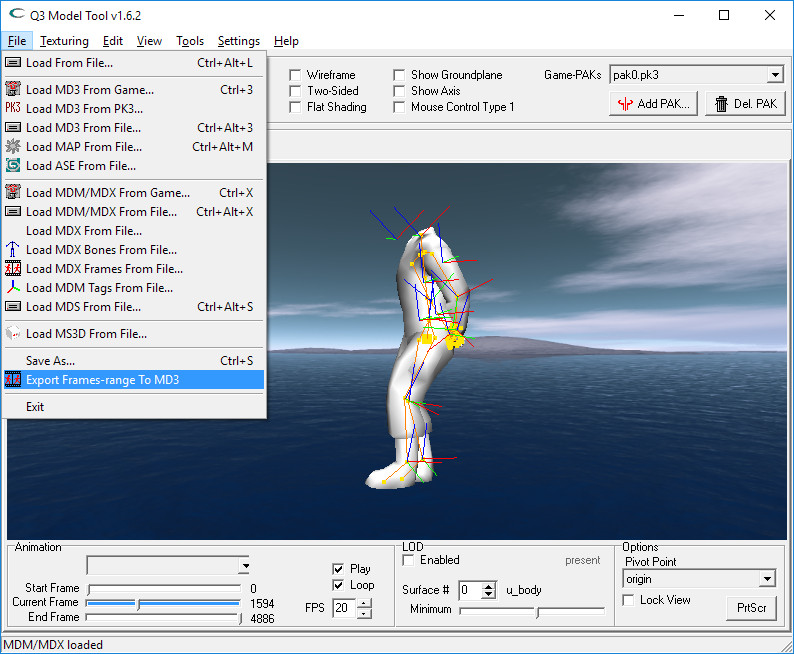
The selection of the right animation file is not that difficult since the developers kept the naming quite convenient. It only requires some common sense to do things right. - If you’ve done everything right, you should be pleased to see the model that you wished for:
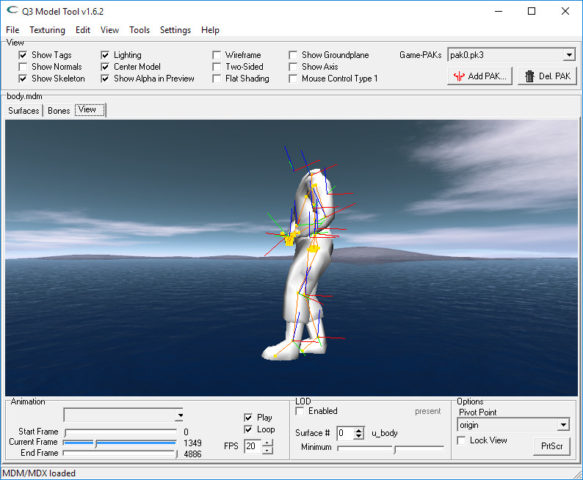
- If you want to extract a specific animation you can optionally select the range of the animation in the lower left corner of the program.
- As we want to extract the model from the game we need to export the loaded model and its animations.
Our only option is to export the animated model into the md3 file format. Just go in the main menu on the “Export Frames-range to MD3” option and follow the instructions.