Introduction
The Chronicles of Riddick: Escape from Butcher Bay ran on a proprietary engine created by the developer Starbreeze simply called Ogier. Like their previous two games, Enclave and Knights of the Temple, they released an SDK for it. Unfortunately Riddick is one of the only games I've seen that had a developer SDK created for it and yet no mods were made or released.
So I have decided to try and fix that and I'm going to upload several tutorials educating everyone on how the editor works. With the goal of teaching you how to make your own Riddick levels and mods.
This tutorial could only have been made with help from Amran from the Enclave discord server. I would've never figured this out otherwise.
What you will need
It's recommended to have completed my tutorial on importing custom textures. It's important to understand how to do that first as this tutorial follows on from that one.
You'll also need an image editing program that lets you export as .tga.
Another program you will probably need is Dragon UnPACKer. This will allow us to extract textures from Riddick's .xtc files.
Prelude
In the previous tutorial you learned how to import custom textures. That's all well and good if you want to make a custom level. But what if you want to replace something in the game itself? Be it a level texture or something more exciting like the HUD elements such as the UI cube or the menu background?
There are no entries in the registry files for many of these. Unfortunately I think they are hardcoded. But there is a way to trick the game into displaying a new texture of our own creation instead of the one located in-game. It involves creating a new .xtc file that the game loads before Starbreeze's own.
Extracting Starbreeze's textures
One hurdle we have to overcome is technical. The Ogier engine texture package .xtc is compiled. In the previous tutorial we compiled one using XWC. This means it's not easy to extract a file out of it.
However over the years people have created third party utilities that allow us to extract Ogier engine texture packages and sound packages. The one I'm going to go over in this tutorial is Dragon UnPACKer. First, download Dragon UnPACKer and install it.
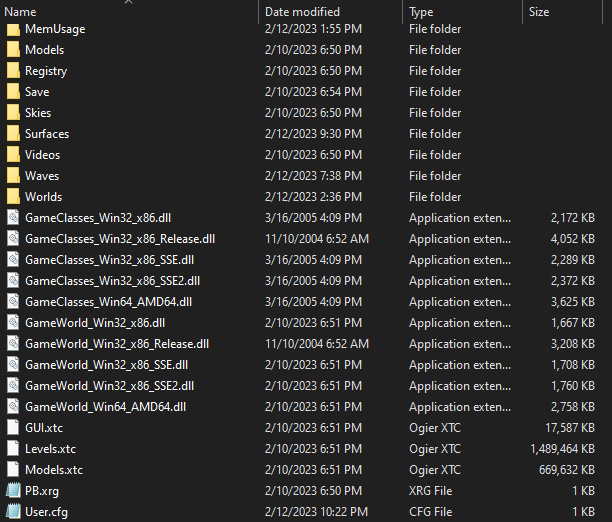
Next let's open one of Butcher Bay's .xtc files with Dragon UnPACKer. The .xtc files are located within your \content\ directory. For the purposes of this tutorial I'm going to open GUI.xtc.
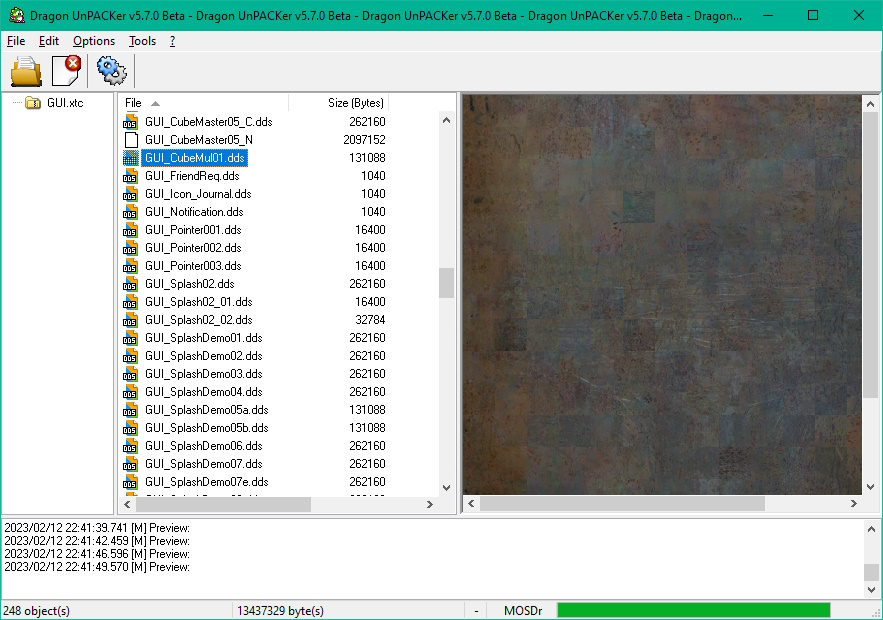
Once you open GUI.xtc you'll be greeted with this.
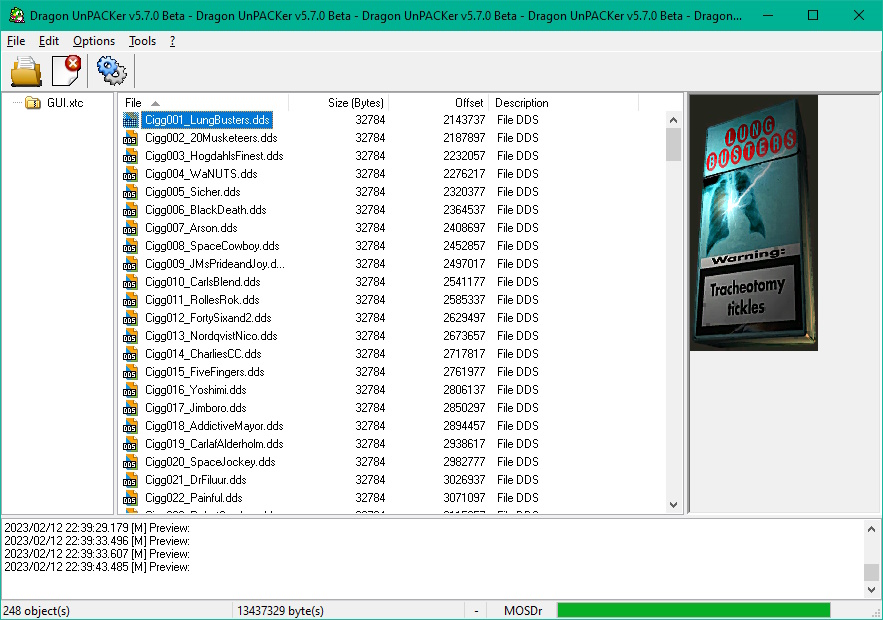
Let's scroll down the list to GUI_Cube_Mul01.dds
Right click it and extract it. Let's save it to the texture folder we made in the previous tutorial.
Now let's edit it. Let's change the texture to a different image. Like woodgrain.
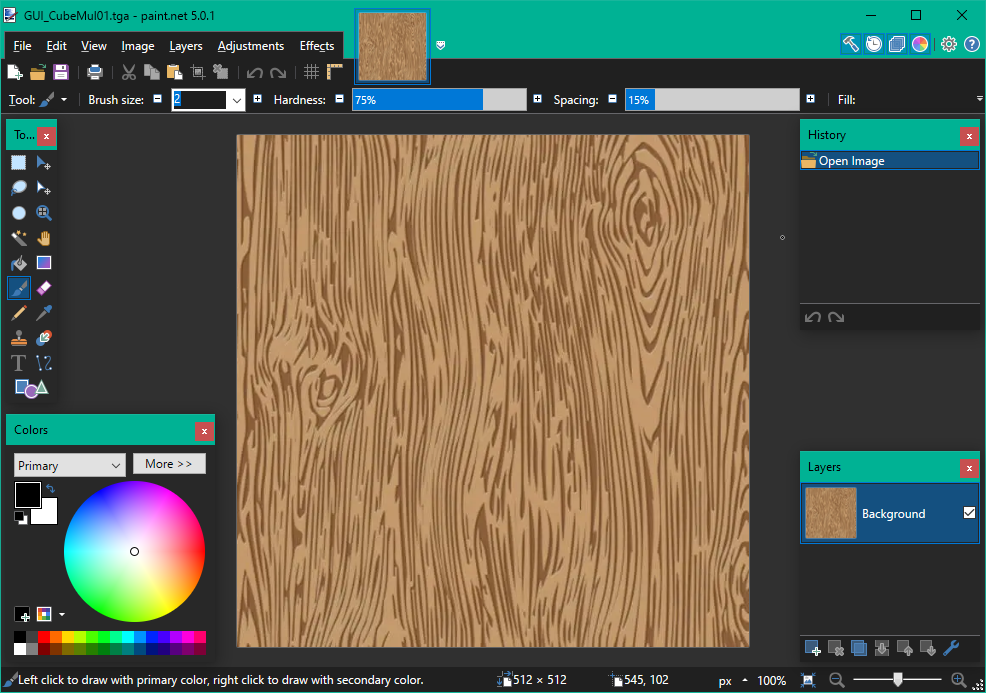
Now let's edit the .xtx and point it to the cube texture. It's very important we maintain the same name.
*TEXTURES
{
	*DESTINATION GUI_Custom.xtc
	*COMPRESSION 0
	*TEXTURE
	{
		*PATH GUI_CubeMul01.tga
	}
}
Save the file as GUI_Custom.xtx. For this process to work we need to name the file with a suffix. The game will load the _custom xtc file before the original one. We could name the suffix anything we want but _Custom will do.
Save the xtx and compile the xtc. If it appears in /sbz1/ in your Riddick directory drag it into /content/. It should now appear right next to your GUI.xtc.
![]()
Now run the game and you should see your handiwork.
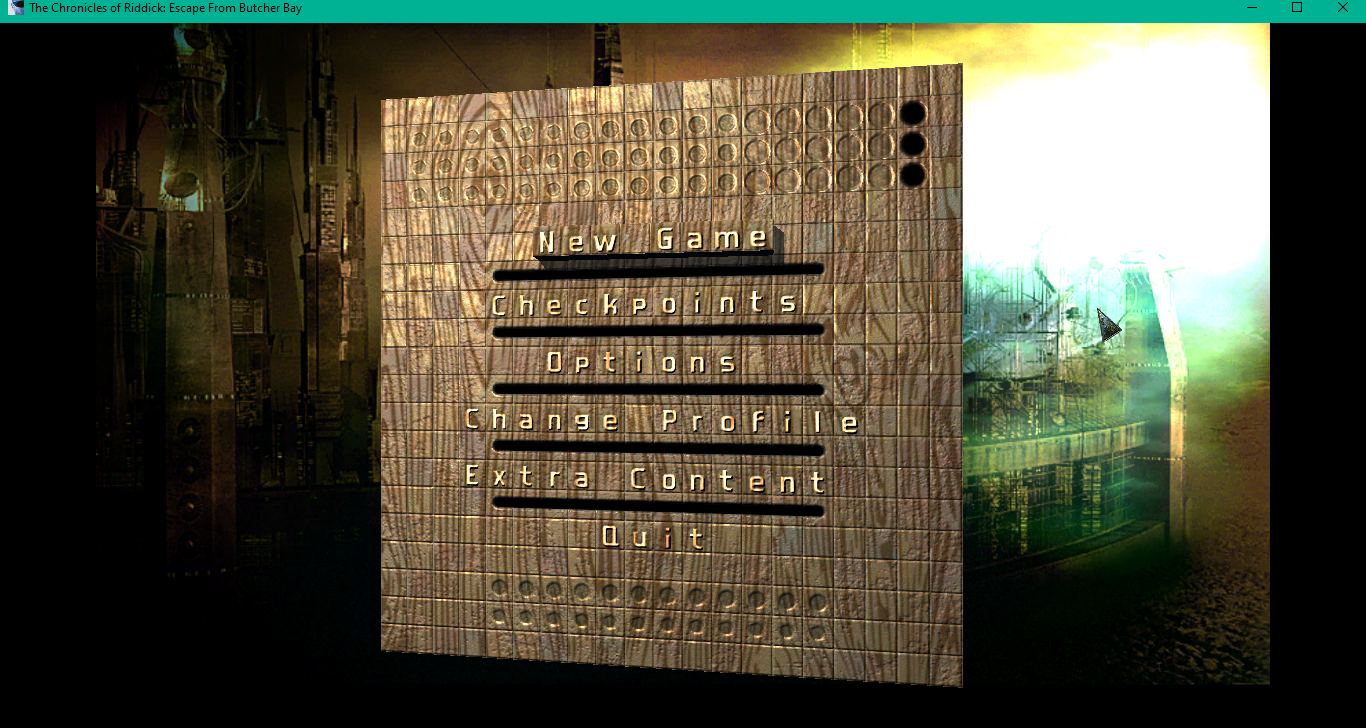
There we go. There's our cube with it's new texture. This should also allow us to replace the background texture and the font texture if we so choose. We can make something more inventive too like Clown Riddick.
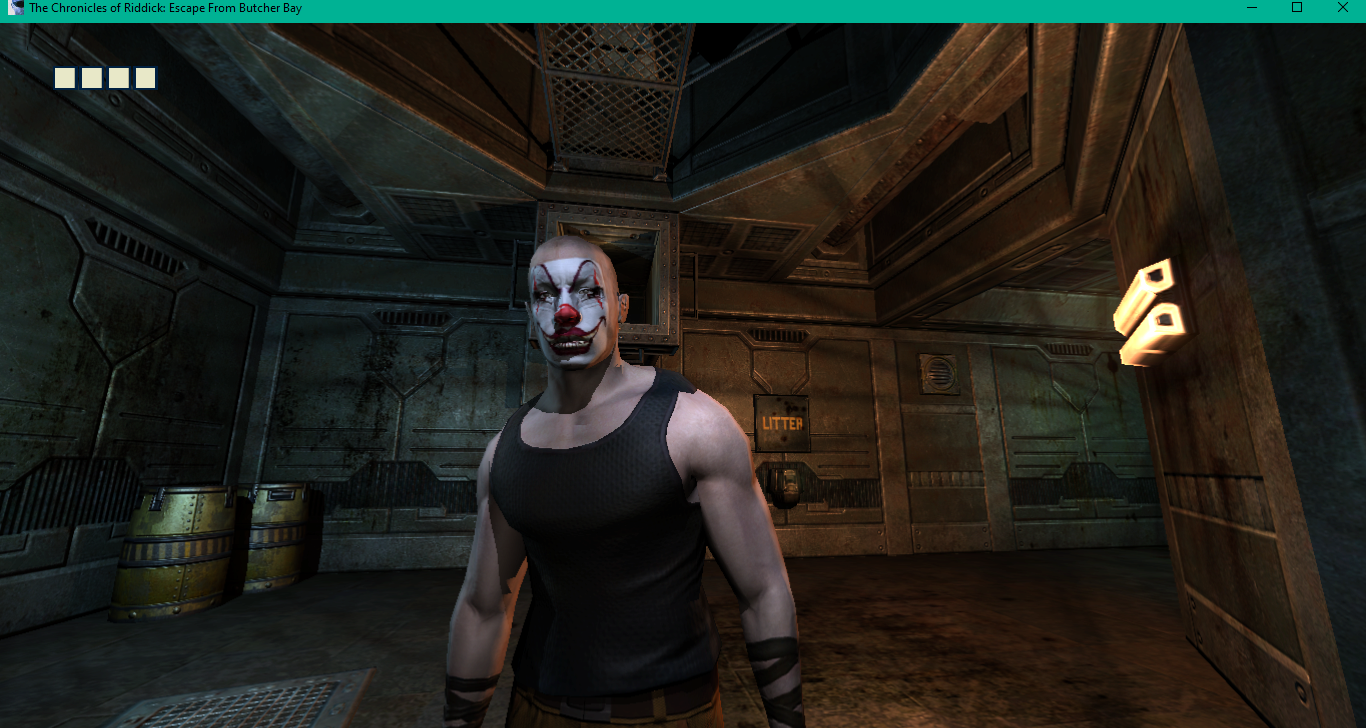
The sky's the limit as far as I can see for replacing the existing textures in the game. This method is non-destructive too so you can package a new cube or background texture with your mod. I hope you enjoy.