Hello and welcome to this first tutorial!
Today we are gonna learn how to setup our workspace.
Step 1: get IntelliJ
this is going to be our IDE, you may use others, but the devkit we are gonna use is already setup to work with intelliJ, so please:
Download and install the community edition from Jetbrains.com
Step 2: getting the Devkit
to get the devkit, please go on this page Github.com .
You should see something like this 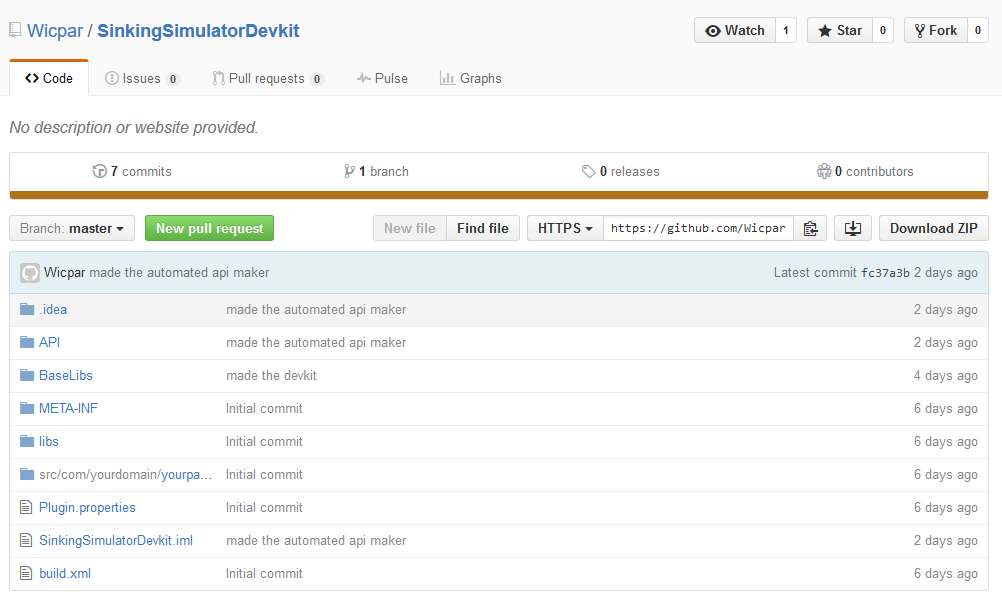 and download the git with this button
 ![]()
if you like to use your command prompt or do advanced and complicated stuff, feel free to git clone or even fork and maybe even share your improvements with the community.
Step 3: installing the devkit
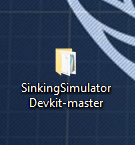
in your download, you should now have this file![]()
extract it to your desktop or wherever you want to have it and you should now have this folder
now open IntelliJ, You should see this window if it is your fist time, if not, do file + Close Project and you should see it appear.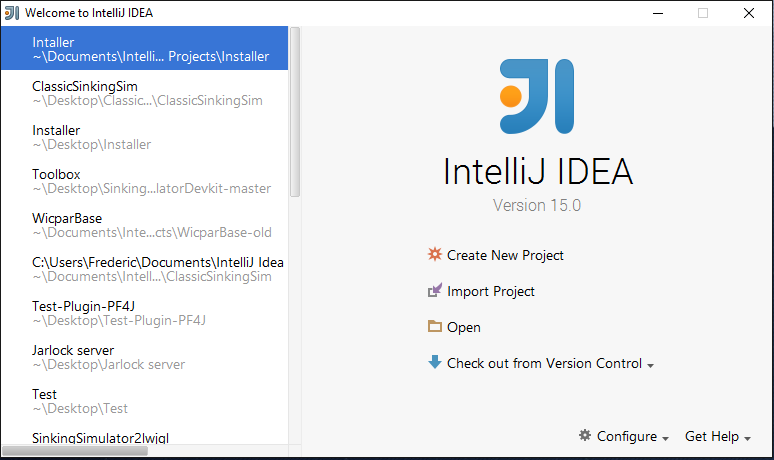
now click on open and open the folder you just created with it. It should look like something like this: 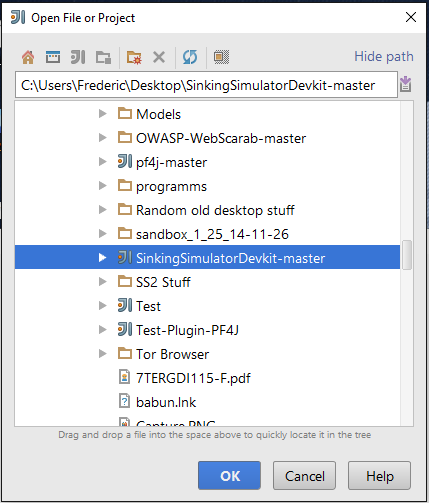
now you should see a window opening and tabs being opened, close all except the Main.java and the plugin.properties, that we will need now. on the top right you should see a prompt saying you have an invalid vcs mapping, click on configure and you should see this line: 
click on git and select "none" on the roll-out menu. if you want to link it to your git, go for it, but I will not go into these details in this tutorial.
Now click on apply on the bottom right of the screen and close it. you should be back on the main page and go to the plugin.properties tab if not there.
If you have troubles navigating, please look at this page Jetbrains.com and other peoples videos on how to use IntelliJ, It should be quite fast to learn.
Step 4: plugin configuration
Now that you are on the plugin.properties, you should see something like this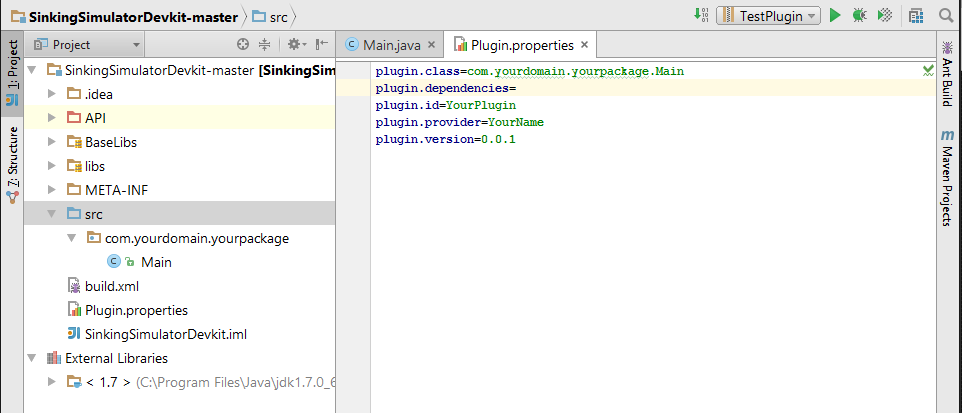
plugin.class is the path to the plugins Main class. Please do not touch unless you know what you are doing. It should change when you change the Package structure with refractor->Rename.
plugin.dependencies are the dependencies that the mods needs. We will use it in later tutorials to mod mods.
You wont be able to mod mods without declaring dependencies as java would block your mod and make it inactive or even crash the game.
the syntax is the following:
plugin.class=com.yourdomain.yourpackage.Main
plugin.dependencies=PluginA, PluginB, PluginC
plugin.id=YourPlugin
plugin.provider=YourName
plugin.version=0.0.1
plugin.id is the id of you Plugin. It is the one people will use in Dependencies and the game will you to identify you. It has to be unique and in one word.
plugin.provider is who made the plugin, so it is your name
plugin. version is the version of the plugin. it is configured the following, quoted from the Plugin Library I use:
Releases will be numbered with the follow format:
..And constructed with the following guidelines:
- Breaking backward compatibility bumps the major
- New additions without breaking backward compatibility bumps the minor
- Bug fixes and misc changes bump the patch
more info on plugins may be found here: Github.com