The third part of the Devlog about monsters and the process of their creation is finally here!
In the meantime, we have released a Demo of RIN that you can download for free on Steam. Thank you very much for playing and for your feedback! (We addressed some of the comments and have already introduced some improvements!)
Now let’s move on to the last part of the monster’s Devlog. In the previous part [Devlog #6: Monsters & Creation process] we discussed the design process. Today we will try to present this process more closely on the example of Shildar with more technical details.
What happens after design?
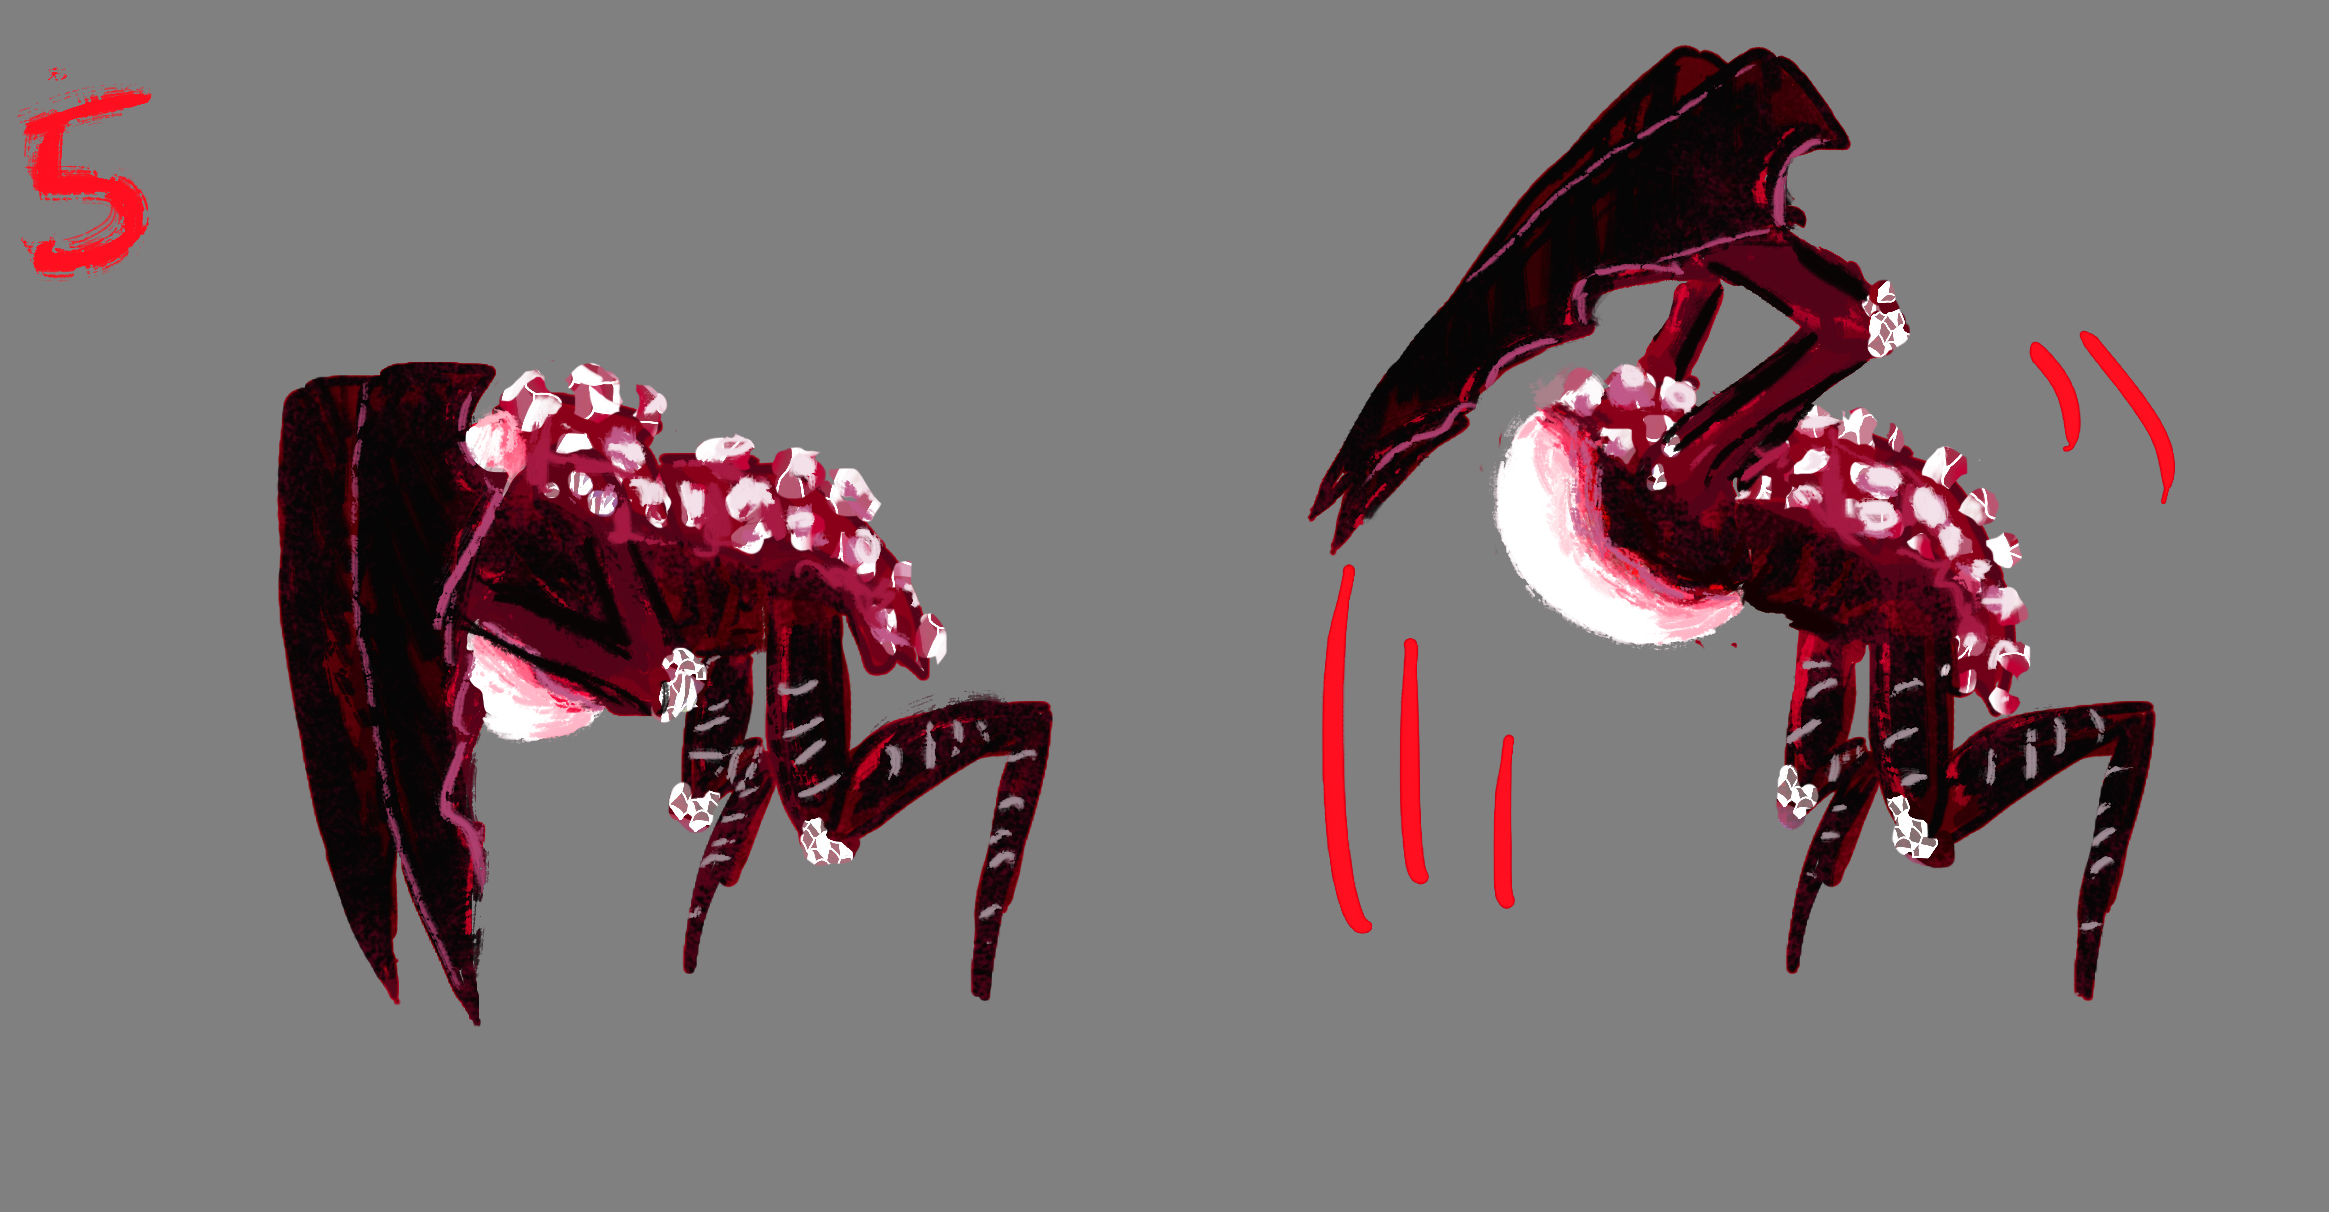
After the brainstorming and designing era, we had the final image of the monster. But Shildar still needed to be brought to life with some animation!
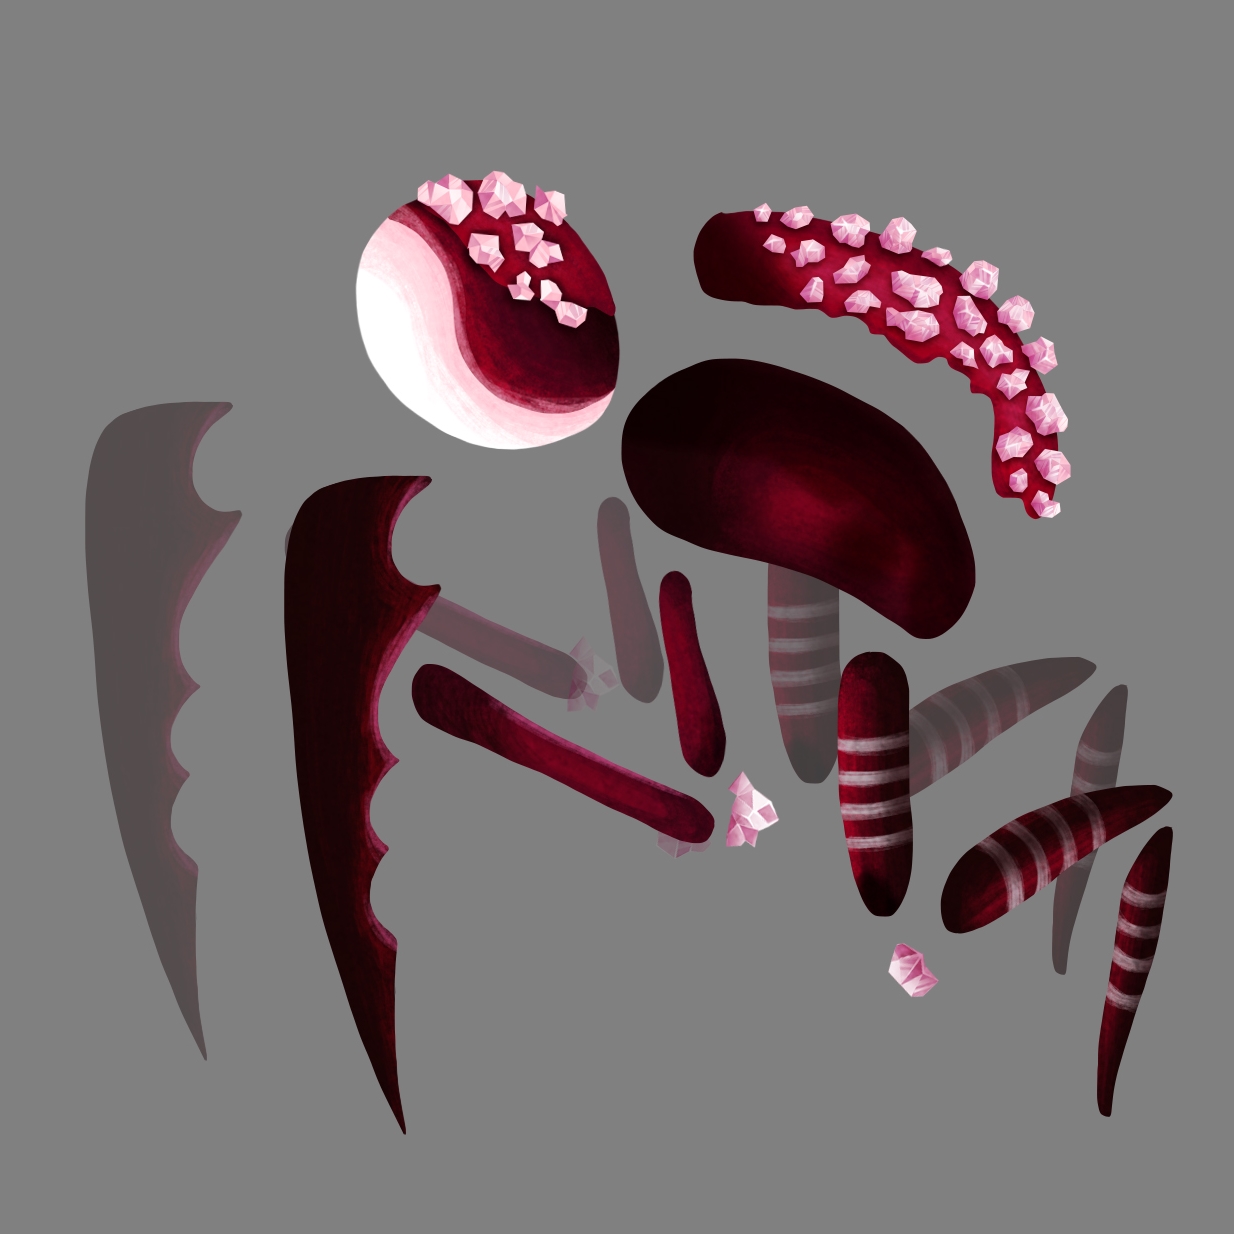
We started with the animation process, for which we had to have suitable graphics. The entire Shildar art had to be properly cut and prepared for further editing.
Animations
We’ve made a mesh for all graphics in Spine. These meshes helped to reduce any distortions or bends and allowed us to build a 3D effect on flat 2D pictures. After preparing them, we moved on to building the skeleton. We often used Inverse Kinematics Points to make our work easier and to achieve more natural movements.
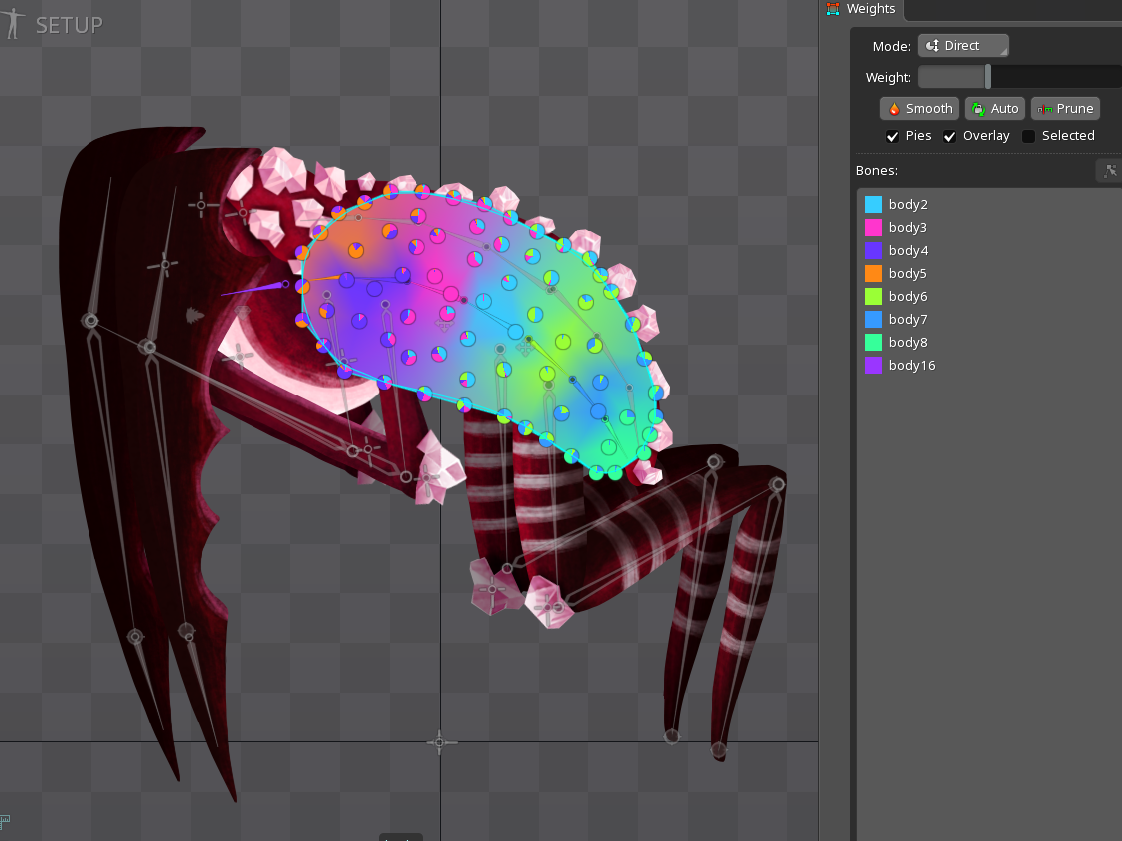
Once we had the skeleton, we attached the graphics to the corresponding bones. Through the Weights System, we could influence how much the movement of a given bone affects the selected area.
After these steps were completed, we started creating the final animations. We tried to make them dynamic, so we followed the principles of physics to make them as convincing and attractive as possible. Then, we exported the finished animations to the Unity engine.
Implementing
Having the prepared animations, we could finally implement the necessary mechanics, combine them, and put them in the game. We have implemented the mechanics of monster behavior in the form of separate scripts that are run using the Finite State Machine. We used the Playmaker tool to create it.
The Finite State Machine must have specific transitions between each state, which we obtained through iterative preparation of the behavior tree at the design stage.
Playmaker - state tree
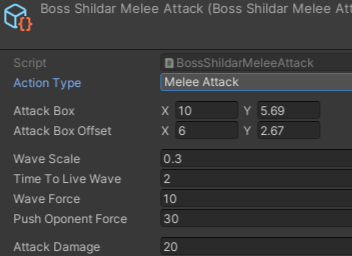
Each behavior of the monster is implemented in the form of a Scriptable Object. Thanks to this solution, the balance of monsters is faster and easier because we do not need to change the code. We only need to put different values in the Unity editor to make adjustments.
Unity - editor
Only the animation transitions were missing to fully revive the Shildar. In this case, we used the Animator, in which we created a similar tree of state transitions.
Animator - state transitions
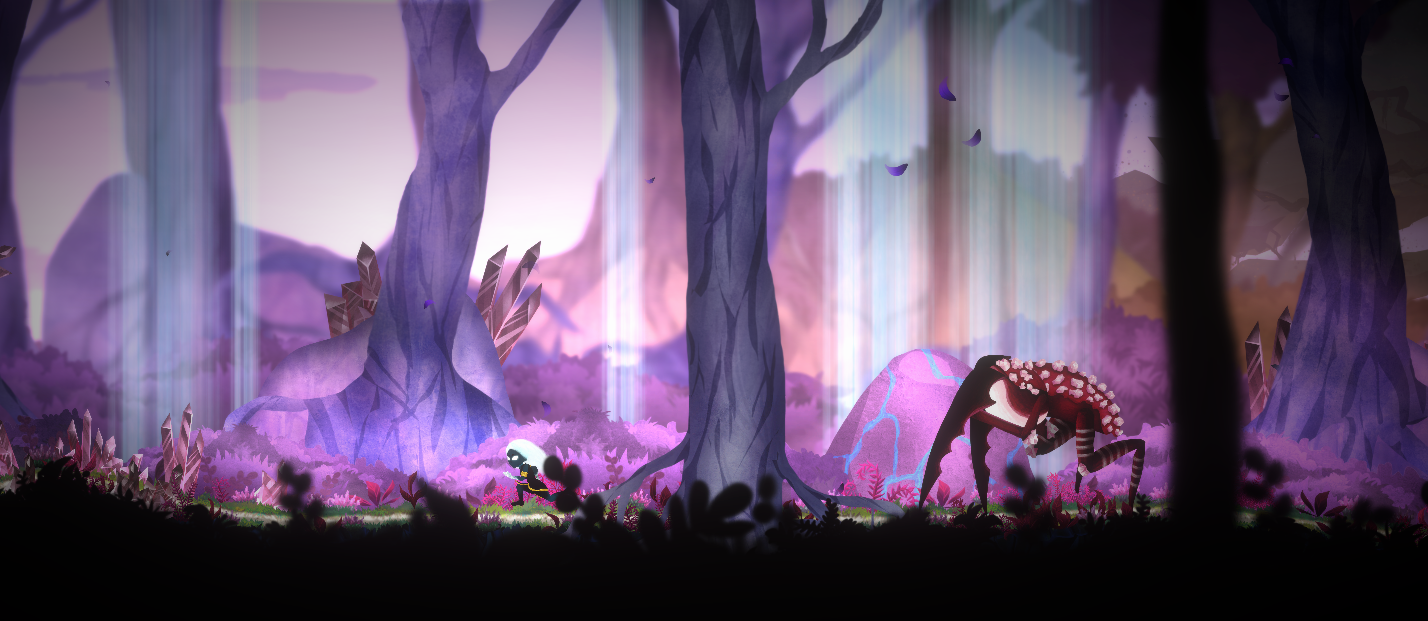
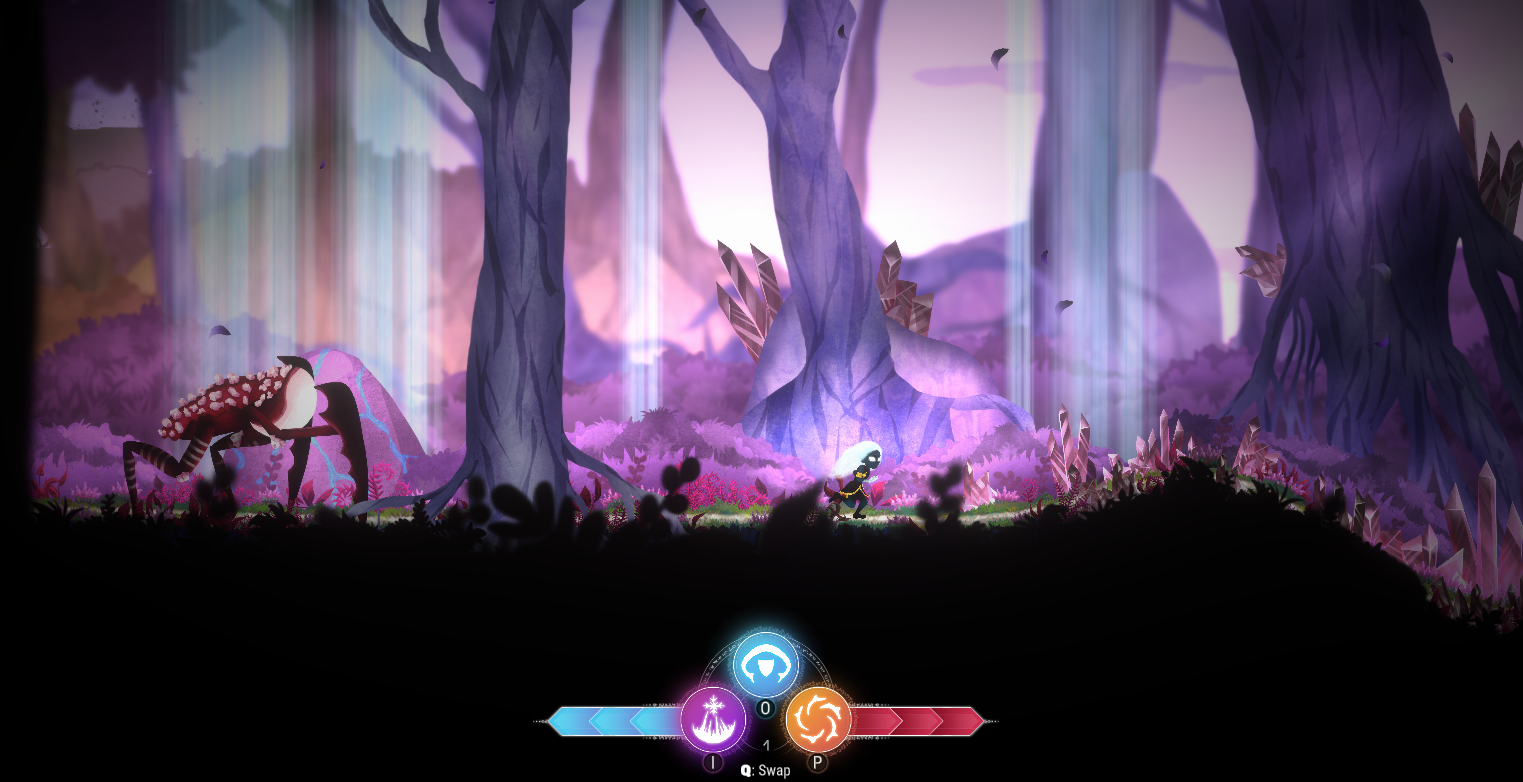
We finally managed to complete the entire process of designing and bringing this creature to life. We also taught Shildar to walk and do some magic tricks.
Shildar - final version, one of the animations
Watch out for it during your journey! Shildar is quite a strong opponent.
Thanks for reading, and see you next time!