Introduction
Monolith's Blood 2 included a fairly robust set of tools to make levels with. However the documentation on how to use them is very poor, largely due to their unfinished state when they were released and the lack of popularity of the game itself. Some things aren't clearly demonstrated and need a bit of a learning curve to figure out.
Thankfully I've done this suffering for you and I've created a comprehensive guide on how to get Blood 2's level editor Dedit to work and run in the game. And on top of this you can do it within Windows 10 via the Steam and GOG version to boot.
You will need three things first and foremost
1. A copy of Blood 2. This can either be the retail release, or a version from GOG or Steam.
2. Blood 2's sdk. This can be located here. I've taken the liberty of packaging it in such a way that it can be installed on a modern PC.
3. Winrez studio. Which is located here.
Installation
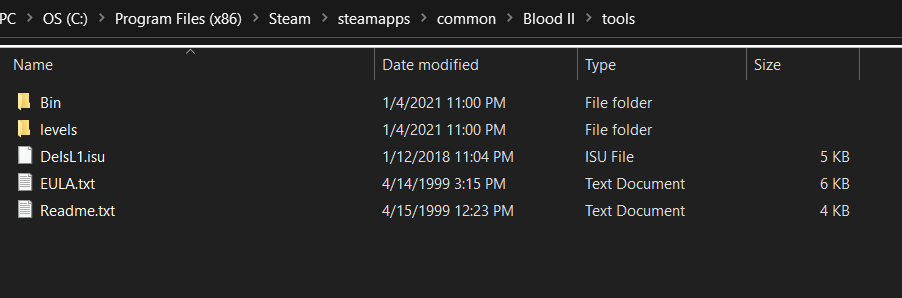
Once Blood 2 has been installed. Create a directory within your Blood 2 folder called "tools". Now open B2Tools.zip and copy all of its contents into this folder.
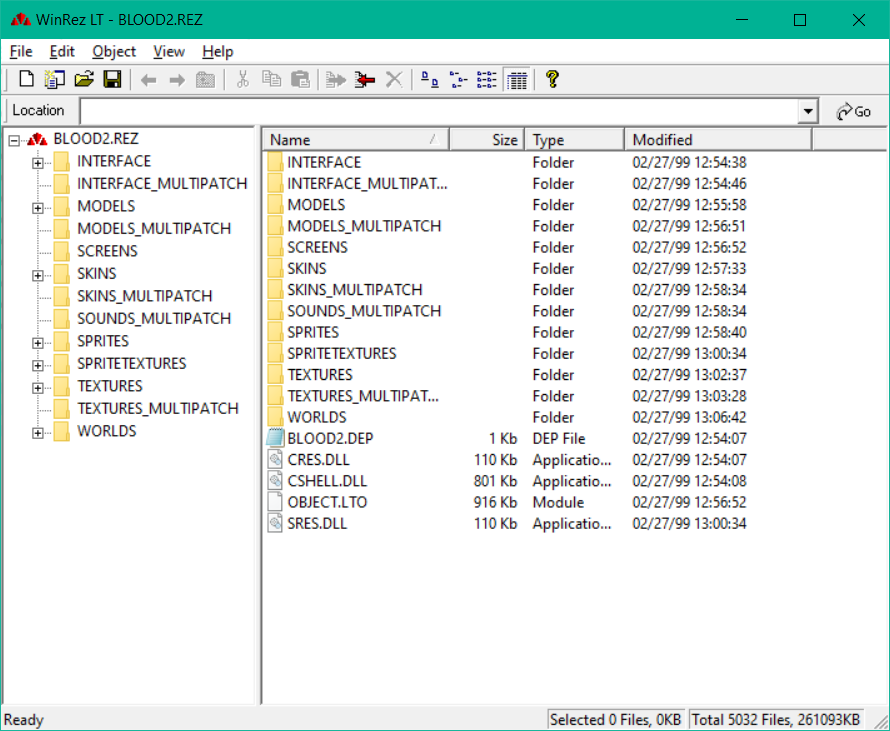
Next. Install Winrez and open Blood2.rez in the game's root folder.
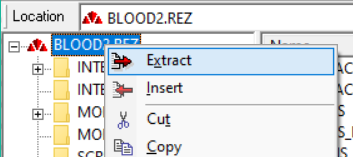
Right click "BLOOD2.REZ" on the left and click Extract
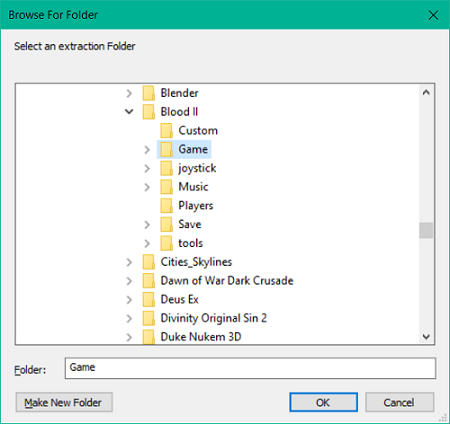
When it says "Are you sure you wish to extract the entire folder, and the subfolders it contains?" press yes. Now navigate to your Blood 2 folder and create a new folder called "Game". Then extract there.
Repeat this process for the other .REZ files contained within Blood 2's directory. In this order.
- BLOOD2.rez
- BLOOD2P.rez
- BLOOD2P2.rez
- SOUND.rez
- BLOOD2NM.rez
This is assuming you have the Nightmares expansion of course. After this installation is complete.
Creating a map
This tutorial won't go into the nuances of making a complicated map for Blood 2. It will only go into how to make something that will run in the engine. I highly suggest copying the levels contained within tools/levels into your Game/WORLDS directory. These are source files created by Monolith and are highly useful from an educational perspective.
Once installation has been completed you can run the level editor DEedit by going to your tools/bin folder
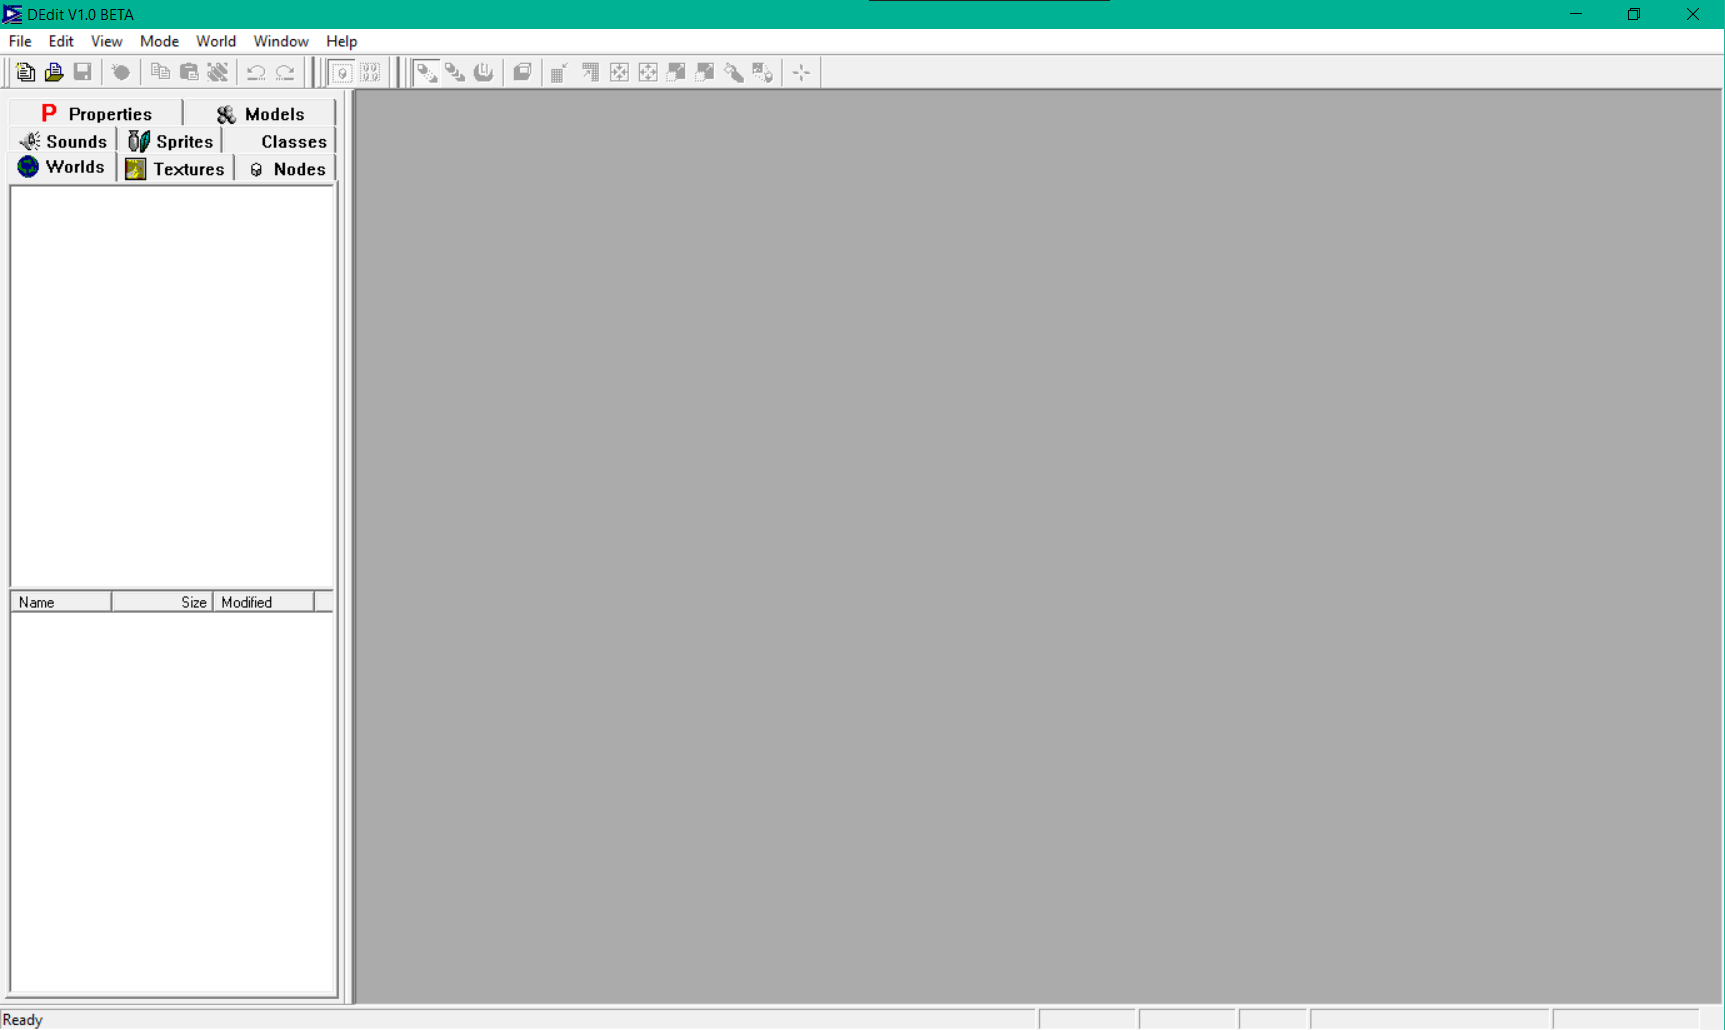
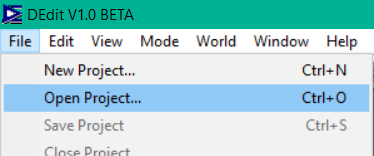
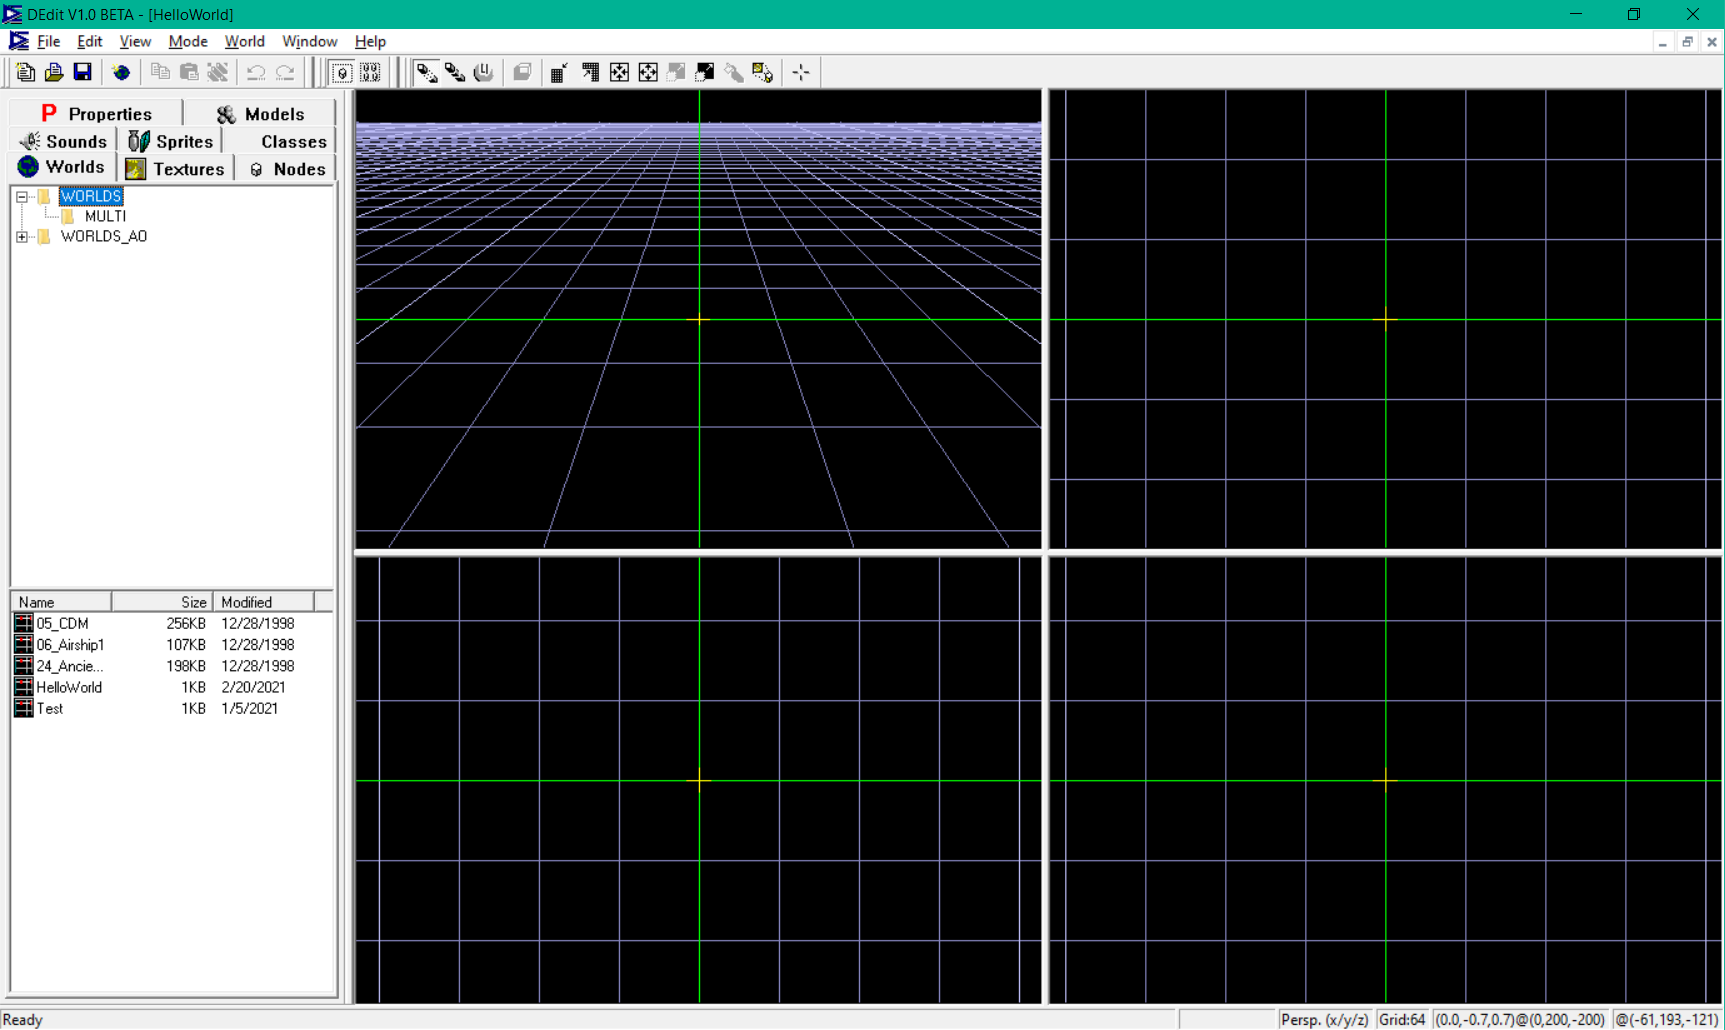
This is what you're presented with when you open Dedit. To start creating maps in Blood 2 you first need to go to File and then click "Open Project"
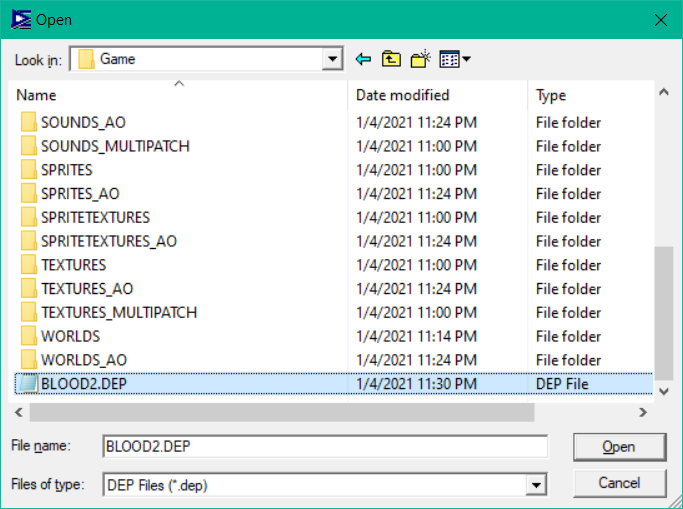
From here navigate to your Game folder you created and locate BLOOD2.DEP
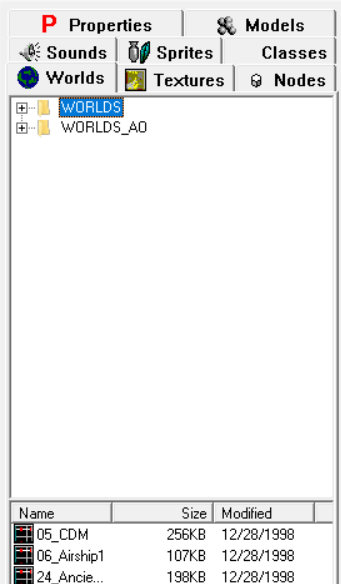
If you copied the folders I suggested earlier your Worlds tab on the left will now be populated.
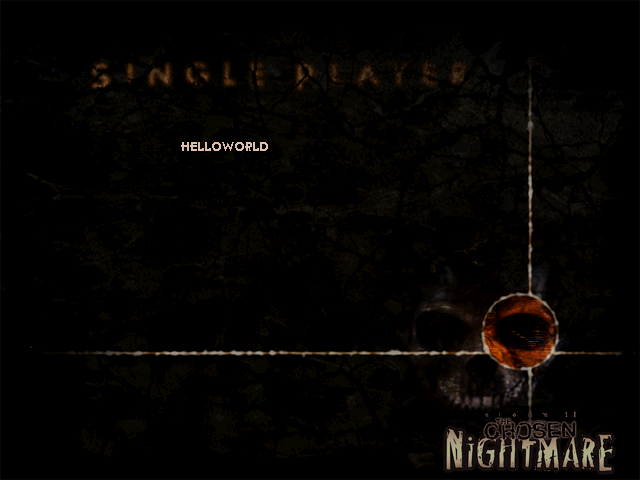
To create a new level right click on the list of levels in the bottom window and click Create New World. Then type in a name. In this example I'll create a level called "HelloWorld"
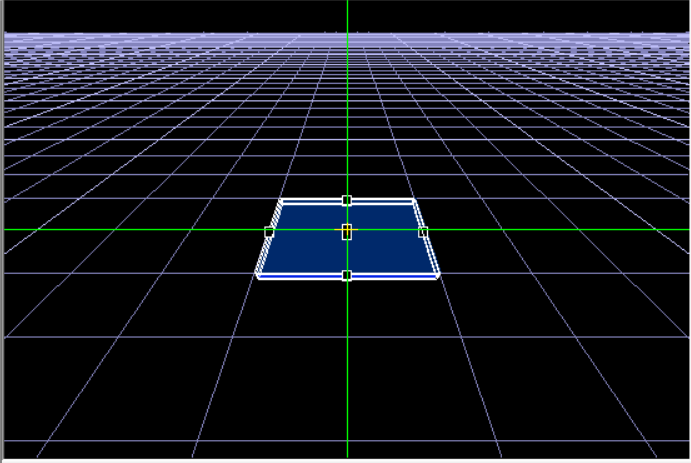
From here create a box by clicking space bar on the top right viewport and dragging out a line, then clicking space bar again to make another one. Repeat until you've reached the beginning of the first line and click on where you started.

It will now ask you for brush thickness and defaults to 10. We can resize this later so click OK. You now have a single box in your world.
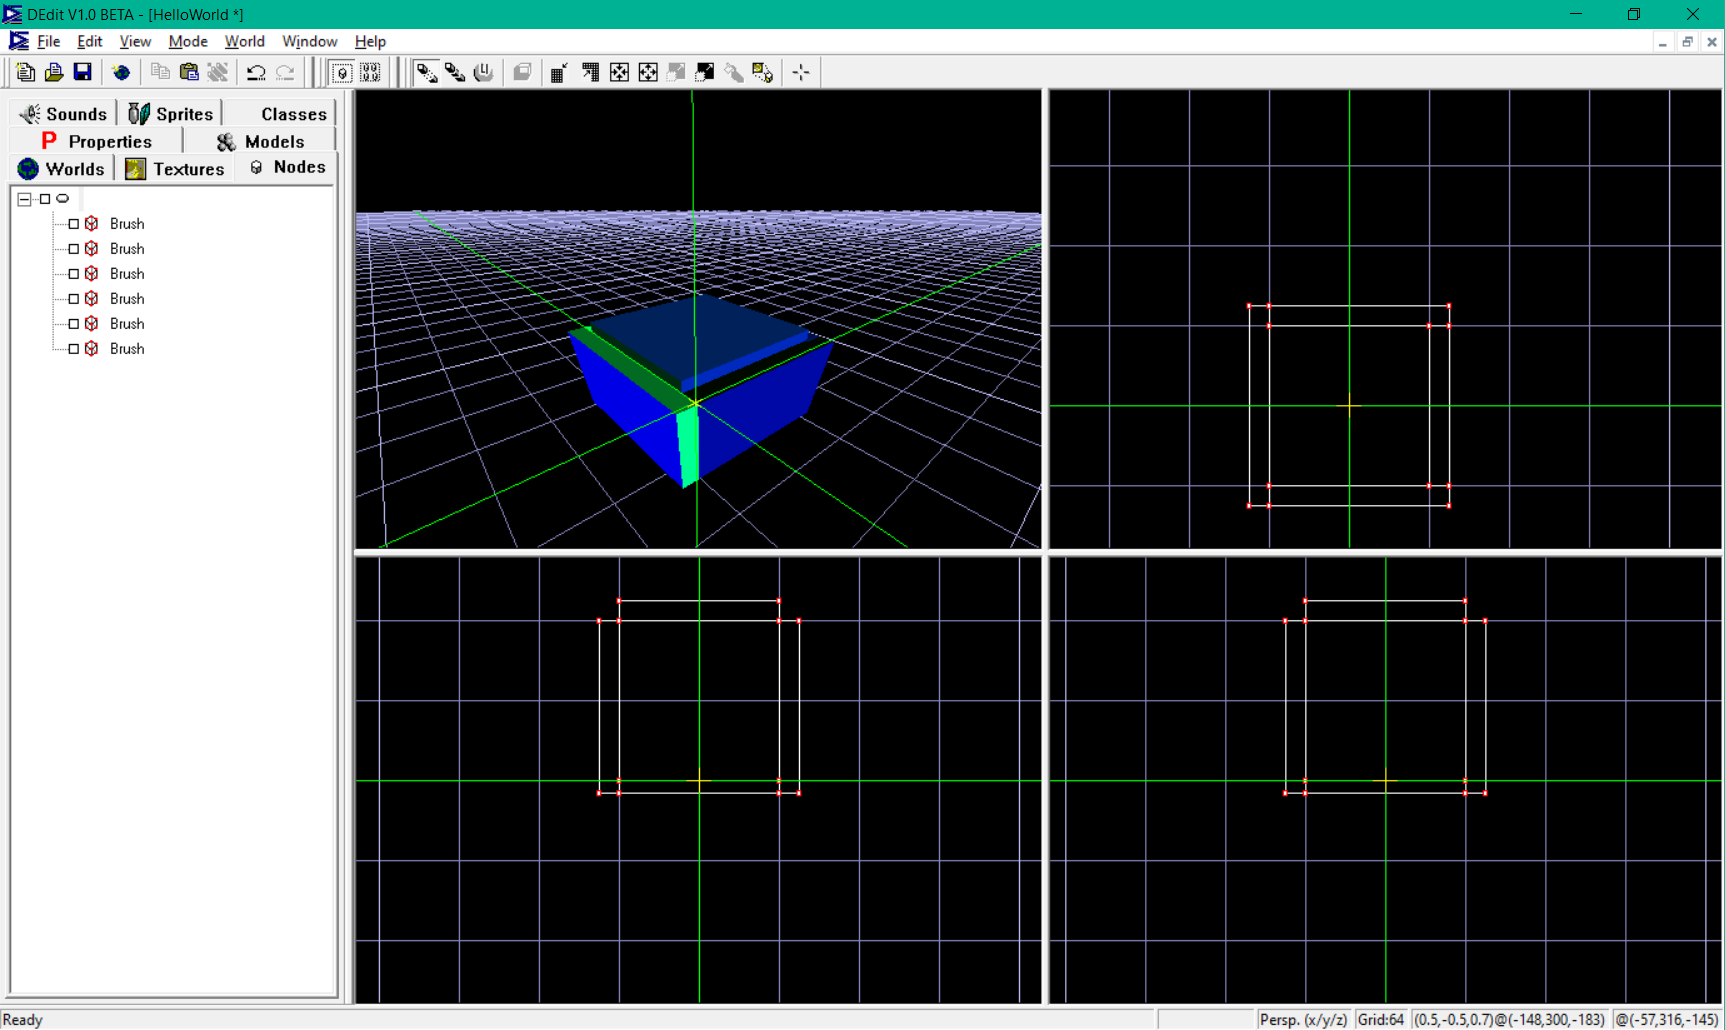
Now do the same thing as you did before. Only make a set of four walls and a ceiling. It's important to seal your world. To select another box you've made, hold the A key and left click. You can drag each box to be bigger/smaller by clicking on the resize tabs when they are selected. You can also resize the grid by pressing numpad + or - on your keyboard. Once you have created your walls and ceiling it should look something like this.
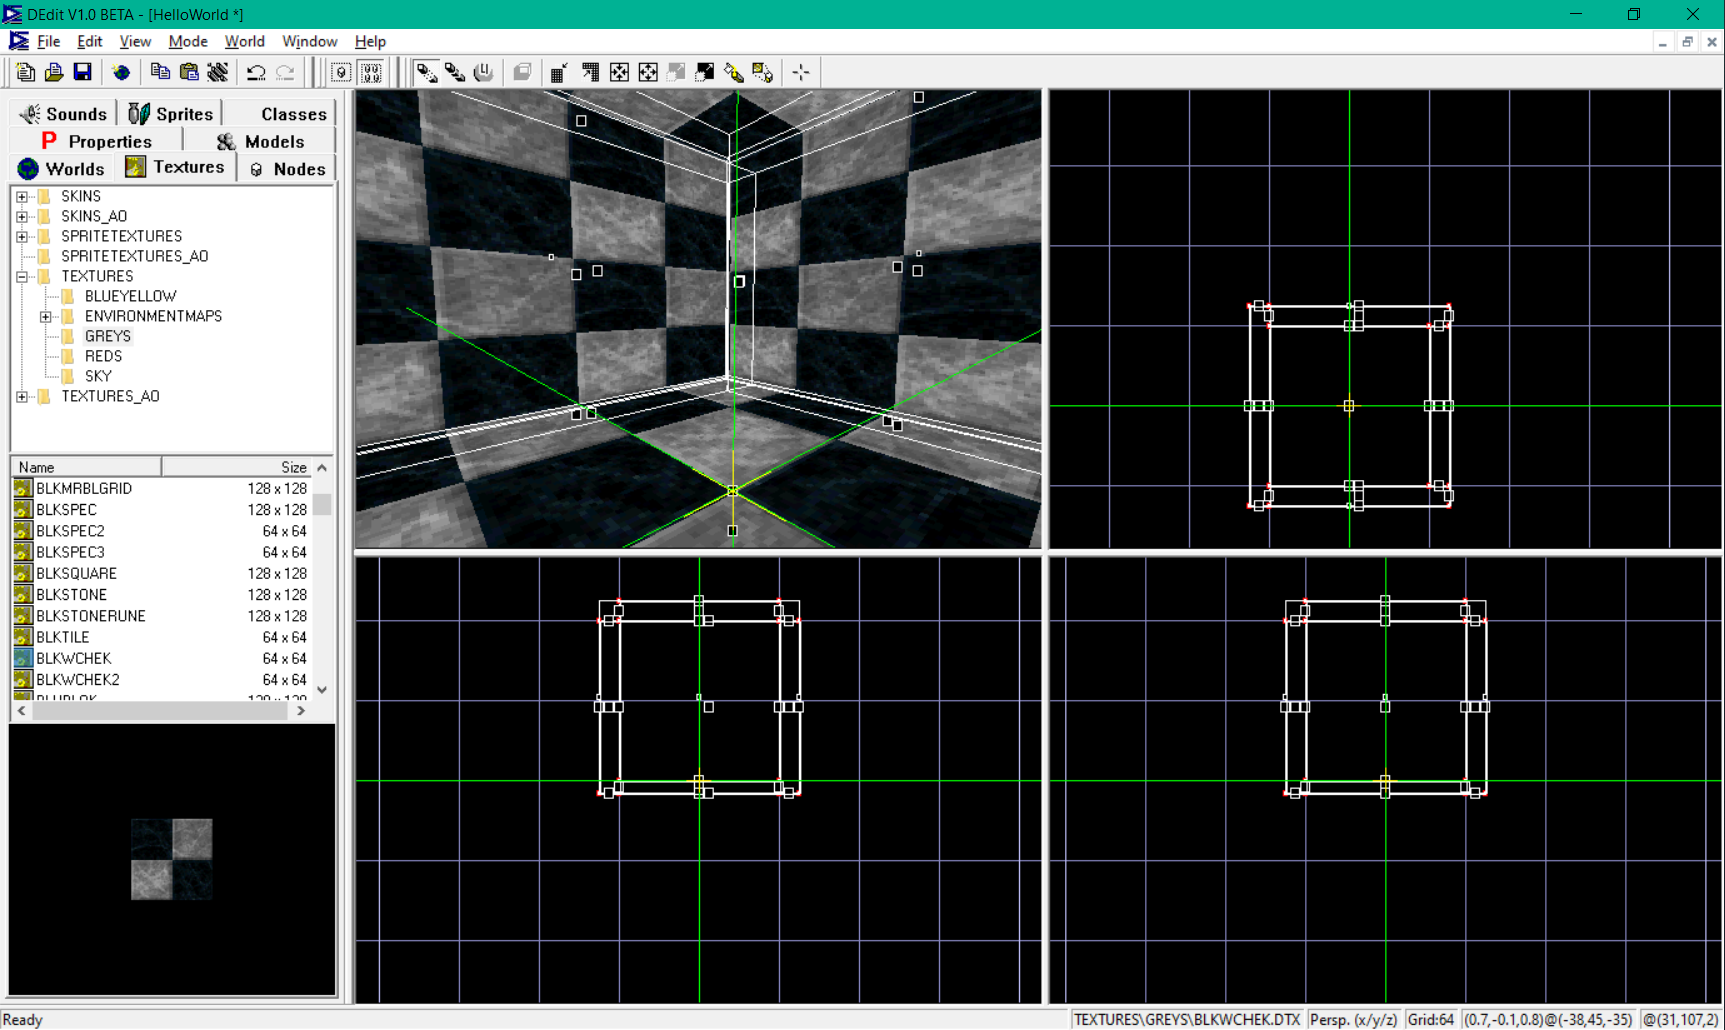
From here we need to texture our world. Select all of your blocks by either going up to "mode" and then "Multiple node selection". Now select each one individually by holding A, and then left click. Or go to the "Nodes" tab on the left and click on the check box next to each one.
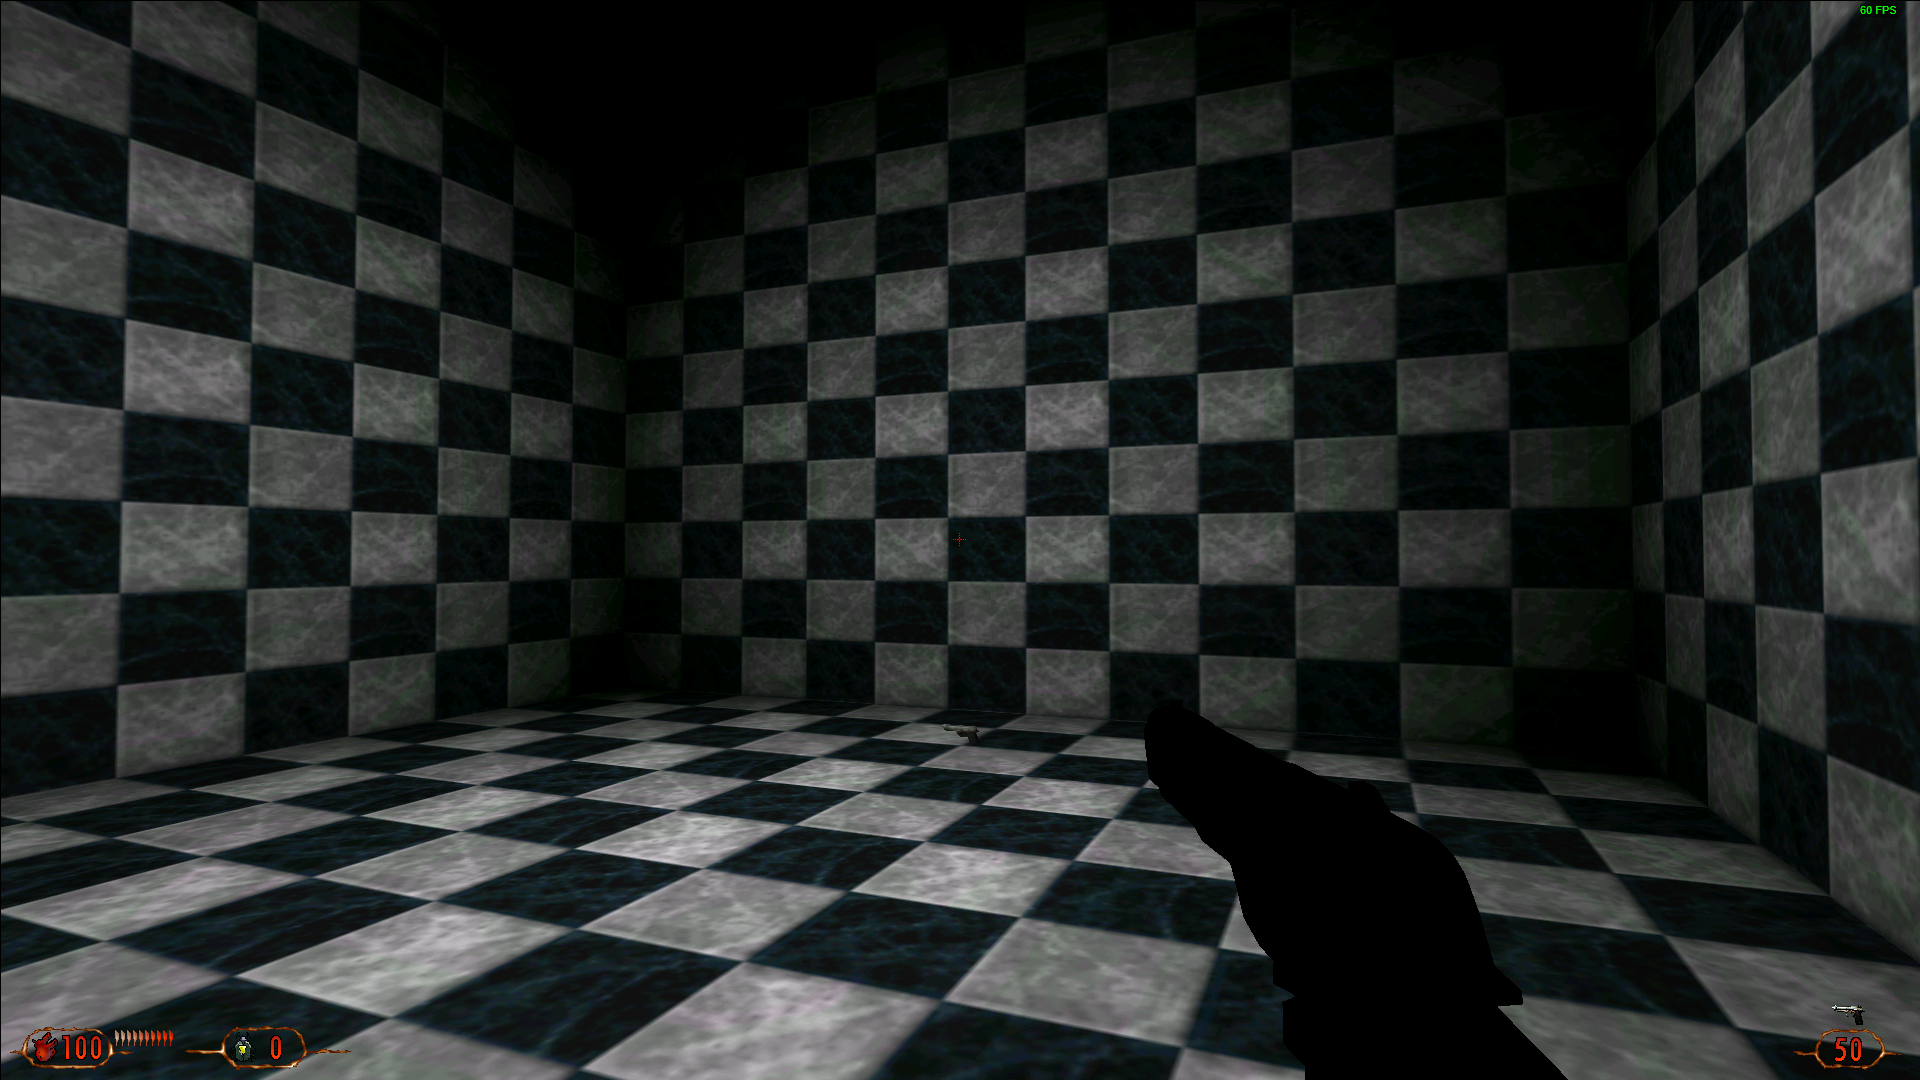
Now go to your textures tab on the left and navigate to the textures folder. You can select any texture you want but for the purposes of this tutorial I'm going to select GREYS/BLKWCHEK. Make sure you click in the viewport and press CTRL + T to apply the texture after it has been selected.
Now we need to place a series of objects into our world. Such as our player start, a light and an entity to define the world itself. The green crosshair in the level editor is called the Marker and can be moved by holding down the X key. Place the Marker in the middle of your world and right click, then select "add object".
Click the + button right next to Base Class. Then navigate to "StartPoint" and click the + button next to that. Then click "GameStartPoint". This is the Player start entity. Where the player will spawn in our level.
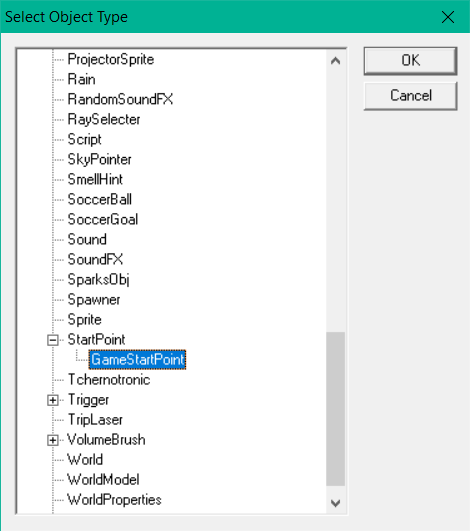
Once you've placed the GameStartPoint in your level, repeat this process with the Light entity and the WorldProperties entity. You can move entities around by holding the M key and click & dragging your left mouse around a viewport if you wish.
Your level is effectively ready to be exported now. Go up to World and select "Process World".
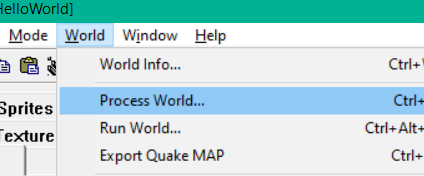
You should be presented with this screen

There's a lot of options you can tweak in here but for the purposes of this tutorial just press "OK" and let it run. Then press OK again.
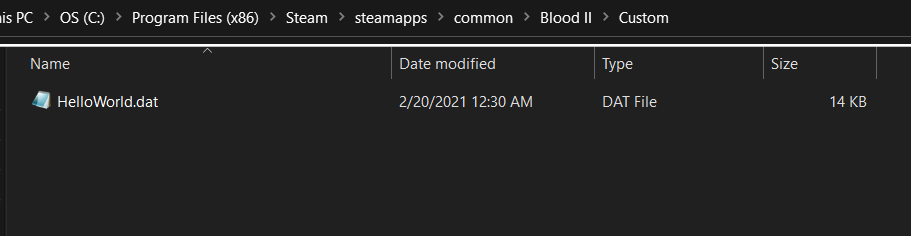
Now go to your Blood II/Game/WORLDS folder and copy the HelloWorld.dat file of your map. Then create a new folder in your Blood II folder called "Custom" and copy it into that folder.
Running your map
To run your map you need to do a few specific things. First make sure you can run Blood 2 well enough to play the vanilla game. (Meaning launch the game's first level properly). Since if the game crashes to desktop on your machine you won't be able to run the level you've made.
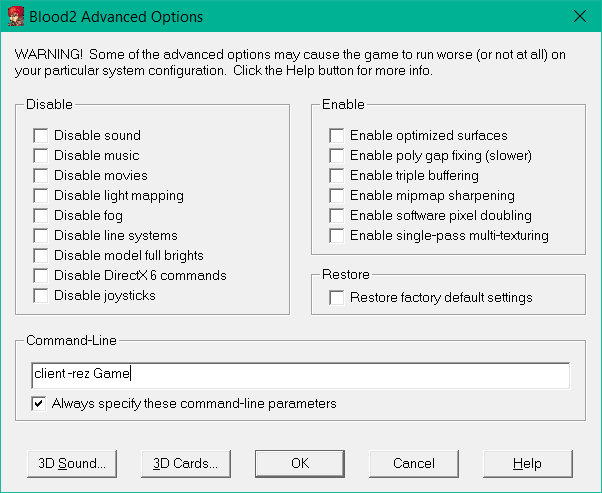
Next in your game launcher go to "Advanced" and type in
client -rez GameUnder Command-Line. Then press the checkmark "Always specify these command-line parameters".
Now launch the game. Go to "New game" and then select "Custom Levels". After that you should notice the name of the level you created.
Press enter. You now should be in your newly made custom level.
That's about it. From here you can make a more complicated/exciting level. For now, this is the minimum you have to do in-order to get a custom map to work in Blood 2. I hope this has been useful to you.


Awesome! Any chance of repurposing the shogo tutorials into a blood2 friendly version?
Apologies if you and 3rdplayer are the same person.
3rdplayer.com
I'm not 3rdplayer. I'm willing to do it but I'd need his permission first. The Shogo tutorials he made apply to Blood 2 almost identically (aside from textures and entities since both games have different ones).