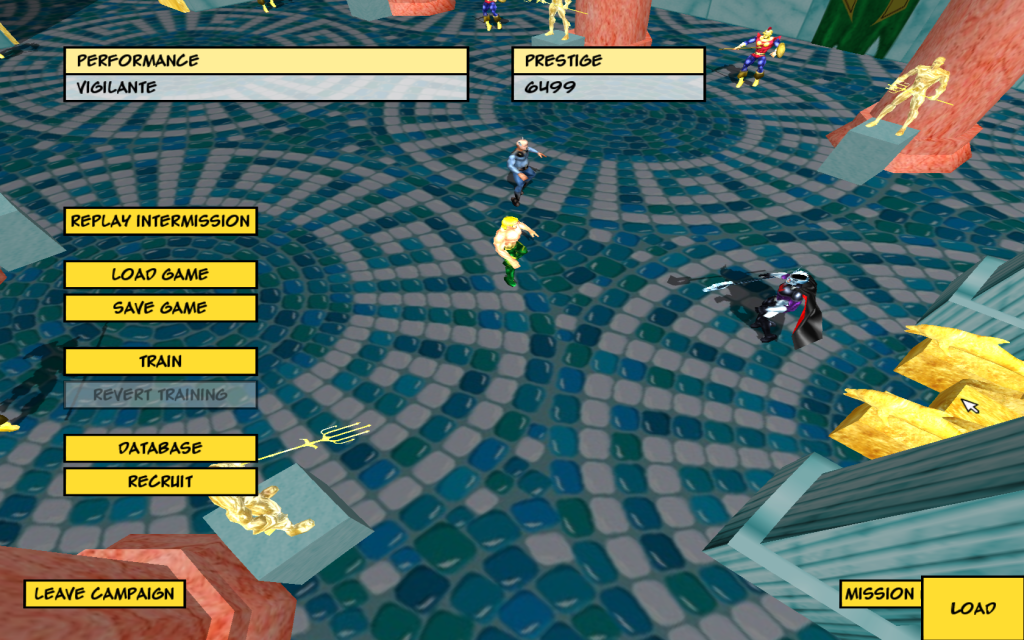
Howdy folks, and welcome to another DCUG Developer’s Diary! I promised more news before too long, and I am pleased to deliver. It has been an incredibly productive few weeks. I have gotten so much done, conducted so many experiments and tried so many different approaches to modding problems, that I’ll be hard pressed to remember and record a tithe of it, but I’ll try to hit the highlights for y’all! I’ve been hard at work on my Aquaman campaign, and most of the progress I’ve made has been on that part of the project. I’ve finished the next two missions, which were very work intensive and demanding, both in terms of modding and in terms of writing.
I’ve really been digging into FF modding, trying all sorts of things in order to bring this story about my favorite character to life in as high a quality as I can manage. I’ve done a lot of innovating, and I’ve tried to bring a high level of detail to everything about the campaign, from maps to characters, to effects, to plots. I’m quite happy with how it is all turning out, but I am also perpetually frustrated that I can’t quite bring what’s in my imagination to the screen as perfectly as I’d like. I’ll tell y’all a little about all of the different parts of the process I’ve gone through to bring this adventure to life.
Creating an Undersea World:
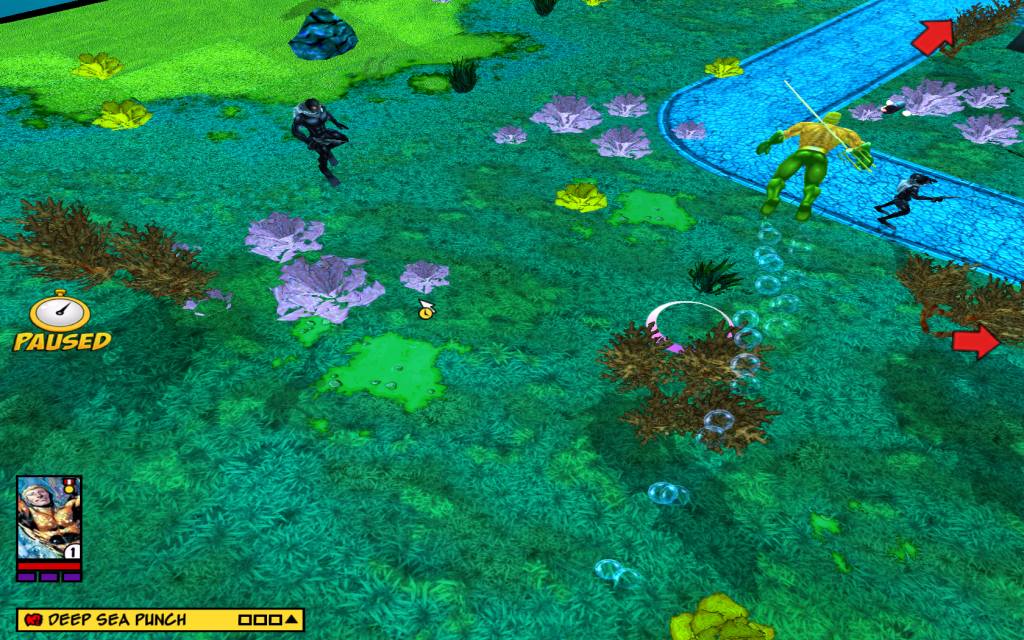
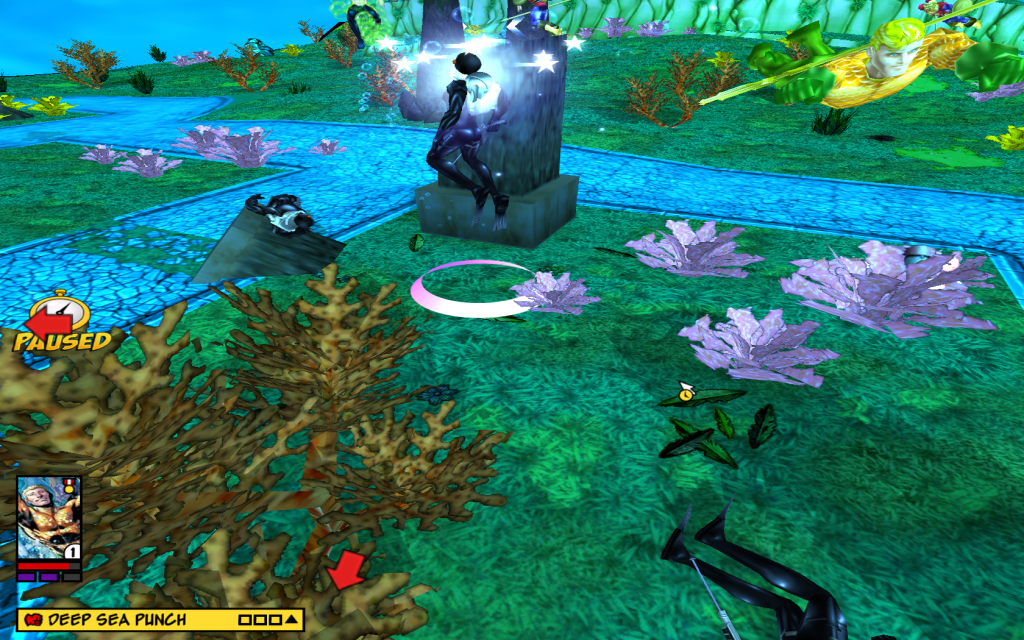
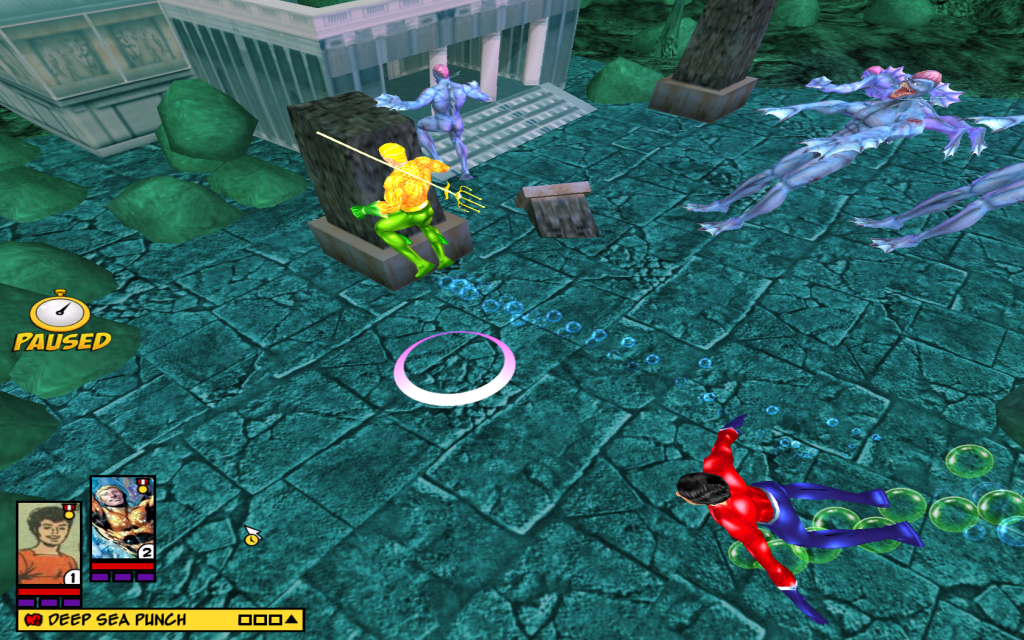
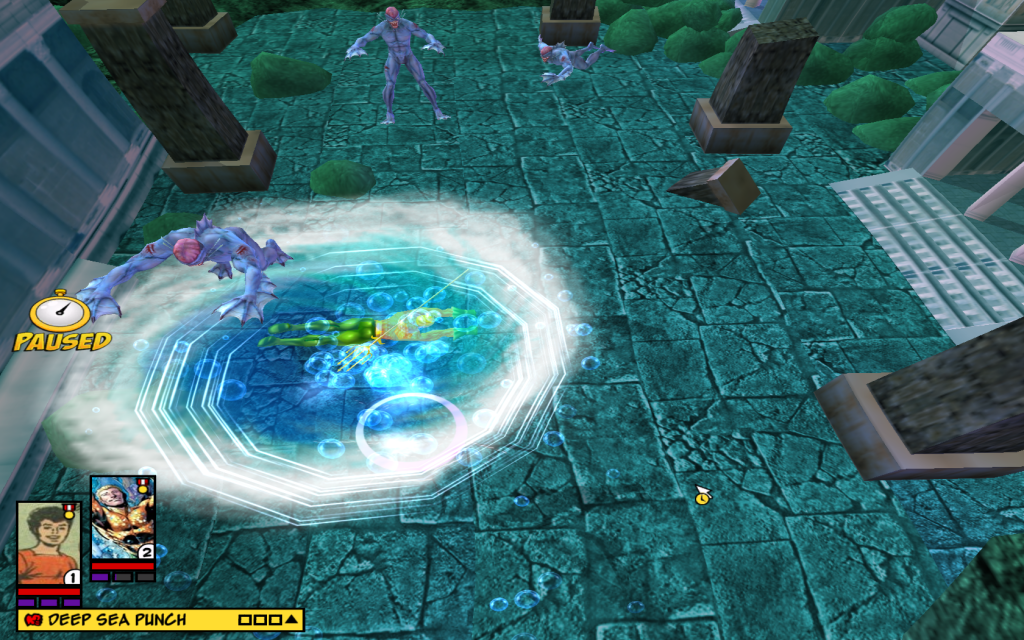
In my last DD, I walked y’all through some of the steps I went through to try to create an interesting and attractive underwater map for my second mission, and although I was pretty happy with the results of my labors, I wasn’t completely content. Considering how much of Aquaman’s story is going to be set beneath the waves, I had a good reason to keep trying to improve things. I had a number of different ideas about how I could enhance the look of my underwater maps, and I’ve been hard at work trying to figure out how to implement them. Tweaking map textures looks okay and is important, but I had bigger dreams.
I had always thought that it would be great to be able to put a ‘water’ filter over the ‘camera’ of FF. Unfortunately, there’s no way to do that, or at least none I could discover…but I couldn’t shake the idea. As I often do when I am trying to get inspiration for a mod, I spent some time going back and playing through FF1 and 2, and this reminded me of something that might provide me another way to accomplish a similar result and set me to digging into FF’s game files and documentation to figure out how to bring a bit more atmosphere to my undersea settings. This lead me on a journey that had me experimenting with Python scripting in new ways that were both exciting and more than a little scary, because I was very much out of my depth! But, that’s how you learn when you’re modding. In fact, constantly stretching to accomplish something that seems out of reach is the only reason I’m a modder in the first place!
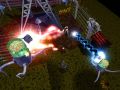
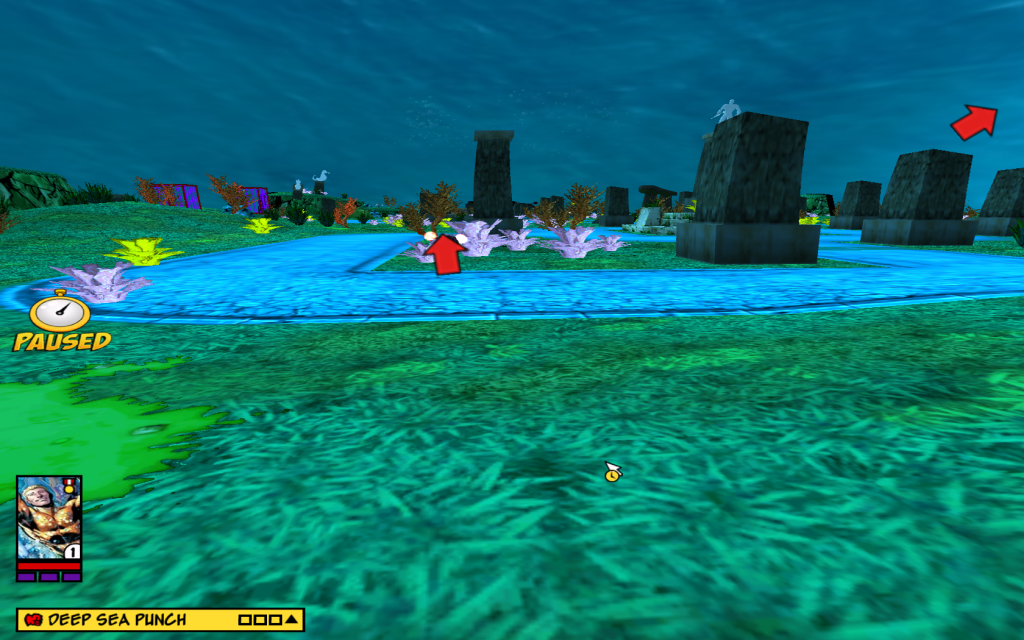
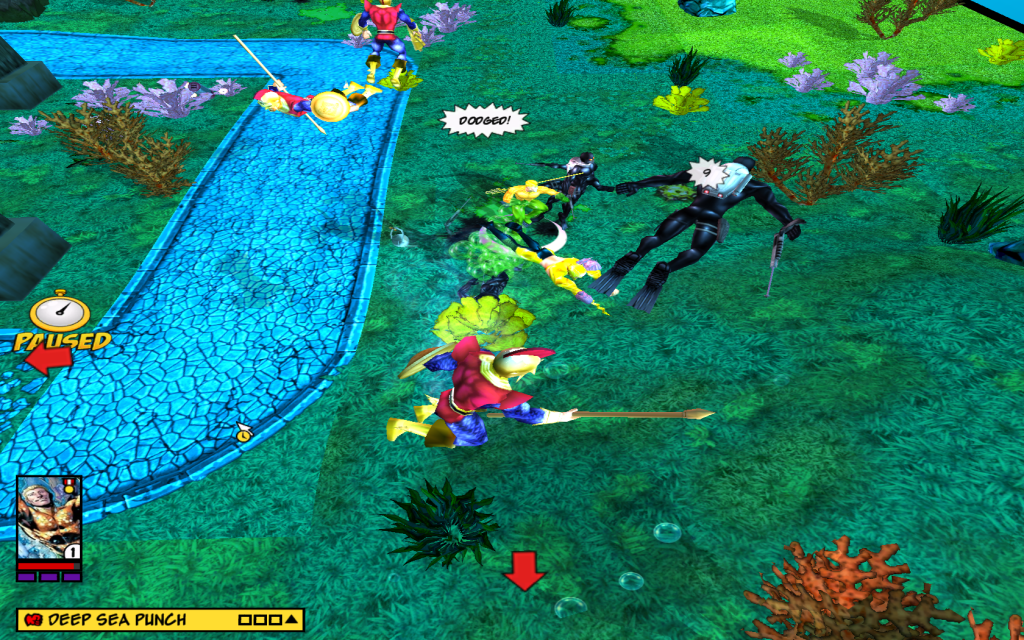
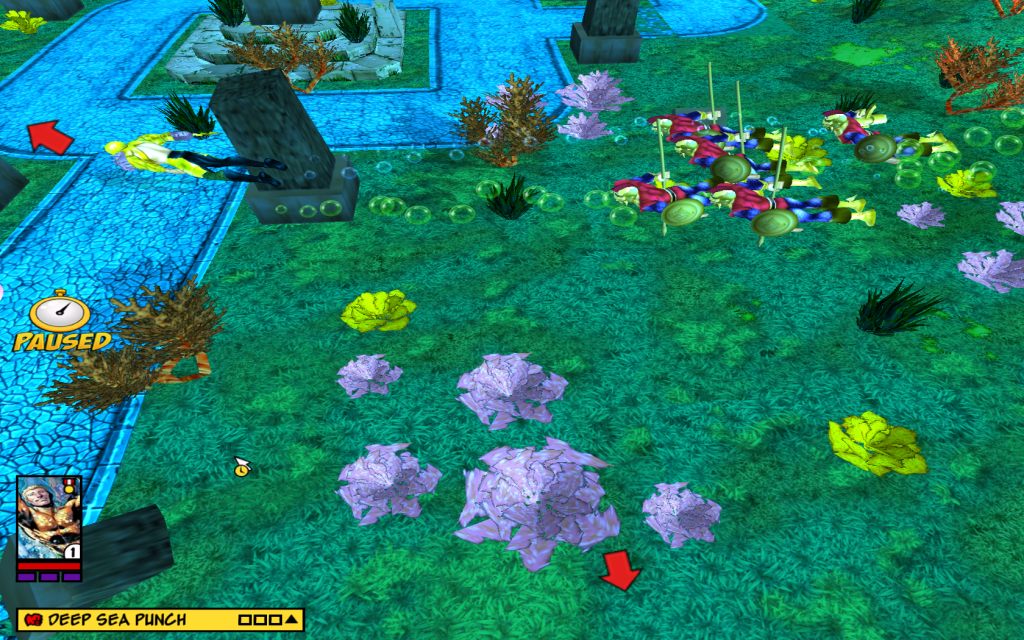
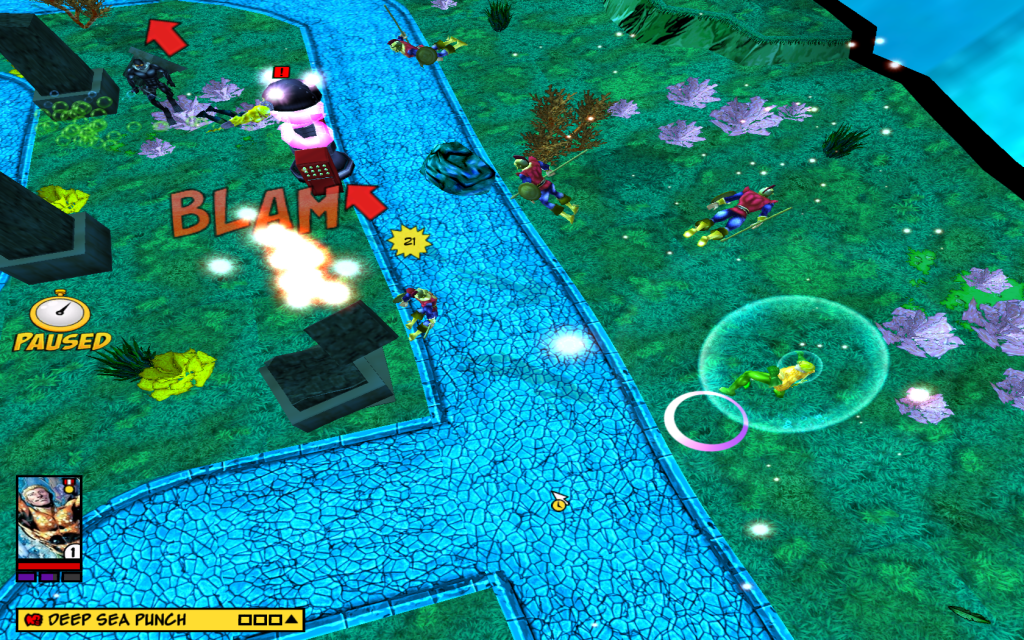
 The (mostly) finished product with several new features
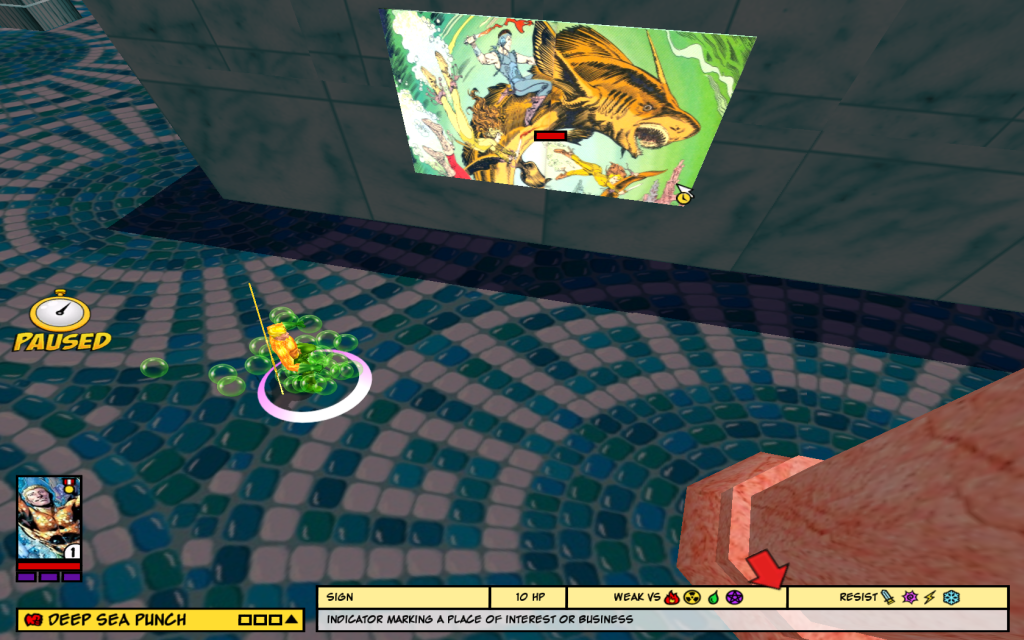
Dream Wave Effect
As you may remember if you’re a veteran of FF2, the second game began with a rather unusual mission, which was actually a nightmare of one of the Freedom Force members. At the end of the mission, the player’s vision of the map was distorted by this blurry, wavy, dream-vision effect that covered the map. It occurred to me that, if I could figure out how to create this, and if it could be customized, such an effect might actually be a pretty perfect device for giving a submarine map an underwater “feel.” So, I opened up the script for the first mission and started digging. Now, I’ve been teaching myself about real Python scripting, but I am still beyond a neophyte, so I wasn’t entirely sure what I was looking for or what to make of it when I found it. Fortunately, Irrational helpfully labelled their scripts, and it was all clear enough for me to find the pertinent sections, even if I didn’t yet know how to interpret. them.
So, I started reading through the FFscripting document, hoping to find explanations of this code. The documentation did have a section on the Dream Wave effect, though it was a little hard for me to understand. Eventually, I copied the code that, to my best guess, was what I needed and just started experimenting with it. Unfortunately, my first efforts either simply didn’t work or even crashed the game! Finally, I hit on this combination. Here’s the code you can use to create an EZScripted mission that uses the Dream Wave.
Misminimod_storyfile = 'mission'

import m25minimod
from m25minimod import *

def OnPreRendererCreate():
	ff.RENDER_WARP = 1

#---------------------------------------------------------------------
#
# Important Callbacks
#
#---------------------------------------------------------------------

def OnPostInit():
	m25minimod.OnPostInit(campaign=1)
	ff.RENDER_WARP = 1
	Mission_StartDreamWave(5,-1,0)
	Mission_FadeDreamSinParams(1, .01, .25, 1)
The first lines on each side are just the usual setup for EZScript missions. At first I was just using the two obvious lines, Mission_StartDreamWave and Mission_FadeDreamSinParams, but the effect wasn’t actually beginning. That’s when I noticed that the FF2 mission script actually had those PreRenderer and ff.RENDER commands, so I added those too, and I found myself with a nice, trippy warp effect! Then it was just a matter of tweaking it. The documentation explained that the first two commands I started with are what actually controls how the Wave appears.
The Start command has three points of customization (how long it fades in, how long it lasts, and how long it fades out). You’ll notice that the duration control is set to -1, meaning it will run forever, and thus I’ve got a 0 in the last slot, because it doesn’t need to fade away. You could tweak these settings to create short-lived effects and do other kinds of clever moves with it.
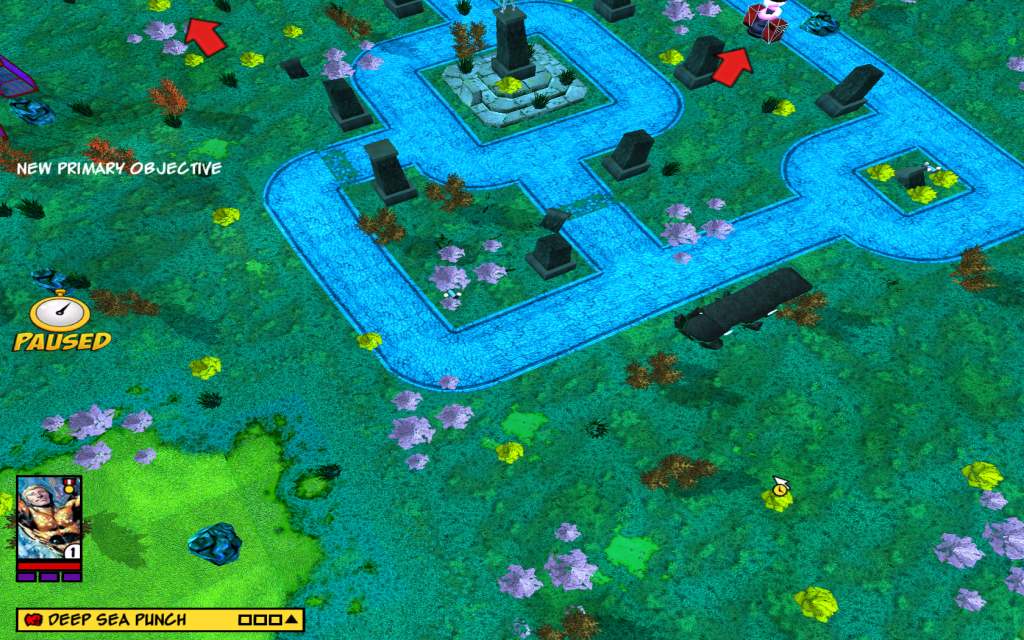
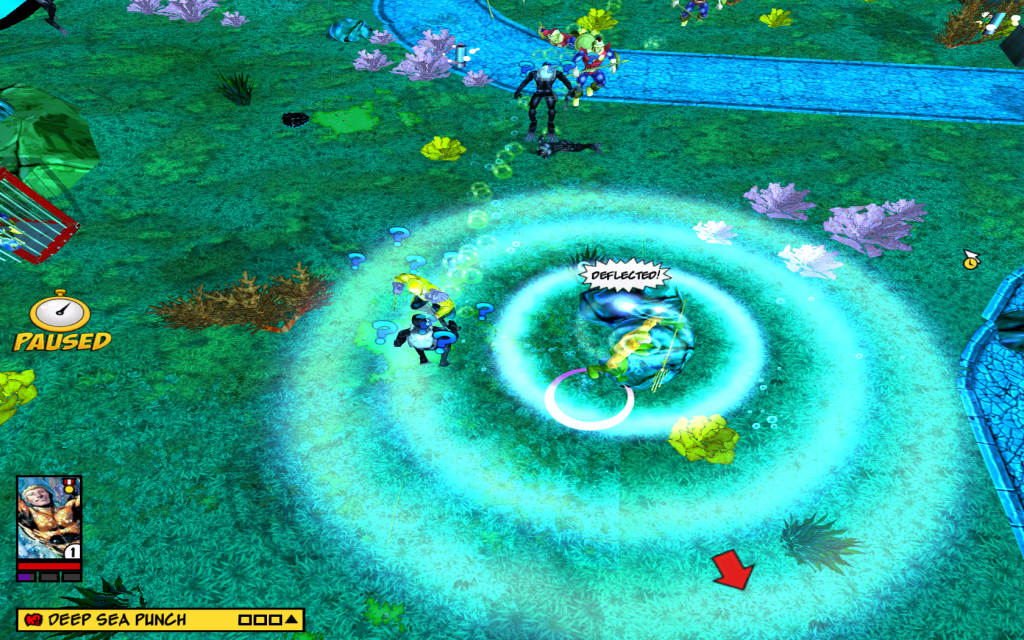
The Fade command sets the degree and strength of the effect, and it’s also got various customizations: (Frequency, or how often waves of the warping effect are created / Amplitude, or how big the waves are / Speed, or how quickly they move across the screen / and Fade Time, or how quickly they fade away) The default values in the mission were “(1, .03, .35, 1)”, so you can see that I didn’t change them drastically. I tried a few various permutations, but I eventually settled on the lowest amplitude and a slower speed. I think the final product looks pretty good, and you can check out a video of the effect in action on a mission here below. It looks pretty good in action, but it can be a little disconcerting, even on the lowest setting, so I’ll include a set of non-warped mission files for the campaign for those who are prone to motion-sickness or the like.
Sunlight Settings
So, the maps certainly looked a bit more striking and ‘watery’ with the Dream Wave effect turned on, but they were still missing something. Several folks on FR had suggested that if I could change the light color on the map to make it more sea-toned, that could help, so I had planned to mess with the lighting settings of the maps. However, before I could do that, I had to discover what actually controlled these settings! At first I thought this might be controlled through the map files, like the layout or extents texts, but after examining some of them, I realized that wasn’t the case. There were almost certainly nice, clear tutorials that covered this kind of thing once upon a time, but if they existed they’ve been lost to the ages, so I had to poke around in the forum archives for mentions of the subject. I eventually found some of our great former mappers discussing these settings, which it turns out were located in the python files of a map. Thus, I was once again delving into unfamiliar depths! With that post as a guide, I was able to find this section of the python document:
wp-block-quote wrote:Mission_GetSunlight()
rotation: Sun rotation angle from north in degrees: +ve is east
tilt: Sun tilt from horizontal in degrees: +ve is down
brightness: Intensity of sunlight (0=none to 1=full)
ambient: Intensity of ambient light (0=none to 1=full)
Color: 3-tuple, red, green, blue values (all are 0 to 1)
Then I dug around in missions and custom maps and found those that seemed to have nice, bright, clear light, and used that as a starting point. I then played with the color values, changing out what colors were strongest, until I found a nice, ocean-y color palette which was, as you might imagine, heavily blue and green. Here’s the code I ended up using (just right below the code for the Wave effect).
	Mission_SetSunlight(-40,30,1,1.0,(0.4,0.8,1))
	Mission_SetShadows(-40,30,(0.2,0.3,0.3))
	Mission_SetProjShadowBackground((1,1,1))
	Mission_SetProjShadowColor((.8,.7,.7,1))
You’ll notice there are some other commands there too, each with their own settings. I just copied those from another mission, but you could add further customizaiton with those settings for shadows. However, we’re concenred with the sunlight settings. I’ve got brightness and ambient light both turned all the way up, and I’ve got the blue light at max and the green pretty close. The combination creates a nice, watery feel for the maps and everything on them, including my characters and props.
Creating a Sky Sphere
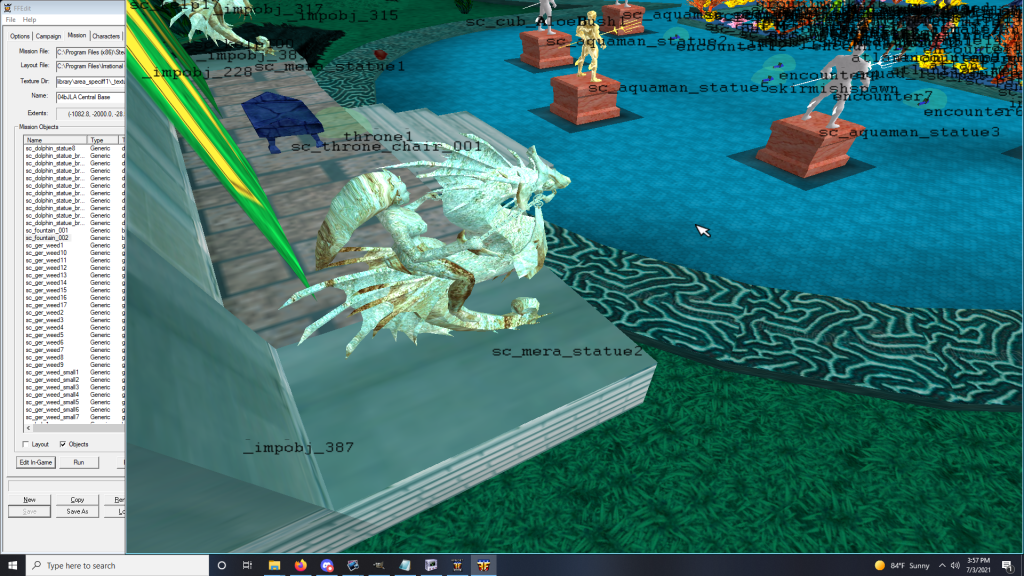
You may notice in my screenshots and videos that there’s another feature these maps have that help create their atmosphere, and that is a background that replaces the blank black void that is the default for FF maps. Here, as with most everything I’ve done, I’m just standing on the shoulders of FR community giants. What you see in these images is called a “sky sphere”, which is pretty much exactly what it says on the tin. It’s a big spherical object that sits around your map and provides a lovely backdrop for your adventures. The way that our mapping masters had used these in the past was to make them character templates, but that can create problems in modding, both because of this creating ‘phantom characters’ that mess up the complex “branding” function of the FFX Control Center, and because campaign missions don’t seem to like such characters being on a map. Thus, I tried making these into regular generic objects, and that seems to have worked just fine. I tried adding them directly to the map nif, but when I did, the top of the sphere was registered as the ‘ground’ and all the characters were shunted to the outside!
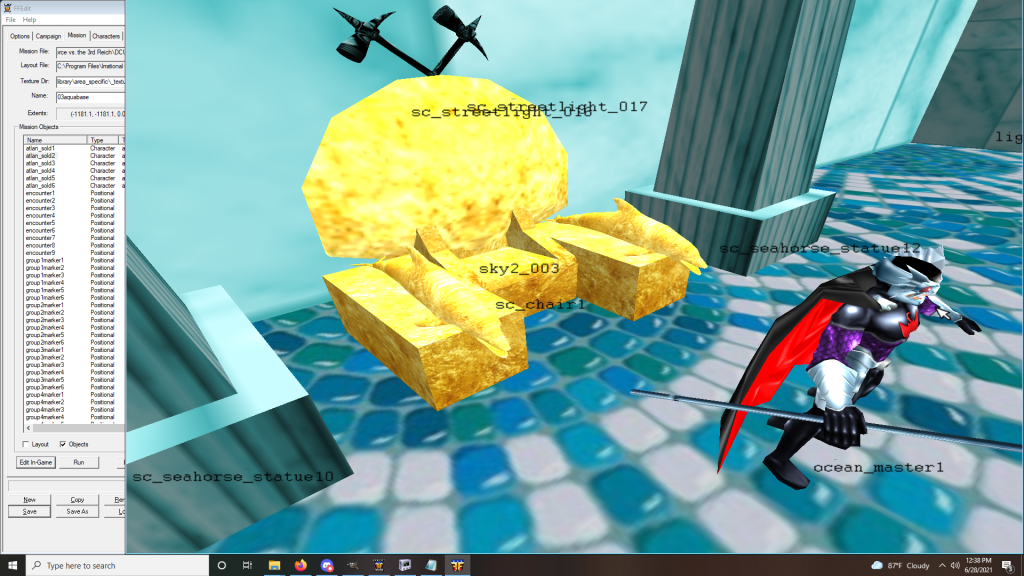
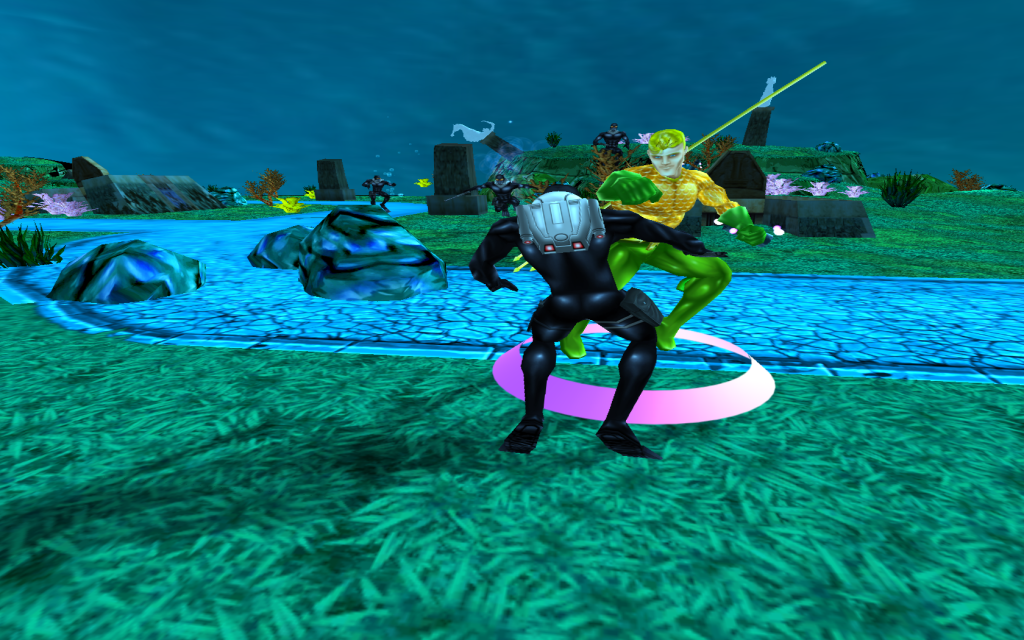
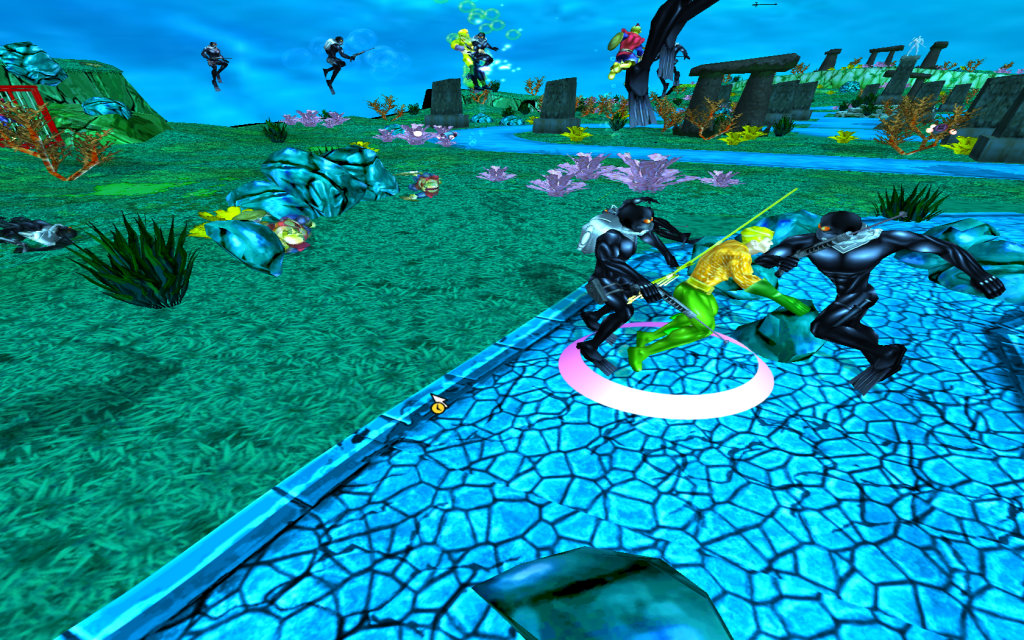
So, how do you use a sky sphere? Well, it’s actually super easy. They’re included with the map pack, so you can find the actual object and their textures in that wonderful resource. You’ll find the spheres in the pack’s art/library/characters directory. Once you get them, you can copy the settings they have in the map pack, but just change their template type to “generic.” Now, because they’ll be objects and not characters, their textures need to be in with the rest of your map’s textures. Once you’ve done that, you can place them on your maps by placing a marker, then changing it to be the sphere. Once you’ve done that, you’re good to go! The spheres come with several really nice textures, but you can also just name your own textures in the same pattern and use them on your maps for a variety of different effects! Check out my ‘water sphere’ on my Atlantis map!
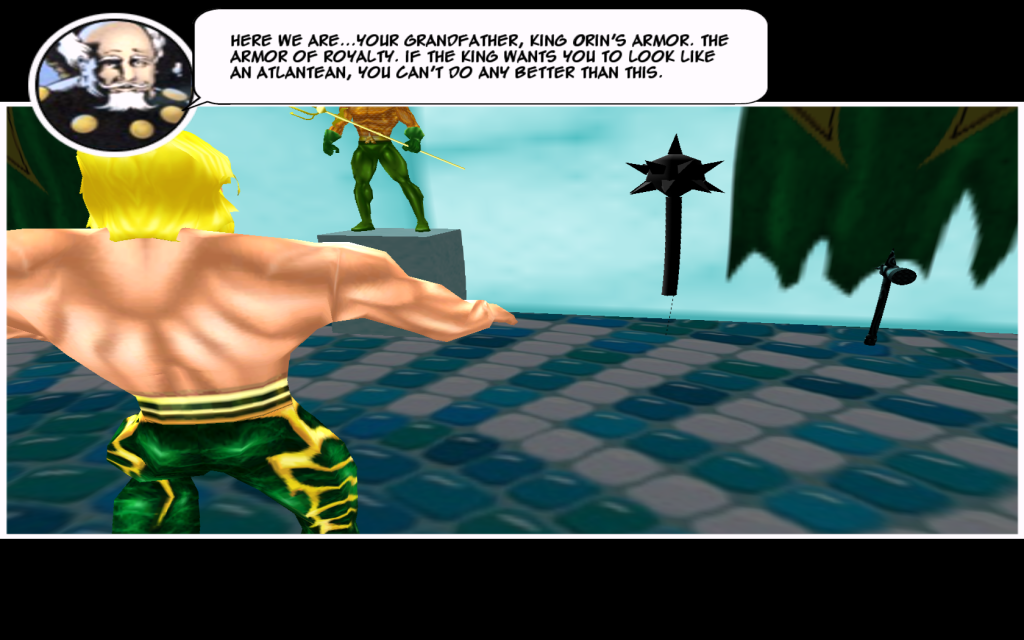
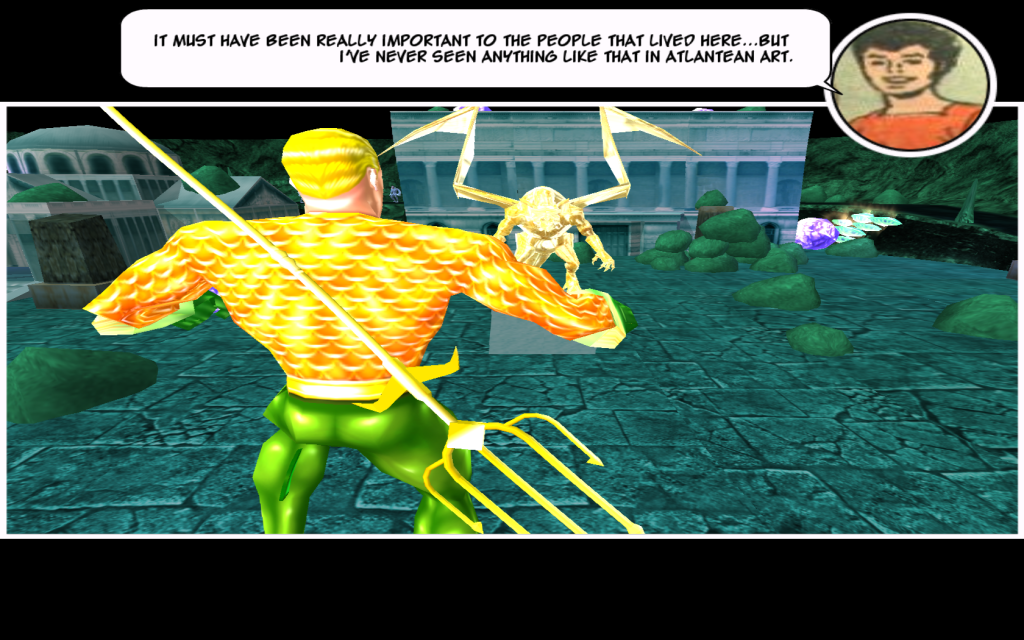
Atlantean Chic – Decorating My Aquatic World:
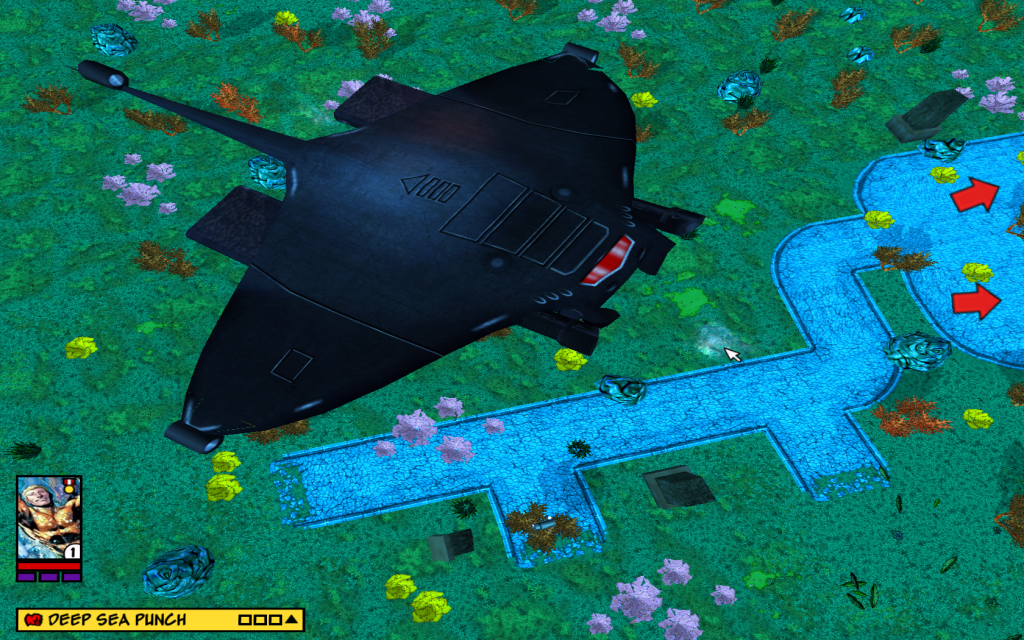
Speaking of Atlantis, my story called for a visit to the fabled lost city by the Aquatic Ace, and thanks to folks vastly more talented than me, I had great starting places for both the Atlantean Palace and the city itself. However, as always seems the case, I wanted a bit more. So, as I worked on the various maps, I started cobbling together new props to decorate them. I did this by the usual method of just using replacement textures in a map’s folder, but I also literally built props using Nifskope, which is a huge blessing for modders. Nifskope allows you to combine and manipulate meshes, so I was able to take parts or whole meshes, both character and object, and use them to create various new props. This is exceedingly easy to do these days. For example, I created a throne as a centerpiece for my Atlantean throne room by combining the chair object from the FF1 Robot Factory maps, the TNT crates from the warehouse maps, a dolphin RandomDays had imported for me, and a little shell from Tomato’s Aquagirl skope. The result looked like a lot more than the sum of its parts.
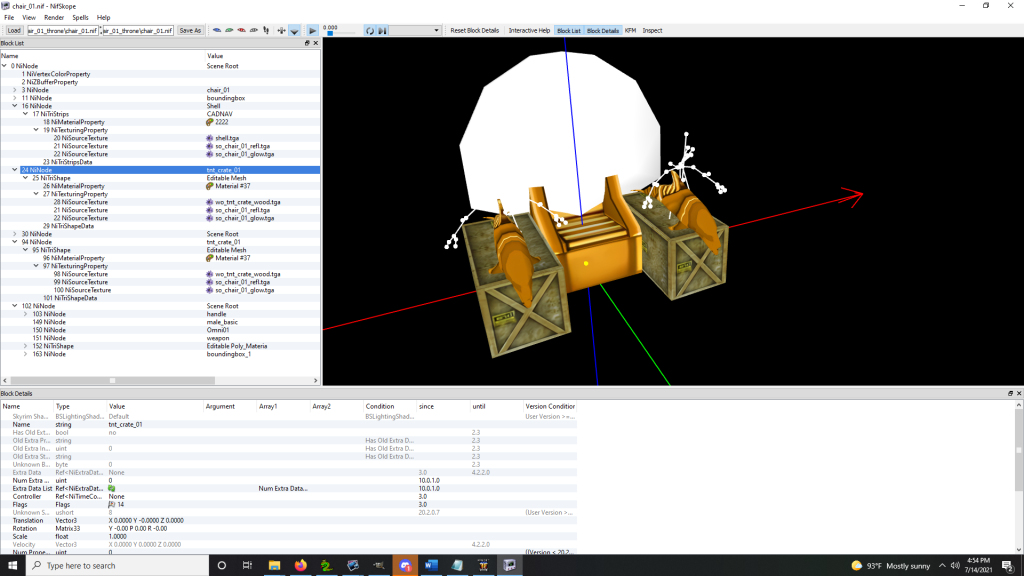
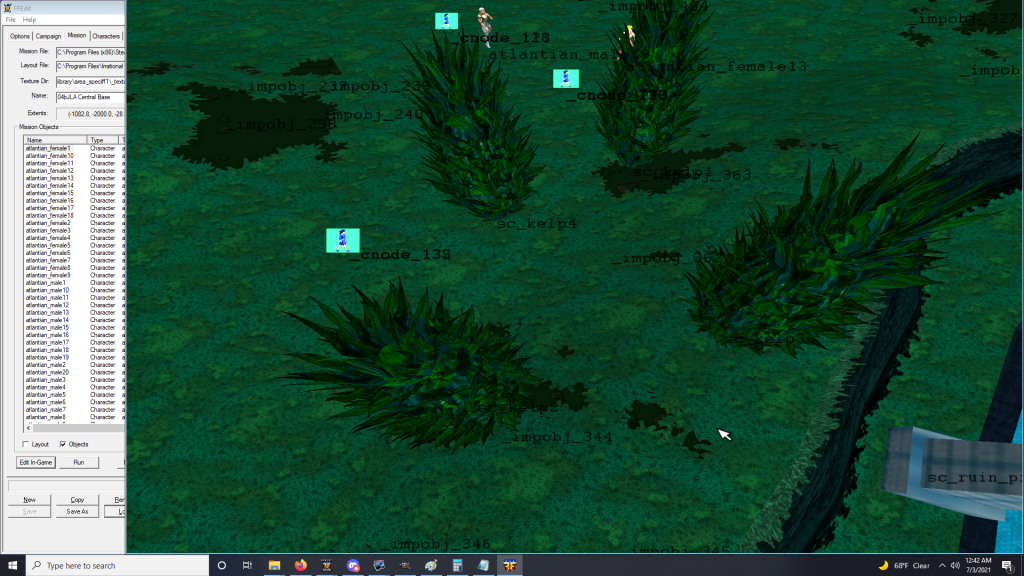
Adding a refl and a glow texture to the mesh pieces, as well as tweaking the color settings of the meshes themselves, allowed me to make the whole thing look shiny and impressive. I did the same type of thing to create some nice underwater foliage for my city map. I started with a thin tree object, the ger_tree_poplar, but I wanted to make it look like a piece of a kelp forest, so I copied over ger_weed, and then placed several copies of it all up and down the tree, rotating and enlarging them here and there so that the whole thing had a nice, ragged, wavy appearance. I created a number of items like these, and I rounded out my decorations by adding textures I found online to existing meshes to create artistic accents, making bronze statues, golden images, and paintings. The paintings used art from the Atlantis Chronicles, which seemed fitting place to find images of Atlantean history.

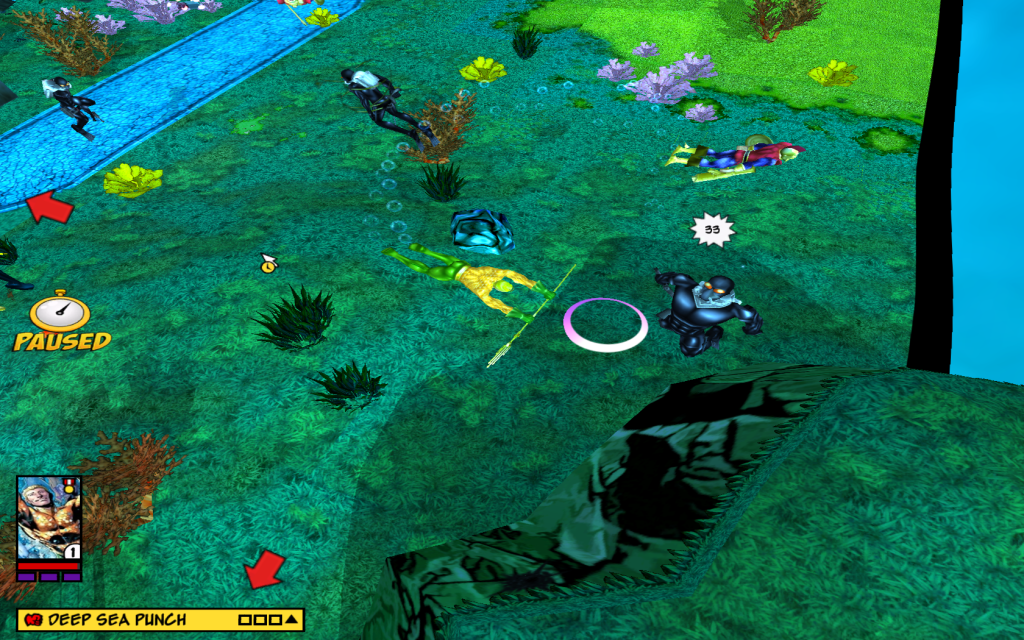
Populating Atlantis:
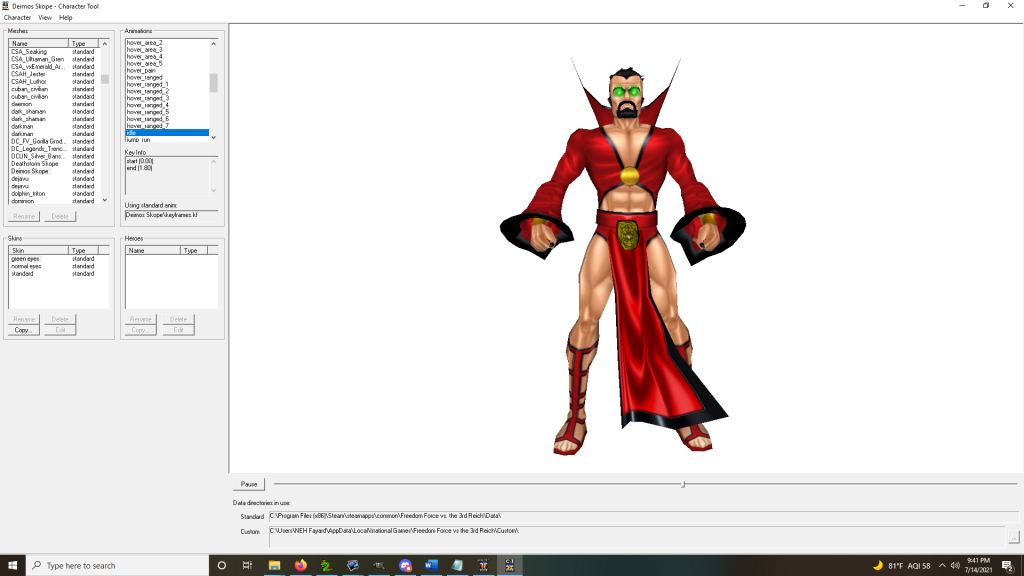
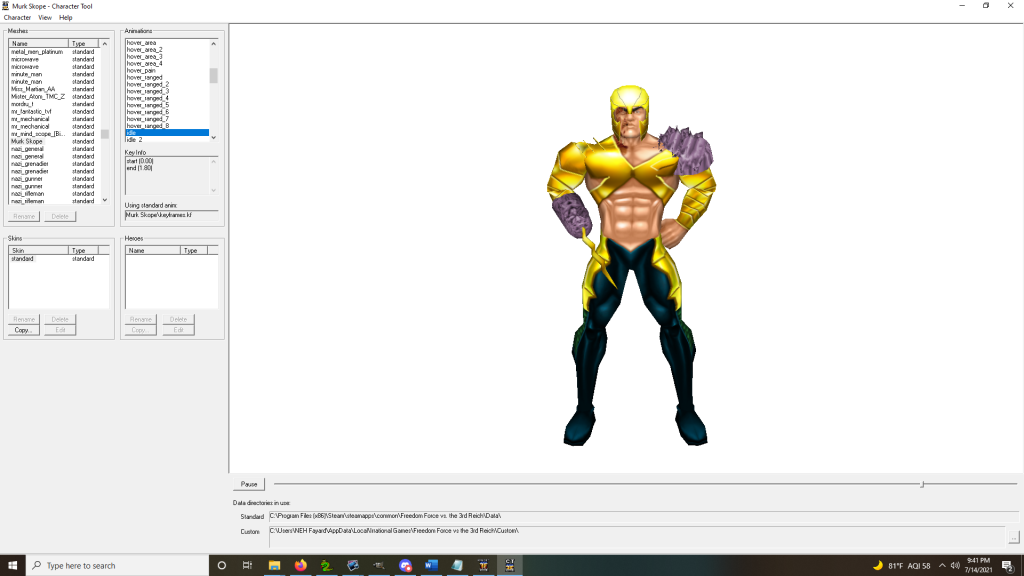
While I’ve been hard at work designing maps and writing missions, other incredibly talented members of our community have been contributing some wonderful stuff to other facets of my project. Tomato has continued to help me out with a number of contributions, big and small. RandomDays has imported a ton of incredibly useful objects for me and has in general pitched in innumerable ways, and Deanjo2000 has been churning out some incredibly gorgeous skins and skopes! In fact, between RD and Dean, we’ve got an amazing vessel for Aquaman’s nemesis, Black Manta. Dean has contributed a lot of great DC characters to the mod since my last update, and he was kind enough to create the Aquaman supporting cast member Murk, from the modern books, who Jeff Parker did such excellent work with. This gave me a really useful character to play with in my development of my Aqua-adventure, and it’s also just fun beating the snot out of this thinly-veiled pastiche of the hook-handed Aqua-jerk of the 90s! In general, I’ve seen a fantastic amount of support from the community lately, which has been really encouraging and energizing. Look for even more great art assets coming soon!

Telling the Story:
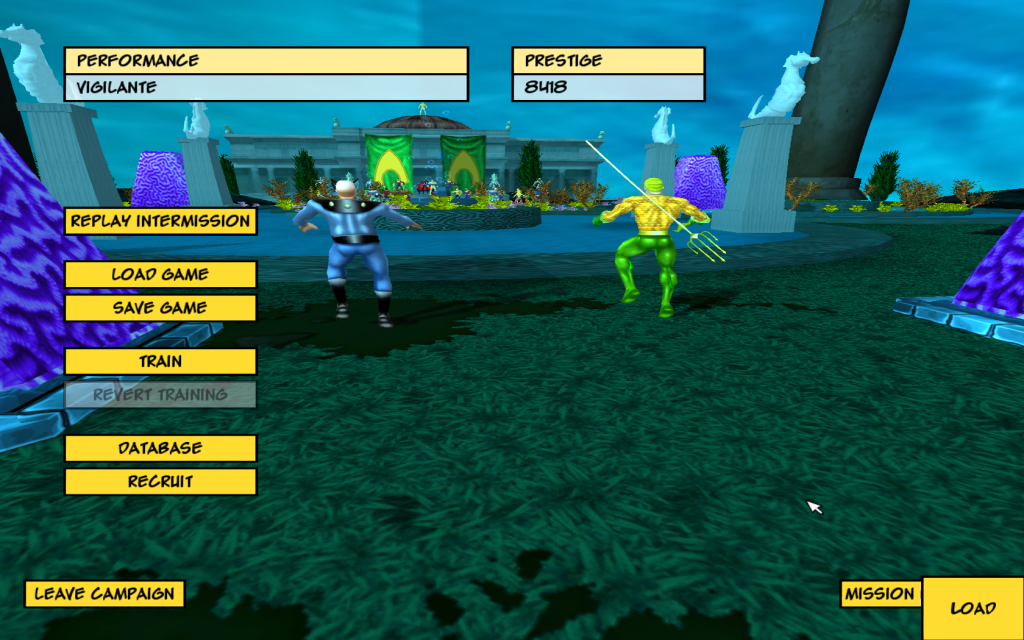
Of course, all of the work described above has been in service of a story that I’ve been dying to tell for years and years. My Aquaman campaign is one that I mapped out in broad strokes back when I was first working on the DCUG, over a decade ago. The story has evolved and changed a good deal since then, and I have been more than a little influenced by the fantastic work done by Jeff Parker and Dan Abnet in the New 52 Aquaman series. Still, I’m quite excited to finally get the chance to tell it, especially because it is such an ambitious project, and one that I have often despaired of ever having the chance to do justice. With the support of the FF community, diminished but still full of talented, I have been able to make a good start on it. As I’ve made maps and props and a thousand and one little tweaks and enhancements, I’ve also been hard at work on the campaign.
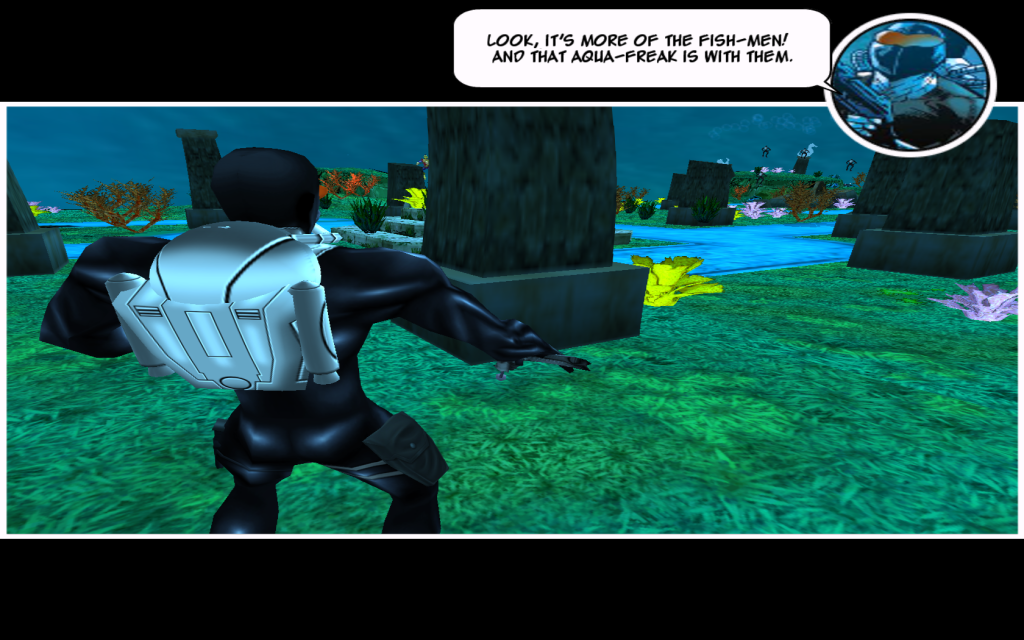
I’ve finished missions #3 and #4, which included some of the most challenging writing of the entire narrative. I had to introduce Atlantis, supporting characters, and an absolute mountain of plot, all in a very small amount of narrative space, as I only had a few missions and base scenes in which to do it. I could probably have spread this over more missions, but considering how much time and effort it takes to successfully write, script, and create a mission, I’ve tried to be conservative with my campaign design, which is not a strength of mine, as my project catalog can attest! So, I’ve slaved over the writing of these missions and base scenes, and while I’m not 100% happy with it (I never am), I am content. The missions themselves I think are a neat mix of ideas, and I hope they’ll prove fun to play. The players will be hit with a lot of information and a lot of my original Aquaman mythos in these missions, but I’ve tried to make them exciting and entertaining, as well as (hopefully) full of intriguing glimpses of story and mystery. As an extra treat, each mission has a custom cover created by Unkoman for their loading screens. Some are snappy tweaks of classic Aquaman covers, and some are much more elaborate creations, but they are all awesome, and Unko has put a lot of time and effort into them, crafting these custom loading screens that really make the campaign feel polished and complete.
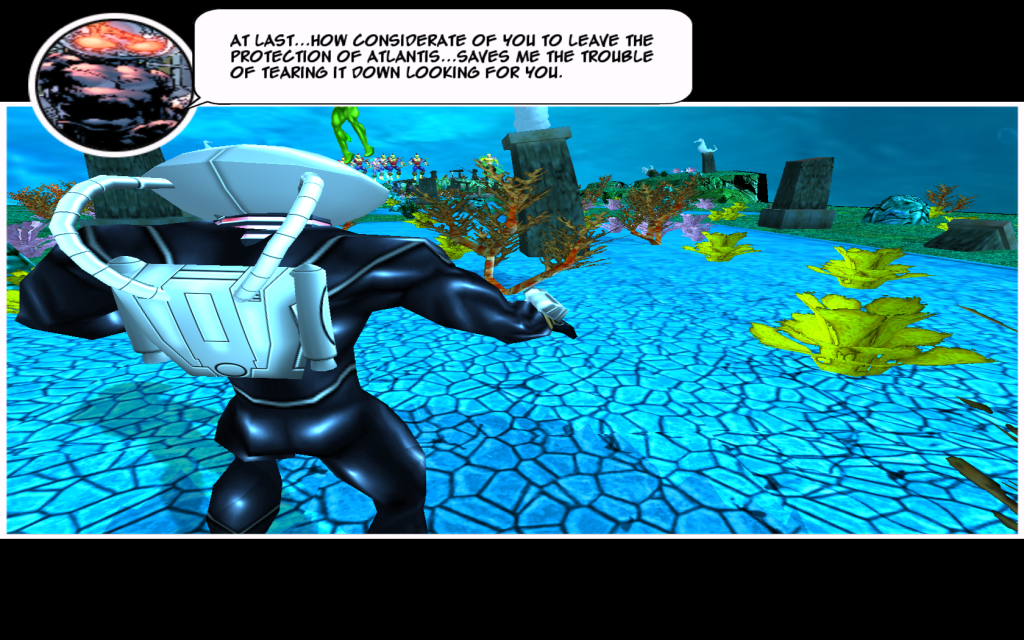
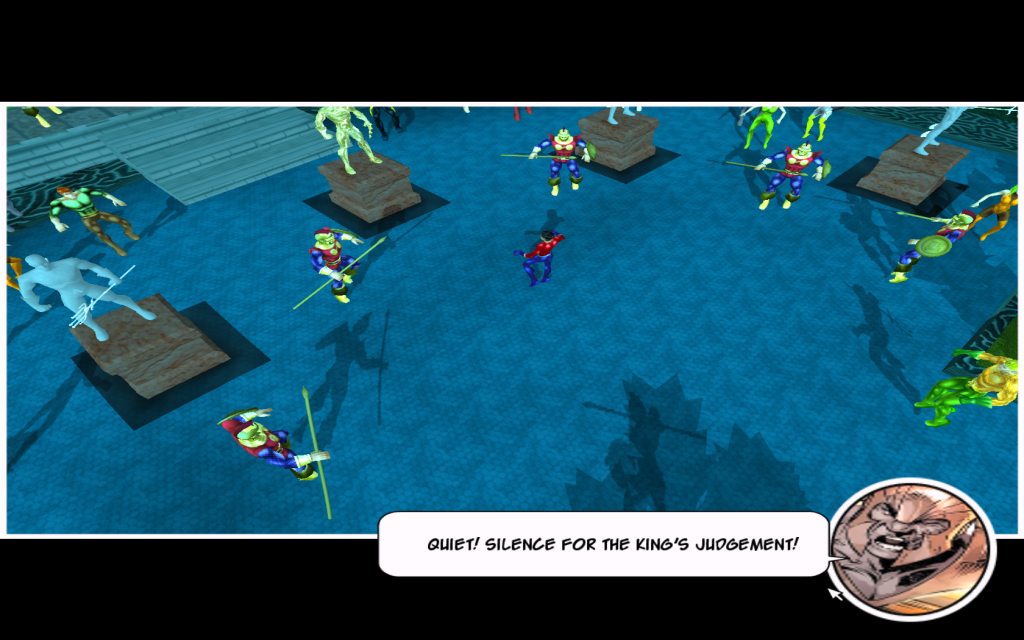
#3 “Torn Between Two Worlds”

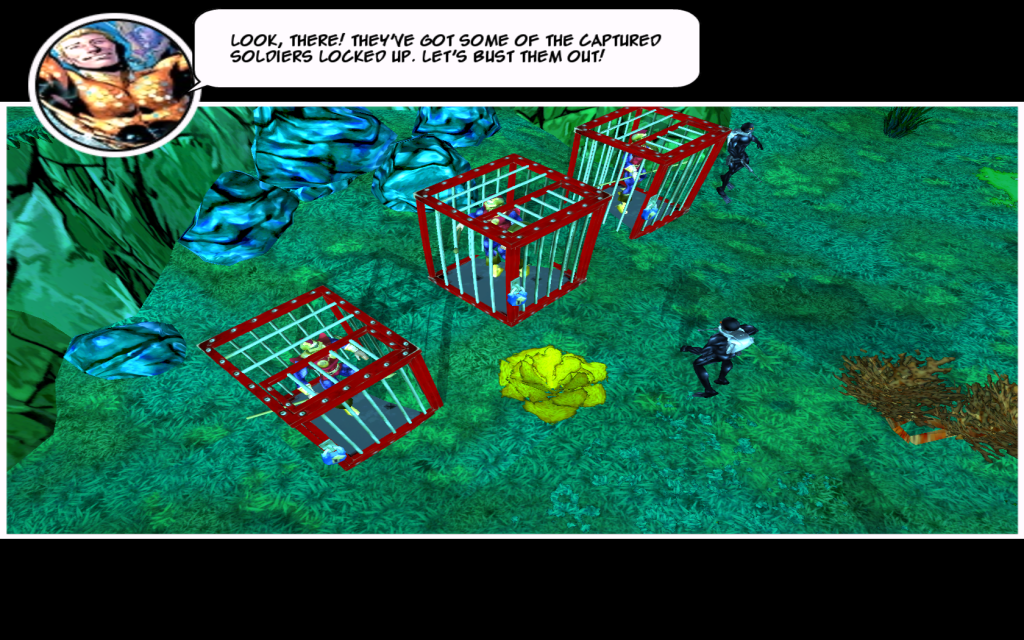
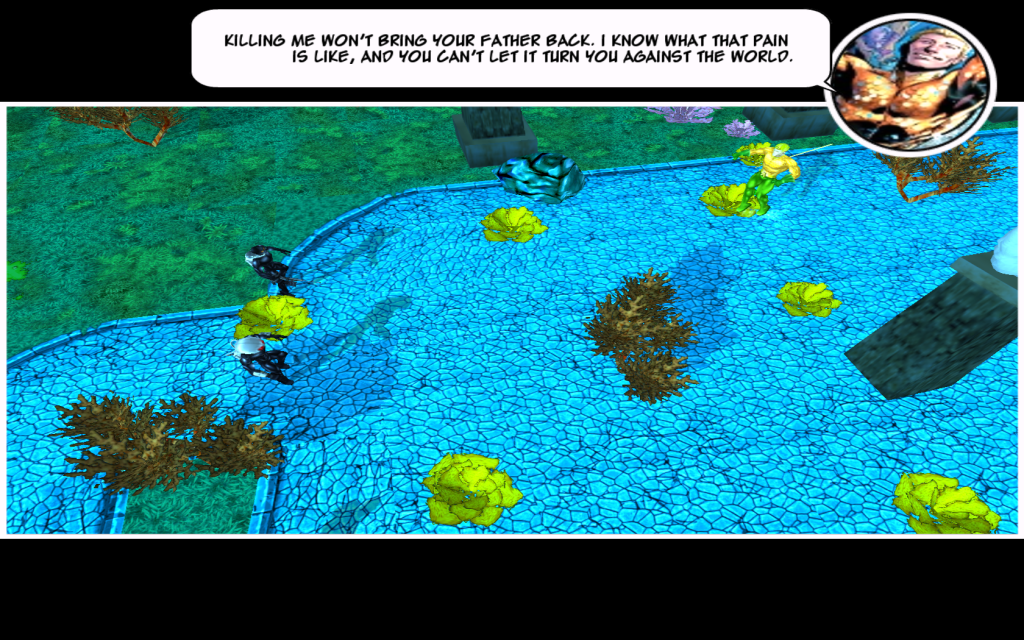
I won’t give away too much of my plot in these features. Instead, I’ll tease a bit about the missions and talk about how I made them. This first one up presented some design problems, in multiple ways. First, I had to skope custom keys for various characters that I already had in the DCUG, but for whom I didn’t have underwater versions. Then I had to create new powers and builds for each of them. When writing the mission itself, I knew I wanted a showdown with some of Black Manta’s minions, but I wasn’t really sure what to do to make it interesting and provide some variety. I came up with a couple of different encounter types so that the mission wasn’t simply a straight fight, and I designed it so that Aquaman was accompanied by some Atlantean allies. My scripting challenges arose from two sources. First, I needed to get the allies into the mission immediately so that the opening cutscene could include them and set up what was going on. Second, I needed my villain to get defeated but still get away, and I wanted to make sure that he didn’t show up until the player had cleared out all of his henchmen.
To solve my first challenge, I made my starting encounter an Alliance encounter, which allows you to create long-term allies for the mission, and I simply had its starting cutscene be my intro CS. However, as is often the case, solving one problem created another one, and this one was quite the mystery to me for a while. I would play through the entire mission, and everything would work, only for all of the starting encounters to respawn as I was playing through the last encounter. It was maddening! Not only did it look super messy and confusing, the mission wouldn’t end because the event chain had restarted! I finally, just yesterday, figured out what the issue was, after seeing no clear reason why this would happen and trying dozens of different things to fix it. The problem all came down to the fact that I was using my Alliance encounter to start my mission, and it was also being used to launch those opening encounters. It’s super obvious in hindsight! You see, the CS would play, and the encounter would ‘end’, spawning the next ones…but it wasn’t ACTUALLY over until all of the allies died. Most of the would get taken out in the mission, but your main ally, Murk, was made of sterner stuff, and he’d usually stick around until the end, where he was knocked out by another encounter….which would then start the whole thing over again! Simply using a different encounter to spawn the others solved the problem very nicely.
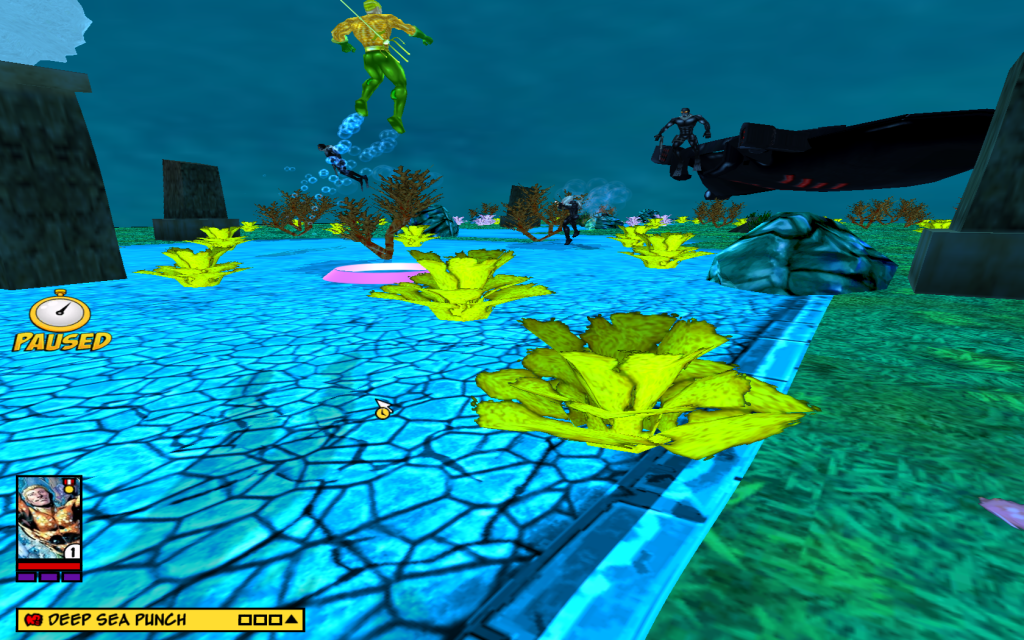
The second problem proved much more easily solved, though it also gave me some trouble. EZScript has an option for Custom Encounters that allows you to set one up where a villain will stop fighting at certain health thresholds. This is meant to simulate a common mission element from the FF campaigns, and it would be a very useful mission component. The trouble is, it’s never worked quite right, and I have trouble with it every time I try to use it. I decided to give it another look, and sure enough, it gave me fits. Either Manta wouldn’t stop and would get knocked out, or he’d stop and just get stuck, so the rest of the mission didn’t play. Finally I gave up and just used a simple Interrogation, which worked like a charm. However, this left me with the difficulty of getting my villain away. I’ve gotten around this in the past by having the screen fade and just having dialog advance the plot and narrate what’s happening. Obviously, that’s not the most elegant of solutions, and I wanted a bit more out of this, especially because I didn’t plan on this actually being the end of the mission. The trouble is that, once in an interrogation state, a character is locked into their stun animation and can’t move. So, I decided to cheat a bit. I used some camera work and fades to extricate Manta, then gave him an animation command to bring him out of the stun state. He still couldn’t move, but he LOOKED normal, and that made the CS work reasonably well. In the, the mission proved to be more challenging to create than I anticipated, especially since it was originally conceived as just a fight, but the final product should prove interesting, I hope!


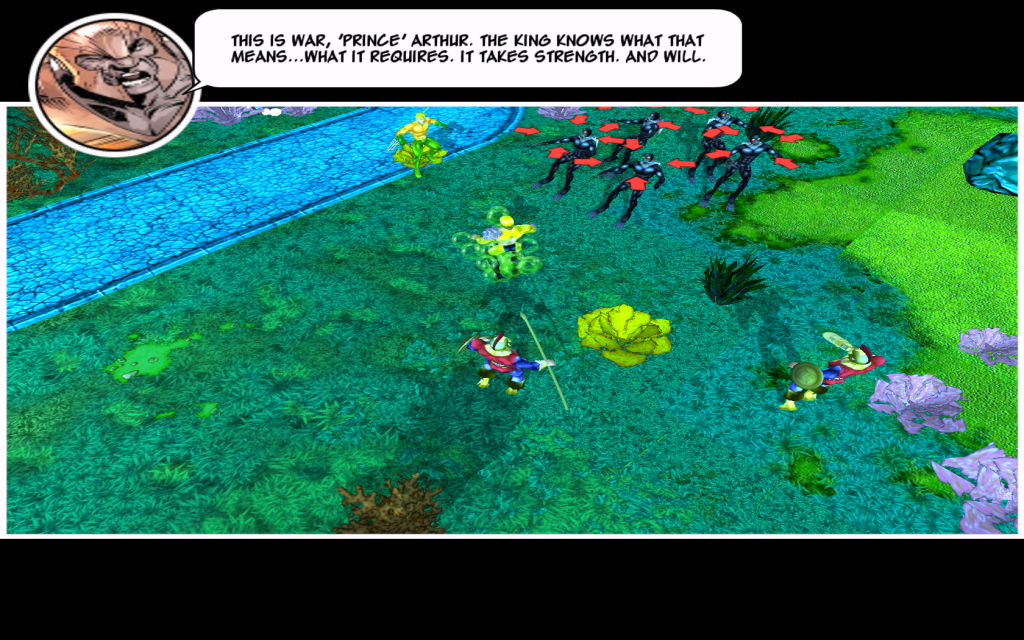
#4 “Caverns of Death”

Bizarrely, mission #4, although much more ambitious in terms of scripting, as I was trying something I’d never done before, proved much easier. In fact, the most complicated and fanciest bits worked right out of the gate, while the simple stuff, as is often the case, tripped me up. This one involved the newly recruited Aqualad joining Aquaman as they fought their way through a cave full of monsters, and made some interesting discoveries about the history of Atlantis along the way, as well as some hints of the overarching plot! I decided to get clever, because once again I was struggling to find a way to provide some variety to how my story idea made it into mission form. The monsters our Aquatic Aces faced were a fairly straight-forward threat, but I came up with the idea of having the heroes encounter eggs that could hatch at random intervals, spawning more of the monsters. If the heroes can destroy the eggs early, they won’t have to worry about reinforcements, but if they don’t, they might get overwhelmed! I did this by creating two sets of encounters. The first was just a custom Destroy Object encounter with a Countdown condition to provide a ticking clock. The second, which is only triggered if the object isn’t destroyed before the clock runs out, spawns a monster in a Hunt encounter. I added some FX to make it look a little smoother, and it all worked pretty well. Here’s the EZScript encounters in question:
Encounter: Brood1
Type: Custom
Actions: countdown, heroes destroy objects
Objects: trench_egg named bob
Time: 215
Marker: shell1
Next: If Timer Still Going: None
Next: If Timer Expired: Birth1

End Cutscene:
bob is destroyed

#--------------------------------------------------

Encounter: Birth1
Type: Hunt
Villains: trenchs
Marker: scrack1
Next: None

Alert Cutscene:
Play effect effect_ffx_transmute at scrack1
Interestingly, I’ve recently discovered that the brilliant M25, who created EZScript, was even more brilliant than I had given him credit for, and he included the ability to name objects (like ‘bob’ up there) as well as characters so that you manipulate them directly through your scripts.

Alright folks, well that should give y’all a nice peak behind the curtain at what I’ve been up to. Now that I’m past these challenging missions and maps, I’m hoping I can move a bit more quickly in the coming weeks, but we’ll see. I know that I promised some information about my GLC campaign in this diary, but I think it’s already long (probably overlong!) enough, so I’ll get to that next time. I hope that this has been interesting and useful. Please feel free to ask questions or post comments, especially if you’re interested in getting into modding yourself or are just looking to get involved in the fantastic FF community!