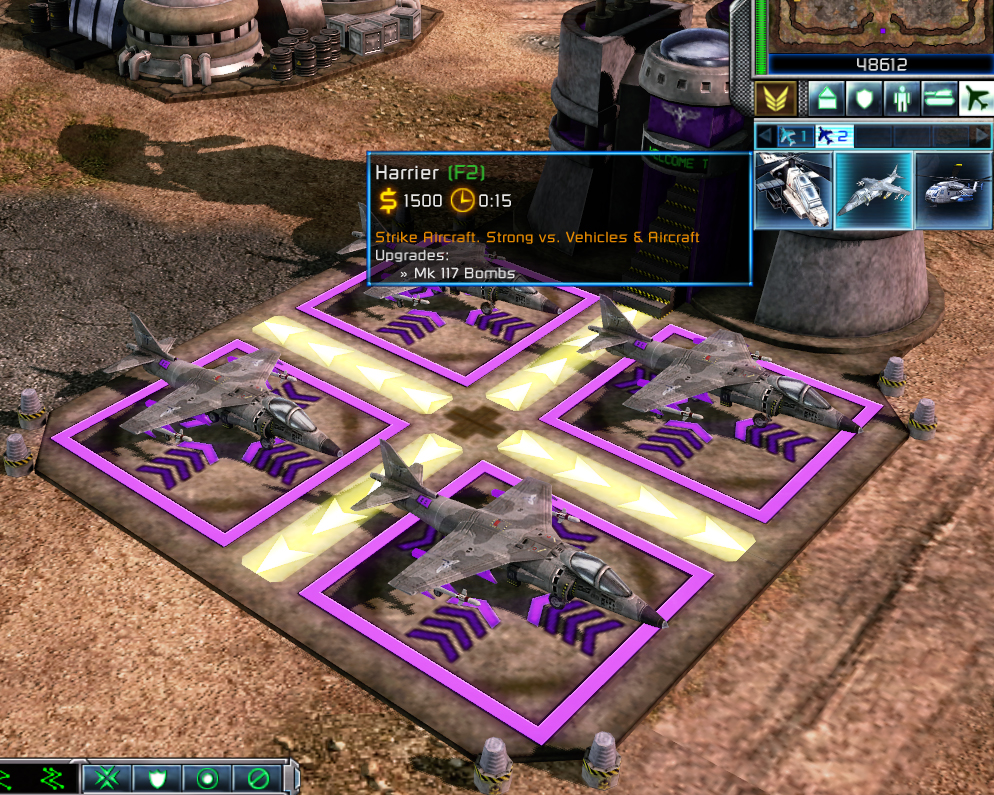
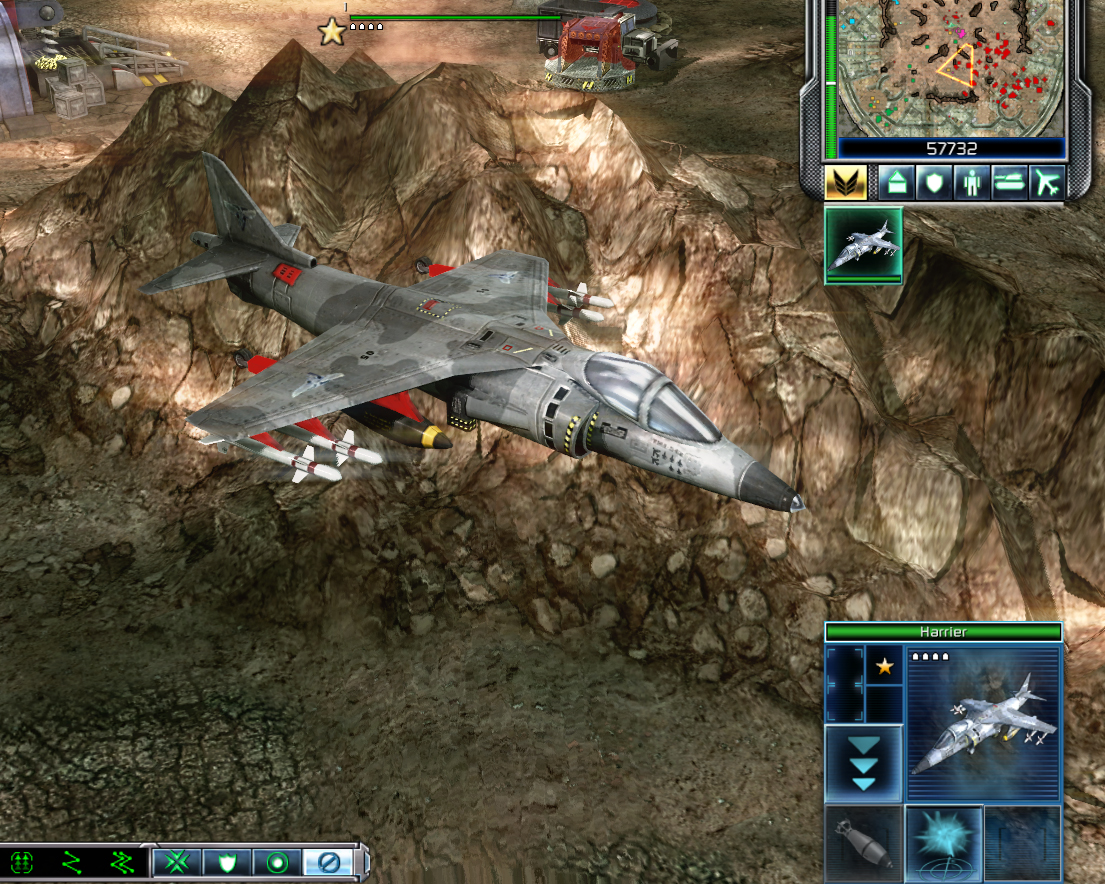
Name: Harrier
Side: Allies
ERA: Red Alert 2
Introduction
The Allied Harrier is a tier 3 multi-role aircraft that can launch a single powerful attack before reloading at an airforce command. Because only 4 can be built per airforce command, it is naturally not a mass build unit. The Harrier is more of a specialist unit, it is not a unit that you have to build, indeed many people avoid building it.
However like the GDI Firehawk, if you can master the Harrier it becomes a formidable unit that can easily win you matches, due to it's enormous damage potential, especially when upgraded.
The purpose of this article is to minimise the trial and error required to get the best out of this unit.
Control Techniques
Intro
Getting the best out of a Harrier is a micro intensive affair, especially when you are using multiple Harriers at the same time. I will discuss some control methods using the games keyboard shortcuts that can help you immensely when it comes to controlling multiple Harriers.
Additive
The additive method uses numbered control groups to allow for quick control over a small number of Harriers (typically 4, certainly no more than 8). To create control groups, select a Harrier and hold the Ctrl key down and then press a number key (0-9), you should see the number you have pressed appear above the health bar of your selected Harrier. Continue doing this for other Harriers, but remember that you are limited by the number keys on your keyboard.
While the attack power of the Harrier means that you almost always want to give individual Harriers their own unique number group, if you intend on mostly using the Harriers as bombers to destroy enemy factories (will be discussed later), then you can consider grouping 2 Harriers together.
The additive method involves:
- Select a Harrier using a number group.
- Left click on an enemy target.
- If the target requires more than one Harrier to destroy it, select the next available Harrier number group and target the same enemy.
- Once you have added the necessary number of Harriers to destroy the target, move on to the next target, repeating the process.
The additive method is actually not recommended, unless you are using it for a paired grouping in order to attack enemy factories using either planned or way-pointed attacks. However starting off with an airforce command full of Harriers (grouped 1-4) is a good way to introduce yourself to basic Harrier usage.
Subtraction
This is absolutely how you should control a large number of Harriers, the method perfectly lines up with the single powerful attack of the Harrier.
The method involves selecting all of your Harriers, either by having all the Harriers in a single control group, or more typically, by pressing the Q key to select all units on the map, then double clicking the Harriers in the context window in the UI, which will select all of the Harriers you currently have.
Finally you can select one Harrier, and then press the W key twice to select all Harriers across the map.
- With all the Harriers selected, left click on an enemy target.
- Right click the number of Harriers in the context window necessary to the destroy the target you left clicked on.
- With the remaining Harriers still selected, left click the next enemy target.
- The process is repeated until all of the Harriers in the context window have been used.
For example I will use a Soviet vehicle group of a Heavy tank, a War Miner, and finally an Apocalypse tank.
- Left click Heavy tank, right click on one of the Harriers in context window.
- Left click War Miner, right click on two of the Harriers in the context window.
- Left click on the Apocalypse tank, right click on 3 of the Harriers in the context window.
The above is because the Heavy tank takes a single Harrier to destroy it, the War Miner takes two, and the Apocalypse tank takes three! The commands can be given out very rapidly, and because of this a large number of Harriers can be used in an anti-vehicle role using this method.
It is recommended that you keep your Harriers airborne, and also that you make sure that you give yourself enough time to target all the vehicles that your group can destroy. The main benefit of this method is that it is the perfect blend of speed and efficiency, you can quickly attack multiple targets, but still use the exact amount need to destroy said targets, avoiding overkill.
Perfecting this will cause you to become a beast on the field when it comes to Harrier usage!
Waypoint Mode
The primary usage for Way-point mode is to simplify usage of the upgraded Harriers. It allows you to easily use the bombs and missiles together in a sequence, whether it is on the same target, or different targets. It can also be used to flank enemy harvesters if you are using your Harriers to economy harass, via issuing multiple move commands around the edge of a map combined with an attack command (and maybe a final move command after the attack to avoid enemy AA).
To use Way-point mode, with a unit selected hold down the Alt key (or use the button on the UI!) and then issue multiple commands, the selected unit will immediately begin following the first command that you give, and will follow the further commands that you give in sequence.
Important notice: it is highly recommended that you have the Harrier in Hold Fire stance (Alt + F), why? because your Harrier is able to use its weapon in between commands, which might mess up your command sequence since the Harrier can only use its main weapon once!
Also your Harriers must be airborne in order for you to use the bombs in Way-point mode.
Finally while you can give multiple move commands after you have used your ammunition, the Harrier will typically only acknowledge the first of these move commands, before heading directly to the airforce command to reload!
It is best practice when using the Way-point mode on upgraded Harriers to use the bomb ability before the missiles in your command sequence. This is because bomb usage will not signal to the Harrier to return to base to reload, unlike using the missiles!
Mastering Way-point mode will lead to you getting the best out of upgraded Harriers and allow you to maximise the carnage both inside, out of an enemy base!
Planning Mode
Planning mode is mainly used when you have a large number of upgraded Harriers and you want to use both the bombs and missiles, but also want to control other units while the Harrier strike is occurring.
The benefit of Planning mode vs Way-point mode is that the Harriers will not move until you exit Planning mode, which means that you are not rushed (unlike Way-point mode) and can issue as many complicated commands to a large number of Harriers as you please. There are still the same issues regarding the important notices of the Way-point mode, so remember them!
The main negative of Planning mode is that nothing will happen until you exit the mode, as such you do not want to use it when there is a fierce battle happening, and also you want to spend as little time as possible in Planning mode.
To enter planning mode press Ctrl and the Z key together (or use the button in the UI!). Issue your command sequences to your airborne Harriers, then press Ctrl +Z (or press the button in the UI once more!) to execute the sequence, ending Planning mode.
While the Subtraction method can lead to masses of enemy vehicles being destroyed, it is useless for combined bomb + missile usage. Planning mode will allow you to crush large sections of an enemy base, while also wrecking any enemy vehicles, at the expense of the immediacy of the Subtraction method.
Usage
Anti Bomber
This refers to having a dedicated group of Harriers to intercept enemy bombers. You only need 3 Harriers, however you will probably build 4. You can control group them 1-4, or you can use the Subtraction method, your choice.
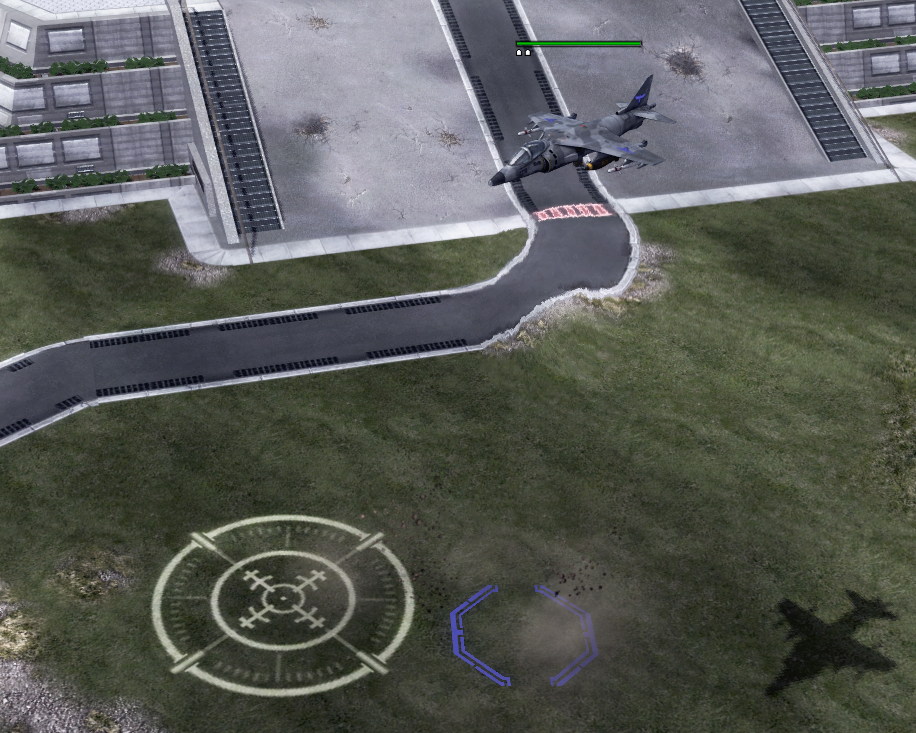
Once the Harriers have reloaded, always keep them airborne, in a safe area in your base. When you are reacting to an incoming bomber, you do not want to be wasting time waiting the the Harriers to take off before their intercept mission (it is good practice to always keep any aircraft airborne unless they are reloading).
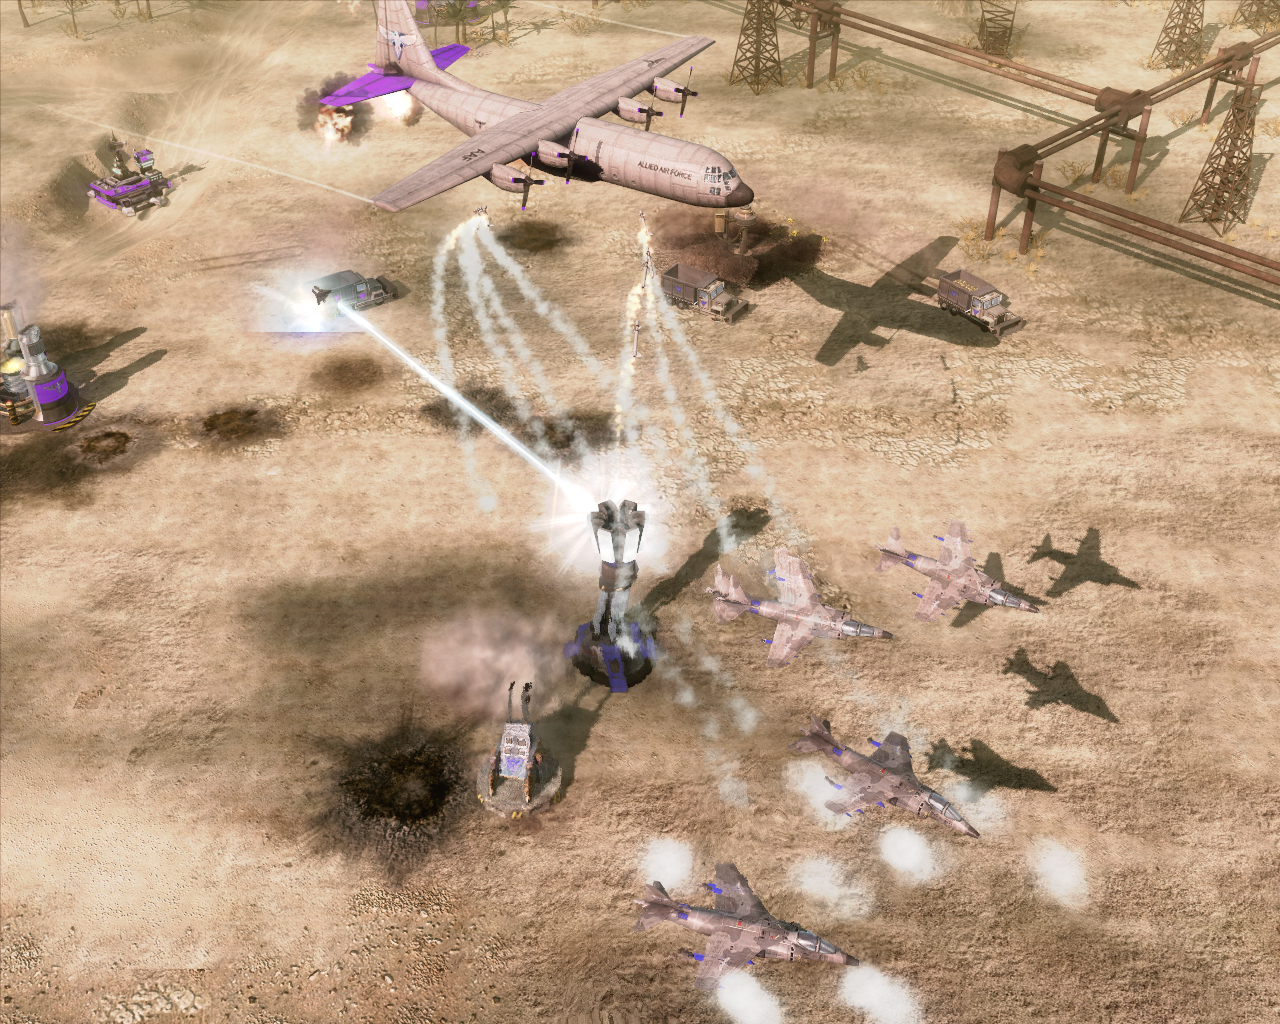
"Should've got flares, get wrecked!"
You can target the large bombers using a left mouse click, you cannot target the Allied Hornets, although if your Harriers are within their path, they will automatically target them (if you are in any stance except Hold Fire!)
1 Harrier will destroy:
- Hornet (although there are 3 of them!)
2 Harriers will destroy:
- Allied C130 and Soviet Super Bomber
3 Harriers will destroy:
- The Badger Bomber (Tupolev Tu-16)
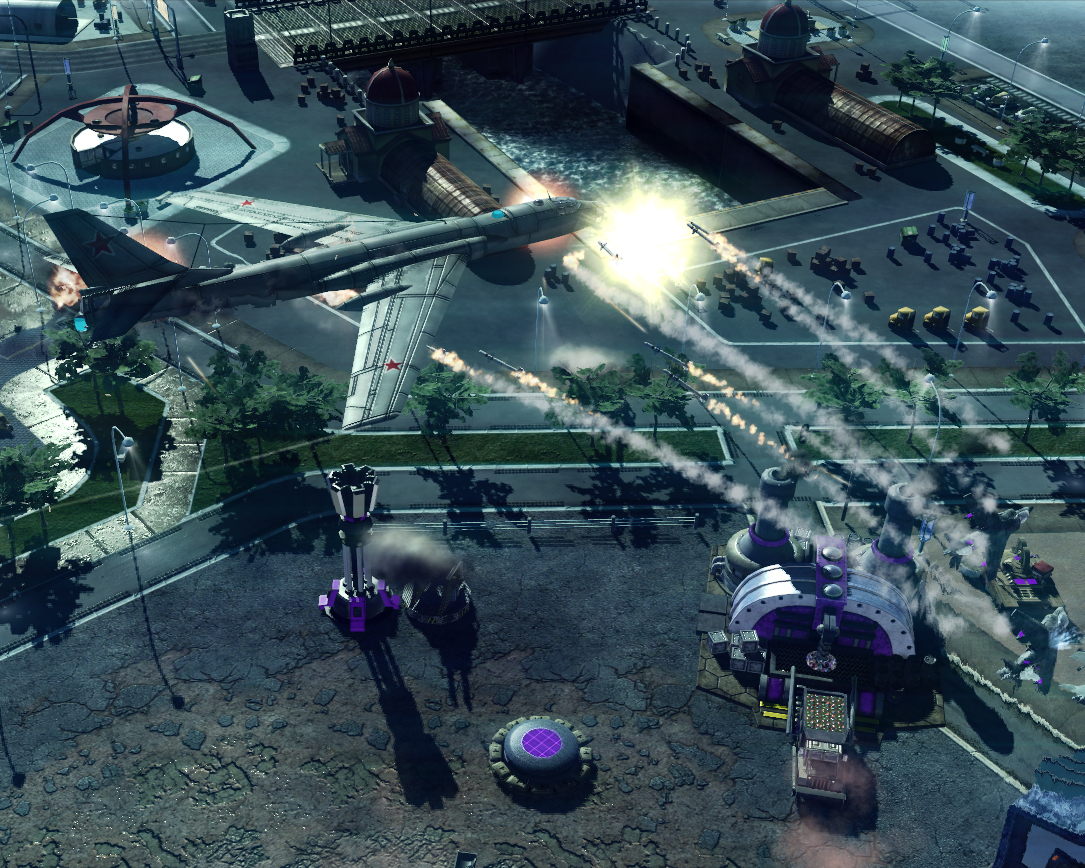
Do not let this beast, get this close!
The idea of having a dedicated group vs just using Harriers in general is that there might well be occasions wherein, after a general Harrier attack, you see a bomber heading your way that you are unable to deal with due to your Harriers having no ammo!
Anti Vehicle\Aircraft
IE general usage. You get the best out of this by using your preferred control method, and more importantly, by knowing how to get the best out of the immense burst attack power, so I will fill you in now!
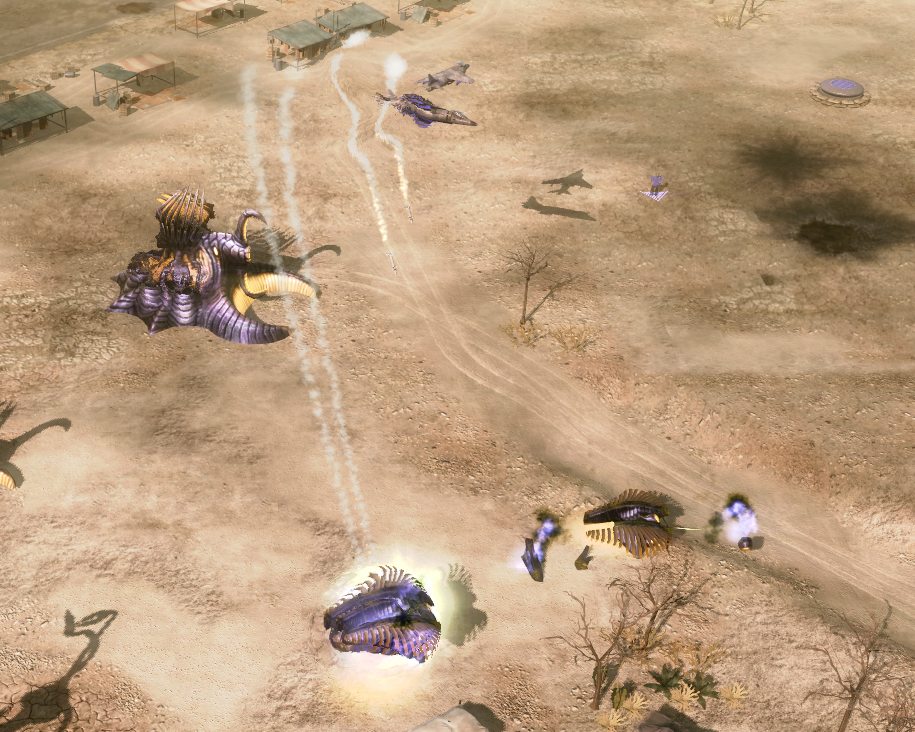
Destroys most vehicles in one attack!
Destroy List
2 Harriers:
- Allied Tank Destroyer, C130*, Rocket IFV, Soviet Super Bomber, War Miner, Devastator, PAC (no shield).
3 Harriers:
- Allied Harvester, Badger Bomber, Apocalypse tank, Kirov, Tripod, Scrin Harvester, PAC (with Shield).
4 Harriers:
- Mammoth tank.
5 Harriers:
- Harbinger*, Kirov MkII.
7 Harriers:
- Mothership.
*The 'Flares' upgrade if purchased by your opponent, can mean that more Harriers are needed!
Any other unit or aircraft is destroyed by a single Harrier!
Use this list together with the Subtraction method!
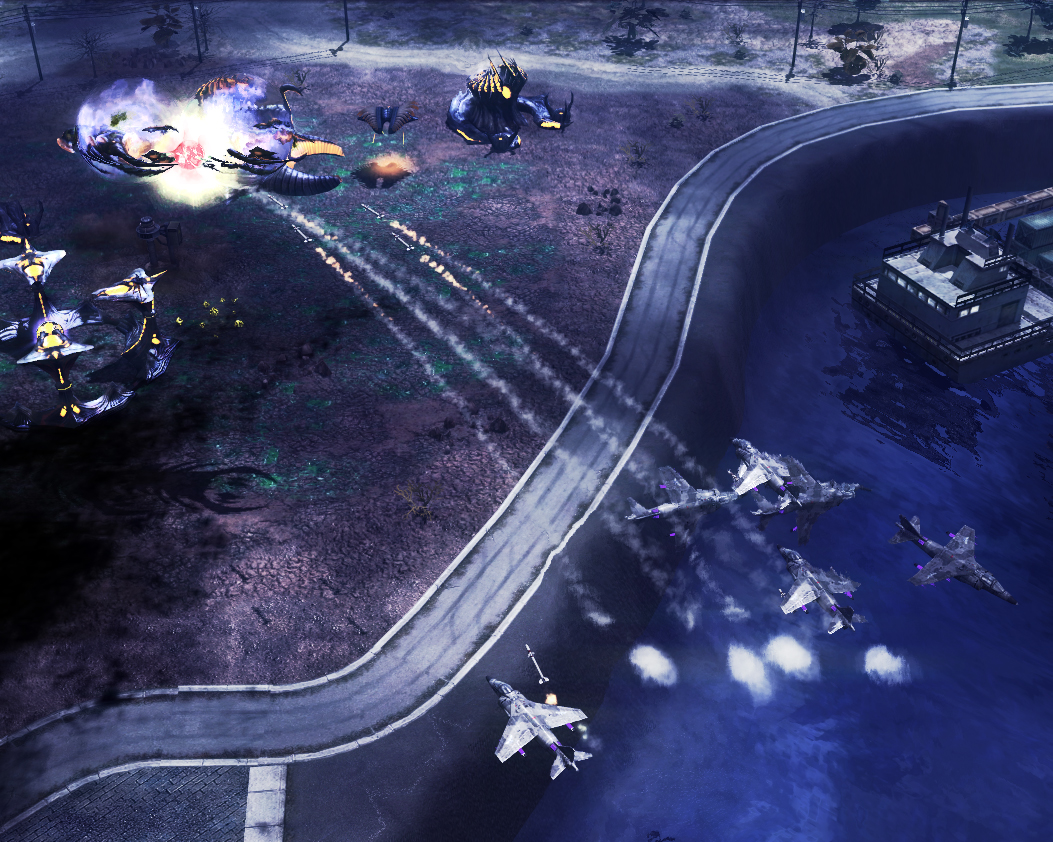
Faster aircraft are difficult to target, but these sky sloths have no chance!
Harvester\Miner sniping
This is especially effective vs the Soviets, because it only takes two Harriers to destroy a War Miner! So an airforce command full of Harriers can destroy two Miners per run, which will quickly dent the enemy's economy!
Use either Way-point or Planning mode, so that you do not have to babysit the Harriers doing the Eco-sniping, or if you have mastered the Subtraction method, control your Harrier group whilst you are doing other tasks on the battlefield.
Waypoint or Planning mode is especially useful for quickly stacking movement commands to avoid hot-spots on the battlefield, and also to flank, and avoid static AA defences.
Need 3 Harriers for a full health Scrin Harvester!
You can upgrade your Harriers with bombs, and then combine the destruction of enemy Miners\Harvesters with the bombing of their refineries! (4 Harriers bombing a refinery will destroy it), again consider using Way-point or Planning mode to simplify this.
Also you can launch the bomb at the Harvester\Miner dock area in the hope of catching a bunch of them waiting to unload! The bombs from two Harriers launched in the same area will destroy any Harvester\Miner, from any side, if you can also catch the refinery at the same time, it would be brutal for your opponent!
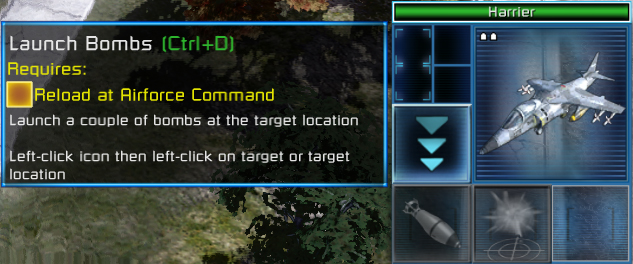
Bomb Upgrade
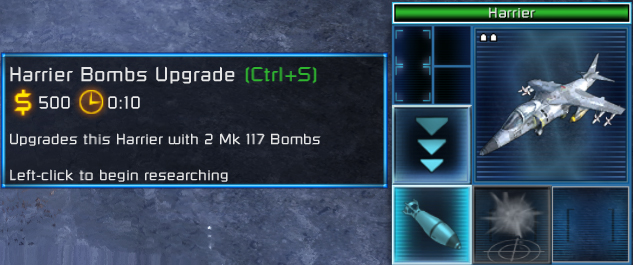
Each Harrier can individually be upgraded with a couple of powerful bombs. Since these bombs are launched via a special ability (Ctrl + C) you are not forced to chose a weapon before taking off, which means that this purchase greatly increases your damage potential.
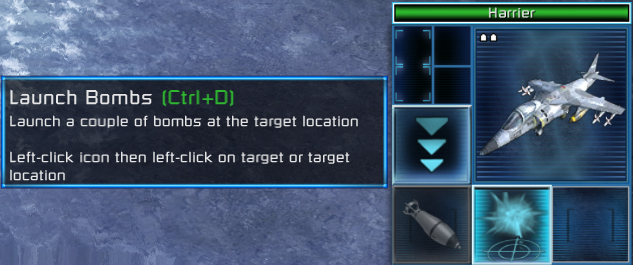
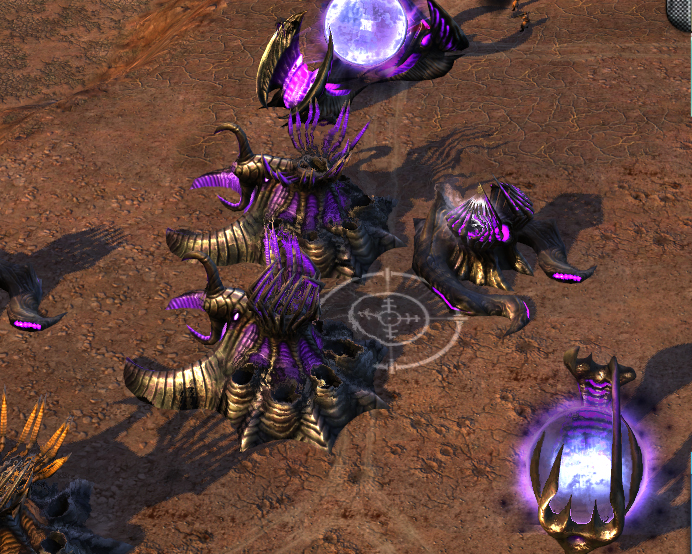
You will do damage to anything within the cursor!
After launch you must reload (or you can use your missiles)
The bombs power is greater than even the Nod Vertigo, however there are major downsides:
- The Harrier must get very close to the target in order to launch the bomb.
- Only deployed via special ability button.
- Harrier is stationery while launching the bombs.
- Harrier will not automatically return to base once the bombs have been dropped.
- Unguided, you target an area to drop the bombs, not an actual object.
- Multiple Harriers will stack if they are targeting the same area.
1,3,4,6 means that you have to be very careful using this ability. Unlike missile usage which is very mobile, you will be ultra vulnerable using this ability, and you can take heavy losses if you are not careful of your surroundings. (2) Seems like a negative, but if you learn to use Way-point and Planning modes, it actually becomes a tremendous positive, as you can do insane amounts of damage very quickly. (5) Also has an upside, because of the splash damage of the bombs. Conveniently the splash damage area is indicated by the special ability cursor! So you can actually use this to damage more than one object at a time via careful deployment. Doing this is essential in mastering bomb usage, and since you get experience for your bombs, just like for your missiles, you can rank your Harrier up even faster!
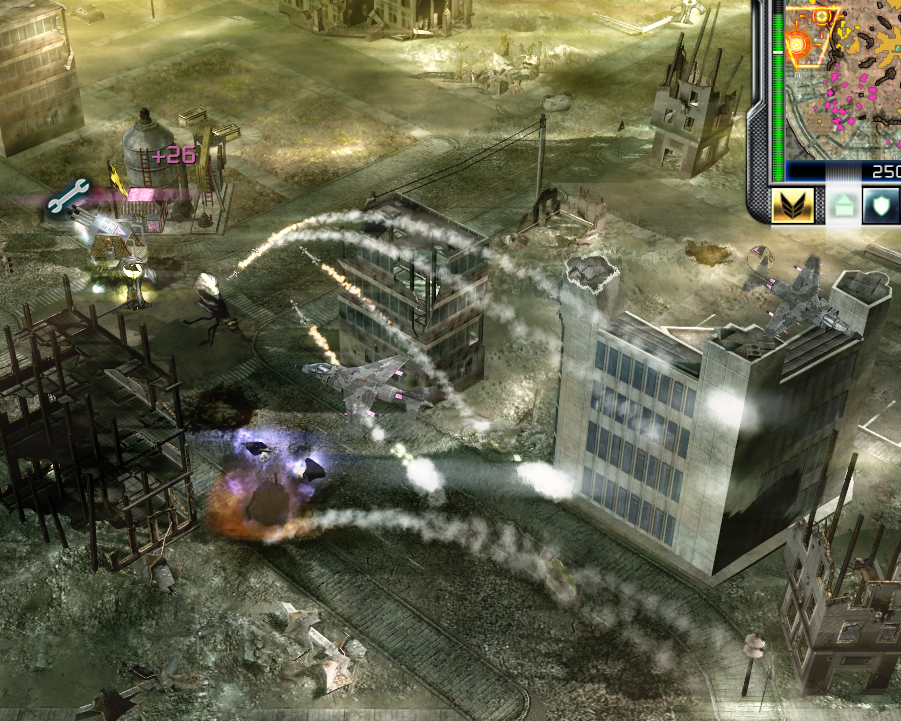
4 Harrier's bombs will destroy all 3 structures!
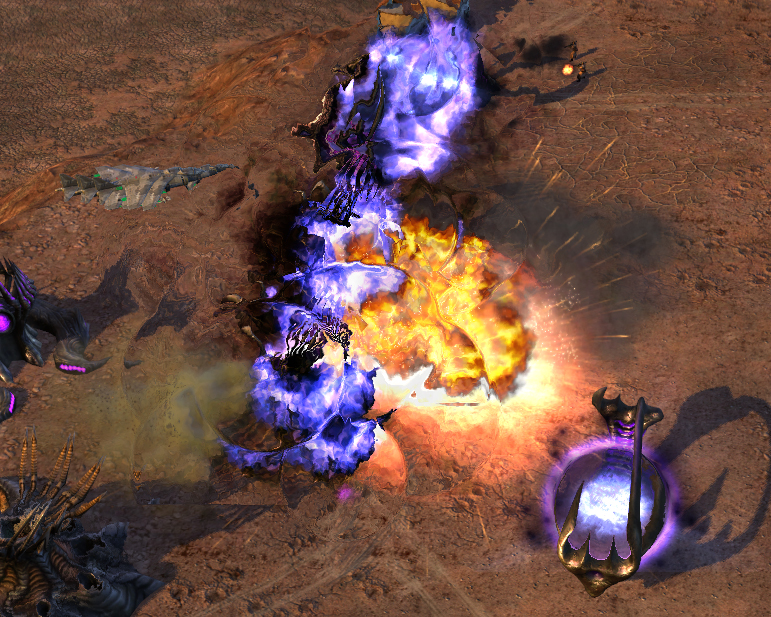
"BOOM!"
Aside: The bombs actually do even more damage to vehicles then the missiles do! however the obvious issue is that it would have to be a very slow vehicle in order to catch them with a bomb drop, and also the Harrier would be in harms way for much longer then the standard missile launch. It is why the refinery entrance is the best method to catch a vehicle.
Something to consider though, especially in an emergency!
Bomb\Missile Combination
This is specifically to do with destroying structures by firing both the bombs and missiles at the same structure (typically using Way-point or Planning mode).
Simply put, a full airforce command of Harriers (4), can destroy any structure in the game, if both the bombs and missiles are used!
Again Way-point or Planning mode is recommended for this, let us do another list:
1 Harrier:
- Power plants, Airfields, Tier 2 buildings (IE Radar, Nerve center), Tier 1 base defences.
2 Harriers:
- Tech Centres, War Factories, Refineries.
3 Harriers:
- Nuclear Power Plant (they will not return from destroying this!).
4 Harriers:
- Super Weapon, Construction Yard.
There are structures not on this list, but these I feel are the most important structures. As you can see even eight Harriers can quickly wreck a base, provided the optimum control method is used, and the best move commands are issued to keep the Harriers alive.
Heroic
Getting a Harrier to the heroic rank will double the number of missiles (but not bombs) that you have!
At the simplest level your heroic Harrier has the power of 3(!) Harriers with no rank!
Adjust your tactics accordingly.
"OOF!"
Conclusion
While this is a lot to take in, you can use whatever you want from this article, you do not have to become a Way-point master, any improvement is good!
Unless you are using them for anti bomber purposes, try to get in the habit of constantly using your Harriers, the more time that your Harriers stay loaded up but unused, is the more that you are wasting the enormous damage potential of the unit.