Introduction
The Chronicles of Riddick: Escape from Butcher Bay ran on a proprietary engine created by the developer Starbreeze simply called Ogier. Like their previous two games, Enclave and Knights of the Temple, they released an SDK for it. Unfortunately Riddick is one of the only games I've seen that had a developer SDK created for it and yet no mods were made or released.
So I have decided to try and fix that and I'm going to upload several tutorials educating everyone on how the editor works. With the goal of teaching you how to make your own Riddick levels and mods. This tutorial specifically goes over how to import level geometry from a program such as Blender or 3dsmax into Riddick.
What you will need
- A program to build meshes in. In this case I'm using Blender
- OBJ 2 Map
Creating the mesh
First you'll need to create the mesh. In this case I'm using Blender's mascot Suzanne.
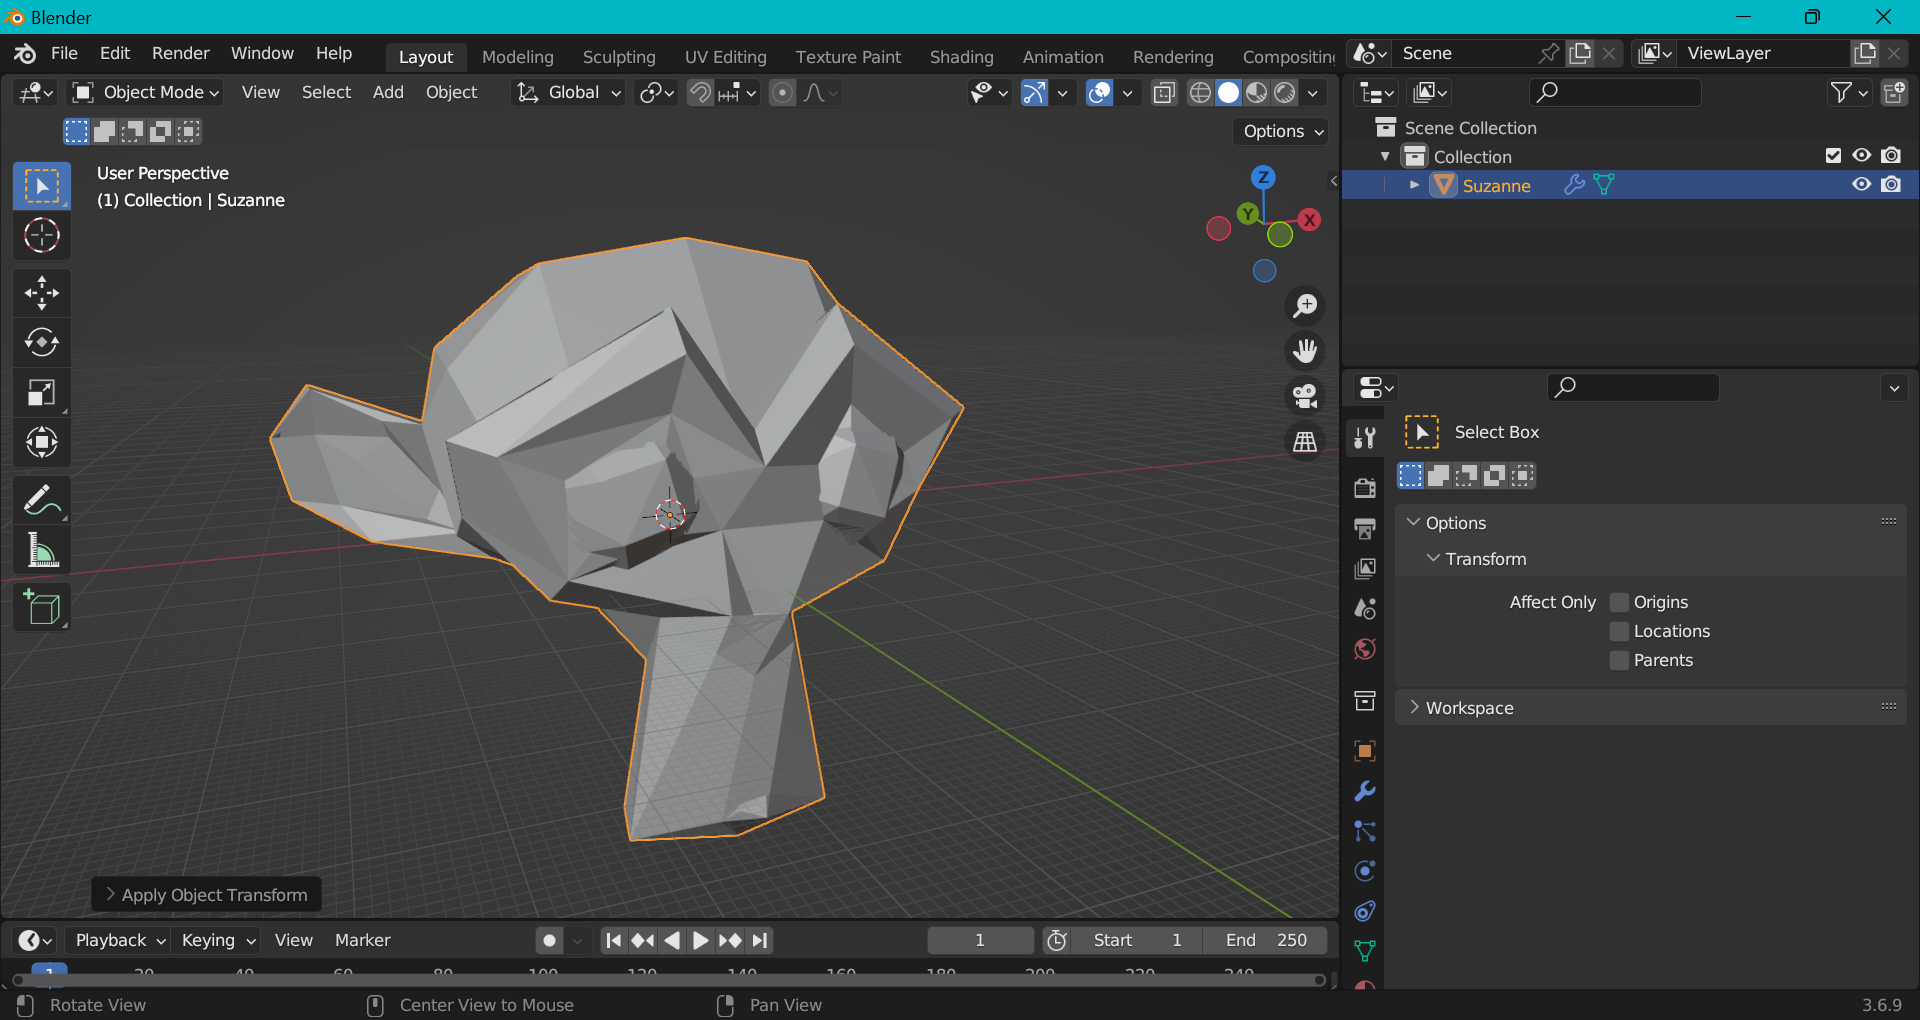
Next you'll need to export it as OBJ. I recommend scaling up the model as large as possible. As OBJ 2 MAP bugs out if the model is too small. Make sure to go to Object->Apply->Transforms after doing so. I also recommend decimating the mesh if it's very high poly as it may freak out with that as well.
Using OBJ 2 MAP
After exporting open OBJ 2 Map
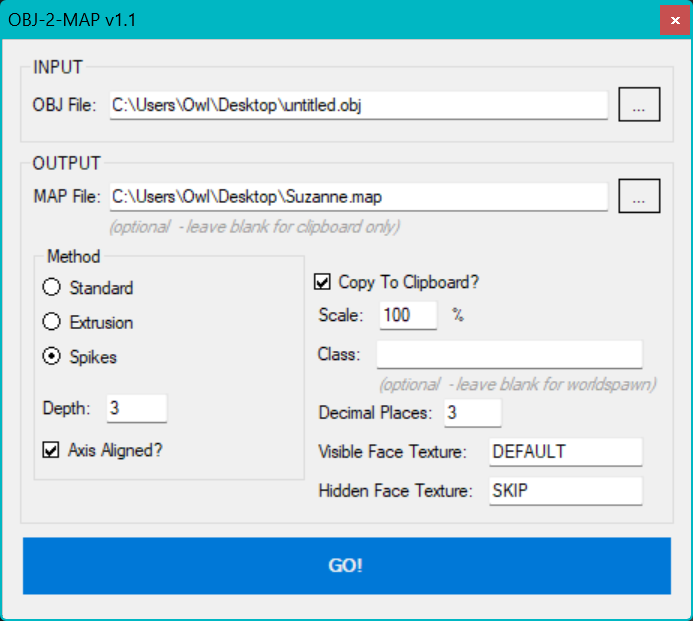
You will need to play with these settings a little to get the right output. As long as the model is relatively low poly and scaled fairly large it will open afterwards. I've noticed Spikes and Extrusion tend to work best with Ogier in my experience. After pressing the GO button it will spit out a .map file. You'll need that for the next step.
Opening the map file in the Ogier editor
Next open the Ogier editor and go to File->Open.
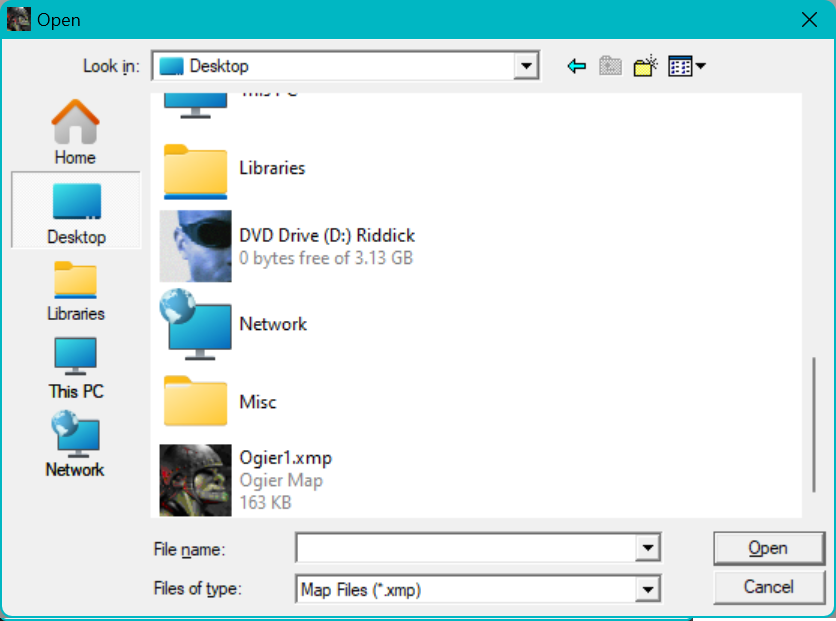
You might notice the .map file we created does not show up by default. Go to Files of type and select all files.
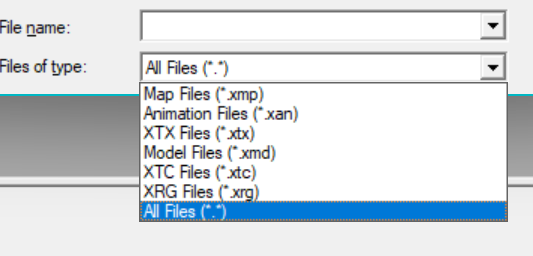
Now it will appear. Select the .map file we created.
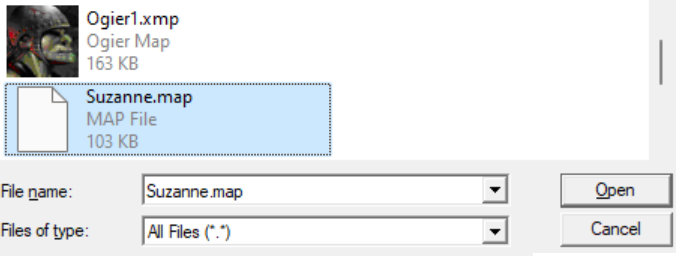
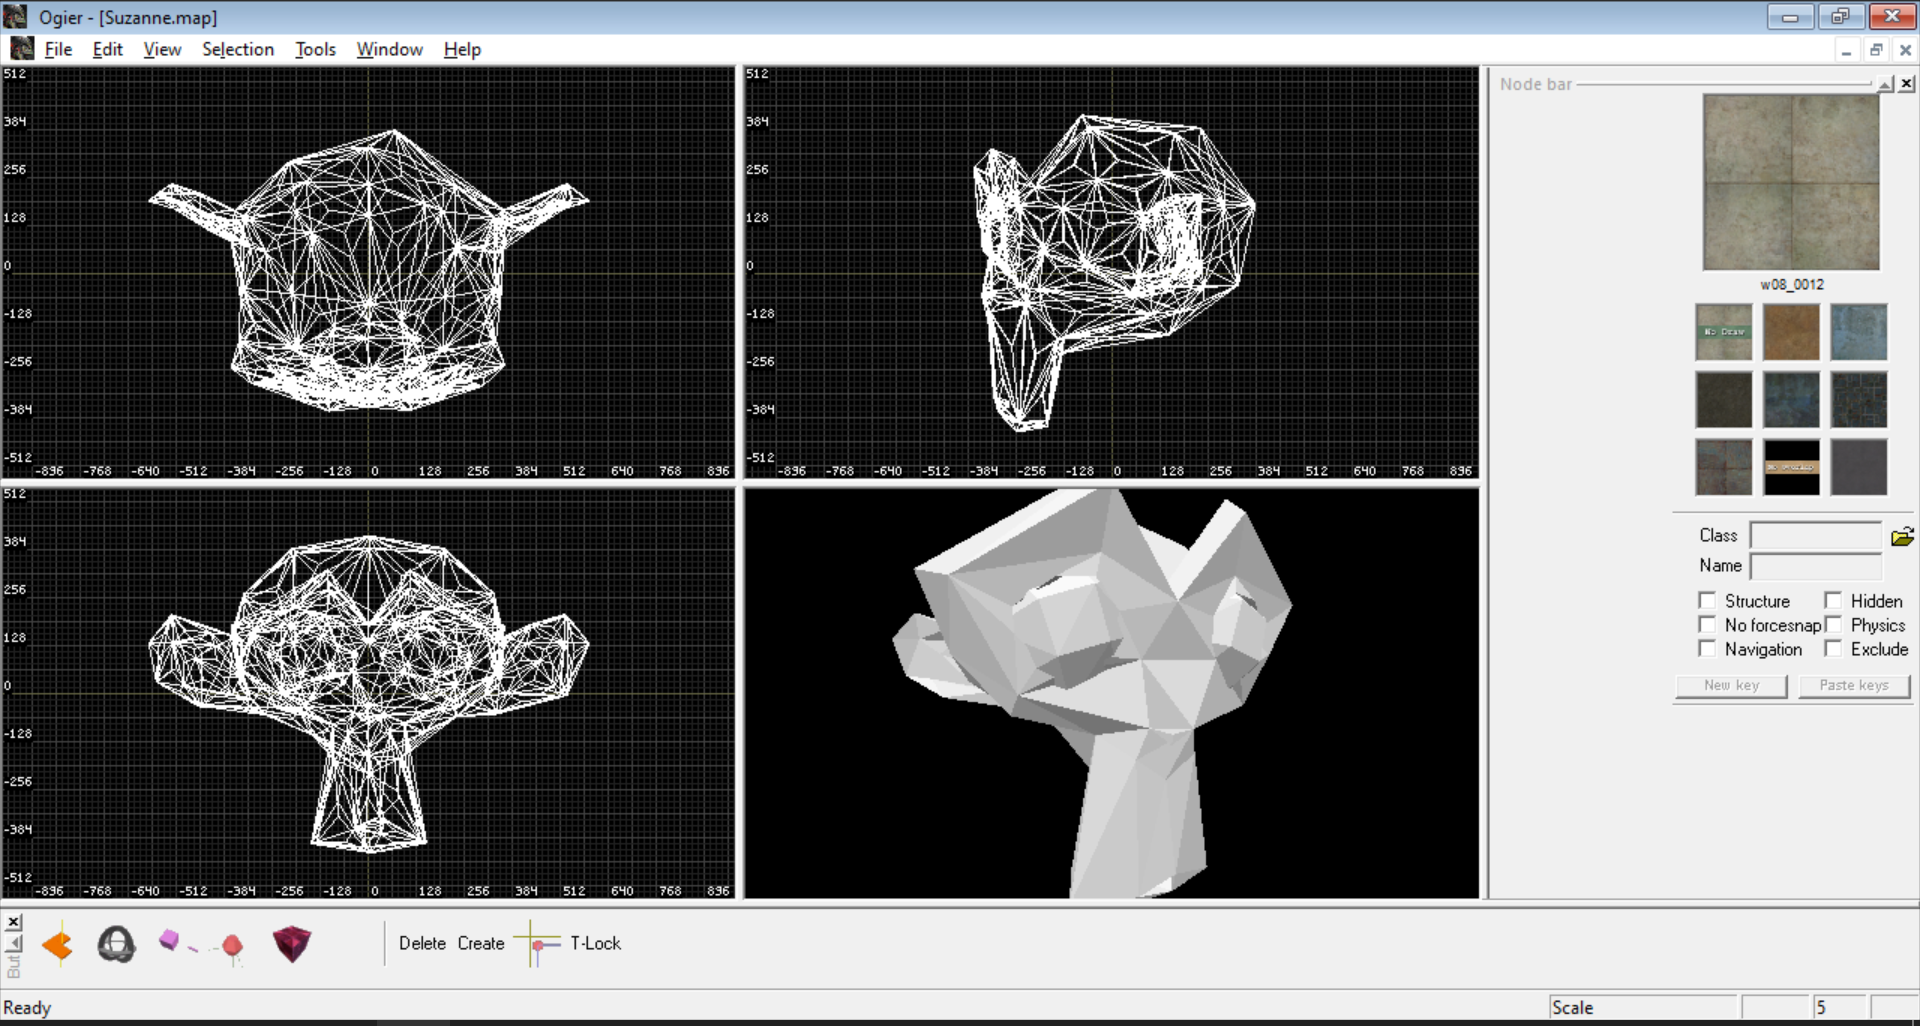
Now the map file will open.
Conclusion
Now that we have the model file in the editor we can do whatever we want with it. Including moving around individual faces and texturing it. We can also copy it into an already existing map you're working on by highlighting everything (hold the right mouse button) and copy/pasting. This technique is very powerful as it would allow for importing terrain or entire levels from other games into Butcher Bay.
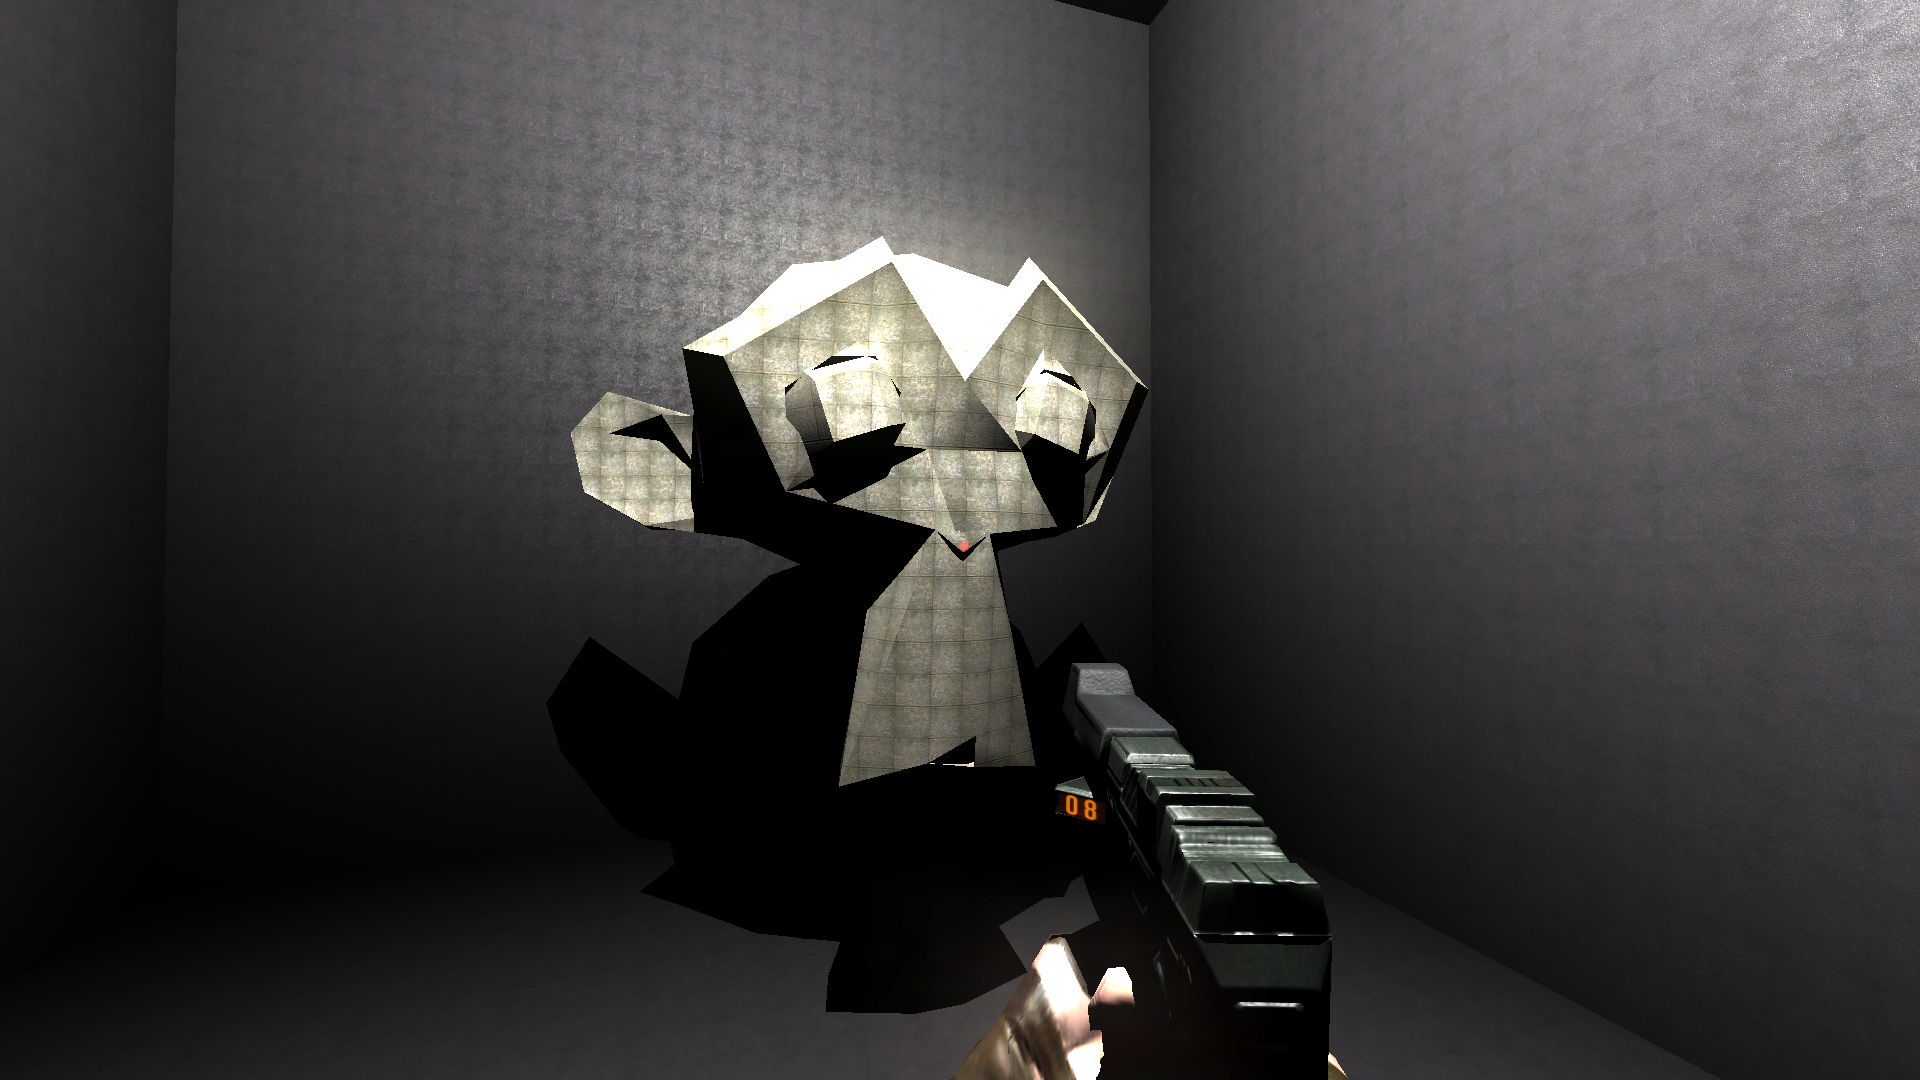
I hope this has inspired you to try importing your own level geometry for Butcher Bay.