MechCommander Gold - Exodus & Turncoat (v1.8)
Usermade original campaign walkthrough
Exodus (Original overriding) campaign
Operation 1 - Top Secret
Operation 1 - Mission 1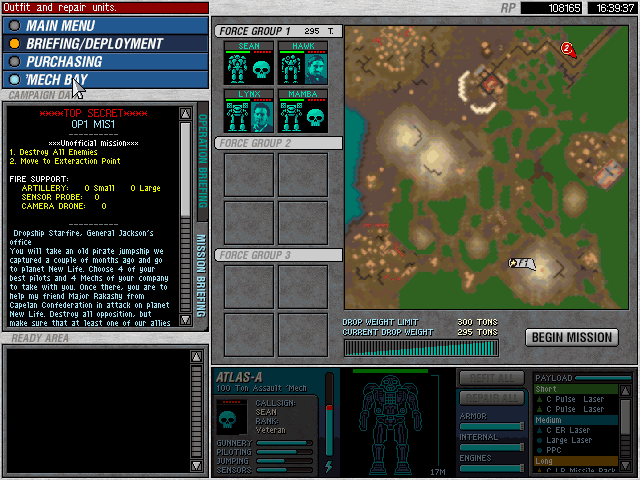
Exodus 01/01
Continuous review of MCG campaigns
by luxebo on Hard-Light.net MC game forums 2015:
This mission is easy enough, no huge issues after the first lance you must kill off. Support the allied troops (should be easy enough), then kill the tanks within the base. Go wide a bit and shoot the fuel tanks, then run in to finish as much as possible. Extraction point is clear, and also there is no salvage to be found (although map is similar to a mission in the expansion).
One comment is that what about Exodus's first few missions? (i.e. like MCO's Pirate fighting, some Clanner warfare, etc).
Operation 1 - Mission 2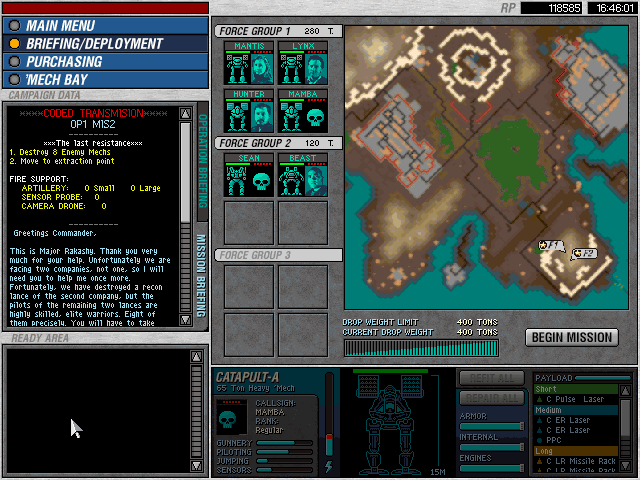
Exodus 01/02
If you aren't familiar with MCO's Exodus, this mission has a harsh extraction point fight. You have to watch out for the 8 extra ambush mechs at the extraction point. I suggest engaging em first then going for the 8 mechs in the base, which would need a bait and switch type of fight in order to kill all of em easily.
Operation 1 - Mission 3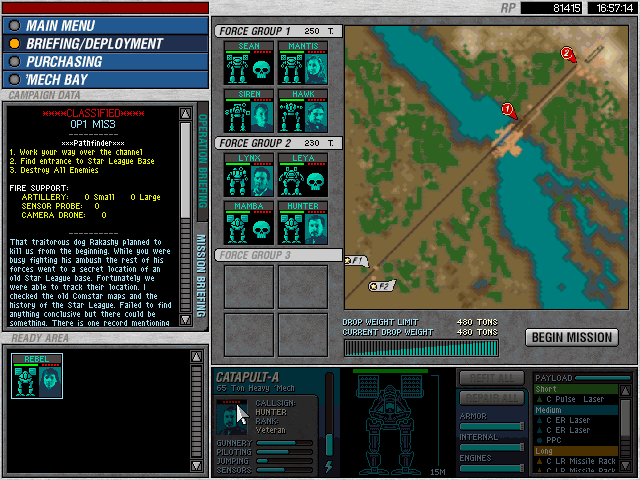
Exodus 01/03
RizZ Notes: Many people say they can't simply get over that bridge without exploding. Here a solution;
"I play this mission with four very light mechs (commando) and four heavy mechs.
After cleaning south side and caring for not going to a close distance to the bridge i put my commandos on the four markers. They will remain there until the heavy mechs have past the bridge and activated another marker hidden in the north next to the atlas units. For that i use a heavy J mech crossing the woods eastside where a bypass leads to the marker. When the marker next to the Atlas units is reached you can immediatly order your commandos to the other side. Bridge arms are disarmed now.
The Atlas units can be led by the J mech - best option is leading them next to the pipeline and blow this up - the additional damage will weaken them and you can attack them with full force from all sides.
When you finished the mission you can go to the last extraction marker in the middle of the map. Theoretically you can avoid fighting the atlas units when you reach the marker with all lances before they arrive. Be careful that you don't accidantly leave mission when you wanna salvage them. So keep minimum one unit away from the center marker until you want the mission to end."
Operation 1 - Mission 4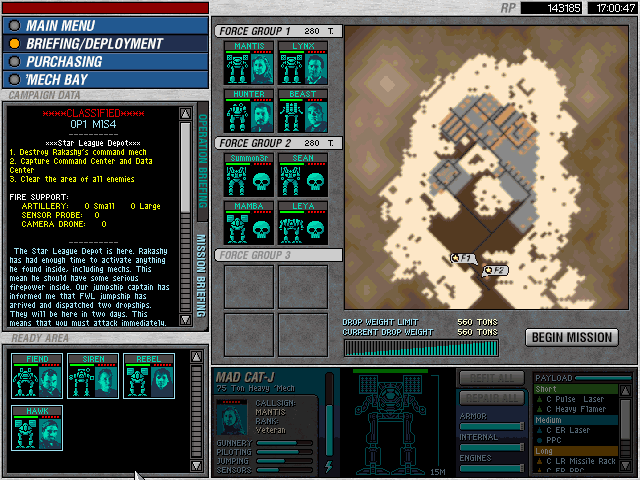
Exodus 01/04 - Operation 1 final
This is a quick mission, run in and kill things. Nothing else to it. Make sure to salvage everything. Lots of salvage here.
Operation 2
Operation 2 - Mission 1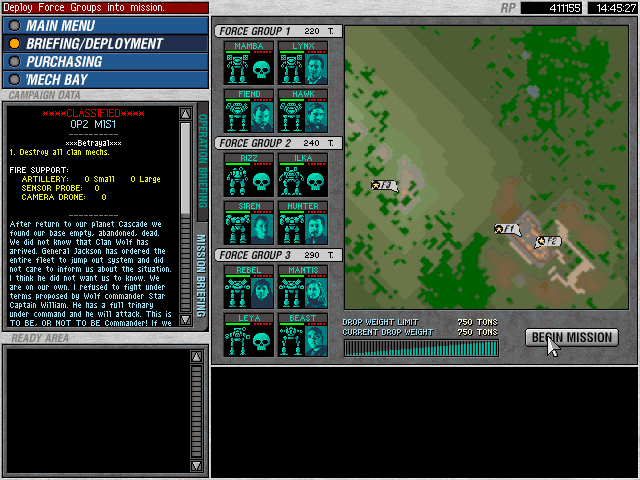
Exodus 02/01
Basic kill em all mission. F3 should be lights so they can retreat to base and use base as a defense layer to kill everything. Try to salvage as much Clan tech as possible, it's so valuable!
Operation 2 - Mission 2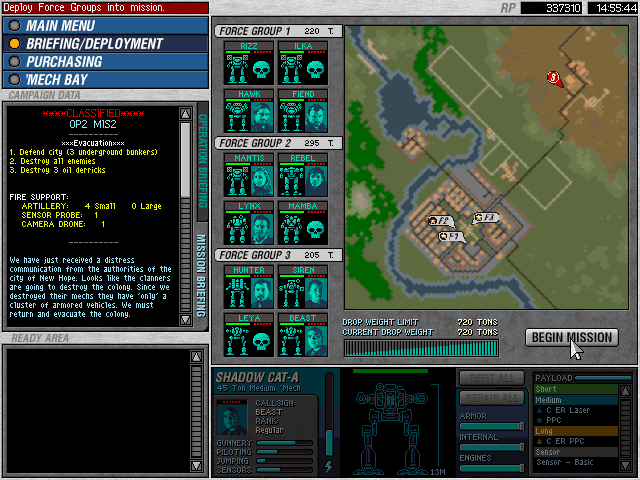
Exodus 02/02
Use the airstrikes to blow as much of the tanks as possible, then clear them quickly. If need be, split a lance to deal with the vehicles on the left side of the base. Then move out to kill the Hellbringer and capture everything with plenty of time to spare, no dropships unlike the MCO mission.
Operation 2 - Mission 3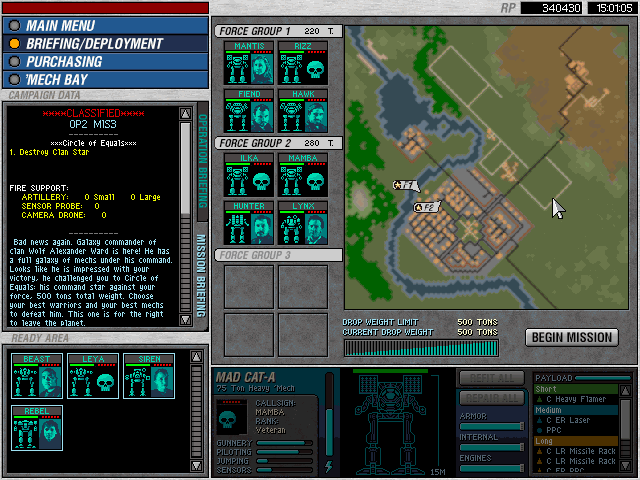
Exodus 02/03
Simple brawl, nothing much here. Just kill em with minimal losses.
Operation 3
Operation 3 - Mission 1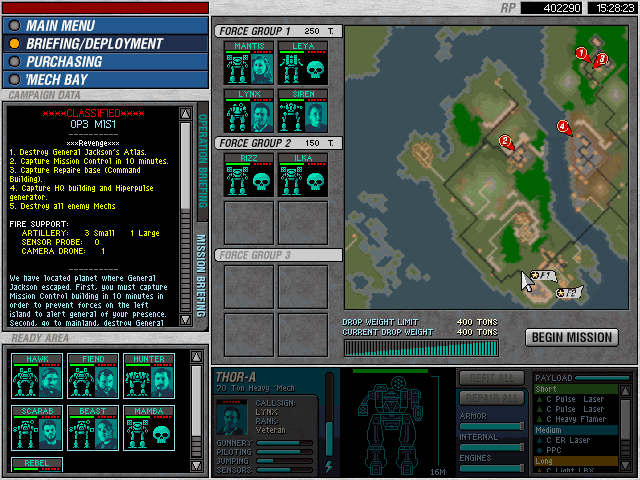
Exodus 03/01
Requires a good start with all mechs surviving with a good chunk of health. You want some jump jet mechs to scout and capture stuff, and some heavy sensored mechs to look out for clusters of enemy mechs. There are a few clusters, recommending a drop of a few airstrikes. There is also a container at the top left of the island you start on.
After the beginning it should be relatively easy if you can drop multiple airstrikes to soften the enemies up as you get the repair bay in the main base. Then it's just a matter of cleaning up remainders.
Operation 3 - Mission 2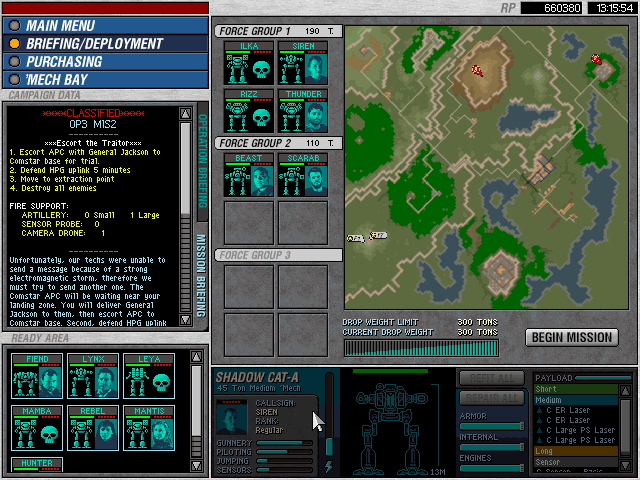
Exodus 03/02
Difficult mission that requires escort. First clear the vehicle group up top, capture the LRM turrets as well there. Go further up a bit to clear the vehicles there as well.
Next, use your lightest mech to trigger the mechs in the city. Try to land an airstrike there before you trigger them, or it might be very volatile there, as there are also two Bushwackers that attack from behind. Defend the APC at all costs.
Next, send your heaviest mechs to clear the bottom lances and capture the base and sensors. You'll need them for defense on the HPG.
Lastly, there is a lance that engages the HPG, which is up to the friendly forces and a few lightest mechs to defend that location, and then extract. Difficult mission with some micromanagement of groups involved.
Operation 3 - Mission 3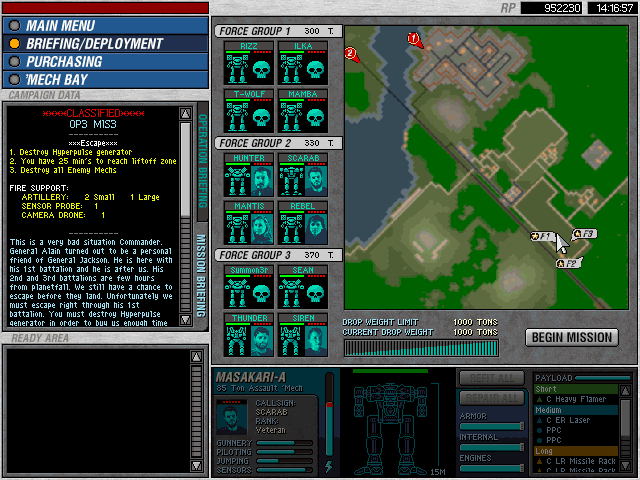
Exodus 03/03
Another difficult mission.
Start by airstriking the bunch above, and use your scouts to capture the base for repairs.
Engage the second bunch after an airstrike or two, and beware of sneaky enemies going for the bridge.
Clear the base from the front, use some scouts to capture side turret controls as you lead the enemies away from the base itself. It's a tough fight and always repair if needed.
Extract.
Operation 4
Operation 4 - Mission 1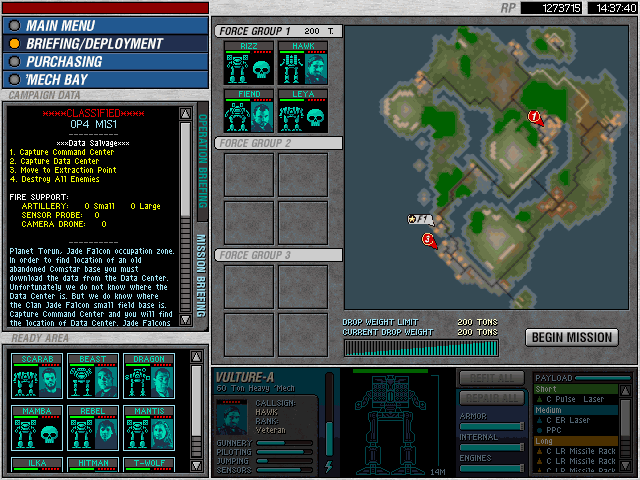
Exodus 04/01
Bring a jump jet mech.
Quickly kill the Von Luckner and Timber Wolf on the bottom, lure the Mad Cat into the fuel tanks.
Then head upwards and clear the hovercraft and capture the container at the Northern edge. Revert to the middle and lure the star of Clan Lights and Mediums into the fuel tanks.
Clear the Hunchback IICs on the top of the map with the data center.
Clear out the Eastern bases and capture everything (resources at the northeast corner and main base, along with one side container near where the Mad Cat was killed). And extract.
Operation 4 - Mission 2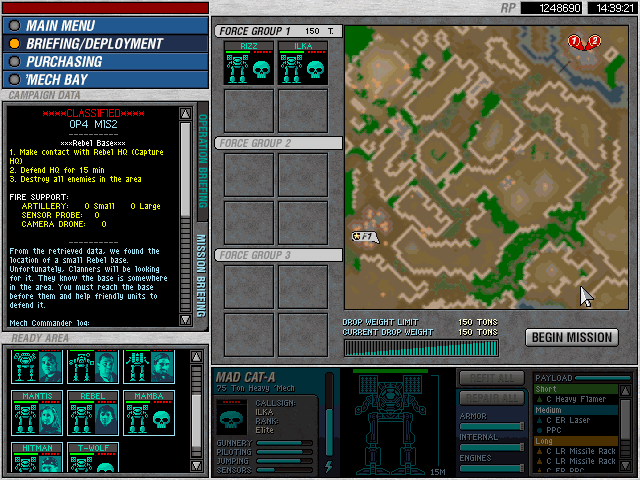
Exodus 04/02
Move to the top of the map and run the line to the base.
Kill the lance of mechs from the south first, using the defenders as bait. Kill the vehicle group there and move slightly West to clear another camp of vehicles.
Wait a bit and you will see a lance attacked by the turrets you captured in the beginning.
Kill this lance and kill the vehicle groups that follow up from below. If the mission doesn't end, go to the South edge and kill remaining mechs (Cougar in my case).
Operation 4 - Mission 3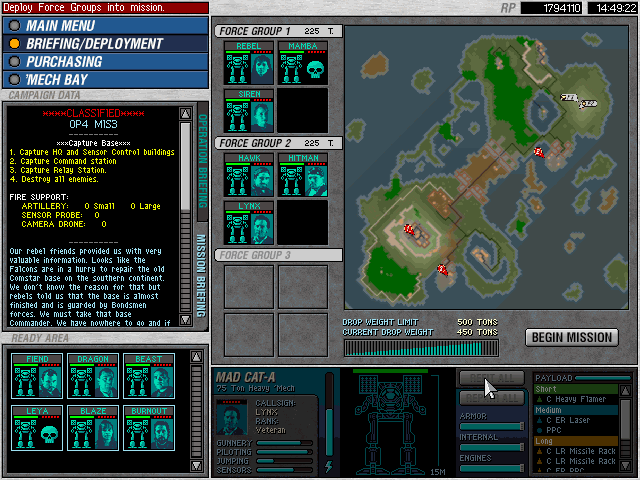
Exodus 04/03
Requires a good amount of flanking, difficult mission.
First kill vehicles and cap the first turret wave after the station.
Secondly, cap the second wave of turrets by flanking along the islands.
Defend off the point and use the turrets to kill the massive wave of enemy mechs.
Clean up the mission, carefully jump over the turrets from the North of the base, and capture the station and turret controls.
Lastly, capture the component vault on the bottom sector in the flank area.
Operation 4 - Mission 4
Exodus 04/04
Escort mission with tons of brute force.
Follow the convoy path, don't stray too much from it. Although there are enemies that won't right away engage, you may have an ambush from behind. Send a forward hunting group to kill enemies in front as well.
There are two Masakaris in the top left island, recommending to stay away from them. Also there is a Turkina and Container in the far right area.
At the extraction there are more enemies there.
Operation 4 - Mission 5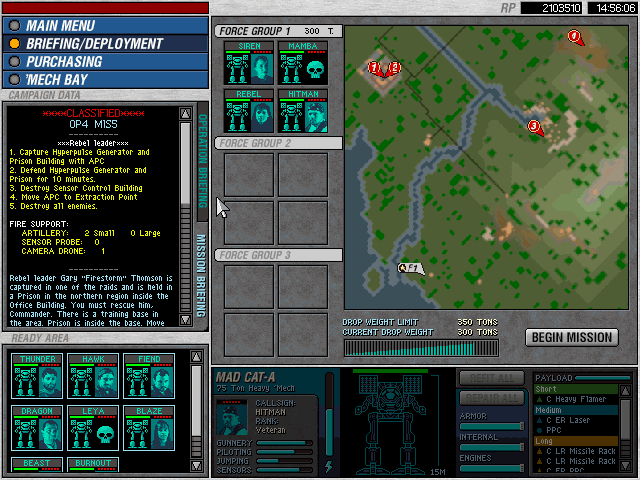
Exodus 04/05
Escort mission, destroy sensor tower and lance there first.
After, capture the base and defend against the lance.
There will be multiple lances of enemies going upwards, kill them all to win.
Operation 4 - Mission 6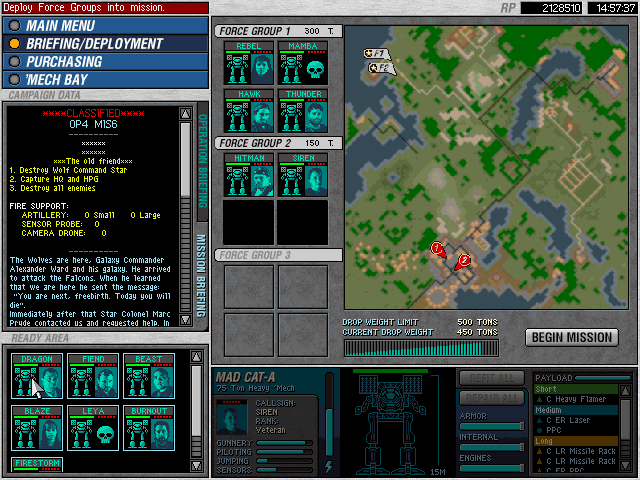
Exodus 04/06 - Operation 4 & Exodus Original Campaign final
This is the final mission.
Kill the enemies left if the Jade Falcon's don't win (likely that they succeed).
Clear the vehicles and repair bay at first before you kill the remaining Wolves.
Clear the base, there is a star with a Turkina, 2 Masakaris, and a few other mechs, so be aware.
And that's it!
Turncoat (Expansion overriding) campaign
Operation 1 - Guerilla
Operation 1 - Mission 1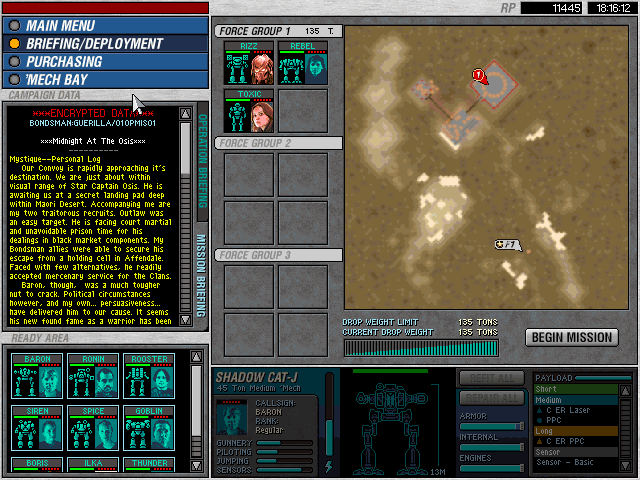
Turncoat 01
This mission relies on running quickly. Don't waste a second and run to base so they don't blow the turrets (Stilettos). There is another lance from the West of more of those pests, that you must watch (capture the goods while you are at it). There is an assault lance from the East but from my experiences those mechs are easy pickings due to their slowness and the long toms all over the base.
Why is Mystique such a low level yet she can lead her own rebellion and whatnot? It seems a bit weird in that sense, but it's of course author's choice.
Operation 1 - Mission 2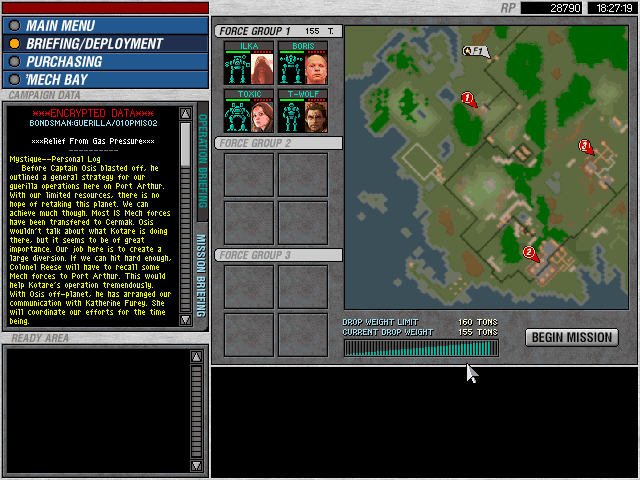
Turncoat 02
Ignore the contacts, those are sports cars until you get to the base. The base needs a really fast mech (i.e. one long range Stiletto can do it) so you can kill the vehicles with the fuel tanks. You also must do the same for the second generator system; kill the vehicles by hand and bait the heavies to the fuel tanks.
Make sure to capture the resources and blow the natural oil derricks. Those are part of the generator complex.
Operation 1 - Mission 3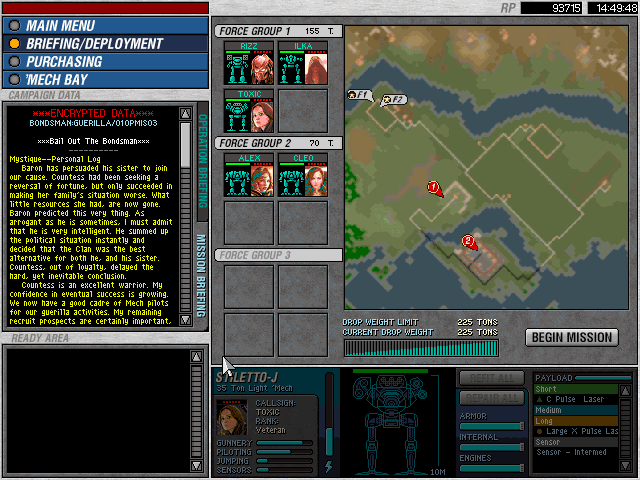
Turncoat 03
Bring a full lance of JJ mechs. You need em to kill the mad cat and do the secondary objective. Rest hopefully is ok, not too many tough parts besides the mad cat. Also remember to blow the turret control on first objective. Not really specifically said.
Operation 1 - Mission 4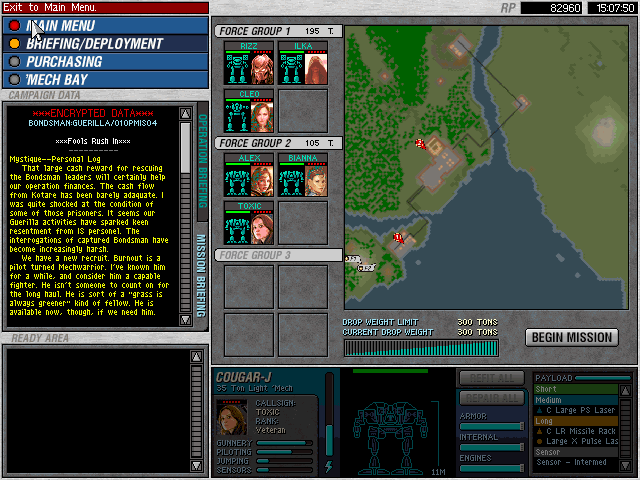
Turncoat 04
Have to be quick to the airfield, one shot from the side will do to the fuel tank. There will be a swarm of Commandoes, make sure to bring close up weapons.
Huge vehicle fight in the northeast corner island.
-Ammo dump in the middle; use one JJ mech to cap the turret control. Make sure to have some short ranged stuff to take care of the SRM carriers and strikers, plus the container stacks (you have to blow em up).
Directly north will be a LANCE (not star) of Vulture A's (they engage 1 by 1), and also the component vault. Use repair bay for any hurt mechs.
Operation 2 - Exodus
Operation 2 - Mission 1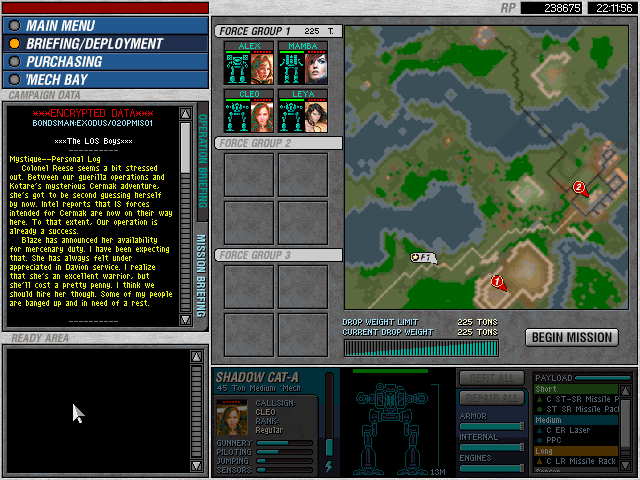
Turncoat 05
Operation 2 - Mission 2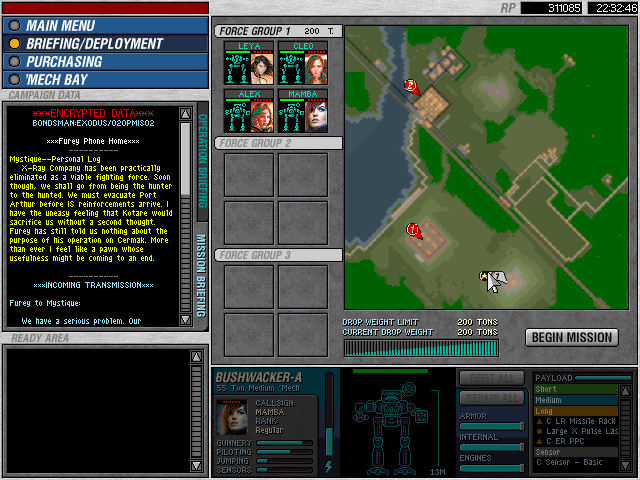
Turncoat 06
Operation 2 - Mission 3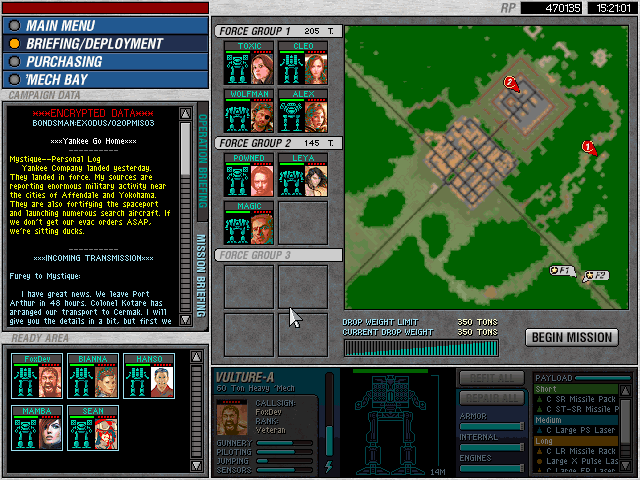
Turncoat 07
Operation 2 - Mission 4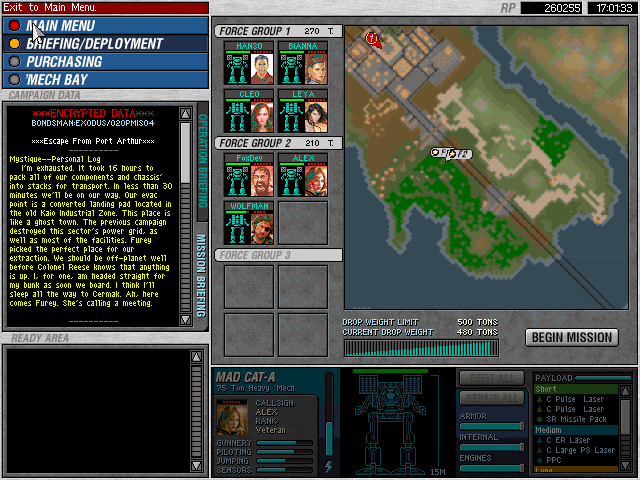
Turncoat 08
Operation 3 - Furey's Raiders - Atonement
Operation 3 - Mission 1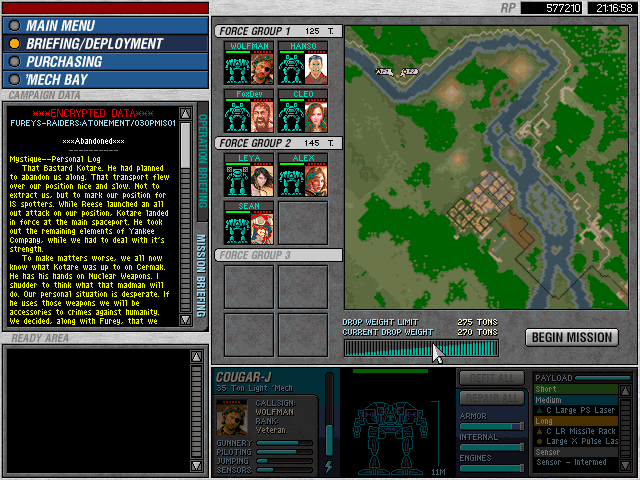
Turncoat 09
Operation 3 - Mission 2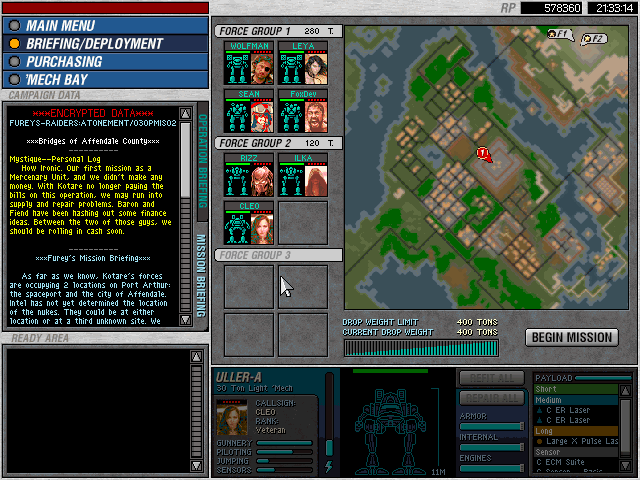
Turncoat 10
Operation 3 - Mission 3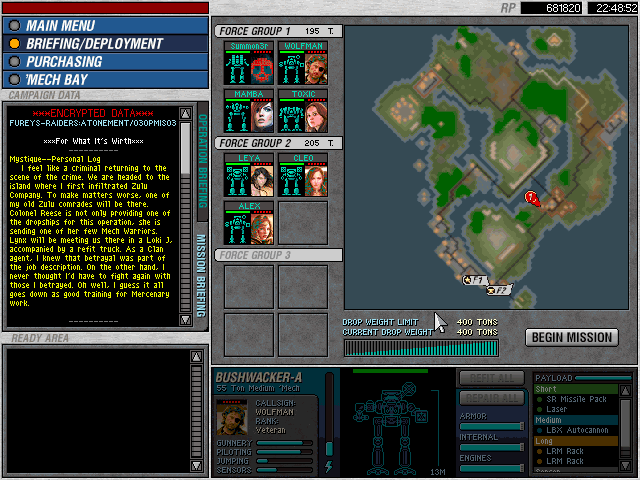
Turncoat 11
Operation 3 - Mission 4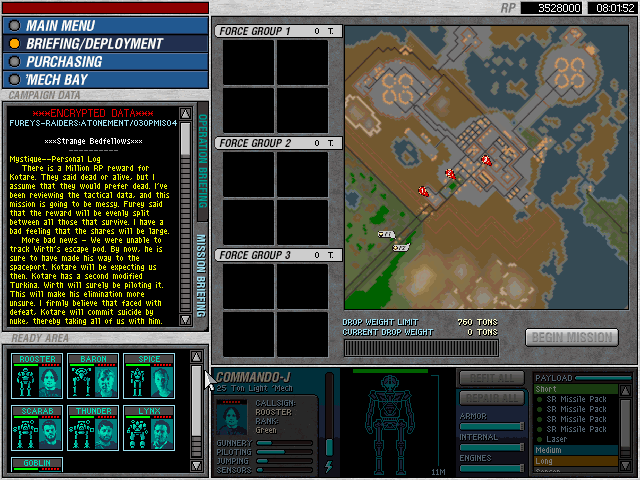
Turncoat 12 - Operation 3 & Turncoat Expansion Campaign final

(c) by RizZen (2017) - overhauled (2020)
Previous campaign Standalone <-> MCG Darkest Hours Ultimate Campaign Merge