Update : I have recently been working on a script to automate the majority of the work required to prepare the files for importing into UE4, it now converts Static Meshes and Animations from PSKX/PSA to FBX.
Repository : Github.com
There is also a variant of the script for Stargate SG-1 : The Alliance.
As well as a variant made with the intent of porting both games to UT2004.
The T3D files for both games are also available in this repository.
That makes everything in this tutorial out of date now but it might be of some use to somebody still so I will leave it here.
My UE4 Project Template for a Multiplayer Game : Github.com
Extra : For anyone interested in the T3Ds for Stargate SG-1 : The Alliance they are also available in my post on Old Unreal. : Oldunreal.com
As for getting everything extracted and setup for the most part you can follow this tutorial as well.
Note : UE4 T3D Files updated
This is a revised version of the tutorial that I quickly wrote it up for somebody. ( Let me know if you have any suggestions for improvements or sections I should re-write and how or what you had trouble with )
I have been toying with the idea of converting various Unreal Engine 2 games or maps over to UE4 for some time now and figured that recording the process was a good idea, I have also gone through the same process before to convert another game over to UE4 and after having gone through both feel it is worth noting that the steps you need to take are identical, so you should be able to use this guide to convert practically any UT2004/UE2 era game or level to UE4.
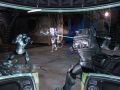
"A roughly written guide for converting levels for Star Wars Republic Commando to Unreal Engine 4" by Thor110
Update : For anyone that might struggle to understand the tutorial or just doesn't want to go through the effort of editing thousands and thousands of lines of text, even with all the shortcut methods I lay out in this tutorial it takes quite a while to get it all done. ( These files took about 6 hours to prepare ) Drive.google.com ( Stage 3 of the editing process ) / Complete ( Version 3 )
Some things to note :
1 Textures still don't link up unfortunately.
2 Terrain is absent from the conversion.
I have a feeling I must have messed up a couple of lines throughout the course of all the finding/replacing/sorting of thousands and thousands of lines of text, if anyone notices anything missing from any levels let me know what line of the T3D file I need to correct.
0 - Required Programs for T3D File Conversion & Preparation
Star Wars Republic Commando
Notepad++
Bulk Rename Utility
TextCrawler Free
UE4
UT4X Converter
0 - Required Programs for Game File Extraction & Conversion
Umodel
3DSMax
UCC.exe
1 - Export every level from Star Wars Republic Commando's UnrealEditor to T3D files.
If you want to avoid exporting them all yourself download them here : Drive.google.com ( Stage 1 of the editing process ) / Starting
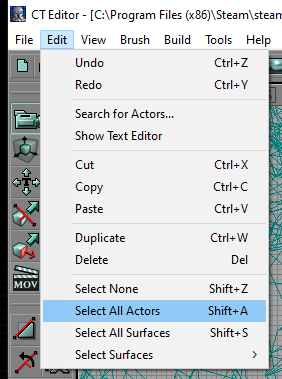
Open a level, click Edit -> Select all Actors [ or press Shift+A ]
Then click File -> Export and save the level as the levels name.
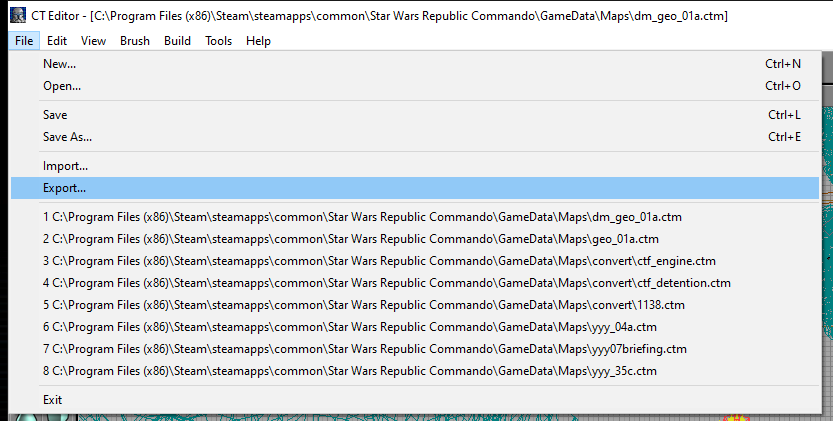
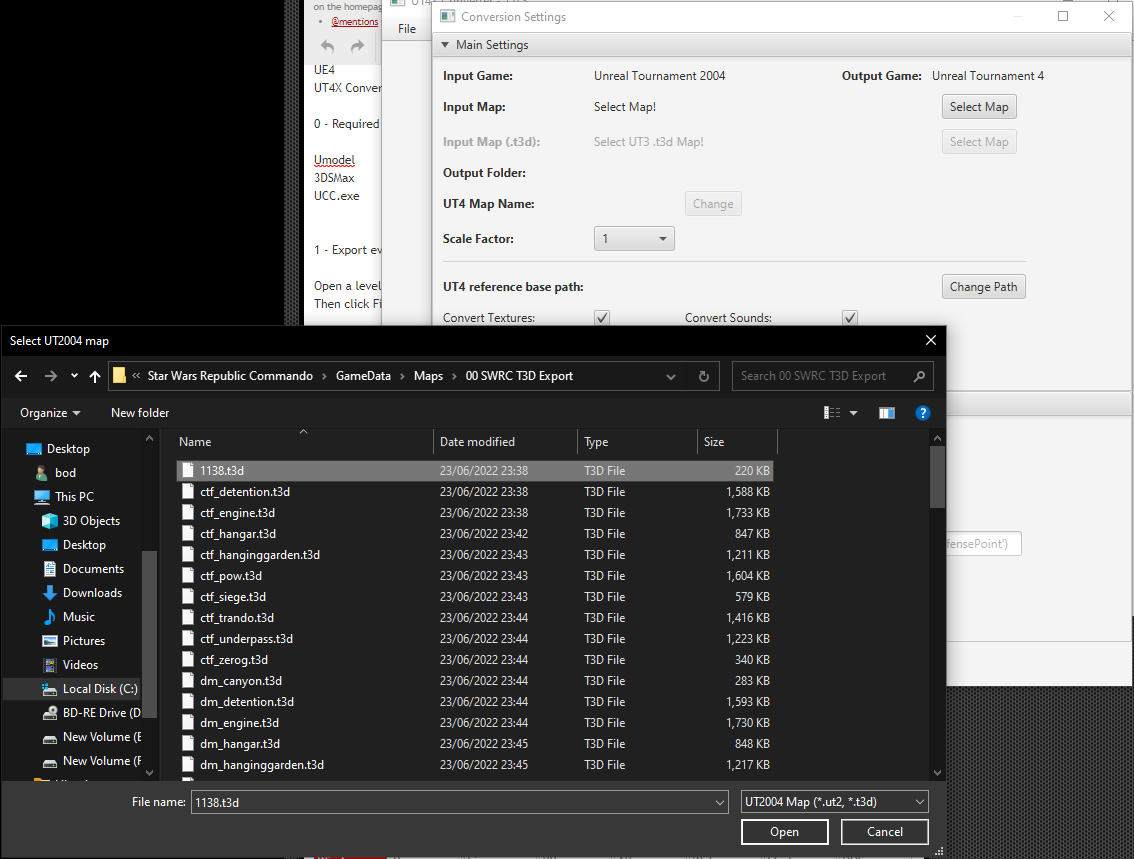
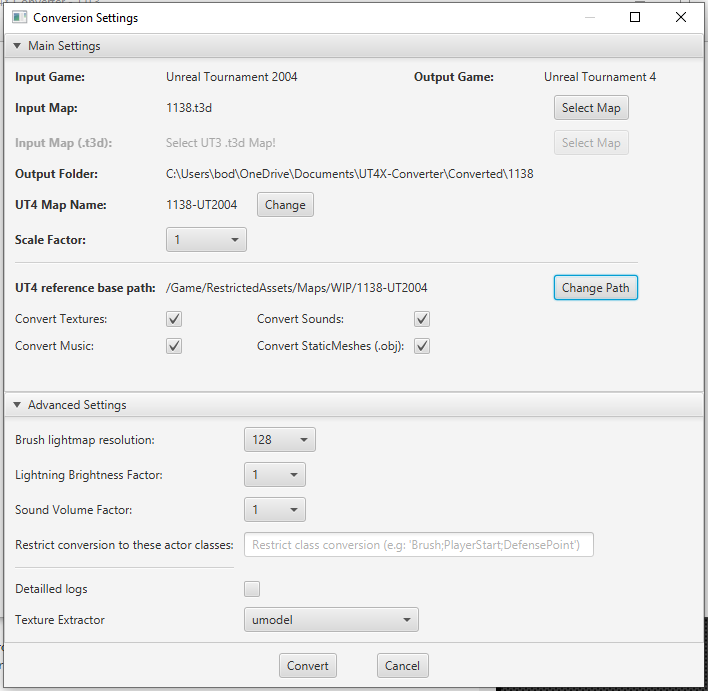
2 - Use UT4X Converter to convert them for UE4
If for some reason you don't want to go through this process you can download the files produced by the UT4X converter here : Drive.google.com ( Stage 2 of the editing process ) / Halfway
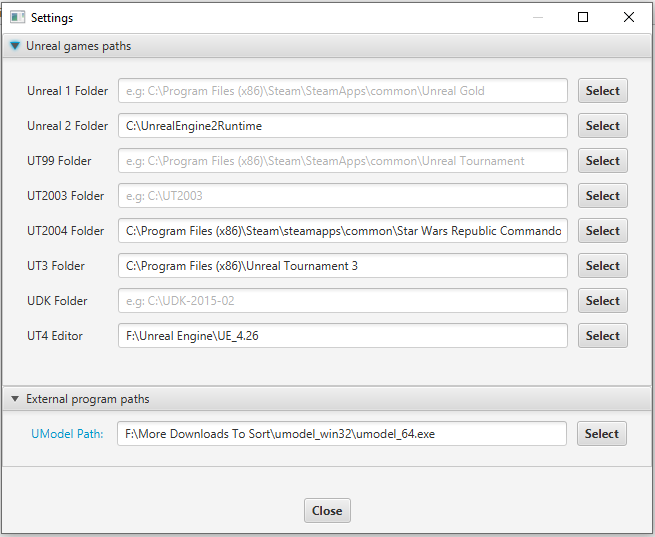
To use UT4X Converter you will need to point it to Star Wars Republic Commando for UT2004 and to the UT4 Editor directories respectively.
Simply open UT4X Converter, then click File -> Unreal Tournament 2004 -> Convert map to UT4
Set the Scale Factor to 1! - This is very important otherwise everything will be huge.
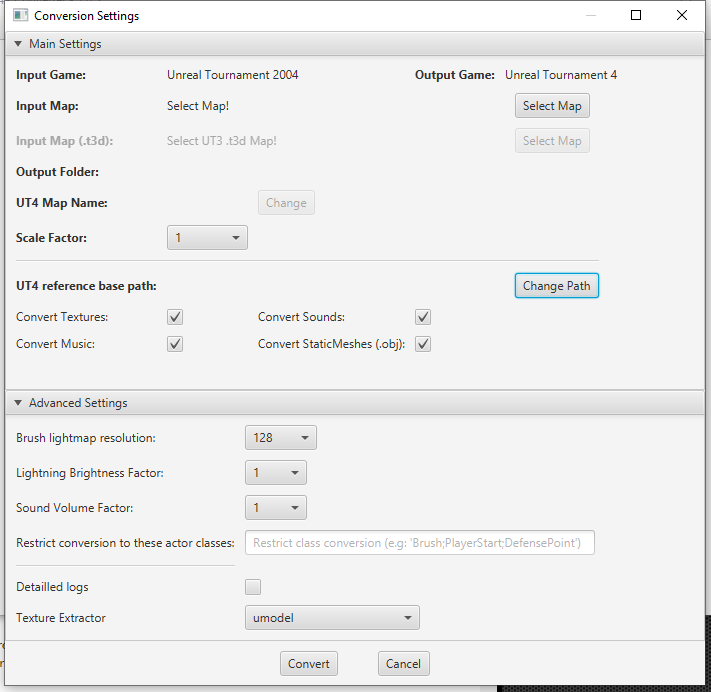
Then click "Select Map" and select the T3D file for the level you wish to convert to UE4.
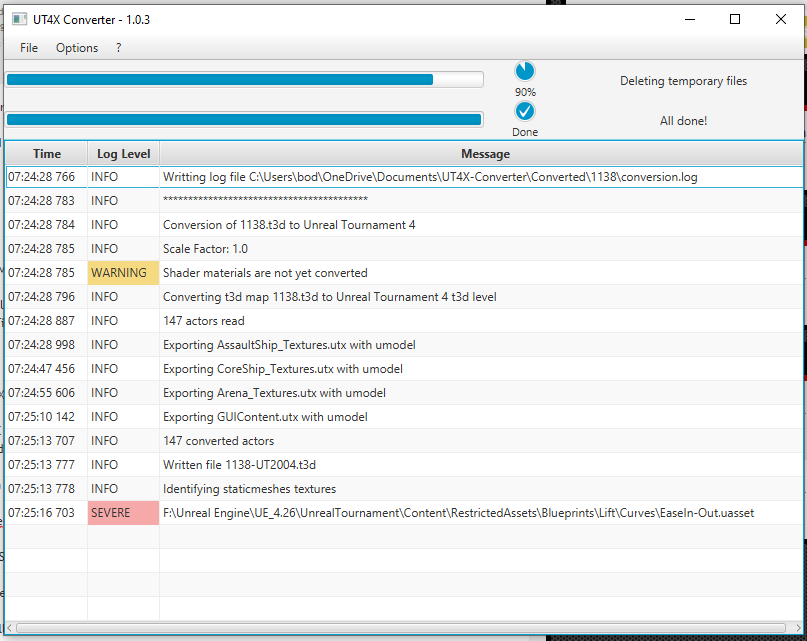
From here repeat the process for every other level in the game.
The files will be saved in "Documents\UT4X-Converter\Converted"
From here I do a search for "*.t3d" to isolate all the t3d files in "Documents\UT4X-Converter\Converted" and copy them to a folder called "Original"
Then open Bulk Rename Utility and navigate to this folder and replace "-ut2004" with nothing to correct the file names. ( this step isn't really necessary but I like to do it anyway )
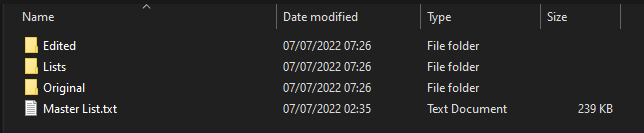
3 - Create 3 copies of a folder full of every levels T3D files for UE4
Call them the following
Original - This is a backup
Asset Lists - These lists will serve as a way to quickly find and replace every incorrect line in the T3D files
Edited T3Ds - These will be the T3D files we are editing and end up importing to UE4.
4 - Asset Lists
These lists will serve as a way to quickly find and replace every incorrect line in the T3D files
You can use the method from the link below to speed this process up immensely. : Superuser.com
Simply mark every line containing "/Game/" in every T3D file, bookmark them and clear the rest.

Open the marking menu.
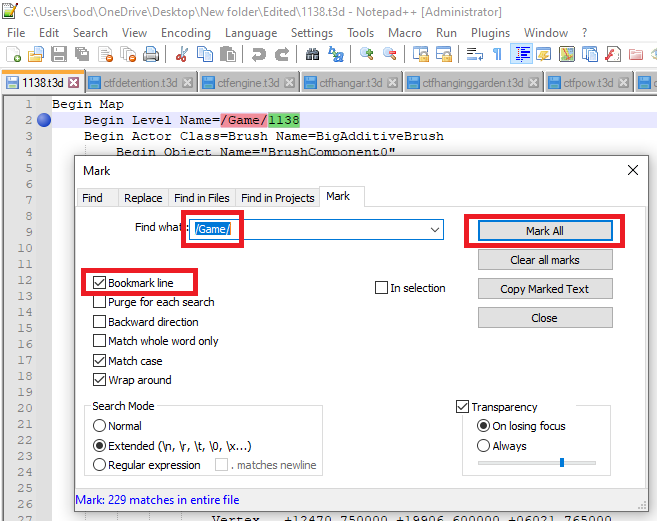
Check "Bookmark line" type "/Game/" and then click "Mark All"
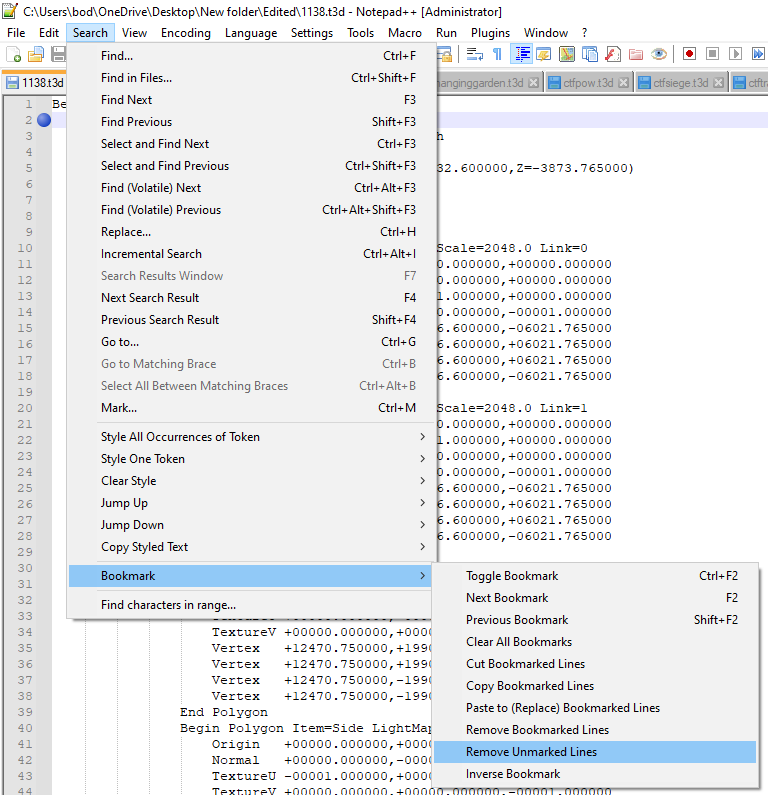
Then you can use "Search -> Bookmark -> Remove Unmarked Lines" to remove every line not containing the string "/Game/" or in this case all the directories we want that I would have otherwise had you manually tear apart like I did the first few times I did all this.
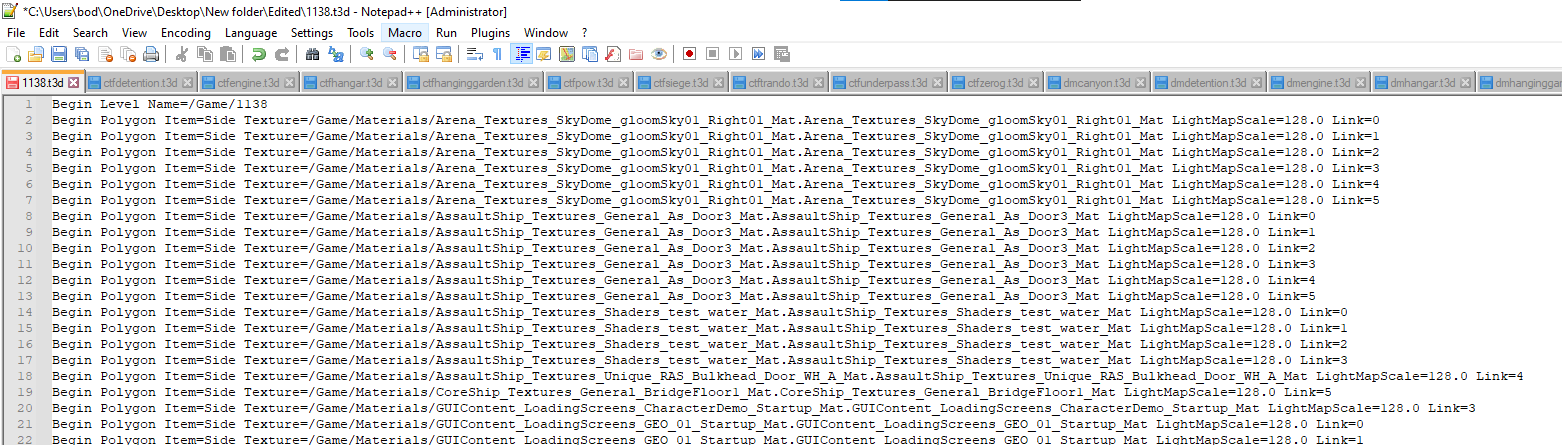
Which should leave you with a list like this.
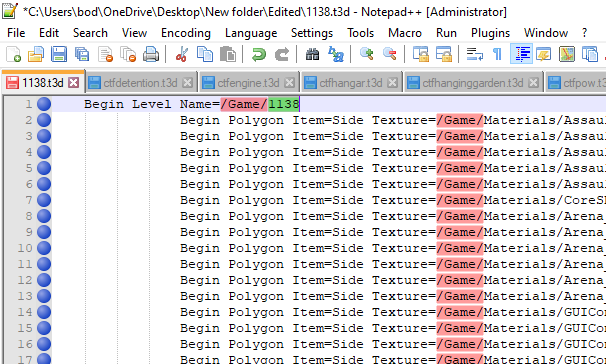
Repeat this step for every T3D file creating a list of assets for each and every level.
4 - Now use TextCrawler's Scratchpad to clean up the T3D file lists a bit more.
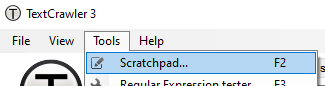
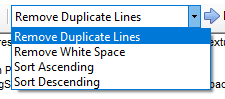
Open a levels T3D file for UE4 with Notepad++ and copy it's contents across to Scratchpad in TextCrawler ( Tools -> Scratchpad or F2 on the Keyboard )
Then use Scratchpad to Remove Duplicate Lines, Remove Whitespace and Sort by Ascending.
Once this is done, copy the contents back across to Notepad++
Next use find andreplace to replace " LightMapScale=128.0" with nothing.
As well as " Link=0" starting with the highest linked number and working your way down to 0.
Making sure to add the space before just to keep things clean.
I also find it handy to remove everything from a line except the initial identifier. ( "Begin Polygon Item=Side " ) leaving "Texture=/" etc
From here you can copy the contents back to Scratchpad in TextCrawler and use it to remove duplicate lines once again.
Now copy that back across to Notepad++ and save the file.
Repeat the process for every level creating a shorthand list of every asset referenced in each level.
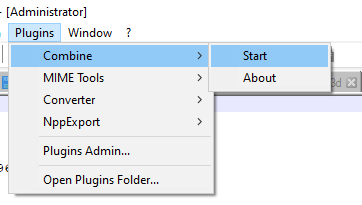
5 - Combine the asset lists into one file.
There are many ways you can do this, I think Notepad++ or Scratchpad has a tool for doing this quickly but I can't remember off the top of my head. : Stackoverflow.com
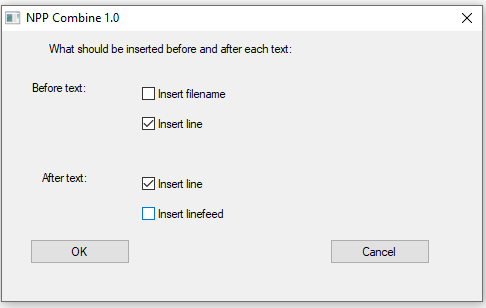
I added a line before and after to make sure the first and last lines weren't accidentally merged.
Then copy that list into Scratchpad and Remove duplicate lines again as well as Sort by Ascending, this will clear every duplicate in the list and order everything nicely.
Copy it back to Notepad++ and save the file.
You now have a list to use as reference to quickly find and replace every other incorrectly listed directory for the assets in every single levels T3D file at once.
6 - Find & Replace
WARNING!!!
This can be the trickiest part of the process as one slip up and you need to either go through each file and undo the changes just made or close it all and start again, so make sure to make a backup!
If the names of any packages or categories from the original packages are too similar then it will either make the process easier ( if they are identical ) or really difficult ( if they are similar ) and you will have to take a moment to think about the order in which you replace each and every reference.
Keep in mind these references denote the location of the associated file within the Unreal Engine 4 Project, UE4 calls the /Game/ folder "Content" in the Editor / browser for some reason, so if you have altered the file structure in anyway you will need to account for this throughout this tutorial.
What I did was just kept it simple, did chunks at a time, made several backups throughout the course of the process, then deleted them and retained any information about missing files and things I couldn't find in separate text files.
Make a backup of the Edited folder!
In order to open them in alphabetical order I scroll to the bottom of the list, select the last item, then scroll to the top of the last and hold shift on the keyboard then click the first item in the folder. You don't have to do this but it makes it easier to flick around the files and correct any errors if need-be.
Open the "Edited" folder and select every file, then right click and select "Open with Notepad++"
Now open the asset list and individually go through each line in the asset list using find/replace to correct each one, but instead of just finding and replacing it in a single file.
You can use "Replace in all opened documents" to instantly replace everything.
Then save all using Ctrl+Shift+S or by selecting "File -> Save All"
Explaining this step any more in-depth would take a lot of time, listing out the files/folders / each and every find / replace command that has to be executed and it's really a lot easier to just have at it I think.
7 - Setting up UE4
In order to have UE4 setup correctly you will need to use UE4.26.2 as well as have extracted all of Star Wars Republic Commando's assets.
To do this I used UModel to extract all of the models/animations/textures.
The models then need converting to .fbx from .pskx with 3DSMax and the script for batch converting models.
In order to extract the sounds I had to use the custom UCC.exe by Leon which can be found @ Wiki.swrc-modding.net
Hopefully you know how to use command line tools already, I might expand upon this part of the tutorial later.
Below are two examples of the syntax / commands needed to extract the sound packages using the UCC.exe linked above, one thing to note is I had to have "ucc.exe" in the command as at one point it complained about not having the extension. Which I thought was odd as did the person who provided me the sample lines below.
"ucc batchexport package class outputtype outputpath
ucc batchexport soundpackage sound wav.. /Path"
This process is all fairly straightforward and from there the files just need importing into UE4 and placing into the appropriate directories as well as having materials created for each texture.
More often than not the textures do not always get assigned to the brushes, I am not entirely sure why this is but I think it's potentially user error throughout the conversion process, which is easy to understand when attempting to streamline the process of correcting thousands of file references.
I also found that StaticMeshes textures were not assigned when being imported but they did import with an empty material of the correct name for most of the models making it easy to track down the corresponding material.
8 - Import and save each level
You should now have a complete set of T3D files for Star Wars Republic Commando's levels, which can be imported to UE4 directly.
Simply start a new level in your UE4 project using an empty level.
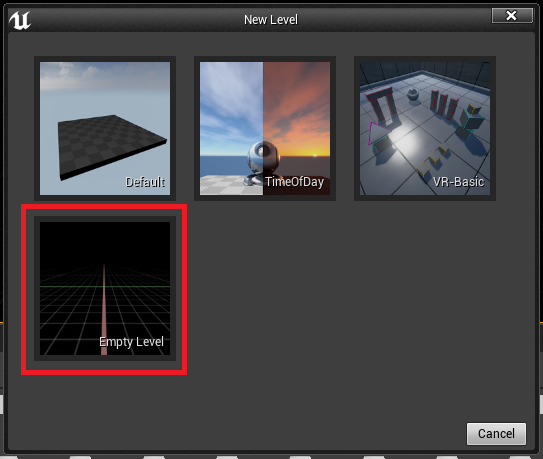
Open one of the edited T3D level files in a text editor and copy the contents ( CTRL+A & CTRL+C ), bring UE4 back up and paste it into the level ( CTRL+V ).
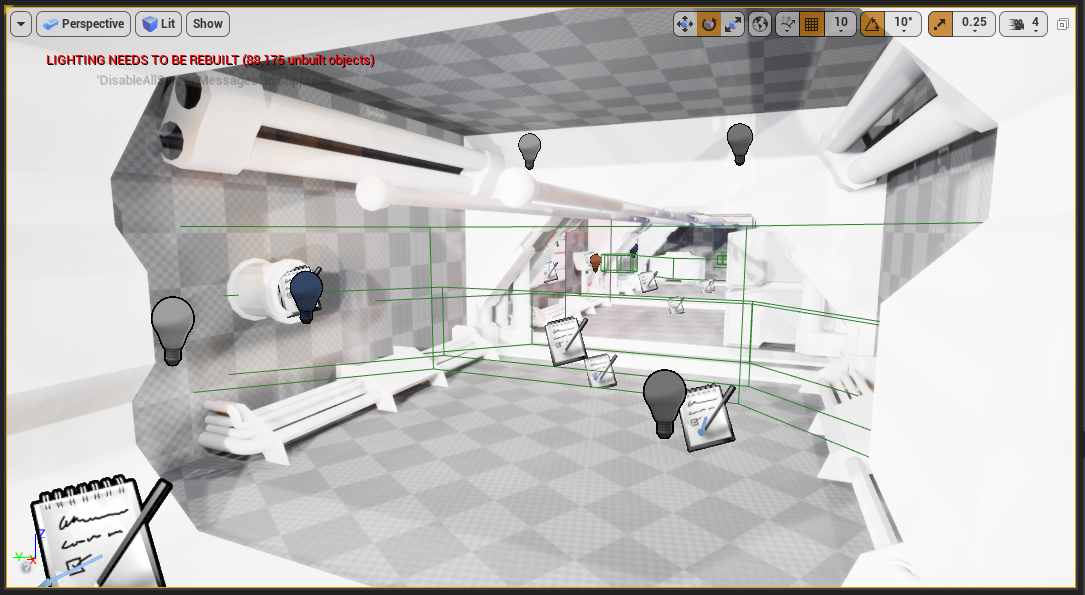
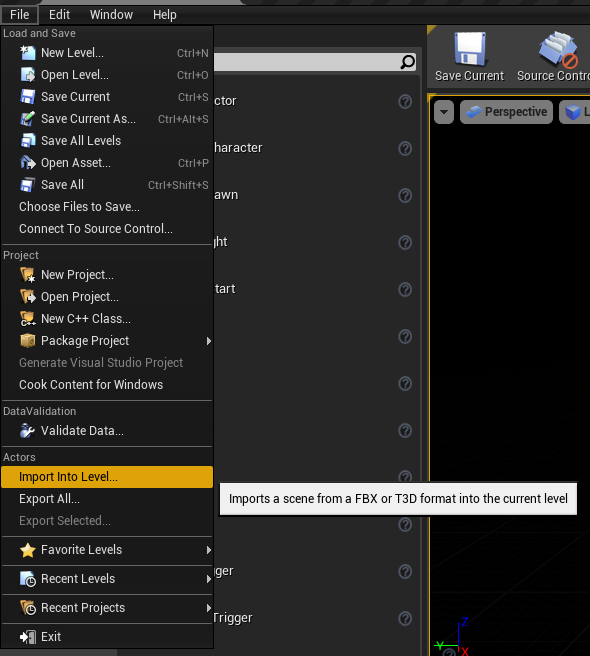
You can also select "File -> Import" to import the T3D file directly but I find it easier to paste the text in from the clipboard.
Enjoy - Thor110

Very good.
Awesome content you put together, well done.