### E1M1 - The Technological Abyss
Delve into the updated horrors of E1M1, where each corridor whispers of untold secrets.
- The monitor, once confined, has widened its gaze, now accompanied by an additional plasma cell, offering a glimpse into the arcane.
- Traverse the room adjacent to the shotgun/bandage sanctuary, now adorned with intricate details that hint at a hidden narrative.
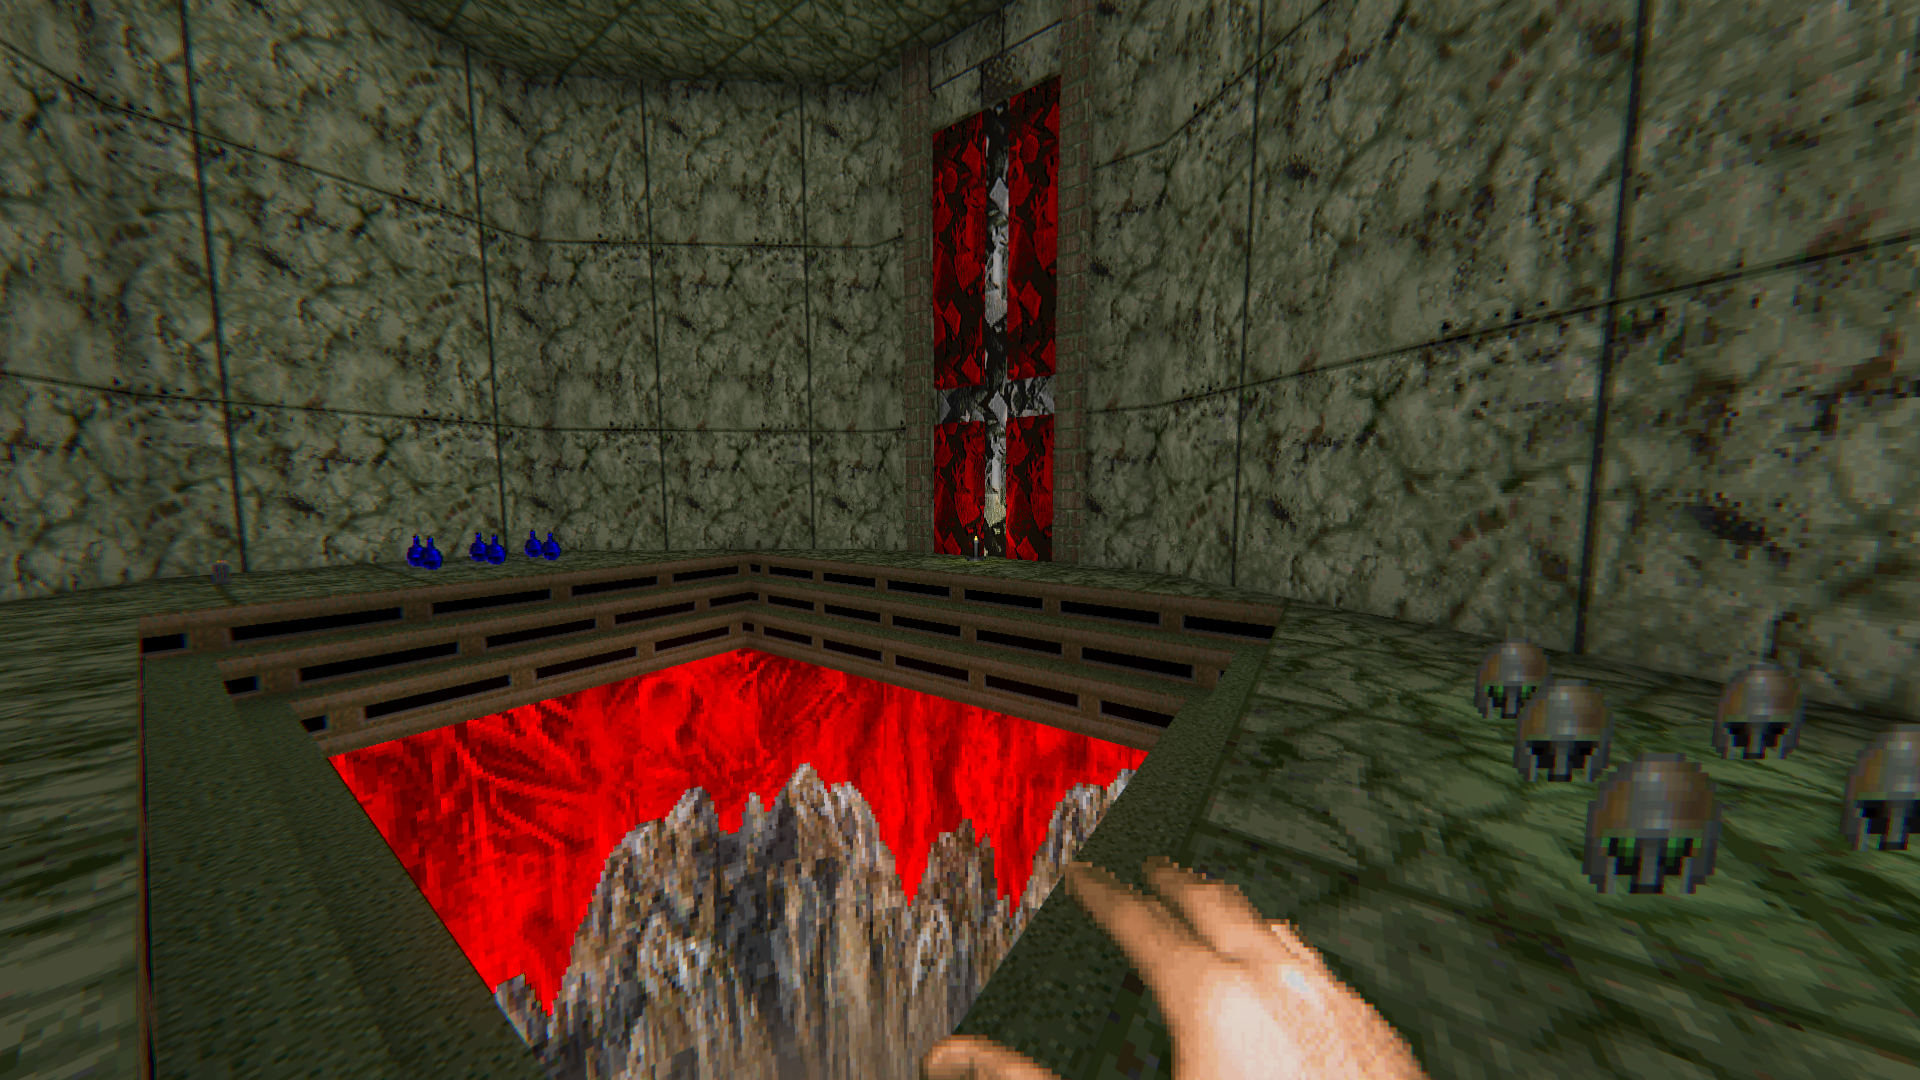
- The Blood River meanders with renewed intricacy, minor details weaving a tapestry of dread.
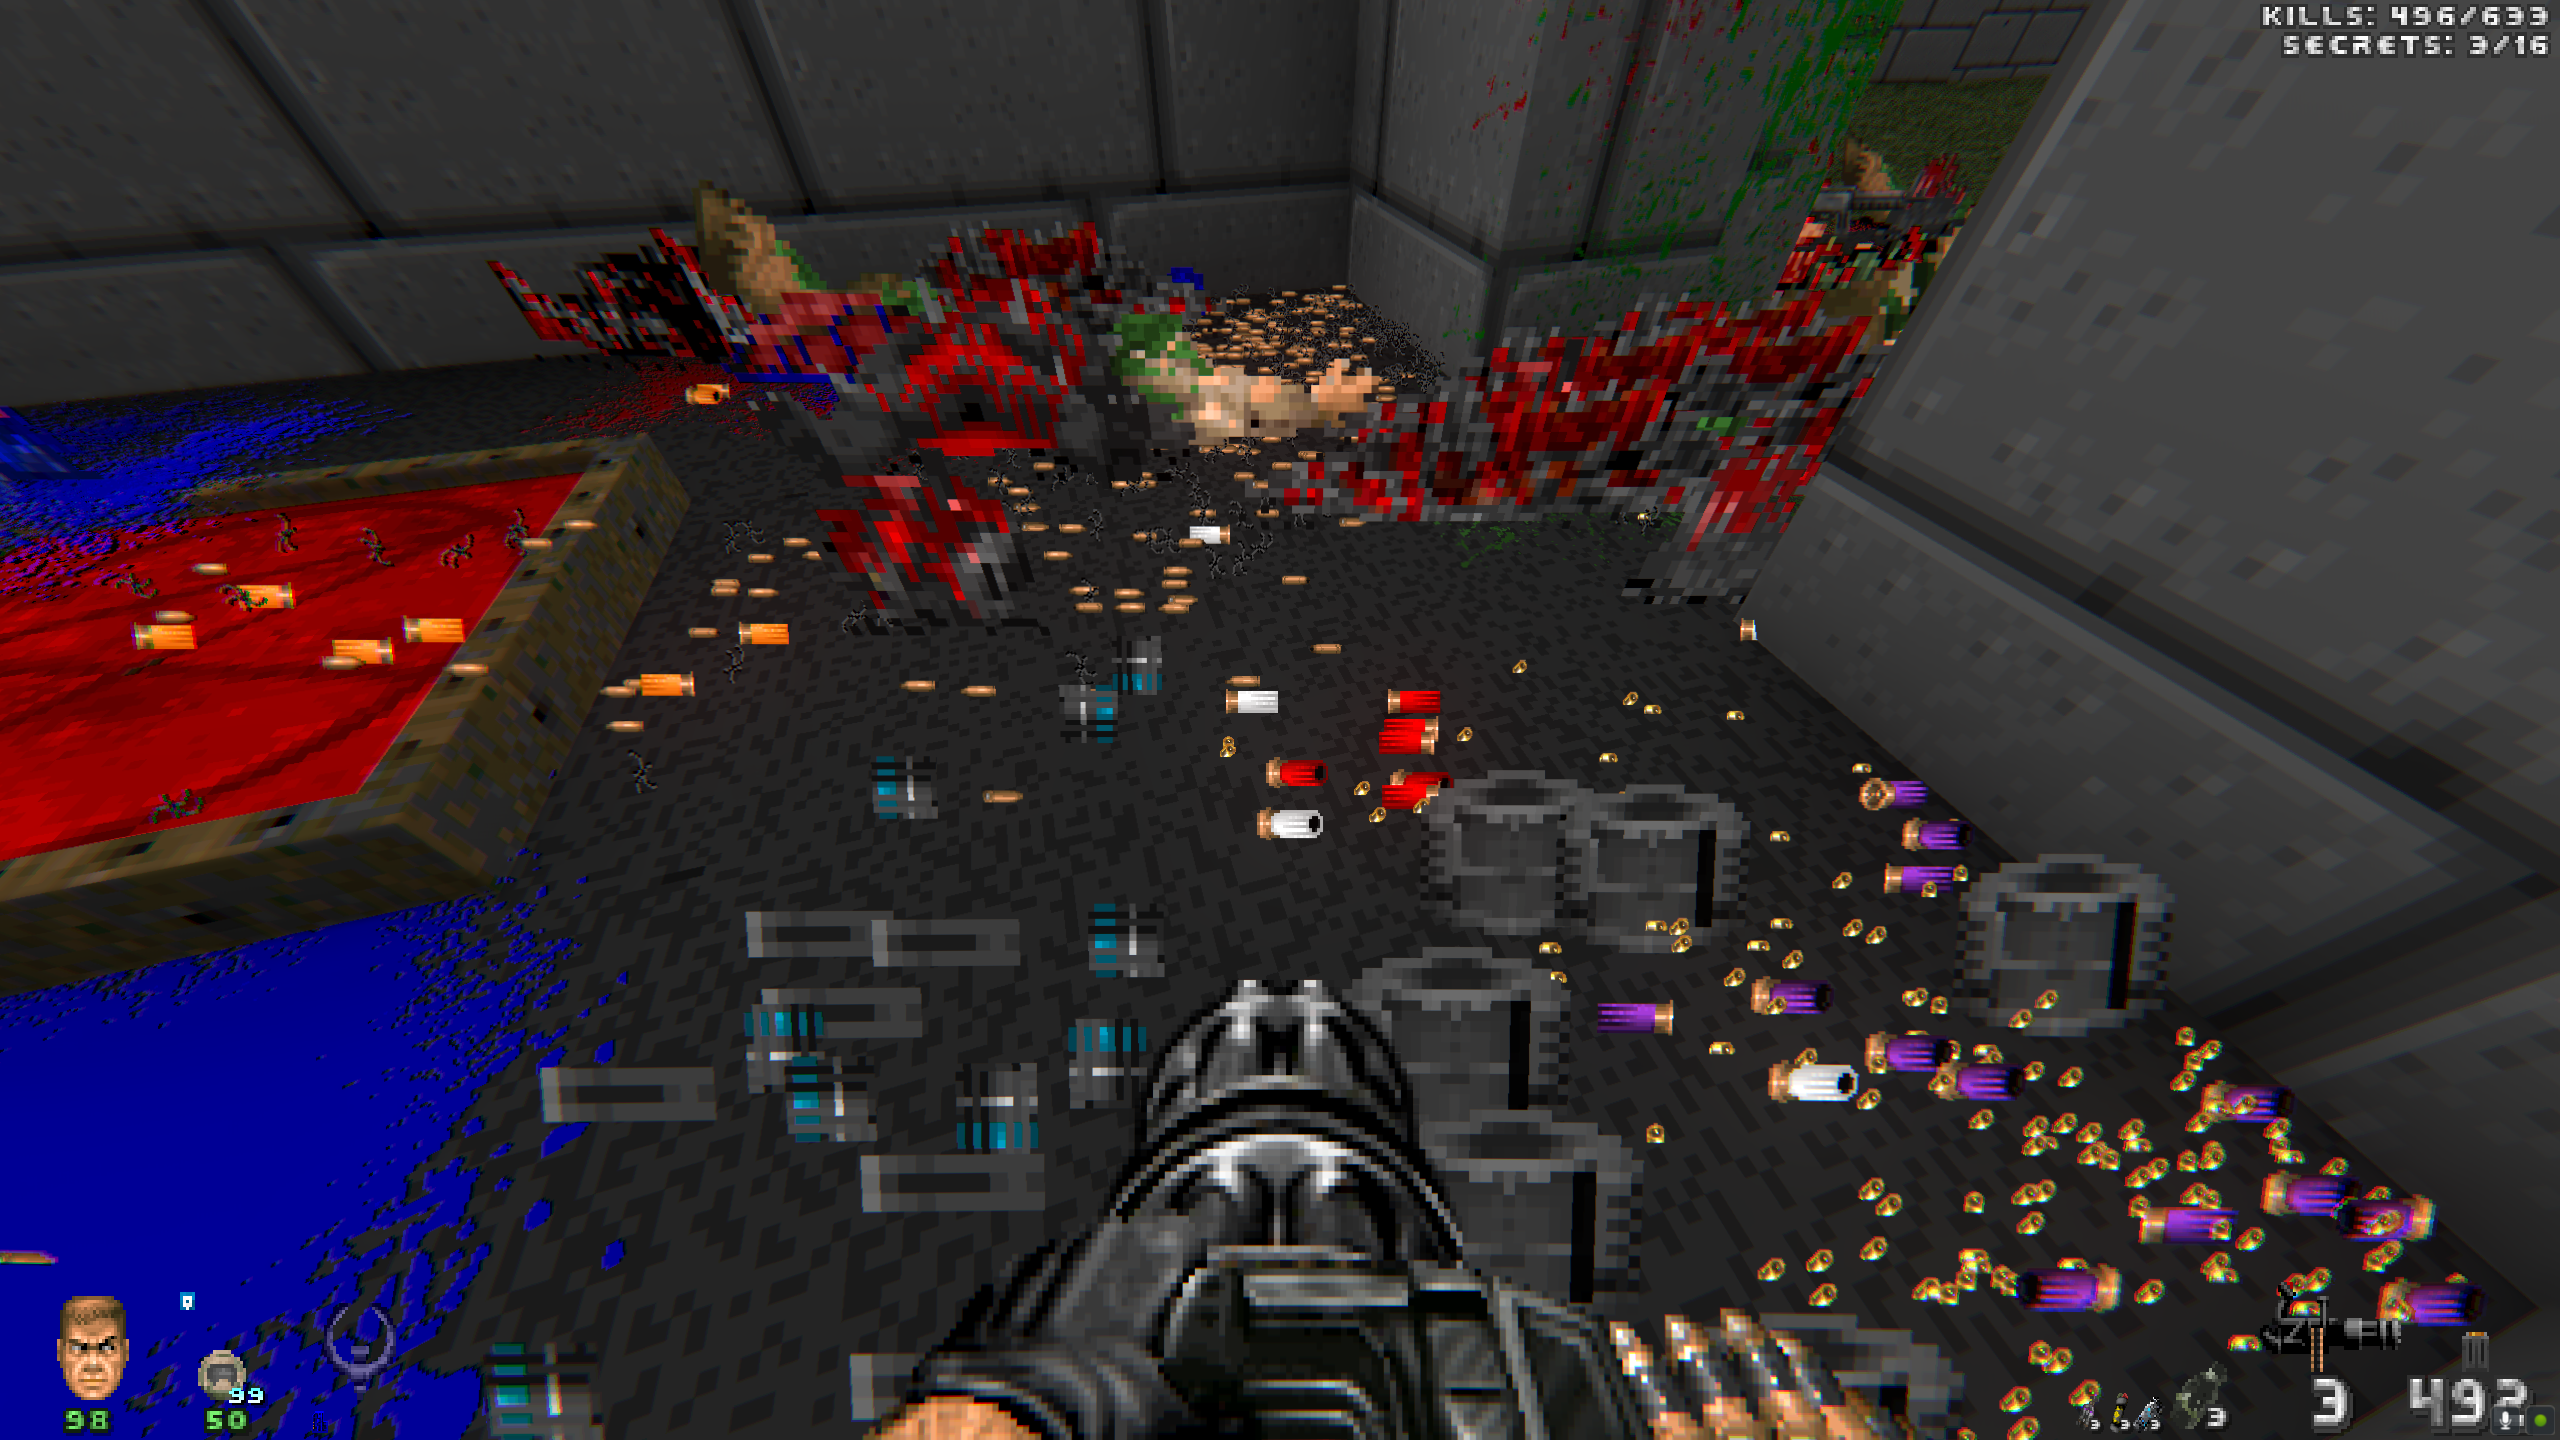
- Amidst the idle imps, more space is carved for fallen marines, their remnants concealing valuable ammunition.
- In the presence of the dead shotgun zombie, a monitor blinks ominously, adding an eerie touch to the macabre tableau.
- The Blue Key Area witnesses wider entrances and gradient brightness, creating an atmosphere of spectral allure.
- The once-disheveled shotgun at spawn now rests on a counter, surrounded by lights, offering an alluring beacon.
- Player Start adjusts for a better initial view, guiding your eyes through the labyrinthine horrors.
- New Tech Base Wall decorations, plasma ammo, and a socket within the wall reveal hidden truths.
- A cross fashioned from armor bonuses and variations in ceiling textures add complexity to the abyss.
### E1M2 - The Broken Sanctum
Navigate the broken sanctum of E1M2, where the echoes of malevolence grow ever louder.
- A broken floor near the Red Key reveals the chaos lurking beneath, marked by a pair of saint Peter Crosses.
- The Rocket Cave plunges into deeper shadows, its secrets more elusive than before.
### E1M3 - The Sanctified Beginning
The sanctified beginning of E1M3 unveils new symbols and mysteries.
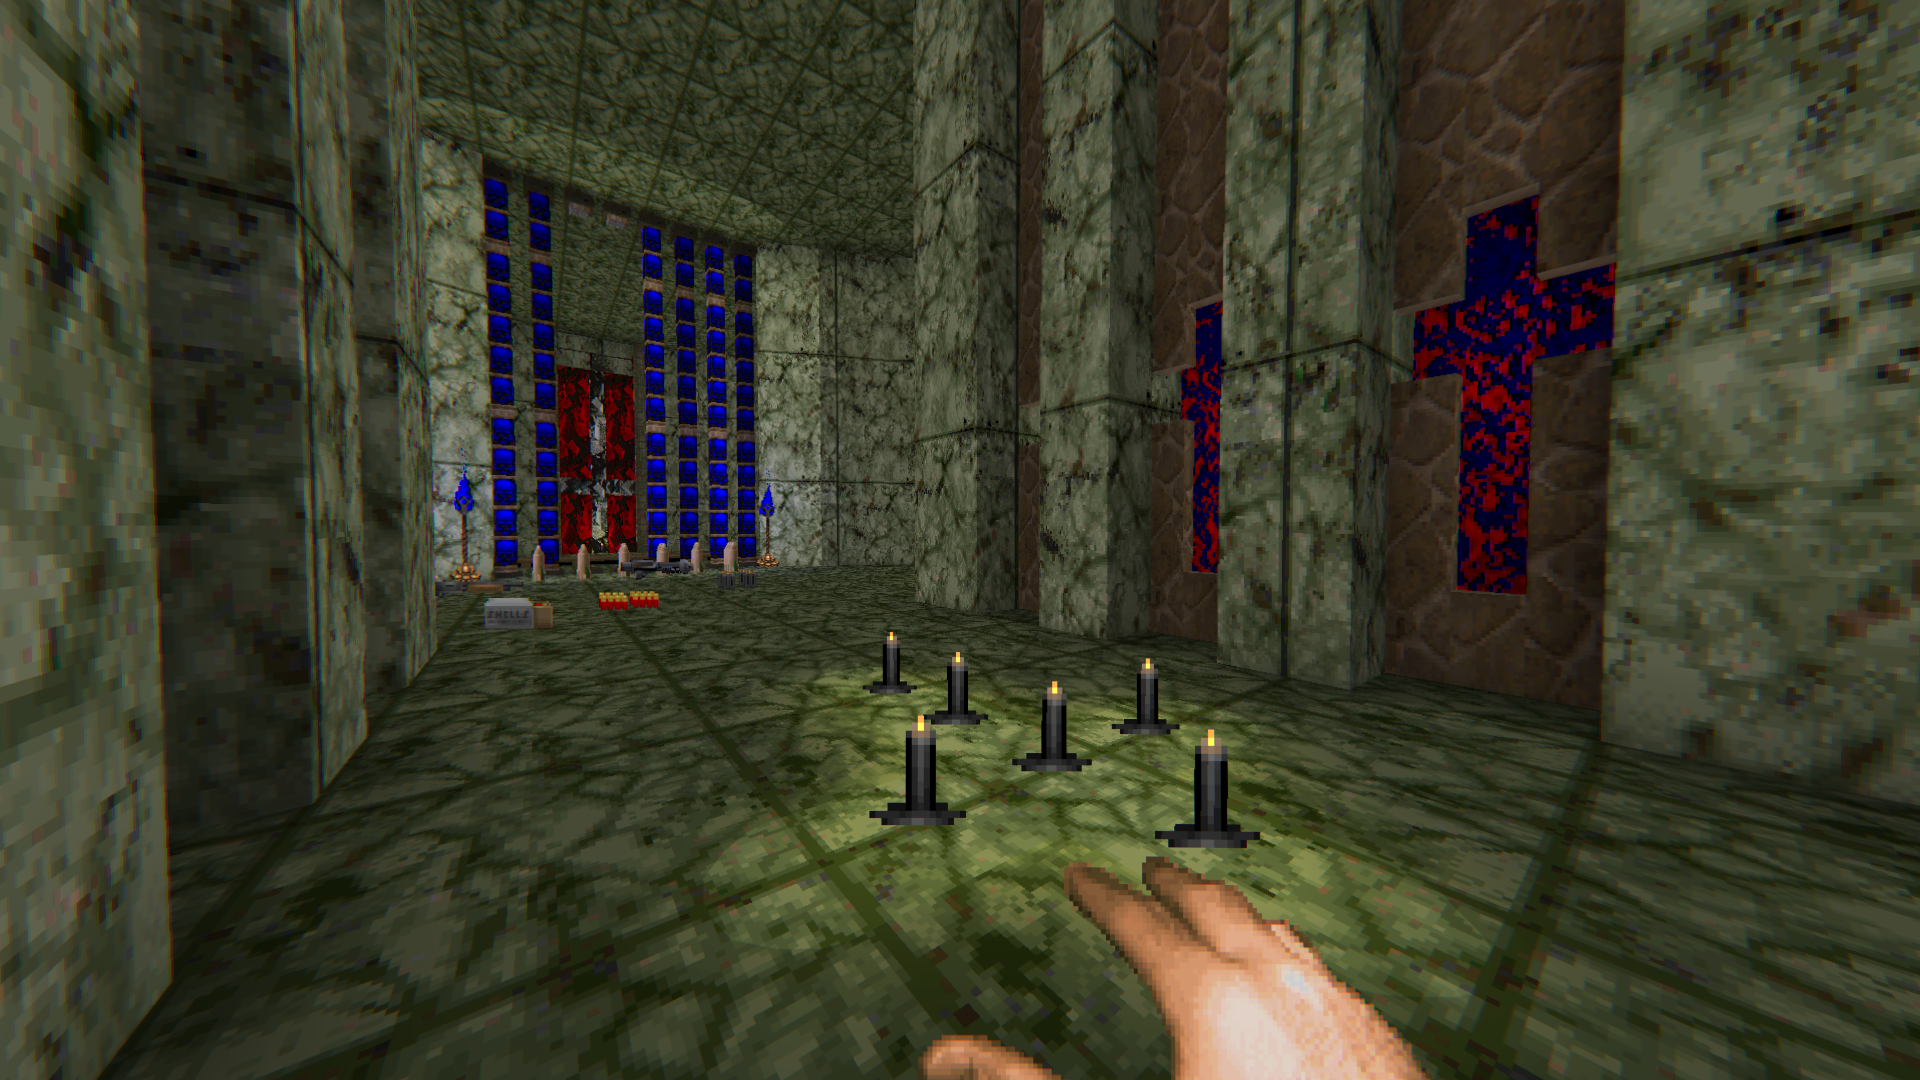
- Additional crosses grace the starting area, their presence shrouded in mystery.
- Behind the Blue Gate, a Danish flag emerges, crafted from red and white rock textures.
- Double the armor/health bonuses enhance the Blue Skull key room/Baron's Lair.
- Bloodfall and brightness gradients deepen the enigma.
- Armor/health bonuses flourish around "The Box," enriching the journey.
- More firesticks guide you towards the Red key room, and the Red Rock Cave descends into darker depths.
### E1M4 - The Marbled Abyss
Traverse the marbled abyss of E1M4, where darkness and detail intertwine.
- The starting platform now boasts armor bonuses, medkits, and health bonuses, a sanctuary amidst impending doom.
- The Hanging Dude Hallway plunges deeper into shadow, revealing additional health and ammunition.
- Brighter corners illuminate the vast marble expanse, while the Blue Armor Room undergoes simplification.
- A mysterious "light shining inside the window" adds an enigmatic touch to the foreboding corridors.
- The toxic trap's server room widens, illuminated by added light and punctuated by barrels.
### E1M5 - The Dark Symphony
Step into the dark symphony of E1M5, where ambushes and secrets abound.
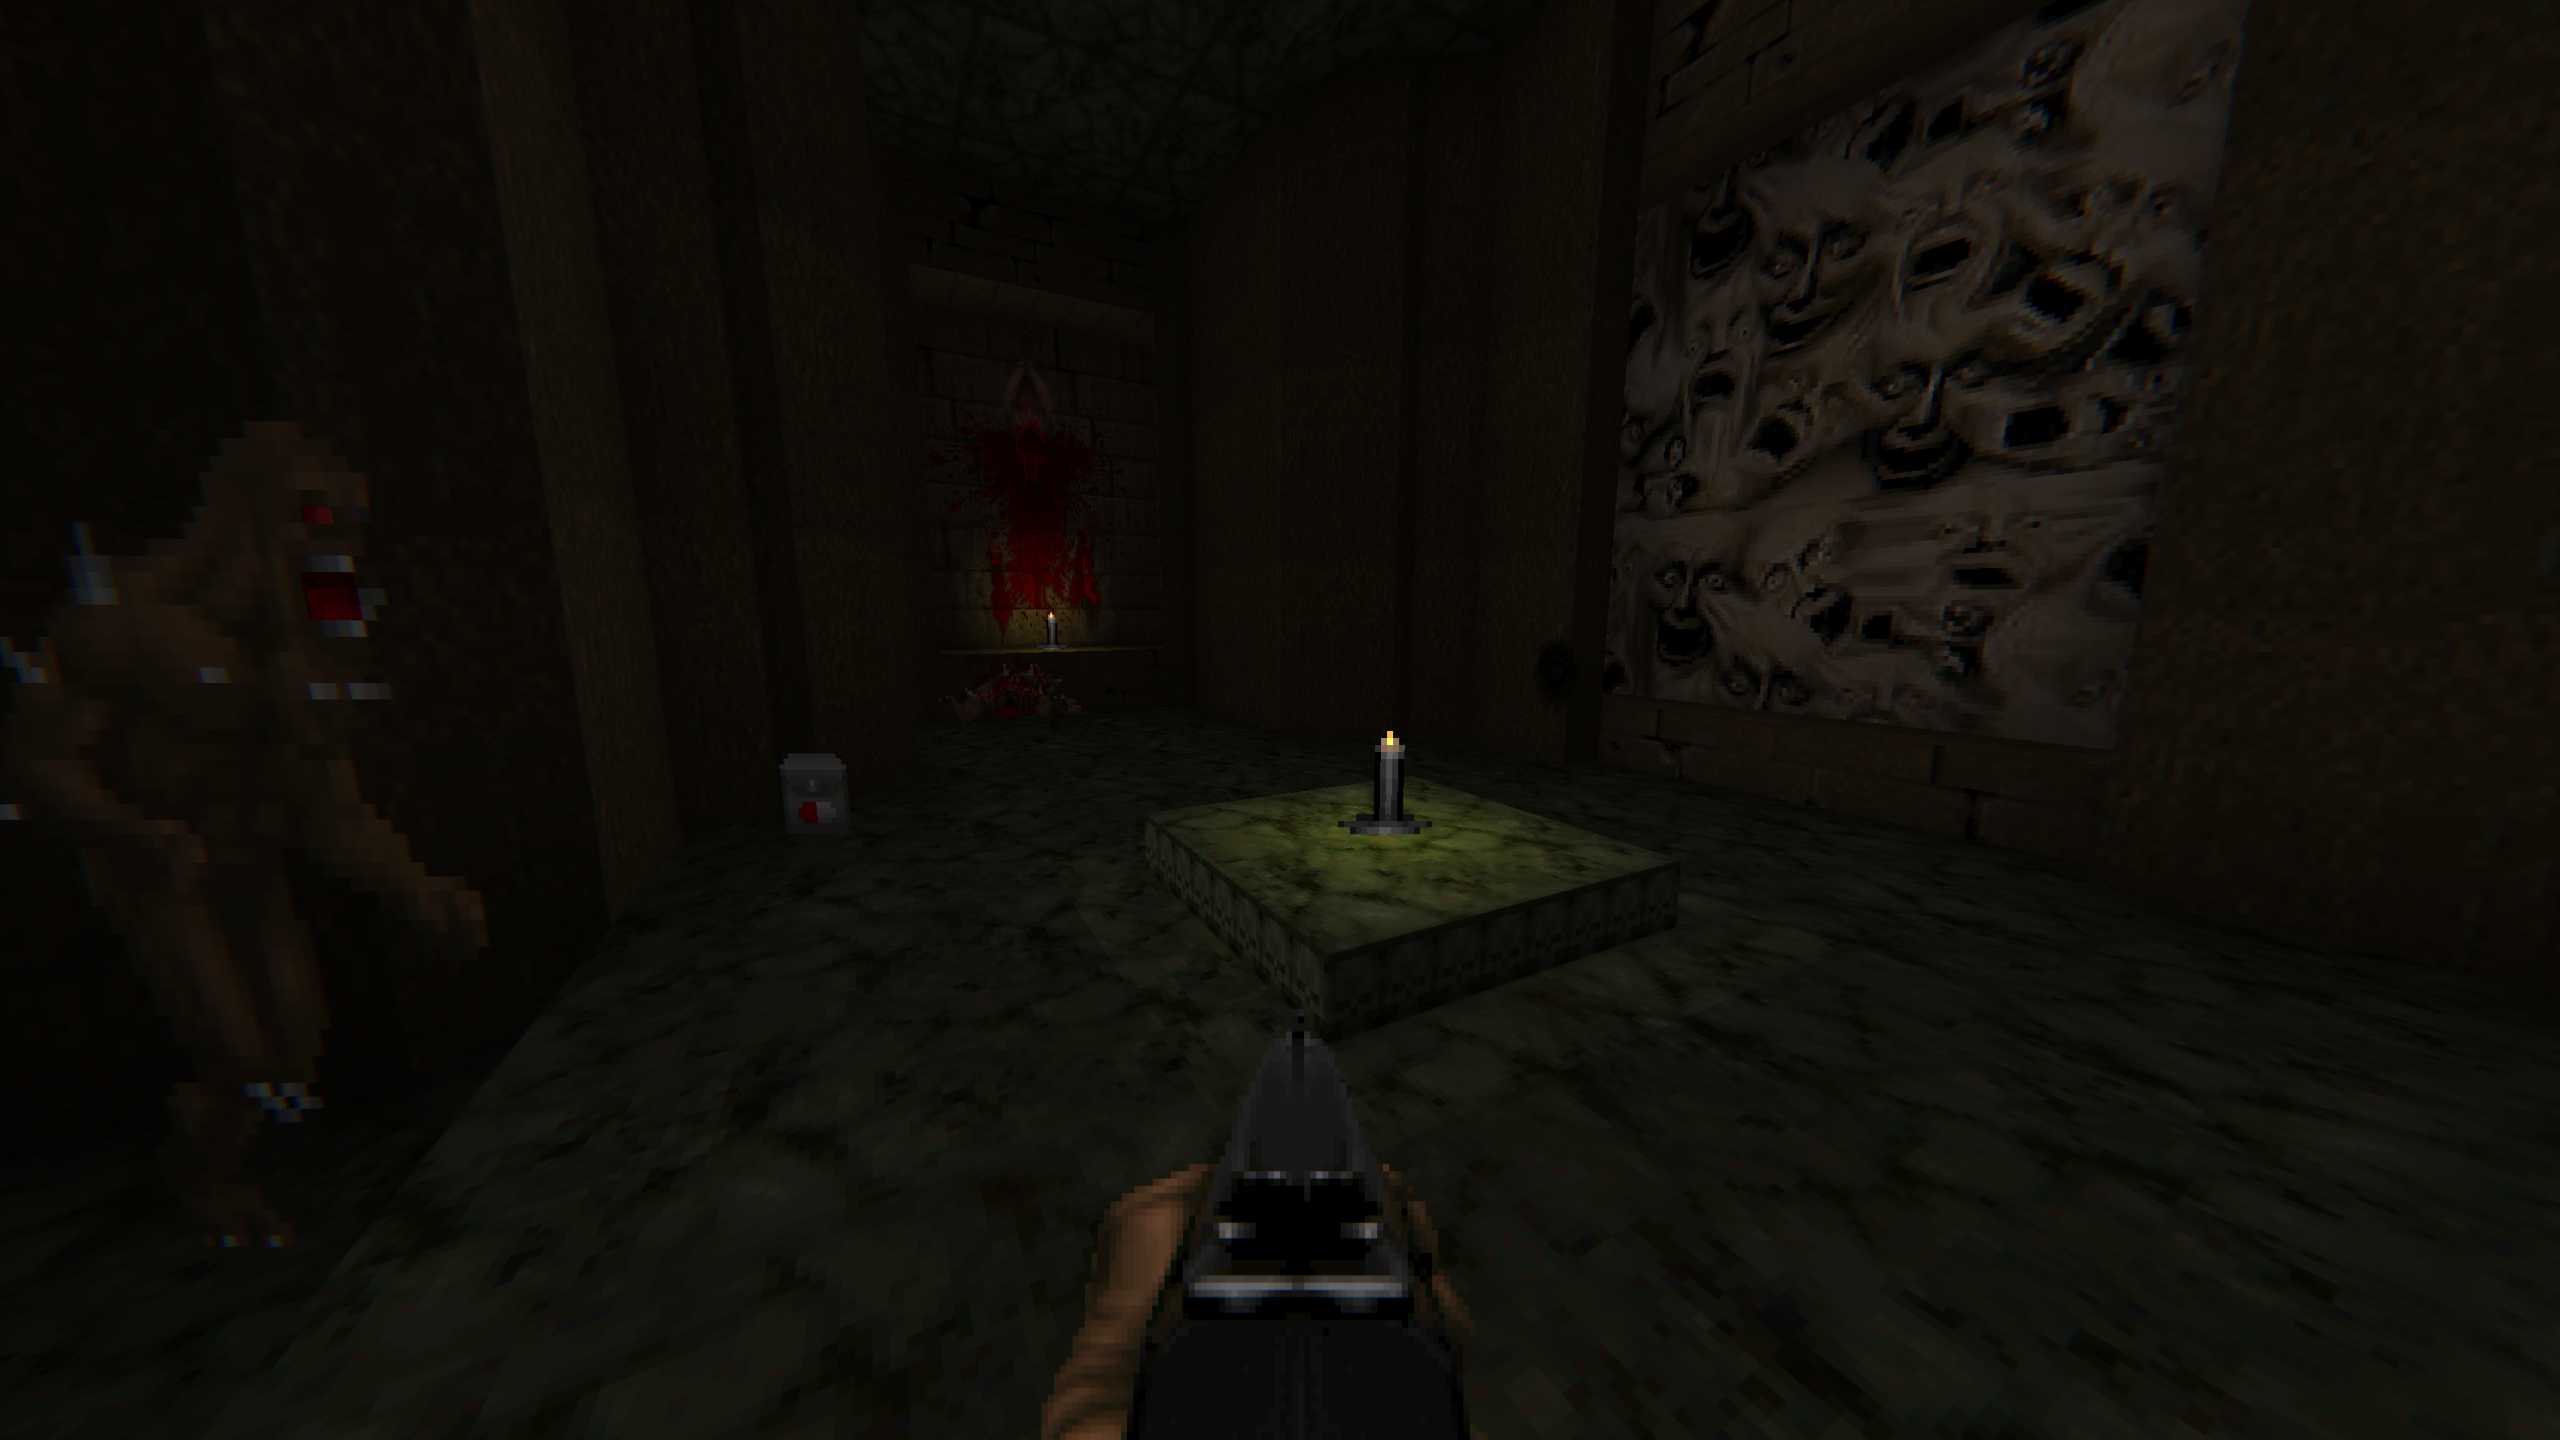
- Medkits await outside the cross-marked door, a beacon of hope in the looming darkness.
- The imps' ambush location descends into deeper shadows, heightening the element of surprise.
- A new row of armor bonuses fortifies the starting area, preparing you for the trials ahead.
- The library beckons with additional first-aid, a refuge for those seeking respite.
- Tall firesticks rise at the second Archvile's lair, casting flickering shadows on the unfolding chaos.
- The monster-only teleporter at the elevator is banished, altering the dynamics of the abyss.
### E1M6 - Camp Pasar - The Unearthed Secret
Unearth the secrets of Camp Pasar in E1M6, where monsters and mysteries intertwine.
- A Blue Armor conceals itself in a newfound secret, guarded by the denizens of the abyss.
- Ammunition proliferates, ensuring you're armed to the teeth.
- A monitor guards the shotgun ammo, a sentinel in the chaos.
- Wall details near the exit weave a narrative of the camp's hidden history.
### E1M7 - The Abyssal Maze
Embark on the abyssal maze of E1M7, where darkness and danger converge.
- Additional health bonuses pave the way in the starting area hallway.
- Armor bonuses await at the treacherous three-way, fortifying your defenses.
- Rocket ammo materializes near the imp teleport alter, a deadly resource in the chaos.
- The door to the blue key room yields to manual intervention, granting control over fate.
- Space expands around the pillar in the dirt maze, revealing plasma ammo amid the shadows.
- The dead end is now barricaded, forcing a detour through stone rubble.
- Wall details breathe life into the dark hallway, panels of skulls and flesh on one side, rocks and stones on the other.
- Candles illuminate the Demon/Spectre Room, casting a flickering light on the lurking horrors.
- The Blue Armor Secret no longer discriminates by difficulty, sharing its secrets with all who dare to seek.
- Wall skulls adorn the grand tech-flesh corridor, a testament to the arcane machinations at play.
- Gradient brightness weaves a mesmerizing tapestry, guiding you through the shifting shadows.
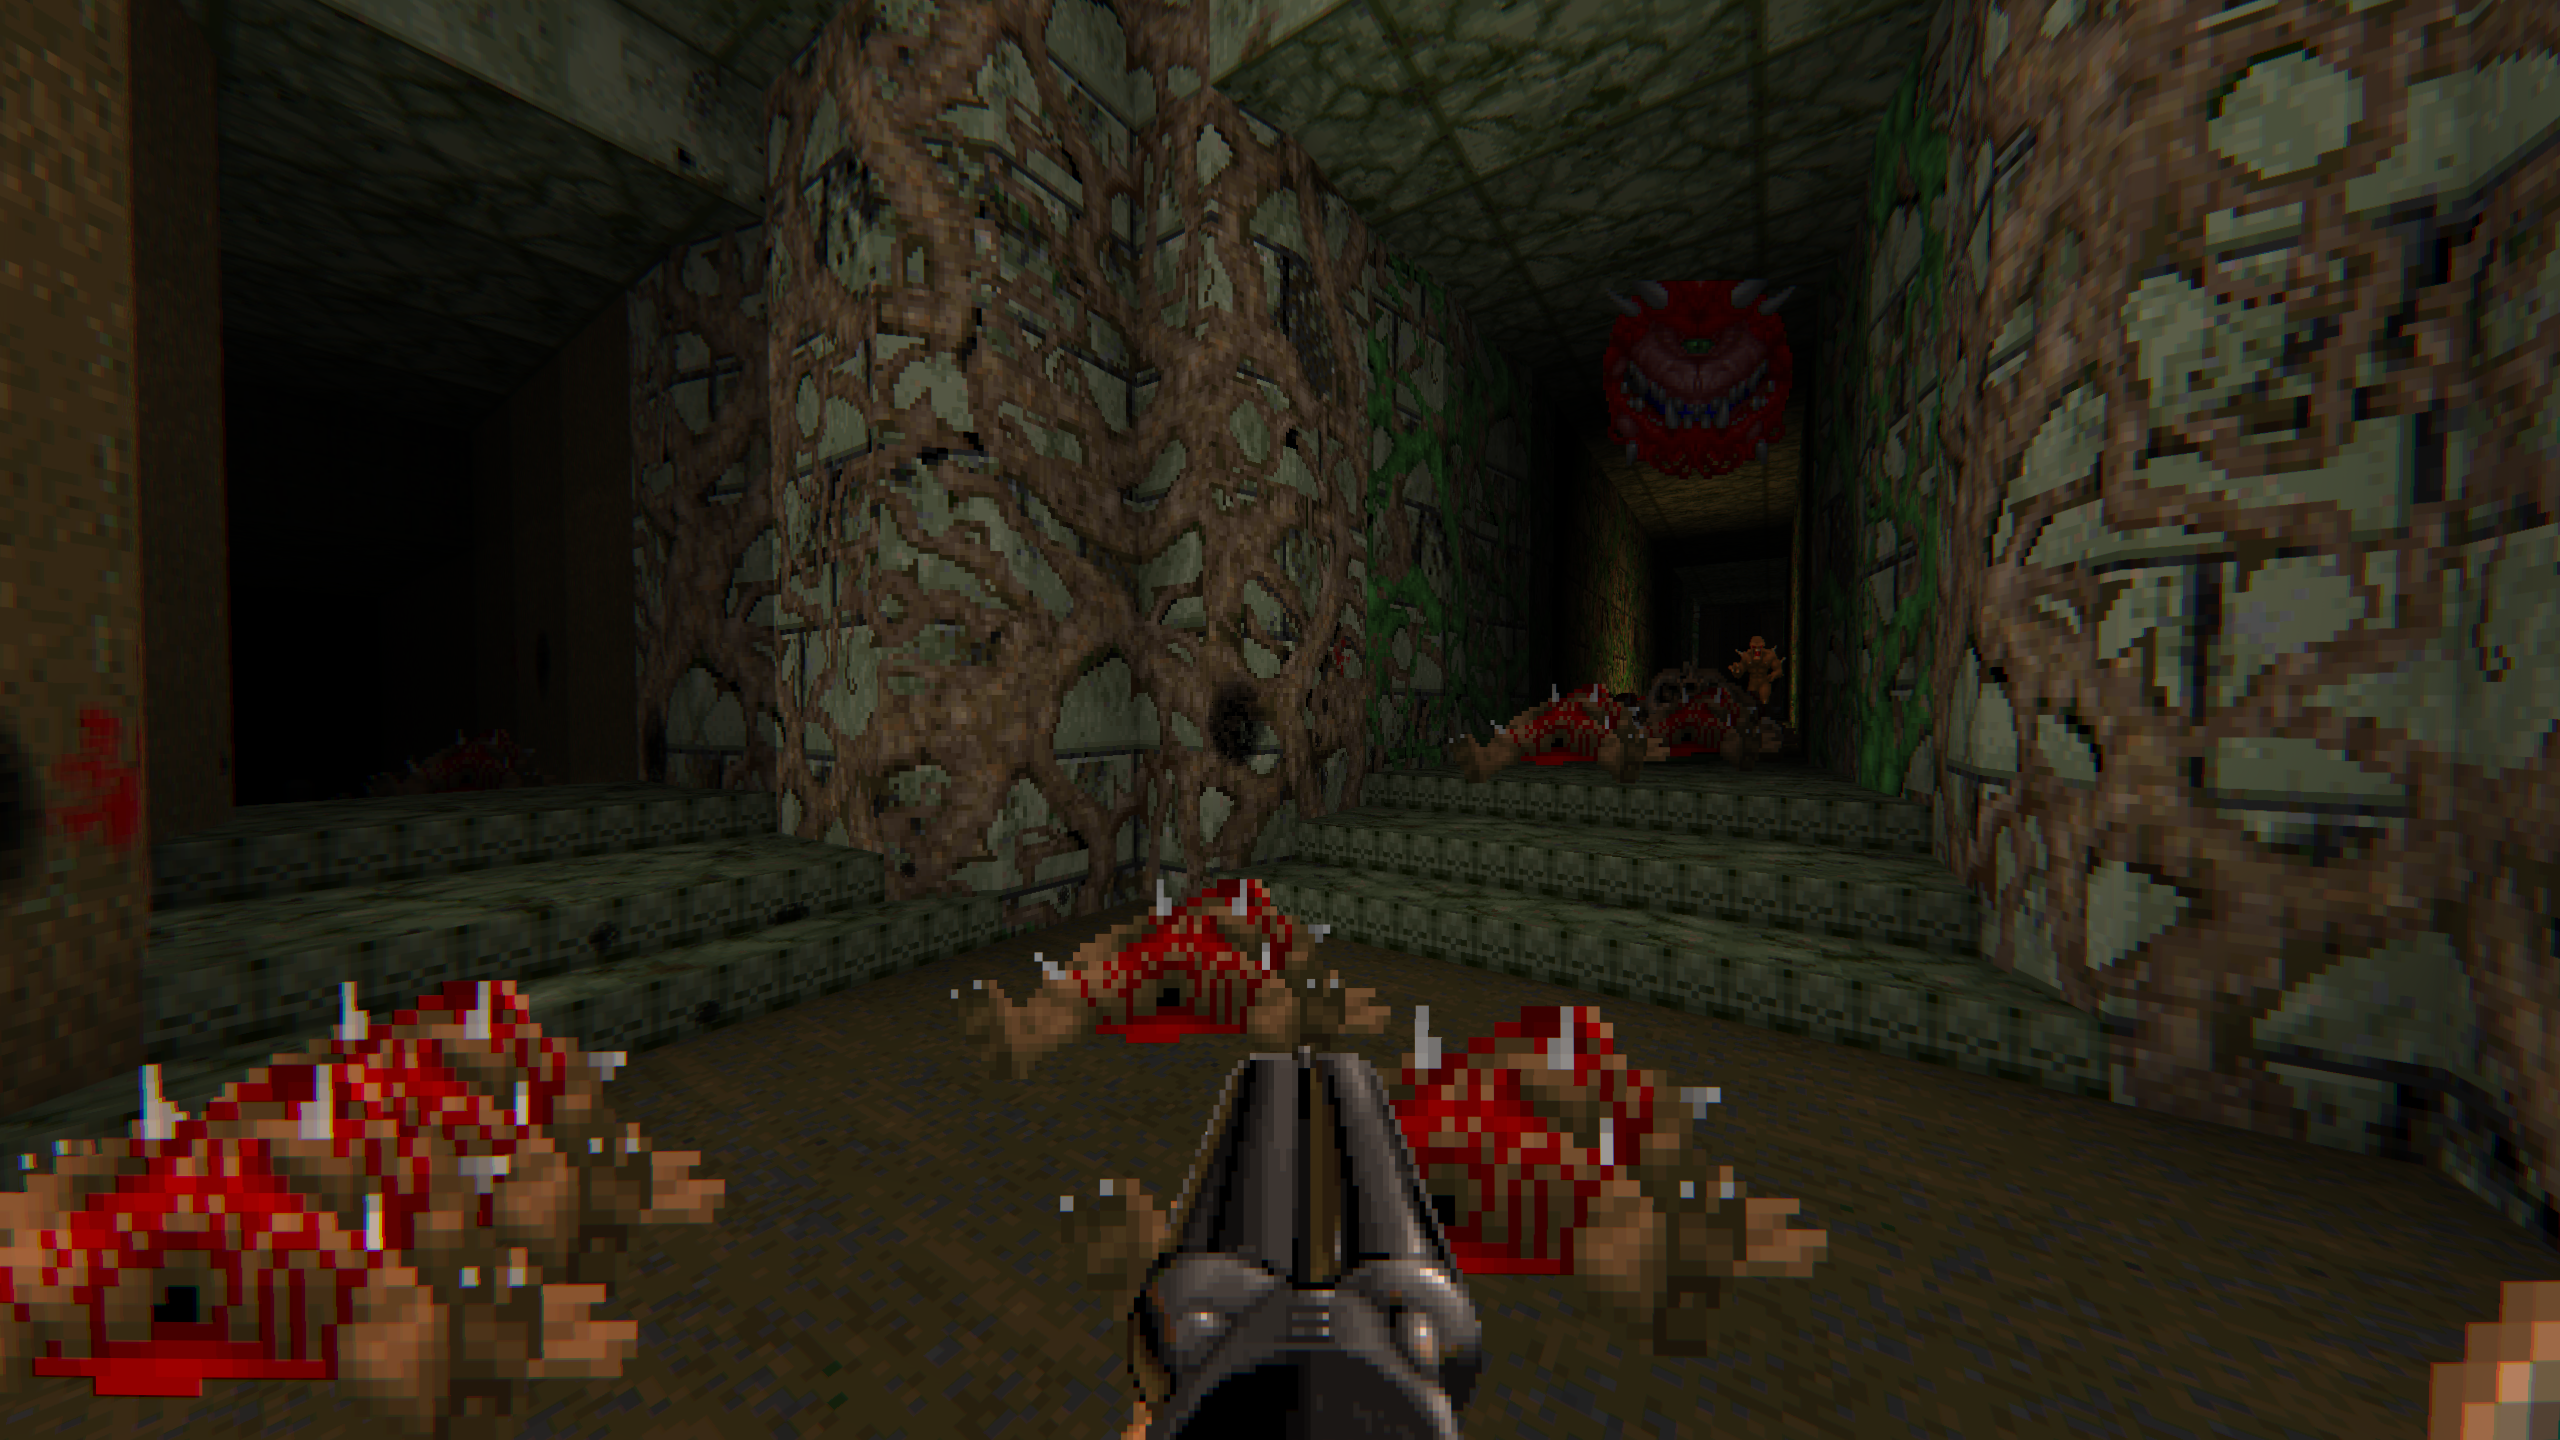
- Hell Knights emerge from the dark cave, a relentless force on the unforgiving grounds of hard difficulty.
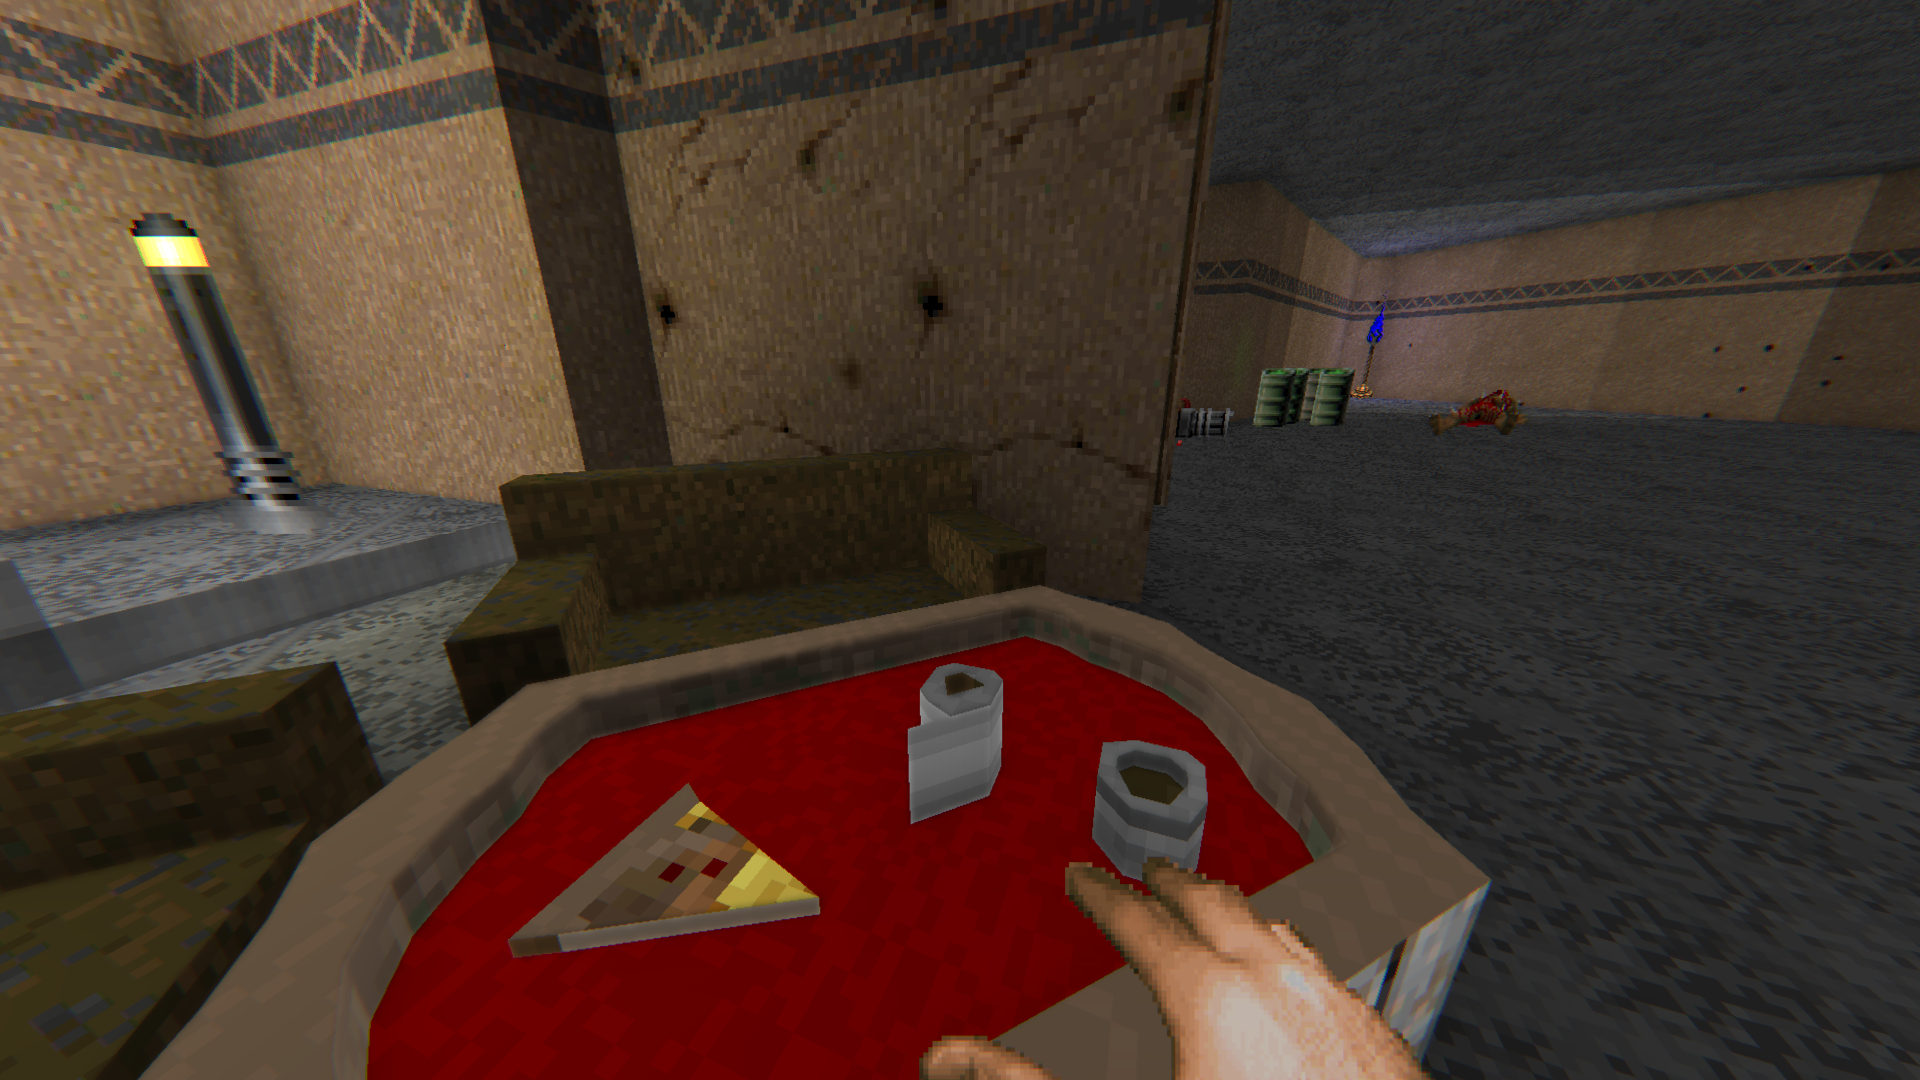
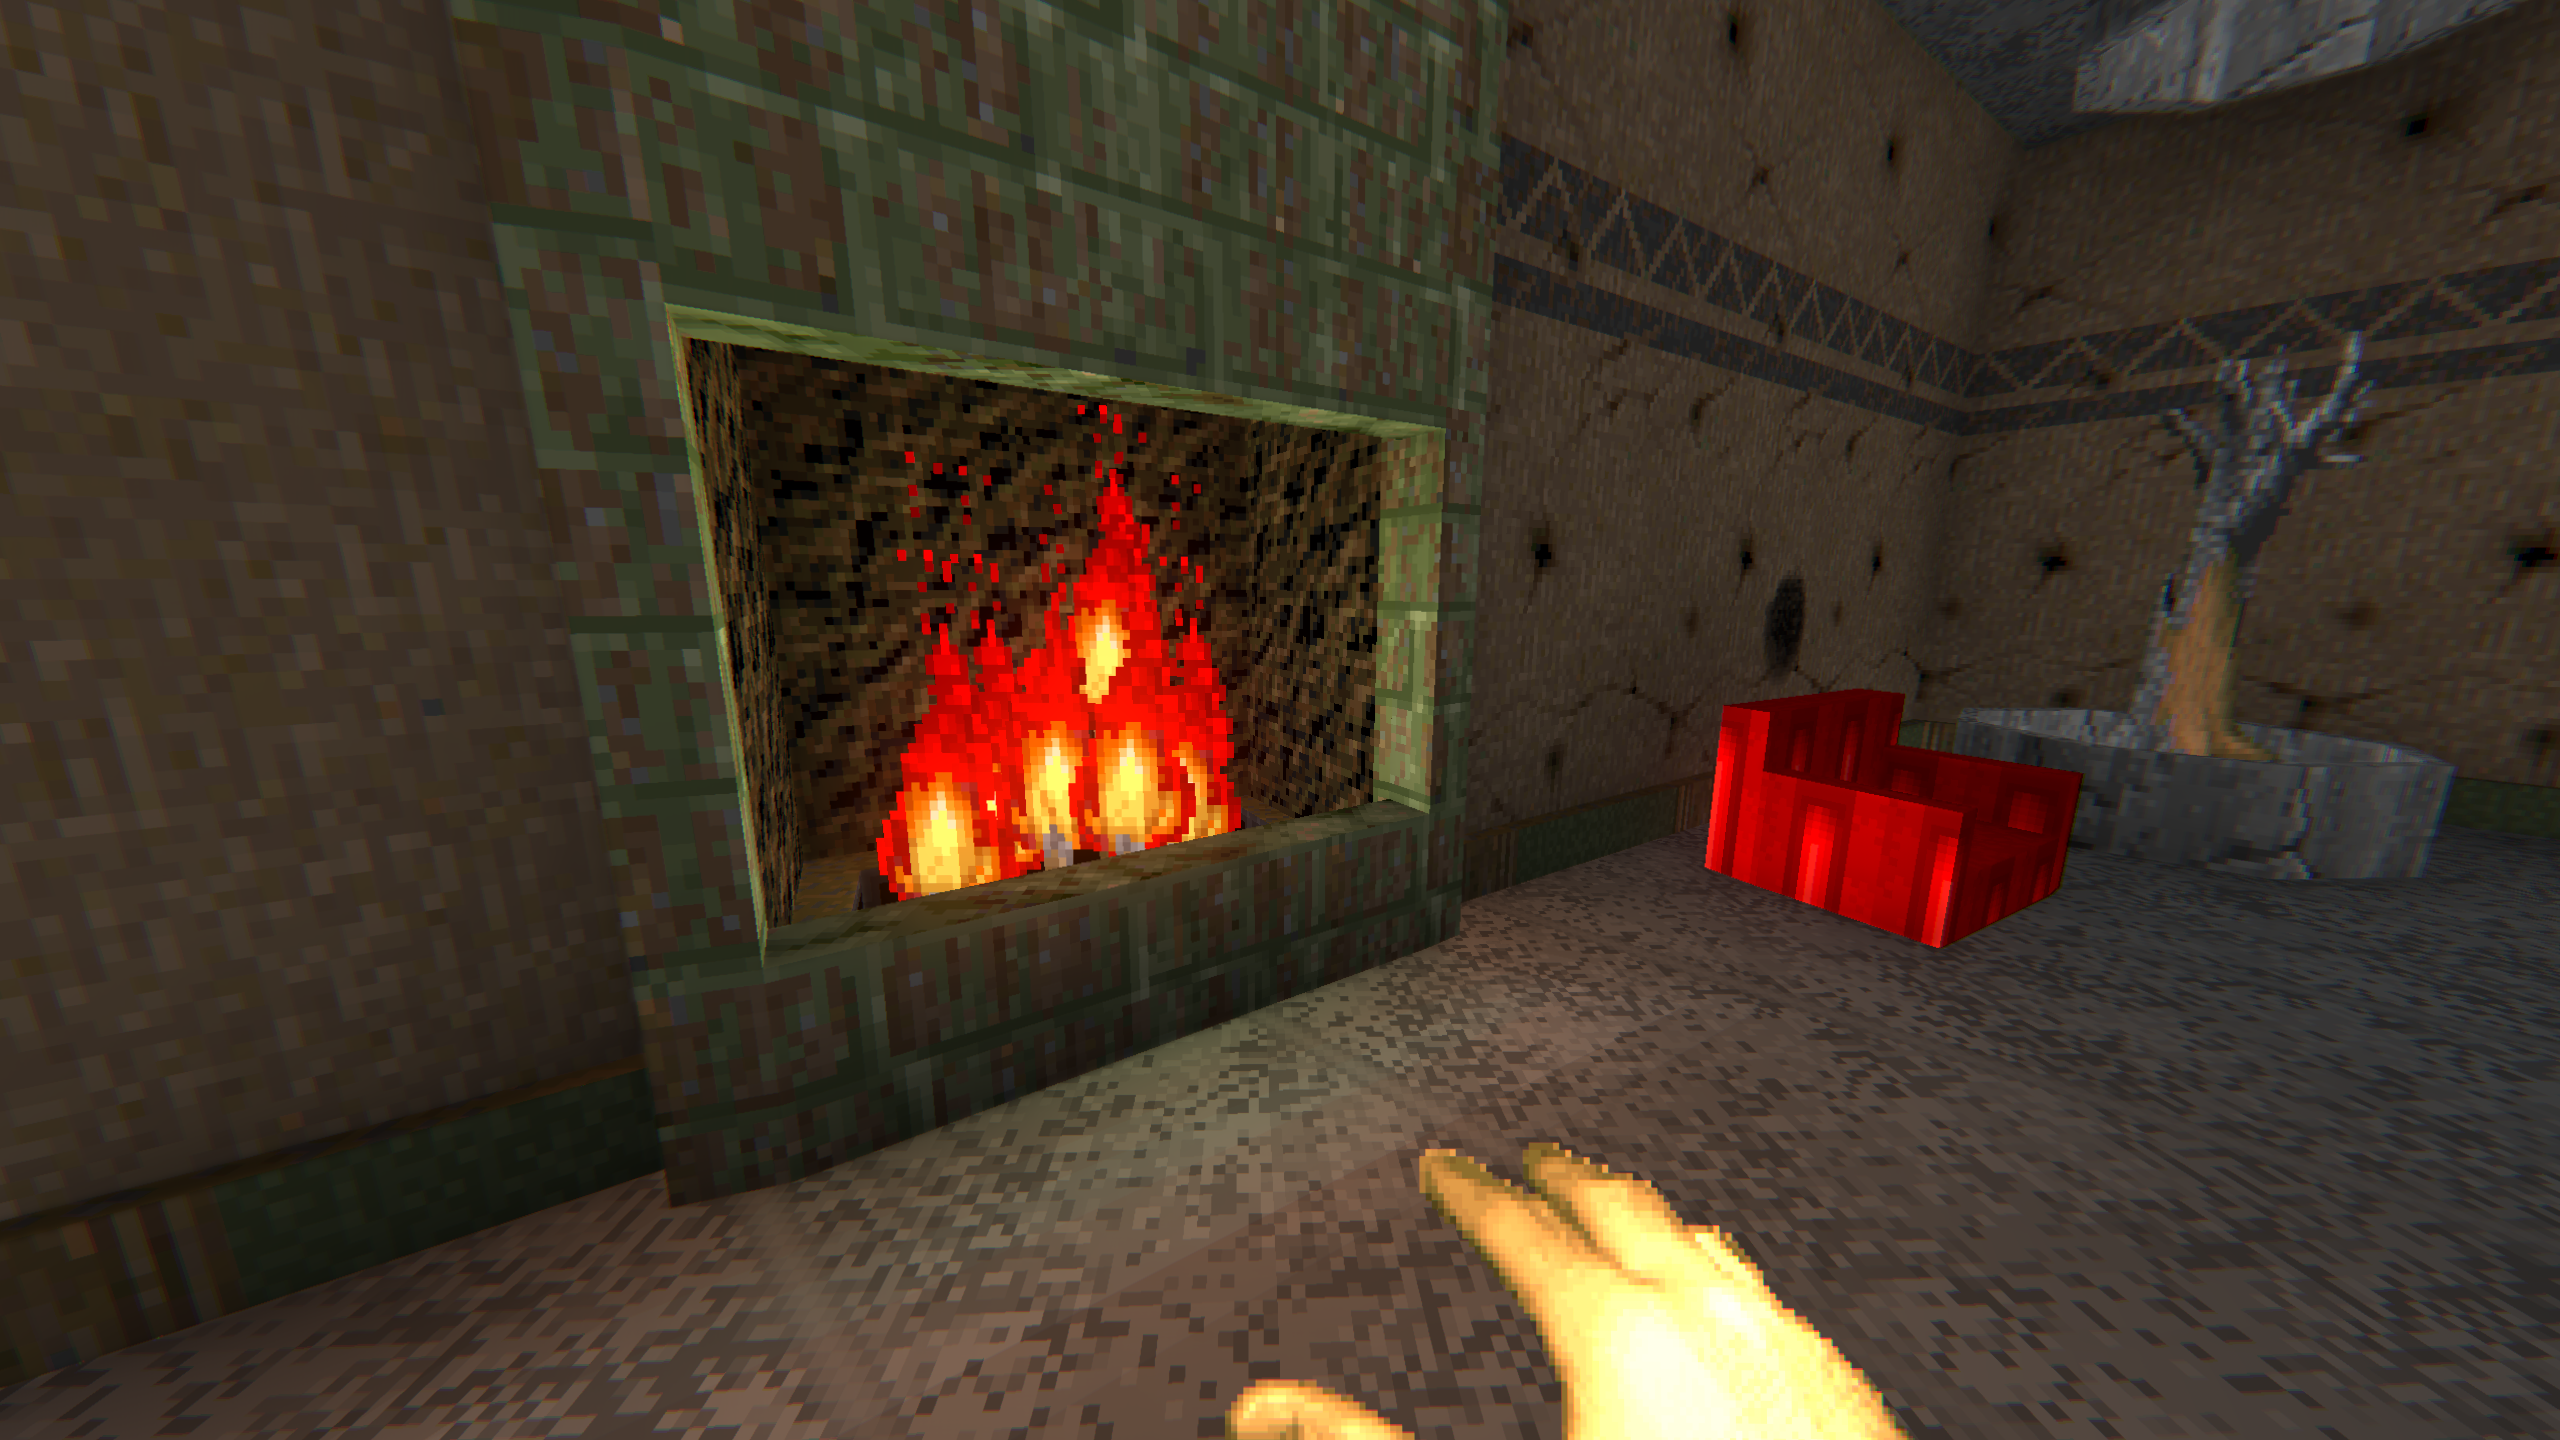
### E1M9 - The Surreal Oasis
Immerse yourself in the surreal oasis of E1M9, where absurdity and danger coalesce.
- The hotel house plant claims more space, accompanied by a red chair and a cozy fireplace.
- A second row of health bonuses lines the path to the grocery store, fortifying your journey.
- Wood panels embellish the garage front, adding an unexpected touch to the chaotic landscape.
- A sand castle emerges on the beach, a whimsical creation in the midst of chaos.
- Pizza graces the table inside the hotel, a delicious diversion in the face of impending doom.
- A book rests on the table within the home, its contents a mystery in the abyss.
- A pool of piss emerges at the toilet, a surreal addition to the bizarre tapestry of E1M9.
- Corrected the amount of secrets to 11 and added brightness gradients in several locations.
- Highbeds with plants as cover close to the store deepen the sense of surrealism.