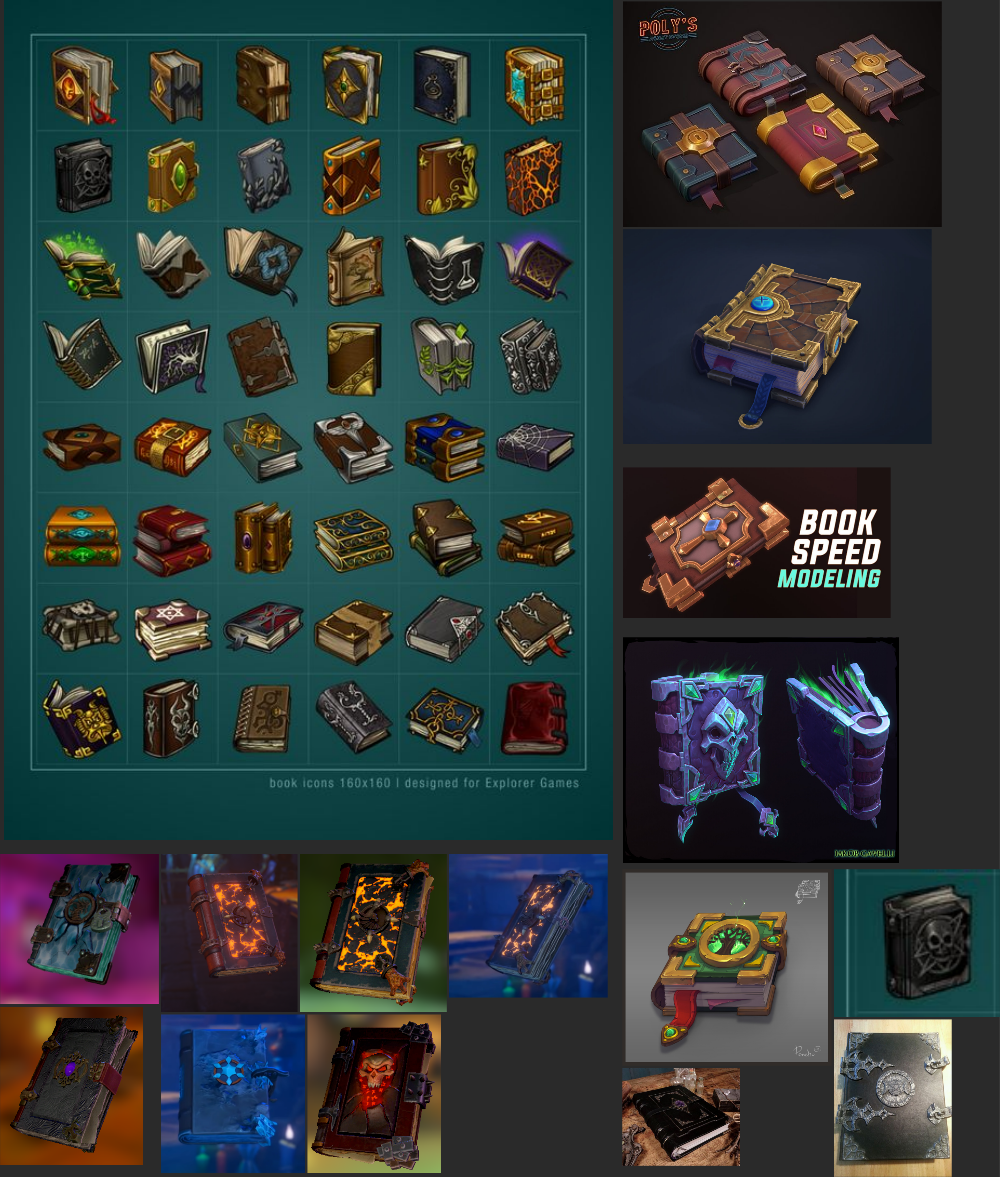
References
At first we gathered some images to use as a reference, to come up with the idea for ours.

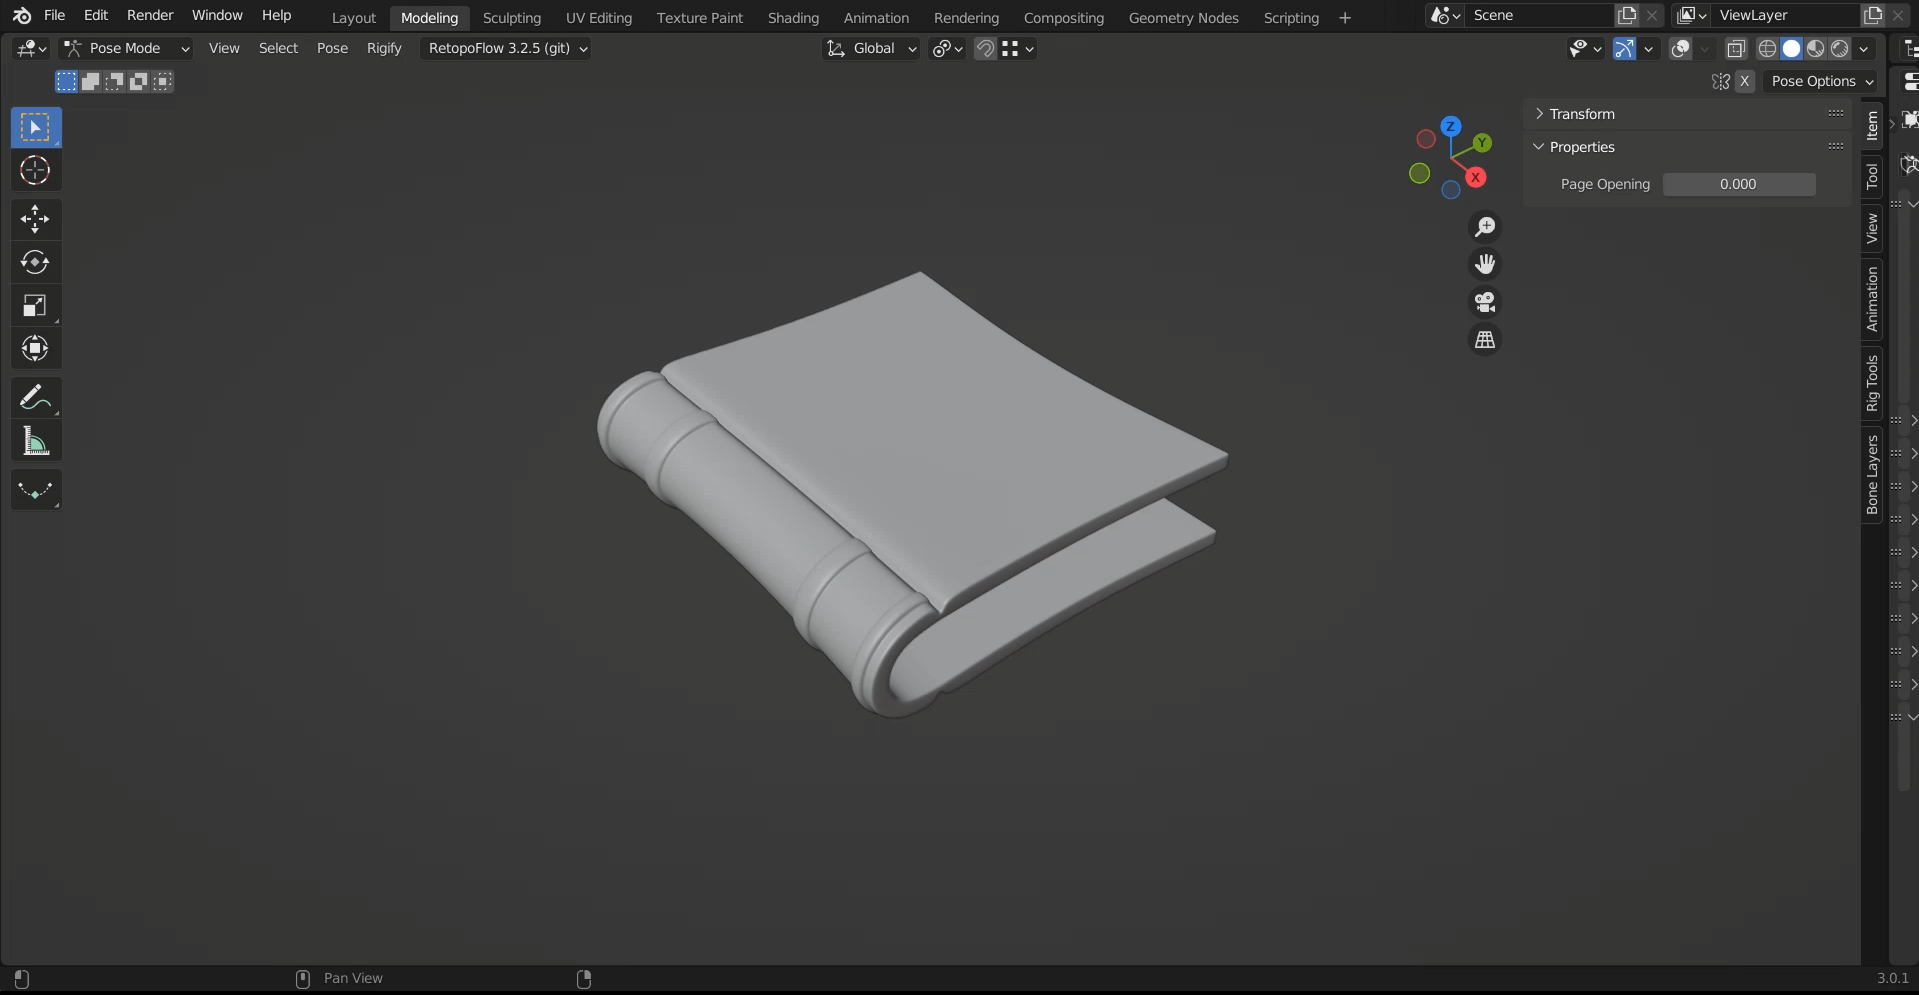
Book Model
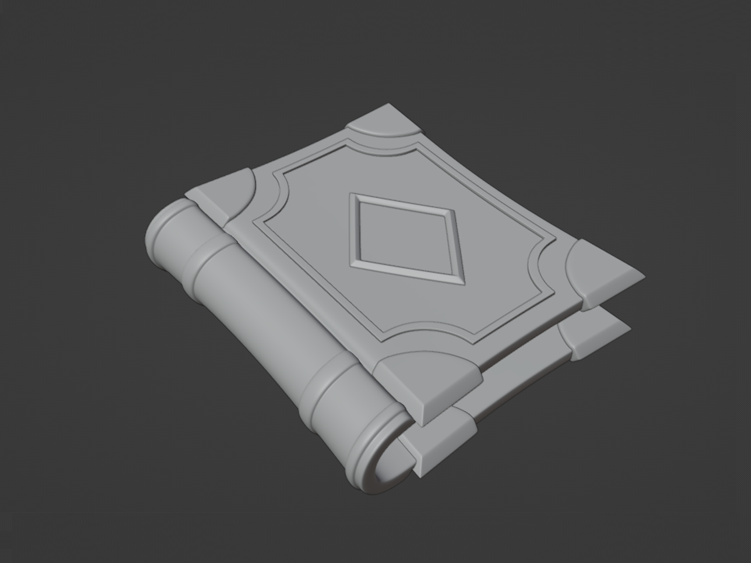
After getting references, we made a simple base of the book model, in which we would iterate uppon:
Having decided the base of the book, we started working on adding the details, such as the corner protector and the center gem holder:
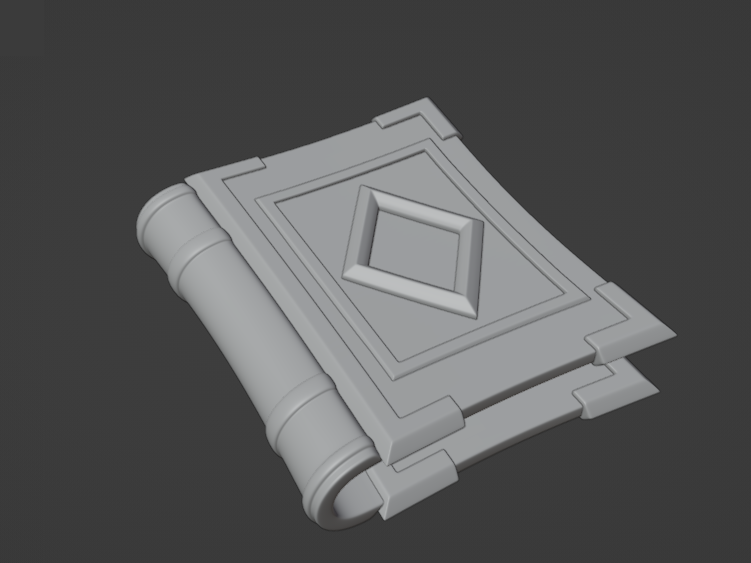
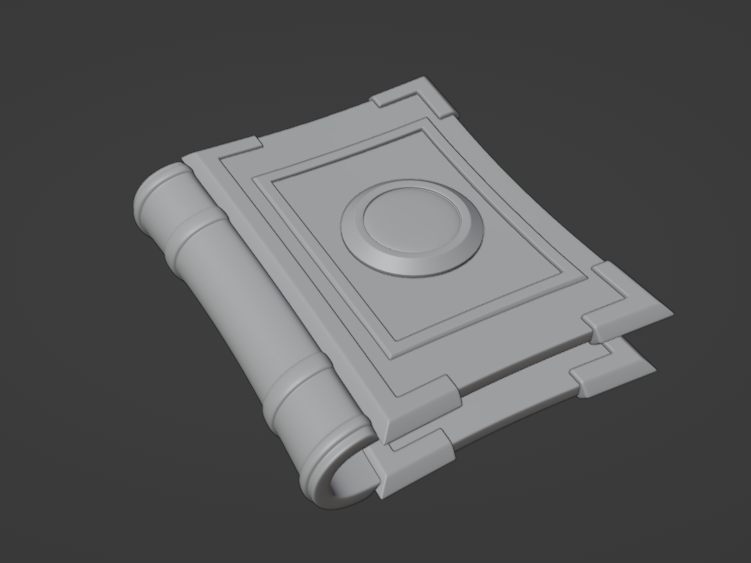
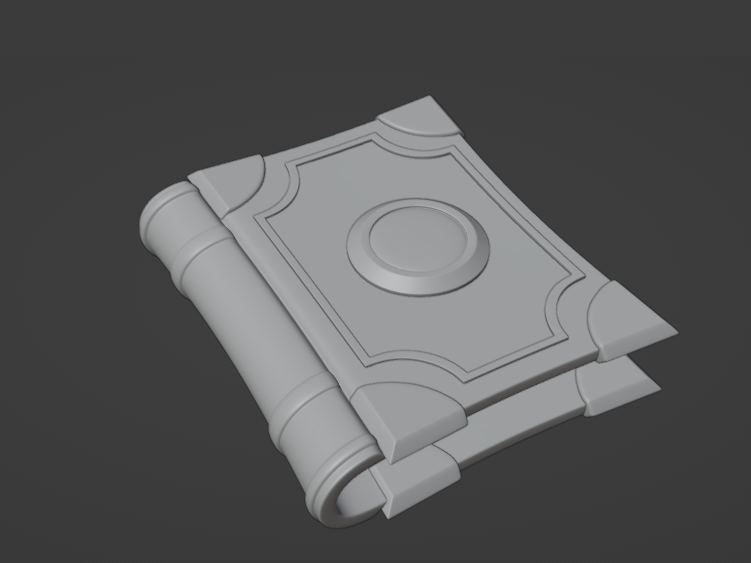
After all this our creative team chose the last concept to be the final one for the book.
Rigging Stage
The next step on the process was the rigging. The animations we had planned for the book were fairly simple, and we would only need a few animations, so the rig isn't really complex.
There are two ways of opening the book. The first one consists in flipping the front cover to the left and the second in opening both the front and back cover at the same time.
In order to achieve this result, we have two sets of what we called mechanical bone structures, each set responsible for a different way of opening the book. To choose which mechanical bone set will be the one controlling the deform bones, we set up a custom property that allows to switch between them.
If you were to attempt to rig a similar model, the whole system of having different sets of bones to achieve different openings is optional, but getting the right deformation bones structure is necessary and here's how we did it:
Our idea for the book pages rig was to make it with Bendy Bones, a feature from the software used to make this - Blender. This allowed us to have a simpler way of controlling the deforming the pages the way we needed them to.
The only downside to this approach was the fact that Bendy Bones are a feature from Blender and for Blender, which means it could not be exported to Unity. To solve this, we created a chain of regular bones responsible for the actual deformation of the pages but controlled by the Bendy Bones. And that way we were able to actually export the animations for any software, including Unity.
Besides these controls, the rig also has a master controller, responsible for the position and rotation of the book in world space and in which the custom properties for the book opening and the book opening mechanical switch are.
Animations
After having all this rig set up and started working on a few initial animations. But, since this was also a learning process, down the road we realized that, for a stylized model, the animation was lacking some stylization. So, we decided to add some squash and stretching and refined the timing of the animation.
This was one of the first animations to ever be made with this rig:
To add this stylized feel to it, we made a really small change on the rig, which was simply adding a Stretch-To modifier to the master controller bone and that did the trick.
Texturing
Now that we covered the rig process, we’ll take a look at the texturing part.
This process was actually made before adding the stretch and squash, and started working on the final animations, since we prefer to animate our models already textured, when possible.
The texturing started with the sculpting of the high poly mesh in ZBrush.
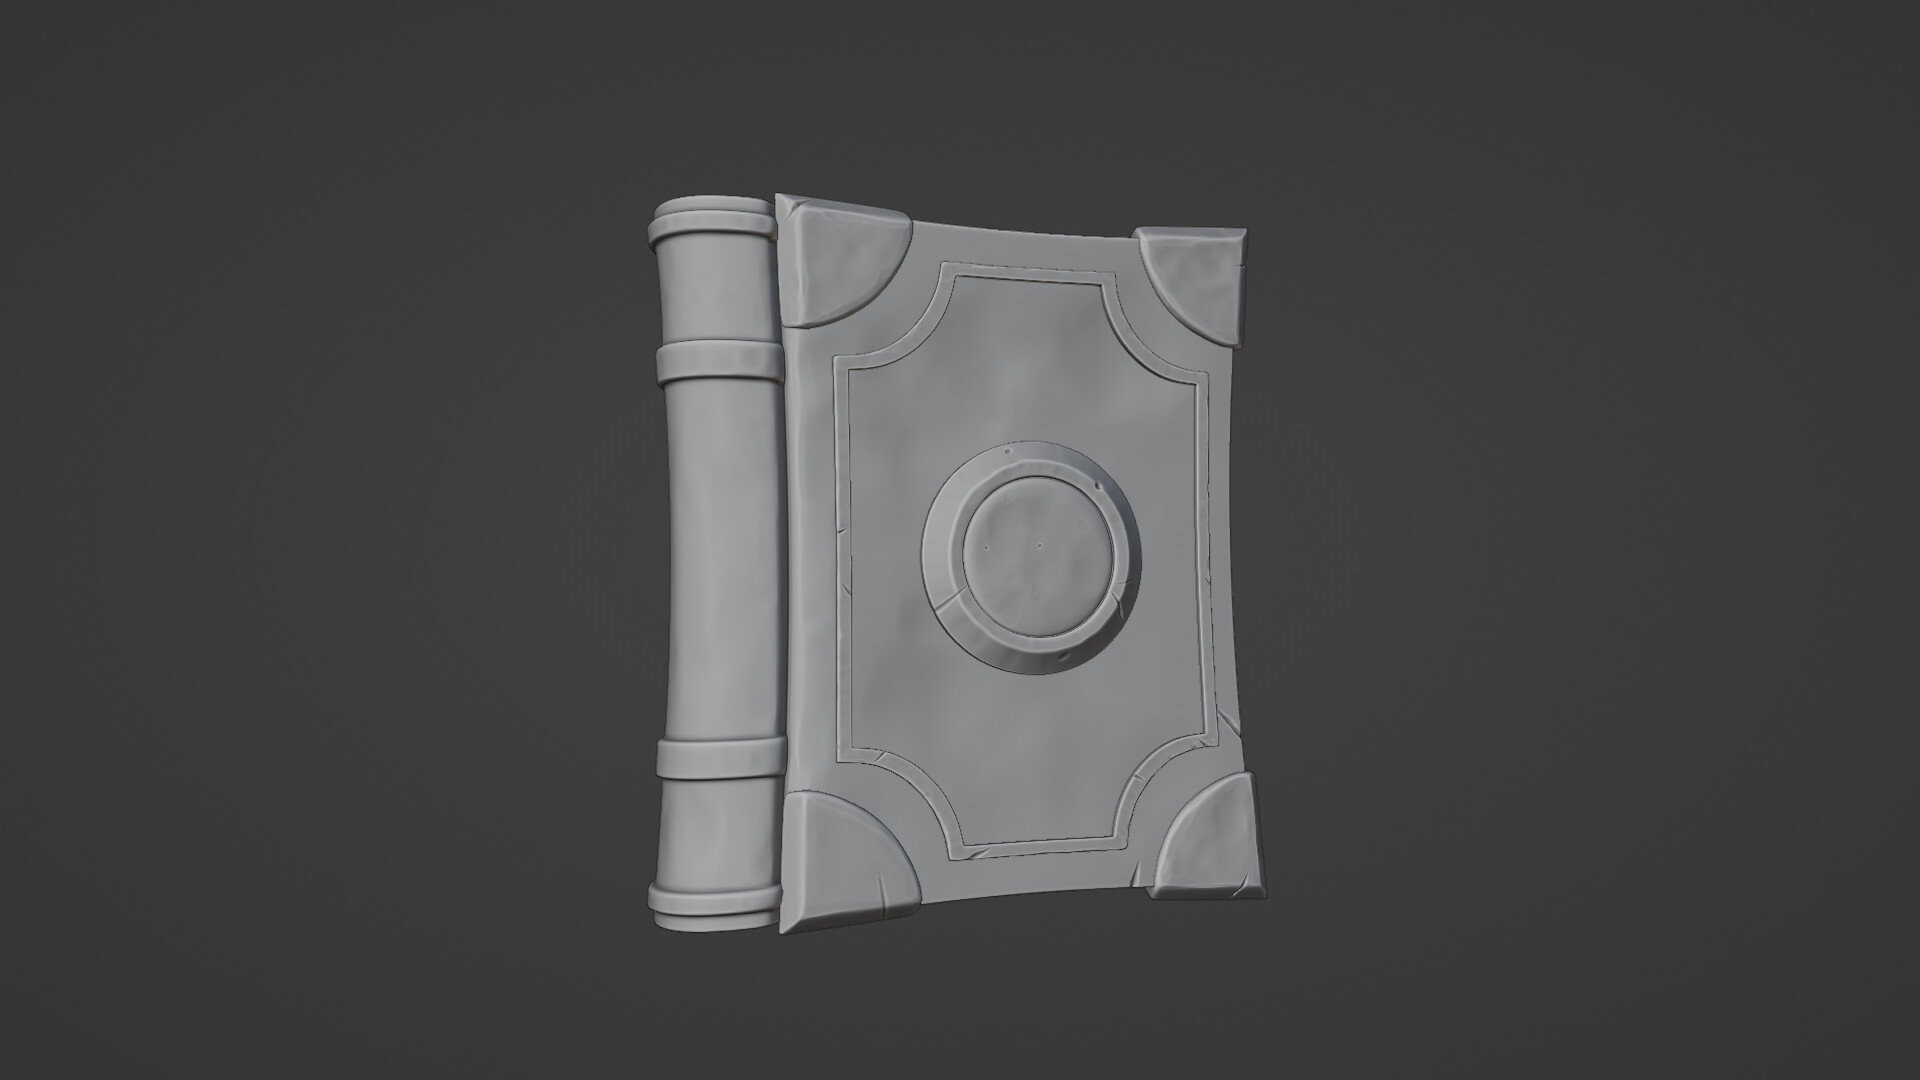
This high poly mesh was then baked into the low poly using Substance Painter. Since some parts of the sculpted model had deep cuts on it, the baking process was made with the different parts of the model away from each other, expect for the bake of the ambient occlusion map, to avoid visual artifacts.
For the colors we wanted the book to be a darker brown leather, with the other details being a golden metal. Similar to what happened with the animations, the texturing was also a process revolved around iteration, so you can check down bellow the evolution of the textures along the way.
This is what the textures looked like at first:
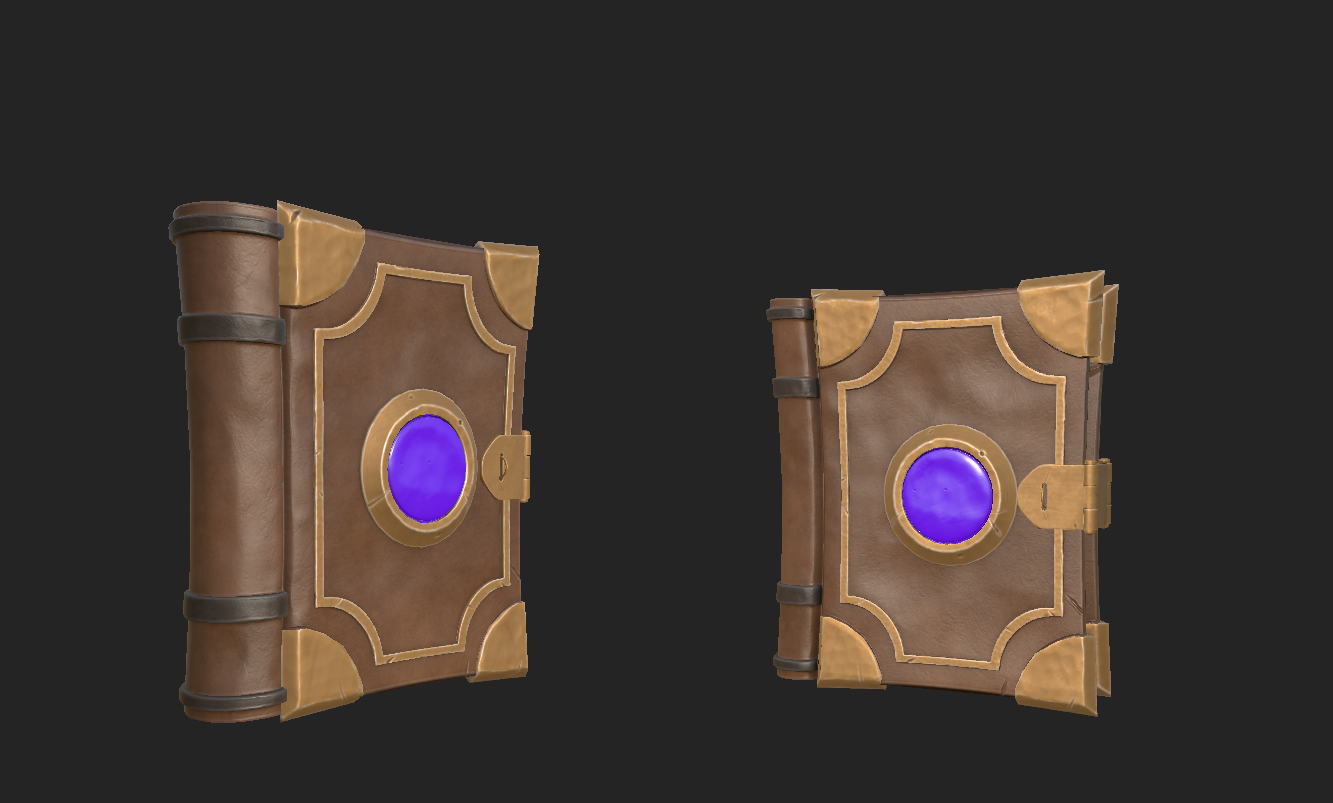
This still wasn't quite the look we were going for, but after a few (multiple) trials, this is what we got:
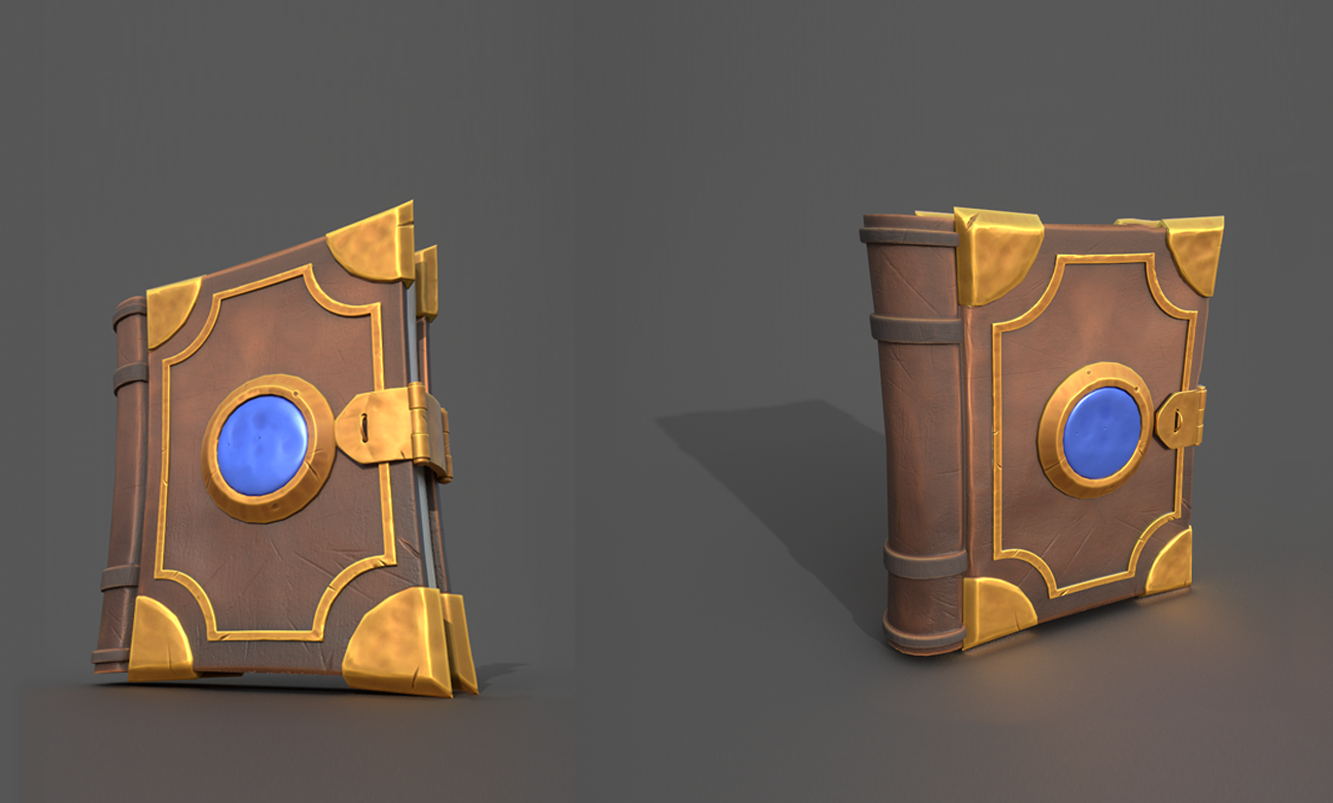
There was still some tweaking to it, until we got the final result, but this was already closer to the final result we were looking for.
Conclusion
This pretty much covers the creation process of the asset that represents the spells in our game and as we could see, even a simple asset like this one has multiple steps that take some work.
And finally, here's what the rendered animations looked like at the end:
You can also check it out on the link bellow:
Artstation.com
We hope you enjoyed today’s devlog and stay tuned for more.