 Welcome to the second news update. Today we have a special guest and we'll also take a quick look at the technique behind the new props.
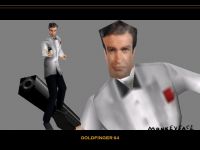
This may look like nothing special at all, but there's still some thoughts that went into it. First of all, shape and geometry. It's a process of elimination, really. What shapes can I remove without sacrificing character of the model? What would be excessive, and what would be effective? This is very important when creating low-poly models. This one has a bit higher poly-count, but it wont be seen too often in game. Then, on to the texture. That bed is one texture. 2046 pixels to be exact. That's not very much but some may find it enough. The important part is, as with any texture, to get the basic colours and values right. So I start with a 320*640 picture, lay down the different patches of colour, review it with nothing but primary colours and then I start with the detail work. Usually I say that when you paint in Photoshop, you should never use the burn or dodge tool. Areas are not simply lighter or darker. There's colour in there. But texture work is a little different. Since you're painting the "skin" of an object that'll exist in a world that emits light, too much definition of shadows and lighting will make the object appear out of place once in the new space. This is more true with the later engines and textures which have more advanced effects when it comes to lighting and such, but still holds some water with earlier engines, although not as much. That'll be all for now. But before I quit, here's our new friend, welcome Mr. Bond! monkeyface, away.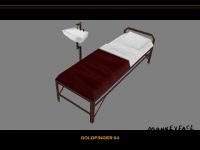
Finally I resize the texture to 32*64, may seem like too much work to put in details there that you may not see, but I think it's worth it in the end.