Created by Maddox - Stephane Doiron. Mirrored here for archival purposes.
My First Crypt
Louis: Where are we?
Lestat: Where do you think, my idiot friend. We're in a nice filthy cemetery. Does this make you happy, is this fitting, proper enough.
- Interview with the Vampire (Movie)
With the release of the Nod SDK, we have been given the rare power to create and alter the World of Darkness. This wondrous power comes at a price, one of practice and dedication, for the SDK is not a simple point and click / drag and drop interface, it is much more powerful.
For our first steps into world building, I will illustrate the steps that you will have to follow to create a small crypt, recreating a scene from "Interview with the Vampire".
Planning
I cannot stress enough the proper planning and visualization of the map that you will be creating. You should, whenever possible, plan ahead and put your ideas down on paper, be they in point form, rough draft drawing or a scale representation on graph paper.
Planning will save you a LOT of time during the actual production of your level as most things will have already been thought out.
The Embrace Editor
This tutorial is not designed to replace the very good documentation that comes with the SDK. Take a moment and read through the Embrace manual for an overview of the Embrace functions and where they are in the menu system (and of course all the keyboard shortcuts, which aren't the most meaningful shortcuts, kind of like in a good flight simulator :) Well at least Ctl-S saves your work.
Now start yourself a new project, and call it anything you want, we'll just refer to it as the "Test" project. Put your concept drawings and sketches in a handy place as you'll be referring to them often during the design.
Brushes
The concept of brushes is not like in traditional paint software. Brushes are essentially solid objects that make up your map, like walls, floors, ceilings, etc. So for our crypt we'll need to create a 6 sided brush that would be about 384x512x256 (x/y/z axis) in size. Hollow it out with the hollow button. This should create a very small, and cramped hollow box, if you remember that the player models are 128 units tall, which is exactly what we want in a crypt.
Windows and Doors
A crypt will need a door so that coffins can be hauled in, and some crypts actually have stained glass windows so that's what we're going to be going for. The doors and windows are essentially holes in the wall so we're going to be creating holes in the wall brushes.
First, we'll need to cut out a doorframe, so create a cube brush that is at least 64x128 units (wide tall) and deep enough to run through the wall brush. (We're going to make a very simple door).
Run that square brush through the wall so that it sticks out the other side and then "CSG Subtract" it. This should leave a gap in the wall the size of your subtracted brush. All you need to do now is to resize the cutting brush into the thickness of the door, for example 64x128x1.
We will do the same with the 4 windows that are on the long sides of the crypt, they should be small and higher up on the wall to make sure that rodents and the like cannot come in.
Textures
This is actually the easy part, we're going to use the Prague texture set so go ahead and load it up. Hit "T" to bring us the texture windows to prepare for texture selection and assignment. Select all the walls and select an appropriate texture, one that suits your vision of a crypt wall. Do the same for the ceiling and then the floor.
The door and windows are a little trickier as the door and window textures probably won't fit the brush. The easy way to do it is to resize the texture using the surface inspector ("S"). On the left hand side of the surface inspector window you will see that you can adjust the size and position of the textures, resize them until you are satisfied with their placement.
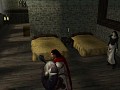
Lights
Since the dead don't really need lights, you shouldn't be putting in some electric lamps in the crypt. What we'll be doing is adding lights to the windows to make them a light source. All you need to do to add a light is right click in the editor window and add a light. Since we have 4 windows, we'll add 3 more and position them all to their respective windows. If you hit "L", you will bring up the layers menu, and with it, the light editor. Just change the light falloff and intensity of all the lights to make it an appropriately gloomy atmosphere.
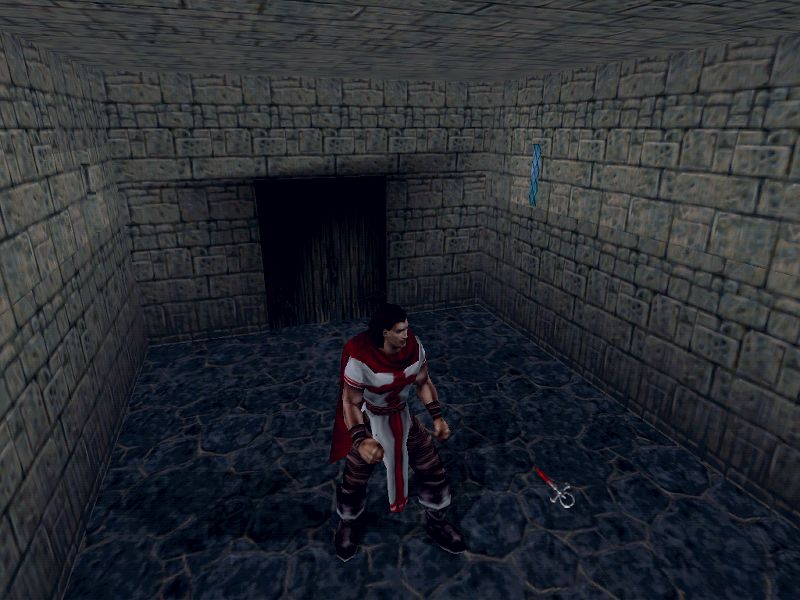
These boots are made for walking....
The NOD engine needs to know where your characters can walk to calculate pathing information, so you will need to select the floor of the crypt and "Make Walkable". To make sure that the players start on the floor, right-click on the editor window and add a playerstart (for example playerstart_0).
Sectors
Sectors are a very important concept to understand, so before you continue with this article, I would suggest you read the Sector section of the Embrace manual a few times to firmly grasp the concept, and then read it a few more times to be sure. The NOD engine will not be able to use your map if sectors are not defined so we'll need to define one. Since this crypt is rather small and open, only one sector should be needed. Right click on the editor pane and select "sector". This will create a small sector square which you should proceed to move and resize until it covers the whole interior of the crypt, up to one unit within the walls/windows.
Export
We're essentially done at this point, save your completed map, and then export it. Make sure you use sector and pathing information when you export your map. It should take about a second to export (it's not that complex of a map), now hit "run" at the top of the window to try out your map. This will run the game and use your map in the single player game. Now before you jump in and look at your map, make sure that you have a real save game of your progress within the game as loading up the custom map will overwrite your auto-save!
For some people, hitting "RUN" in the export window will not work, if you are one of those people, run redemption with the "-level test.nil" option, where test.nil is the name of your new map.
Sample Files
To help you along, I've included my sample crypt map (94Kb Zip) to use as a reference, if you need it.
I hope you have found this tutorial helpful and informative, as the SDK gives you the power to recreate the world in your image, or any other for that matter, and it doesn't limit you to the Dark Ages and Modern Nights, as you ca create maps with a Victorian feel or even a Cyberpunk dark future look. The sky is the limit and we have to thank Nihilistic for bestowing such powers upon each and every one of us.
Until next time, when we dive into a more in-depth use of sectors.