In this tutorial, part 1, you will learn how to make the installation pack, once all the files are ready. A basic campaign should have the following:
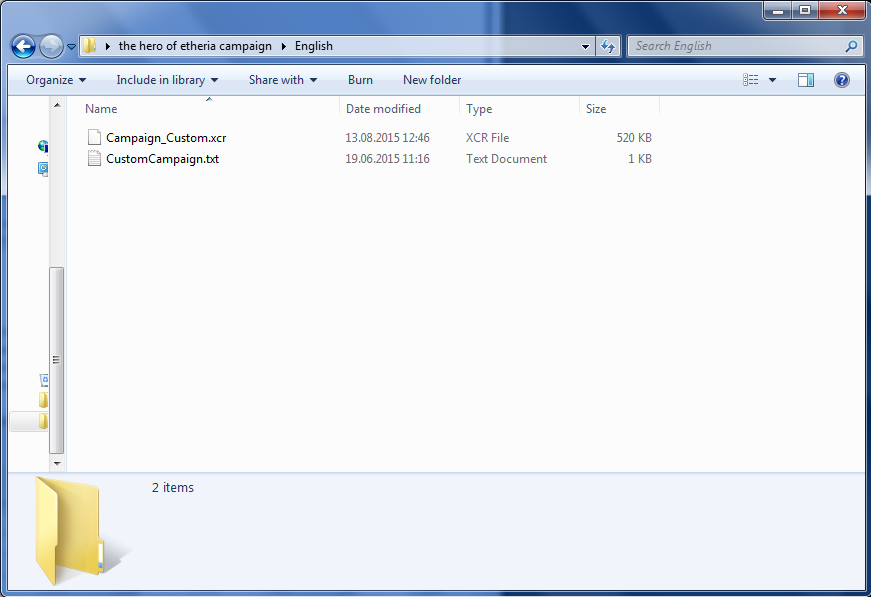
- Campaign_custom.xcr - all the map, loc and act files packed in here
- CustomCampaign.txt - default info on campaign startup
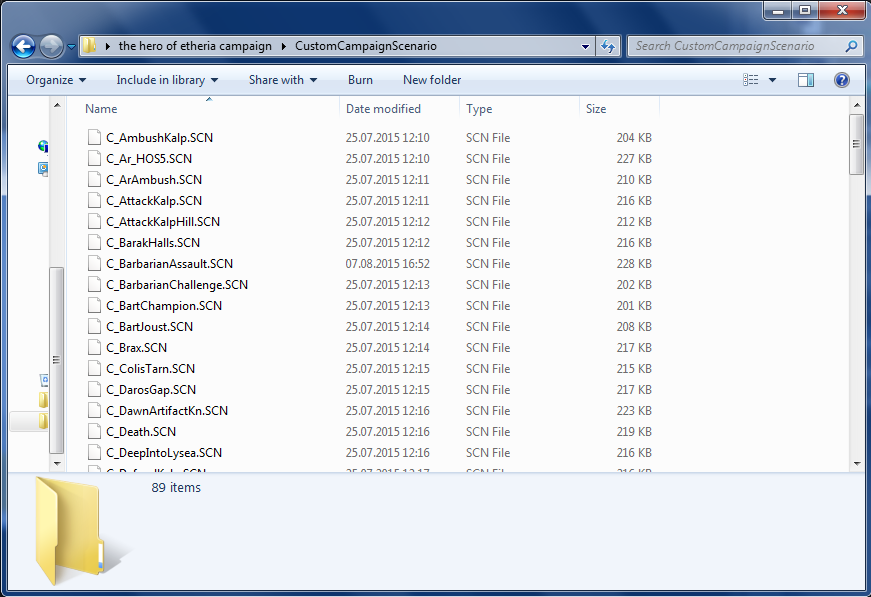
- Scenarios (.scn) - the files created by the editor
- (optional) NIS files - dialogue files
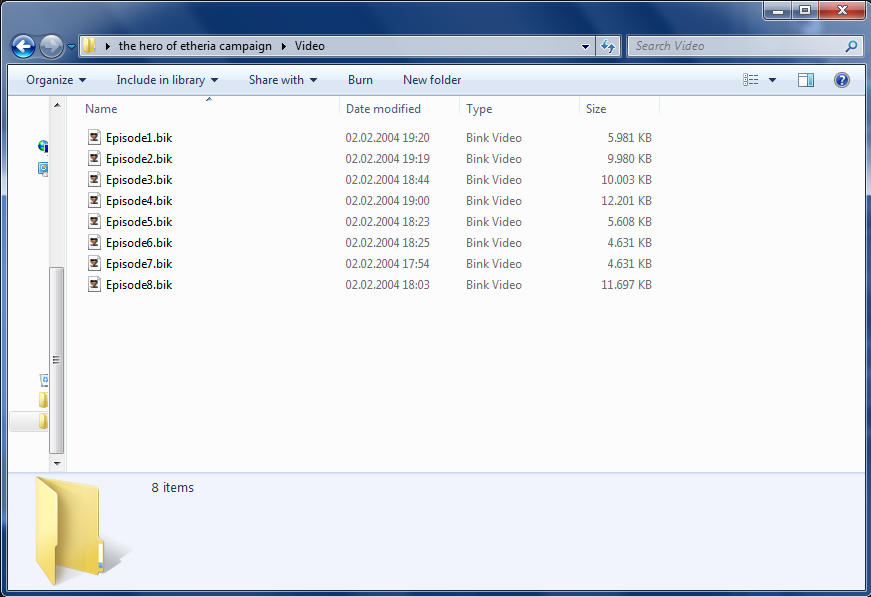
- (optional) .bik files - video files
- (optional) JournalCustomCampaign.xml - first page of journal
In order for the game to read them, all the files must be placed in their specific folders. Therefore, create a new folder with your campaign name and in it create 3 more folders name exactly like this: CustomCampaignScenario, English, Video.
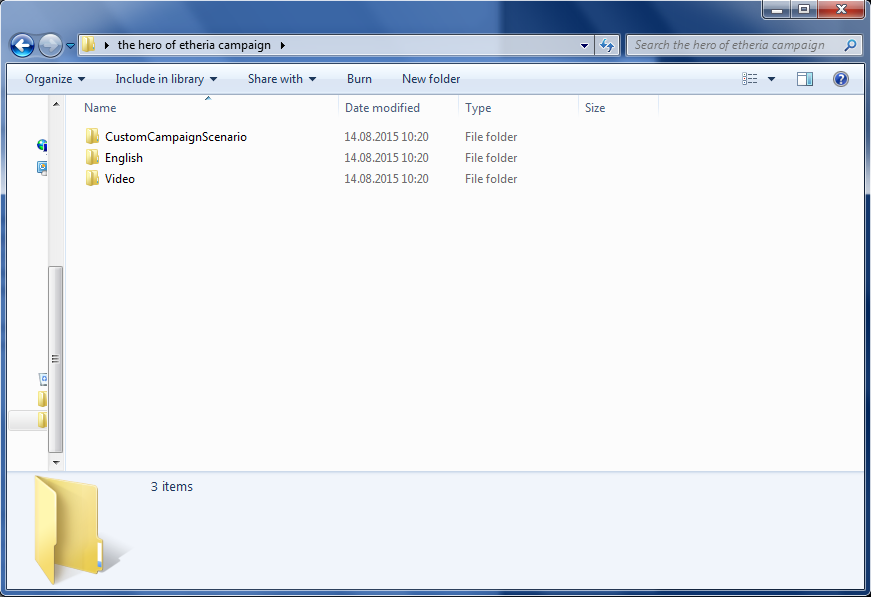
Once that is done, copy your Campaign_custom.xcr and your CustomCampaign.txt in the English folder (since 0.8.6, you need the JournalCustomCampaign.xml in here as well). All the scenario and NIS files should go into the CustomCampaignScenario folder and the remaining .bik files in the Video folder.
Now you can pack your folders into a .zip or .rar file and share it with the internet. To install, all you need to do is unzip the pack into your main The Protectors directory, overwriting existing files if necessary. Note that The Protectors currently supports only one custom campaign slot. Therefore, upon installing a new one, the old one will be overwritten and all its progress will be lost.
That concludes this part of the tutorial. In the next segments, we will go into detail on how to create each of the files required to make your own campaign. If you have any questions feel free to ask them in the comments section below.